How to Make a Concrete Sign
The following tutorial is the process we used to create concrete Polytek® signs for our exhibit at the World of Concrete tradeshow.
THE MODEL
We installed two concrete signs on our exhibit – one of the features of the Polytek® logo. Our logo was slightly edited to better fit our needs [Figure 1].
Dimensions for the final concrete sign were decided on and then we contacted a local CNC shop. We supplied them with our logo art and they machined this “positive” foamcore model [Figure 2] per our size specifications. This “positive” model is how we would like the concrete sign to look when finished.


Figure 1 – Our standard logo is pictured on top – the edited logo is on the bottom
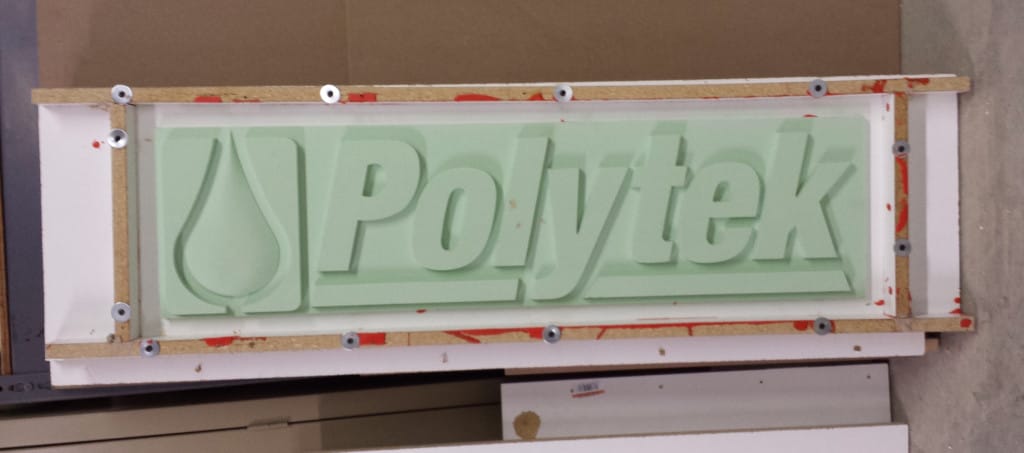
Figure 2
CONSTRUCT MOLD BOX
To begin the process of making a “negative” rubber mold of the logo, we constructed a mold box. First, the foamcore was mounted to a melamine-laminated base board using a two-part epoxy adhesive (PolyPoxy® Quick Stick Adhesive); the foamcore needs to be adhered to the base board so it doesn’t float when the rubber is poured.
Mold box walls were also constructed from melamine-laminated particle board and securely screwed in place [Figure 3 & 4].
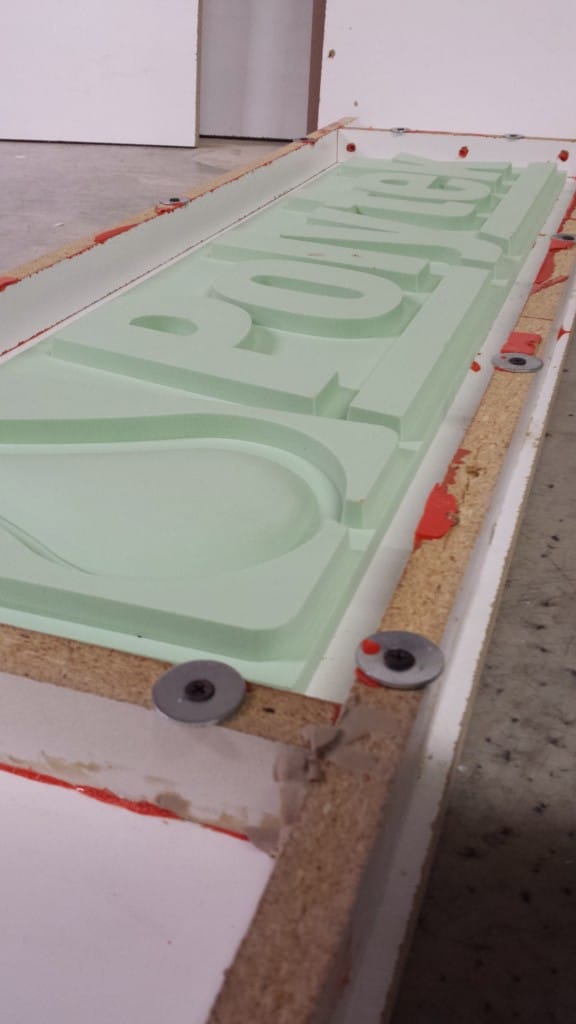
Figure 3
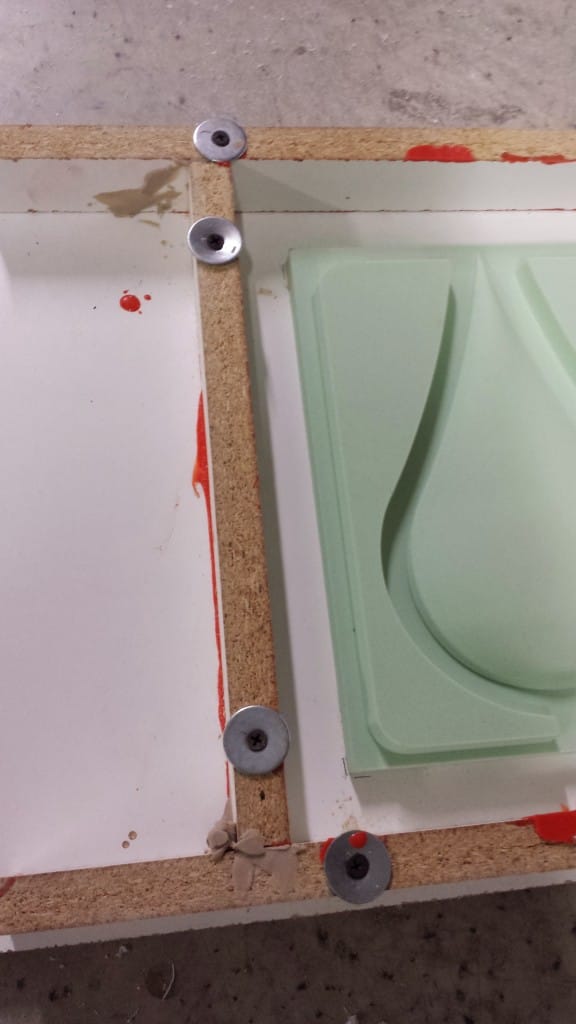
Figure 4
After constructing the mold box, we applied plasticine clay [Figure 5] to the interior edges and corners [Figure 6] of the mold box to help prevent mold rubber from leaking out of the box (you could also use caulking or hot glue, for instance). Clay was also applied to the edges of the foamcore model to help prevent rubber from leaking beneath it. The clay needs to be thoroughly smoothed out and flattened so it doesn’t create unwanted texture on the mold.
We warmed the plasticine clay for easier application.
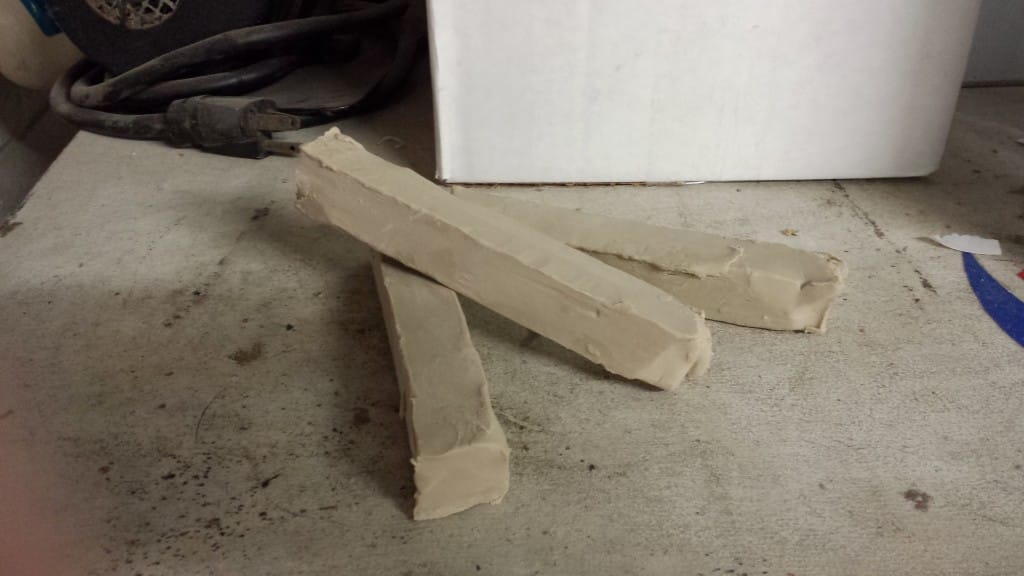
Figure 5
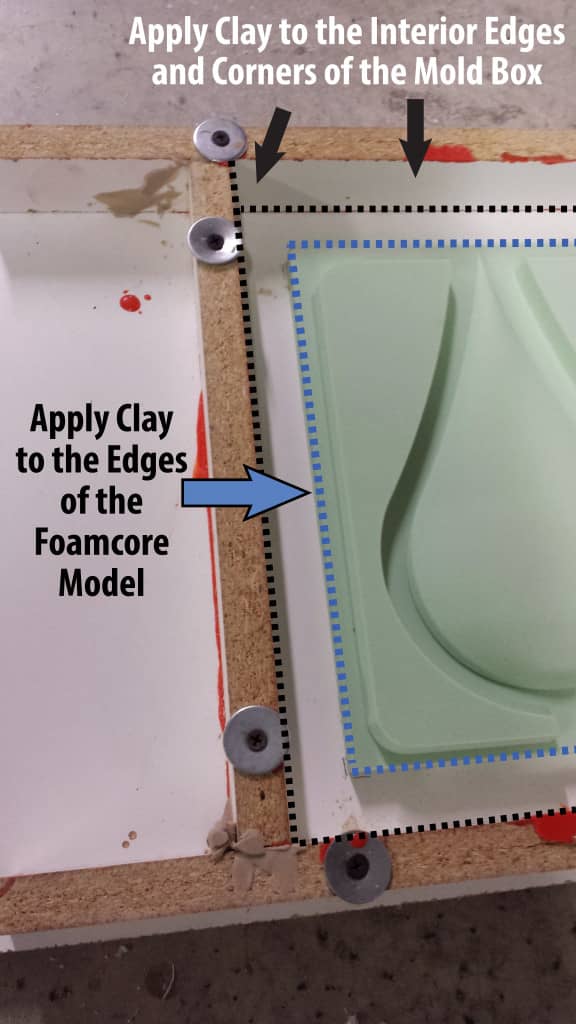
Figure 6
MOLD RUBBER MATERIAL
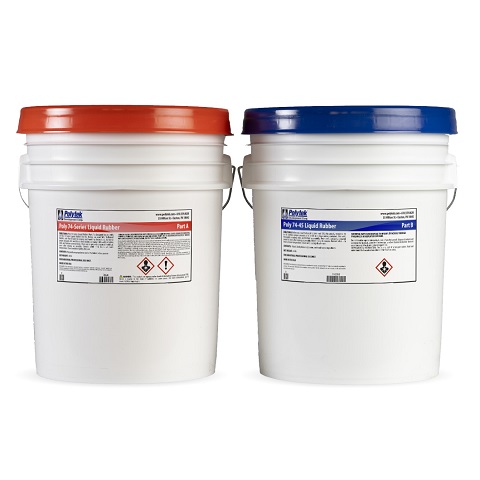
We selected Poly 74-45, a medium-soft polyurethane rubber, as the mold rubber for this project. The flexibility of Poly 74-45 allows for easy demold of the concrete during the casting process, and this rubber generally does not require a release agent when using a standard concrete mix.
SEAL & RELEASE THE MODEL
Because we selected a polyurethane rubber as the mold material, a sealer (because it is a porous model) and release agent needed to be applied to the foamcore model. We brushed on PolyCoat [Figure 7], a semi-permanent sealer and release agent (for information on additional sealers/release agents, refer to our Sealer & Release Agent Matrix).
We allowed the PolyCoat to cure (approximately 30 minutes) before pouring the mold rubber. If the model is very porous, it may require multiple coats. One of the benefits of this sealer/release agent is that it doesn’t need to be applied every time a mold is made, so several molds can be made from one application of PolyCoat.
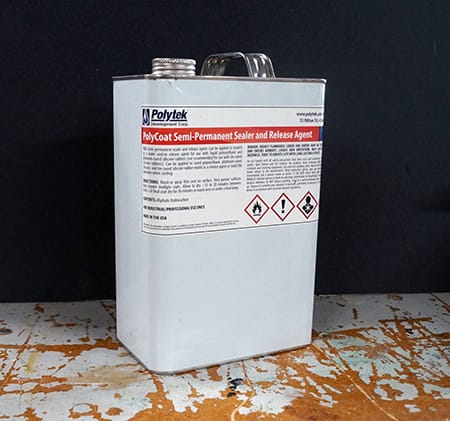
Figure 7
MIX & POUR POLY 74-45 RUBBER
Poly 74-45 has a mix ratio of 1A:1B and a pour time of 30 minutes.
We determined how much rubber (lb) we needed by subtracting the estimated volume of the foamcore piece from the volume of the mold box and then dividing by the specific volume of the rubber (27.5 cubic inches/lb).
Poly 74-45 naturally cures to a yellow color; we added red PolyColor dye to make it orange (to better match our company colors).
After thoroughly mixing the rubber, we poured it into one corner of the mold box and let it flow across the model until we reached the desired height.
We allowed the Poly 74-45 to cure for 24 hours before demolding.
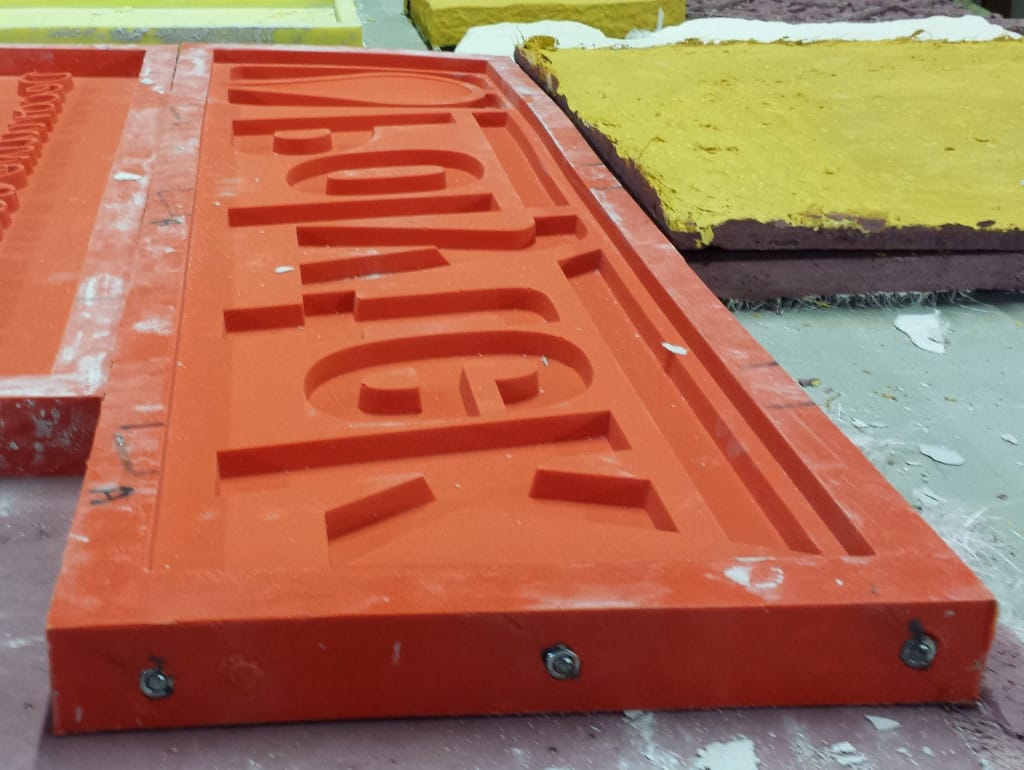
At this point, we had a finished “negative” mold [Figure 8] (the pictures below were taken after we cast concrete in the mold, which is why there is some concrete residue). The hardware on the sides of the mold allow us to mount it to our exhibit.
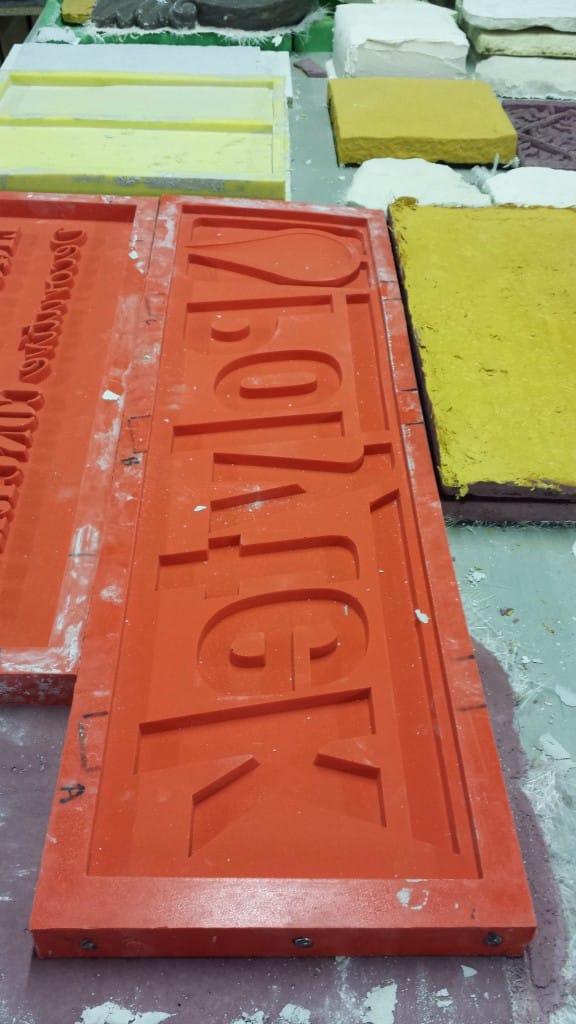
Figure 8
Then we were ready to cast concrete in the mold. We used SureCrete Xtreme Countertop Mix [Figure 9]. We did not use a release agent to cast this concrete, but a product like Pol-Ease® 2650 Release Agent could be used for this application.
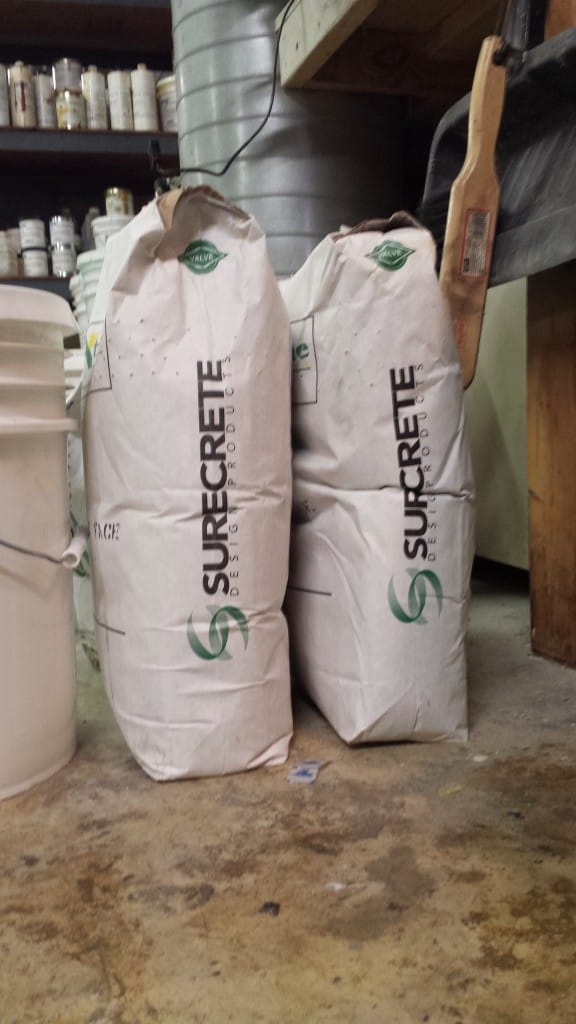
Figure 9
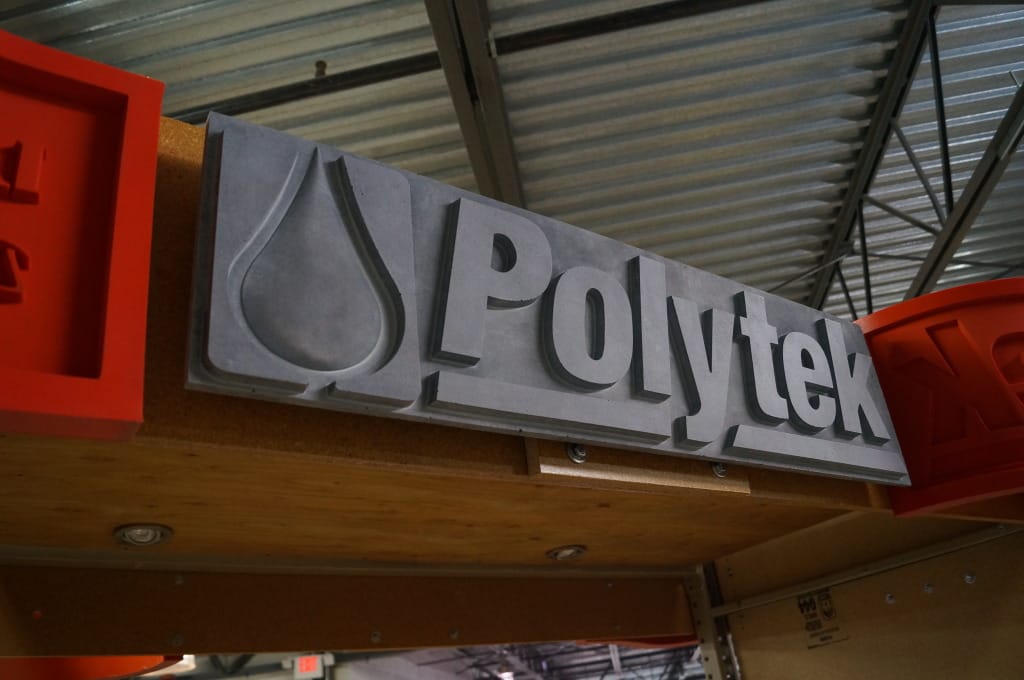
Here is the final cast concrete piece mounted to the top of our exhibit.
For more concrete casting tutorials visit our Concrete Casting, Stamping & Texturing Playlist on YouTube.