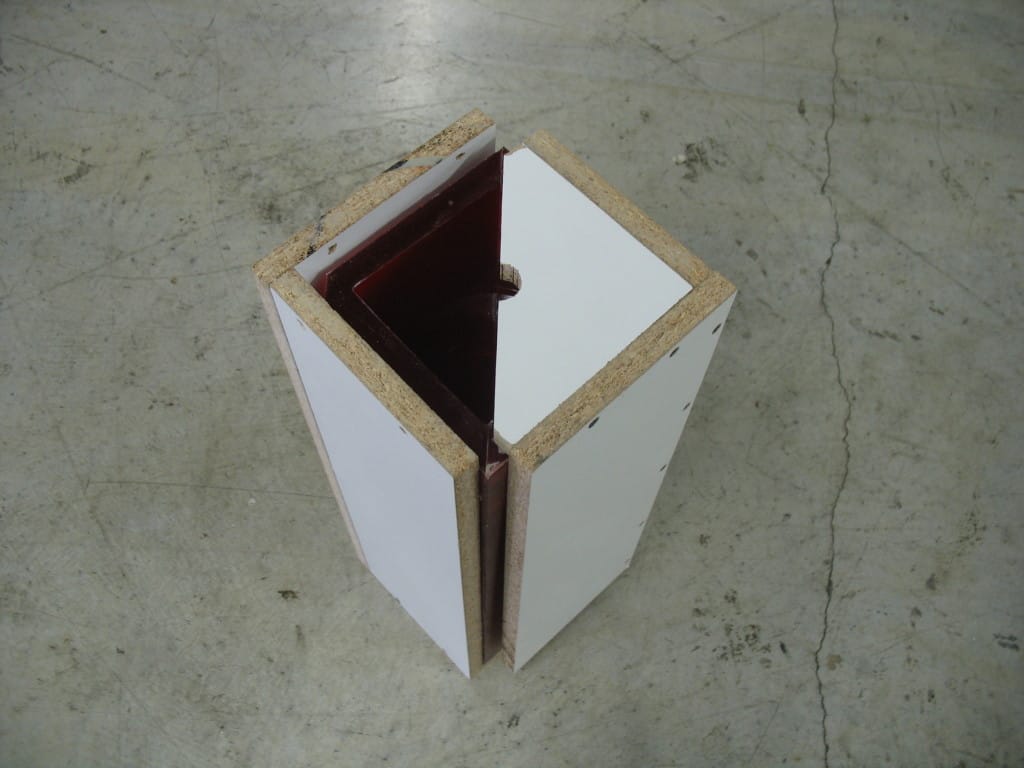
How to Make a Two-Part Rubber Mold of a Baluster
This tutorial shows the process of creating a two-part polyurethane rubber mold of a wooden baluster. In this case, concrete will later be cast in the mold.
This mold making technique can be used on a variety of models, and a wide range of casting materials could be used in place of concrete (e.g., polyurethane foam, polyurethane plastic, rubber).
Supplies Needed:
- A Model [this model is a wooden baluster]
- Poly 75-65 Polyurethane Rubber
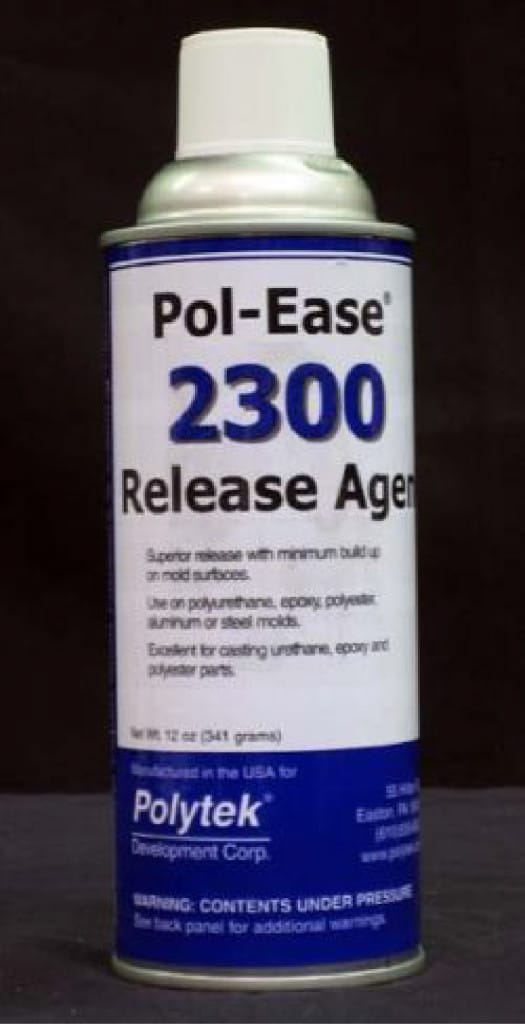
- Pol-Ease® 2300 Release Agent
- Plasticine Clay
- Melamine-laminated plywood
- Marbles
- Wood-cutting tools
- Tongue depressors
- Brush
- Level
- Scalpel
- Screws
- Screw Gun or Screwdriver
The Process:
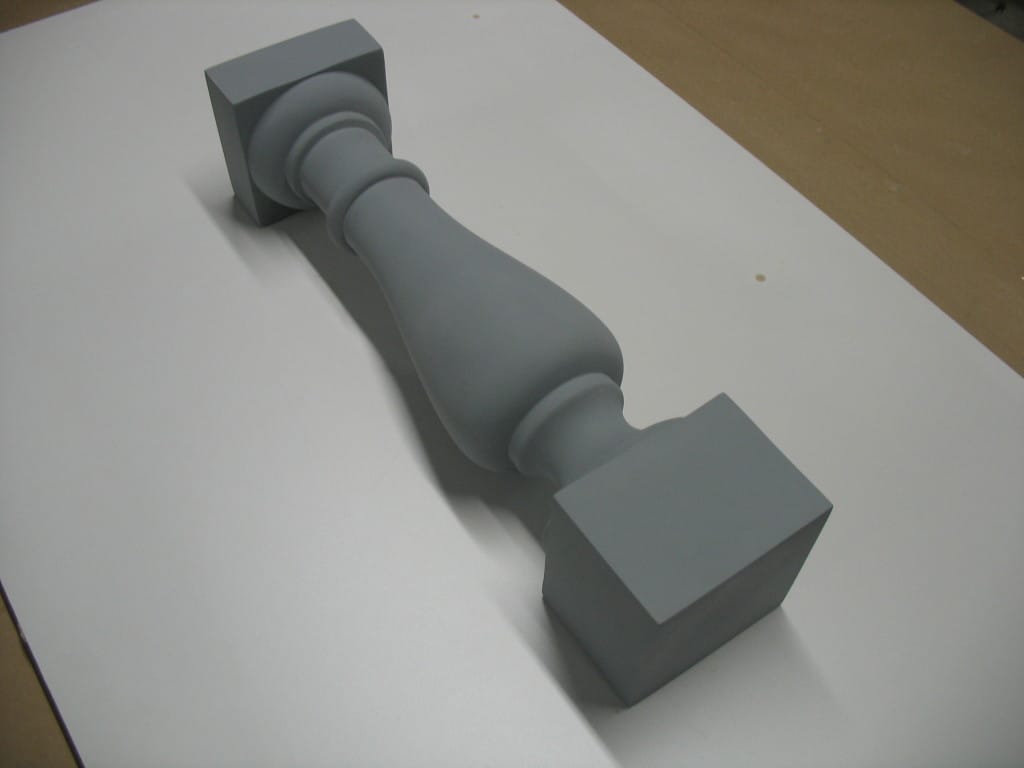
The Model: A Wooden Baluster [painted] ↓
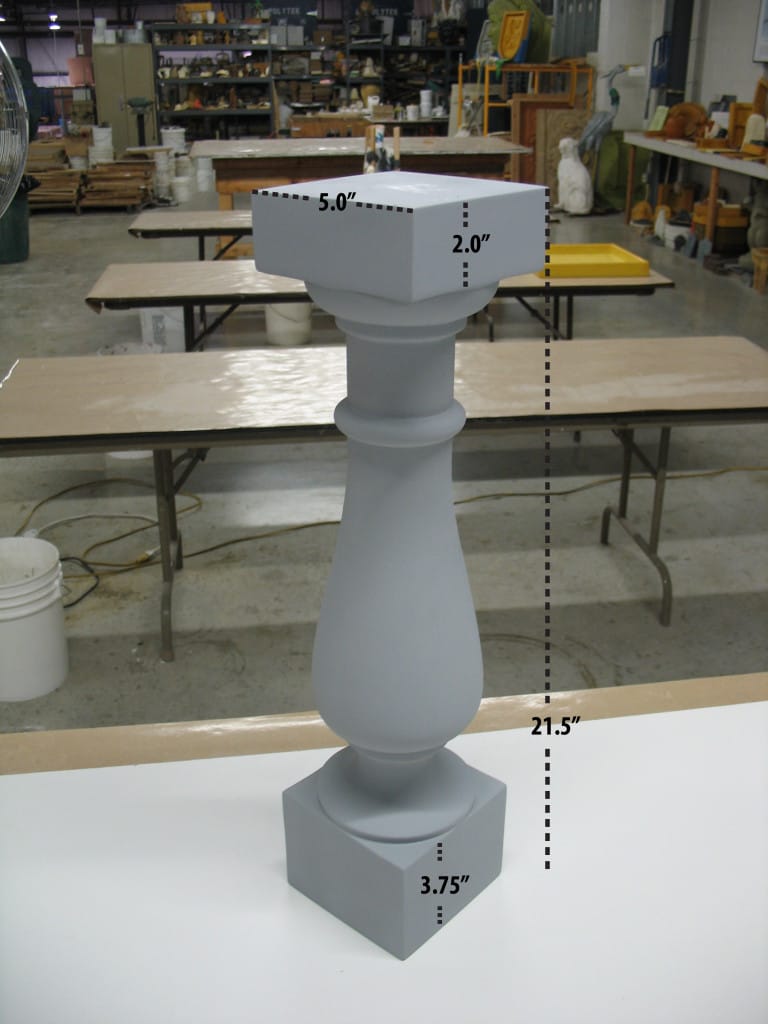
Approximate Dimensions of Baluster:
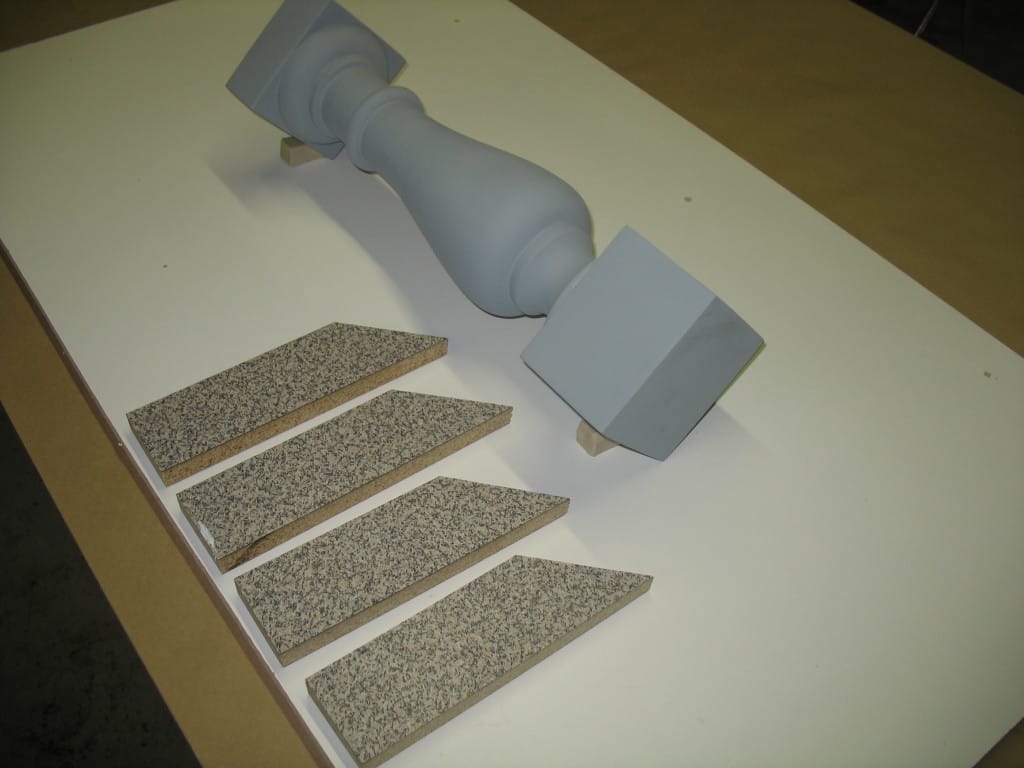
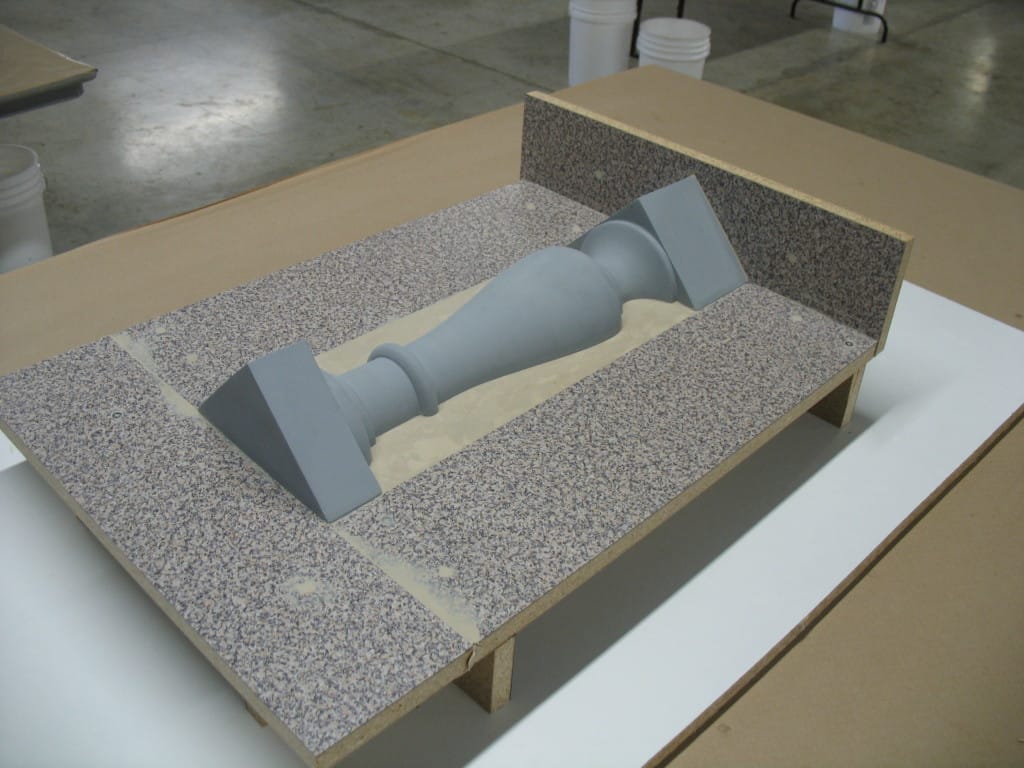
Create a “mold box” around the baluster. Melamine-laminated particle board is used for this project:
—–
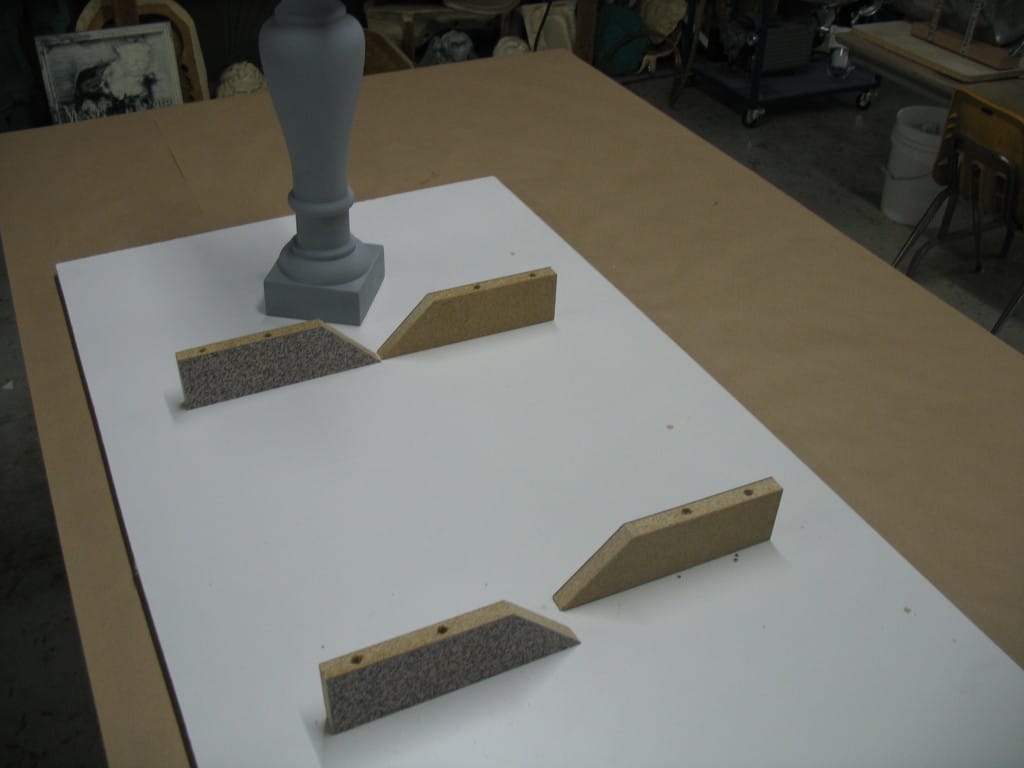
—–
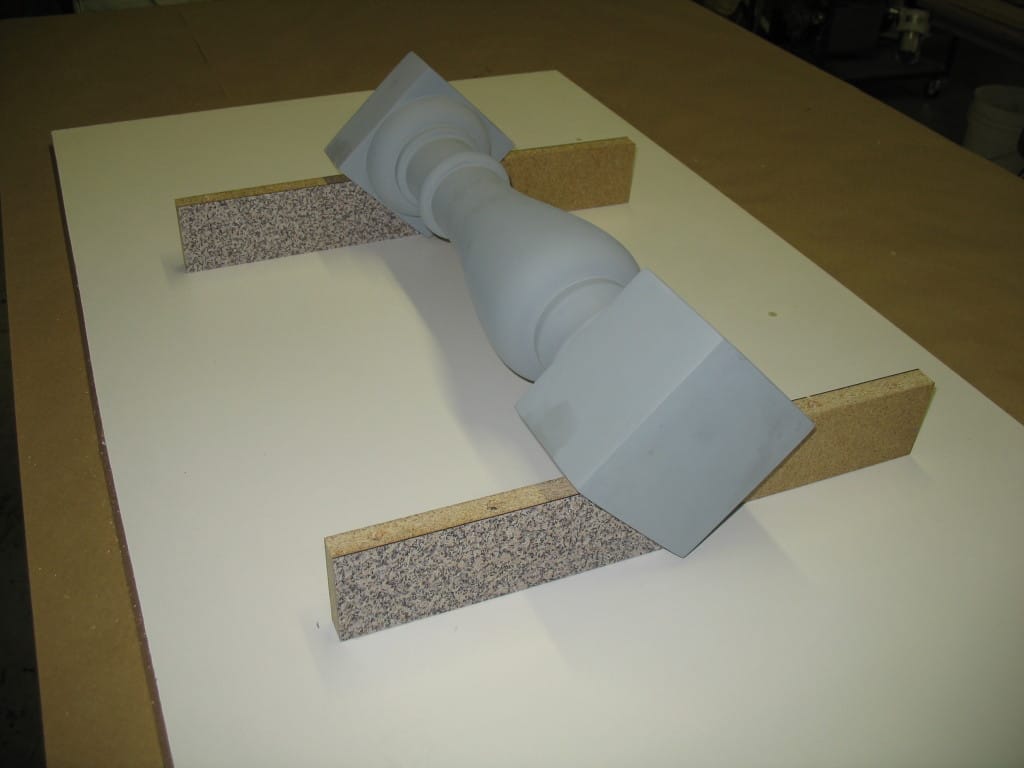
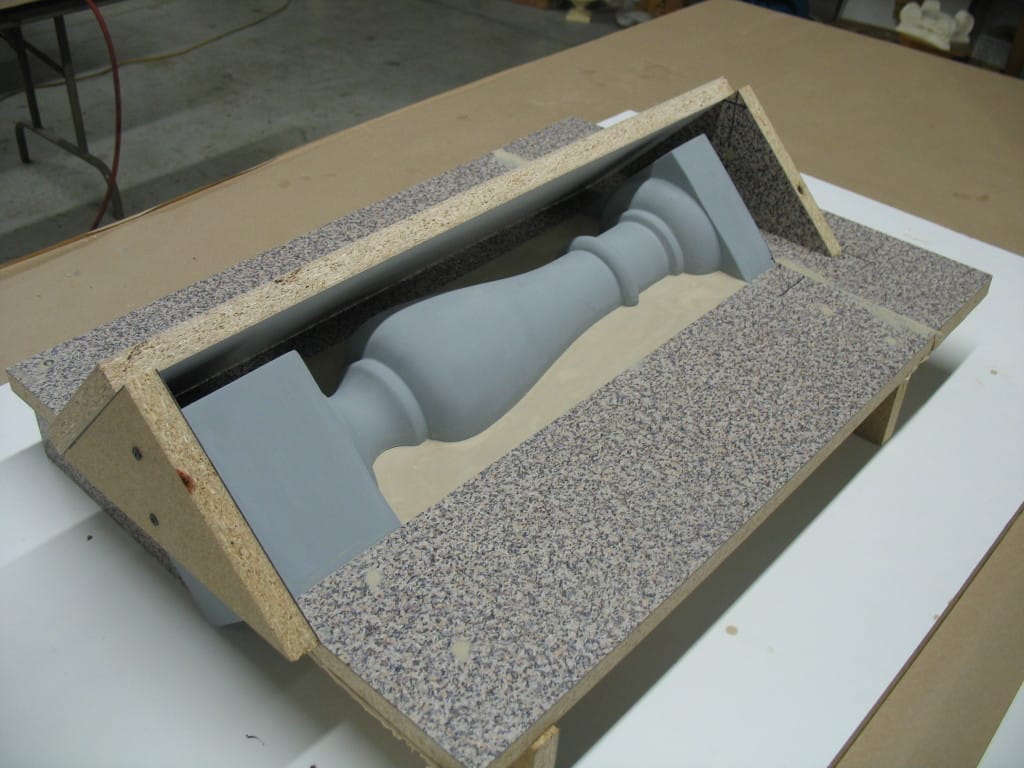
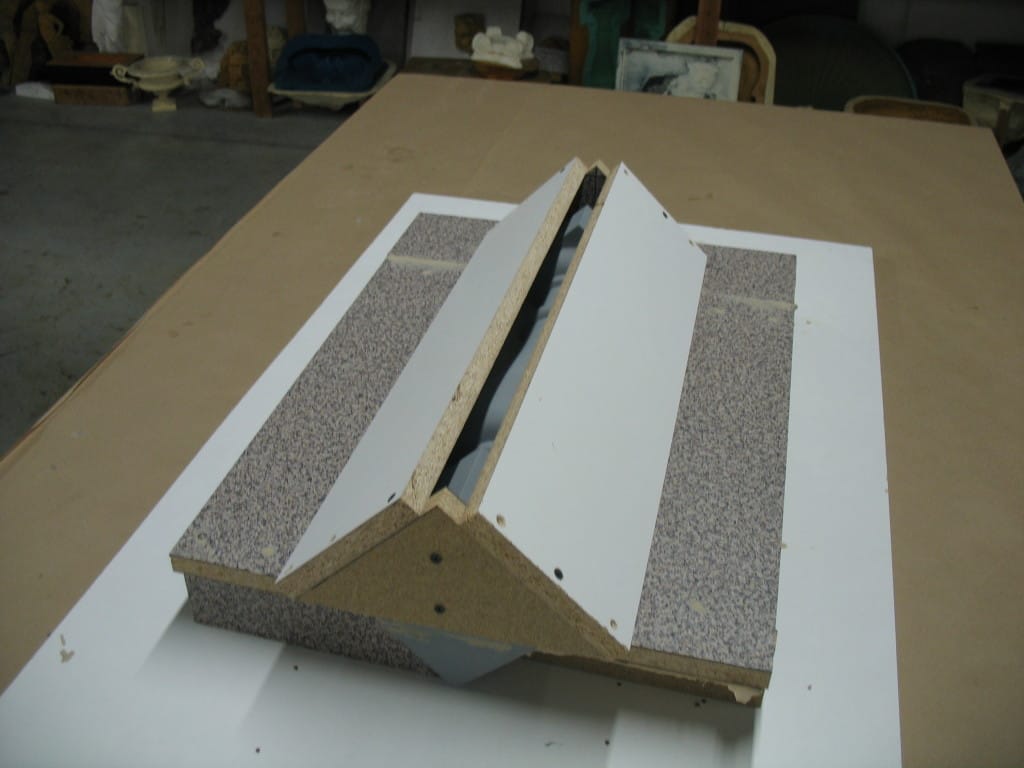
Screw (or adhere) all particle board into place:
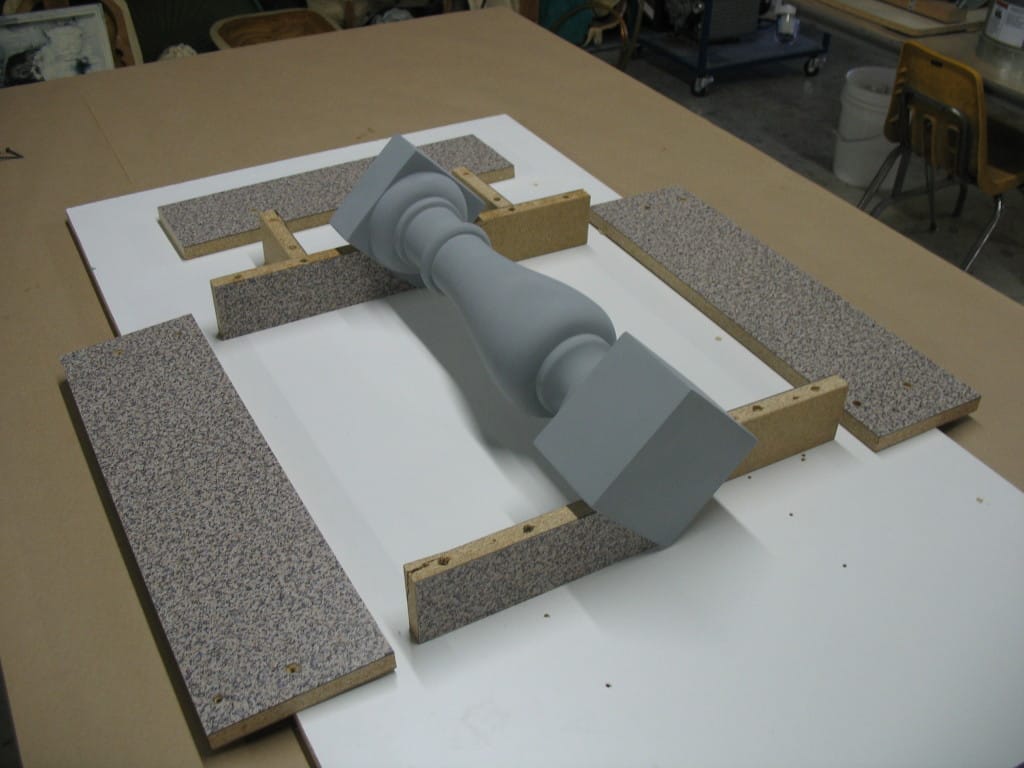
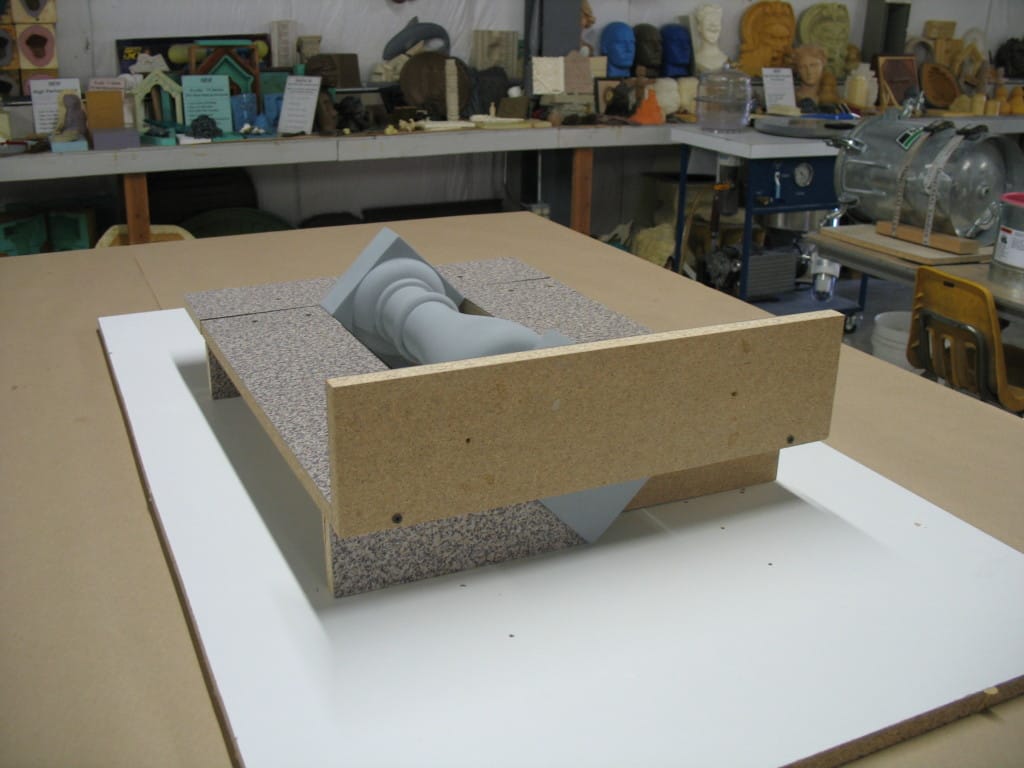
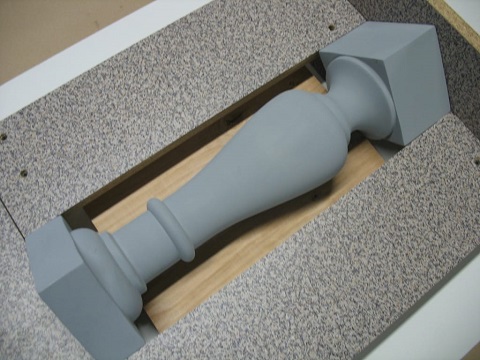
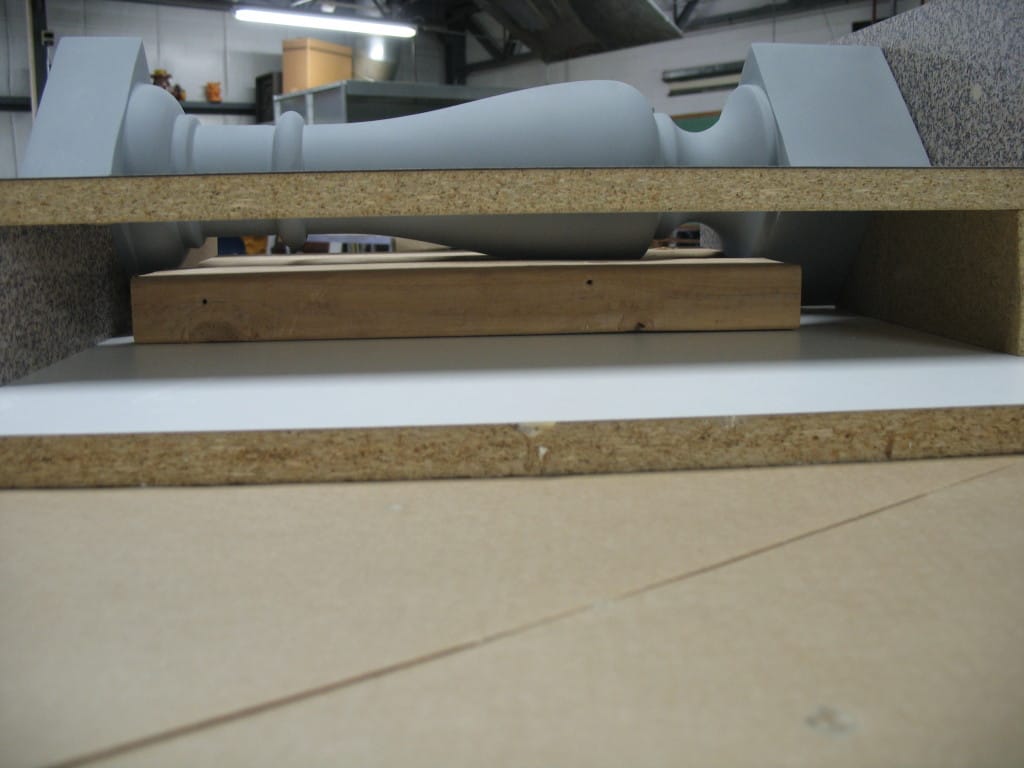
The baluster is situated on its corner (as opposed to flat) so the parting lines of the mold lie on the corners of the base of the baluster and not on the flat side. Parting lines can show on castings in some cases, so they should be placed in inconspicuous locations when possible.
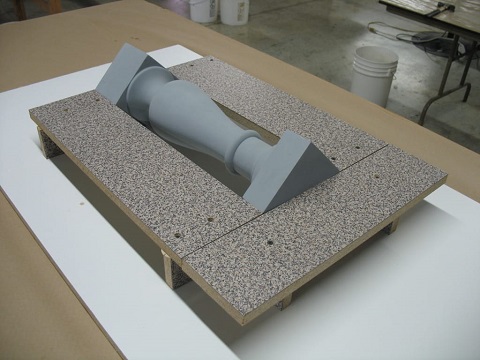
—–
—–
—–
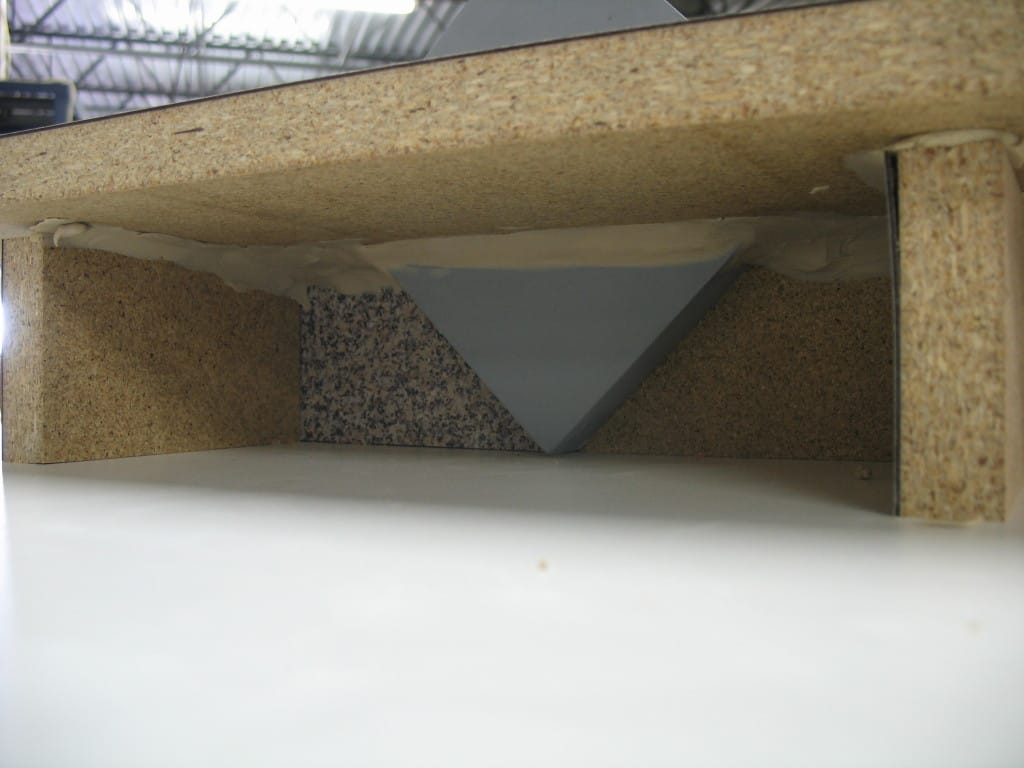
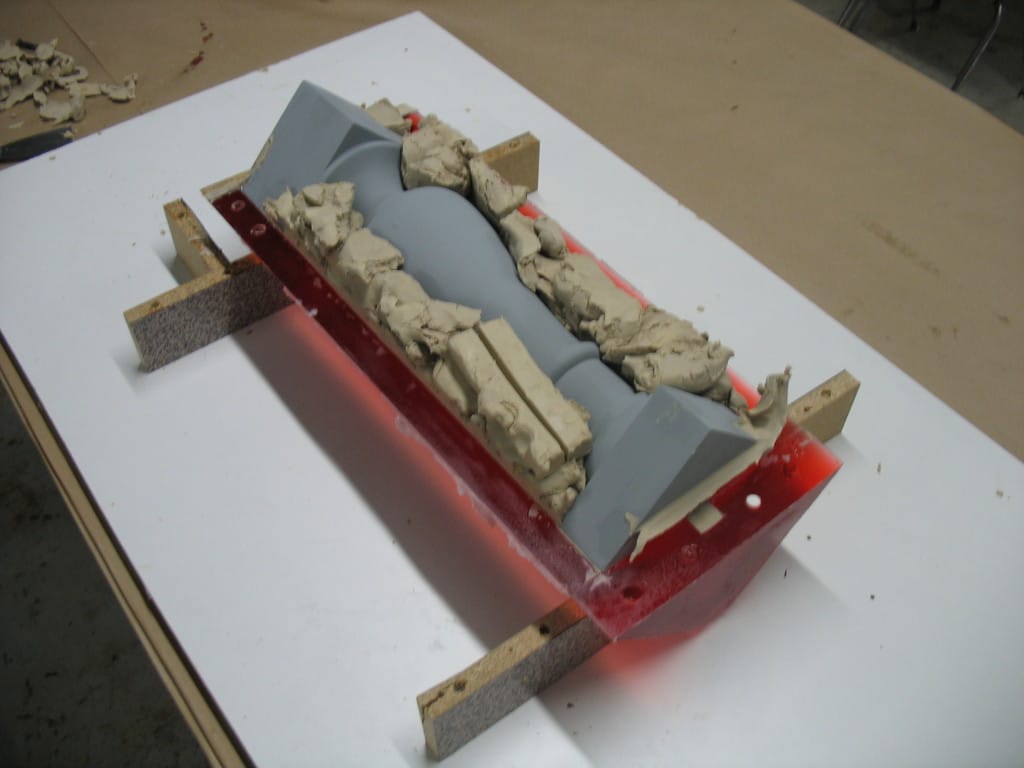
Seal all edges of the mold box to prevent mold rubber from seeping out. Plasticine clay is used here, but hot glue or caulking are other options:
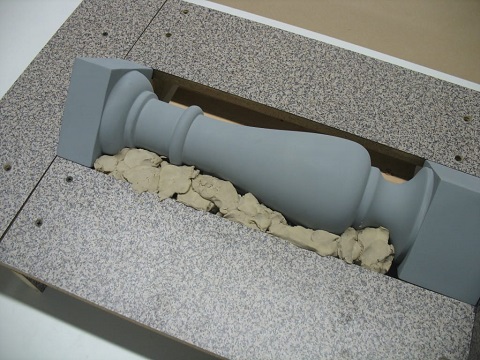
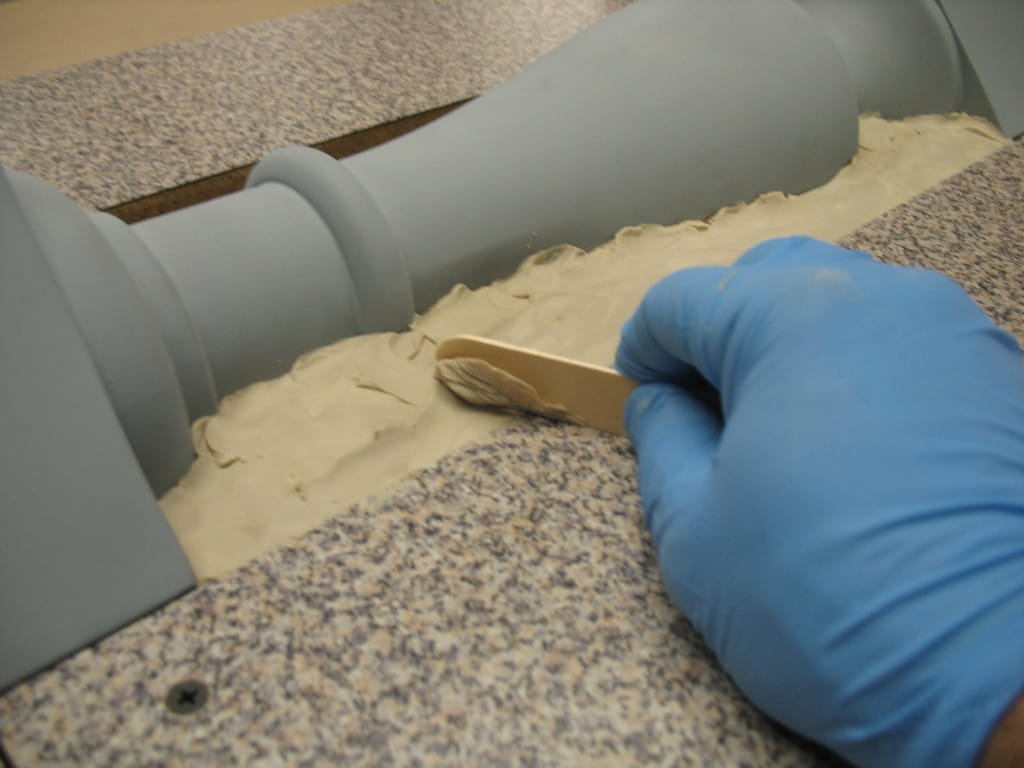
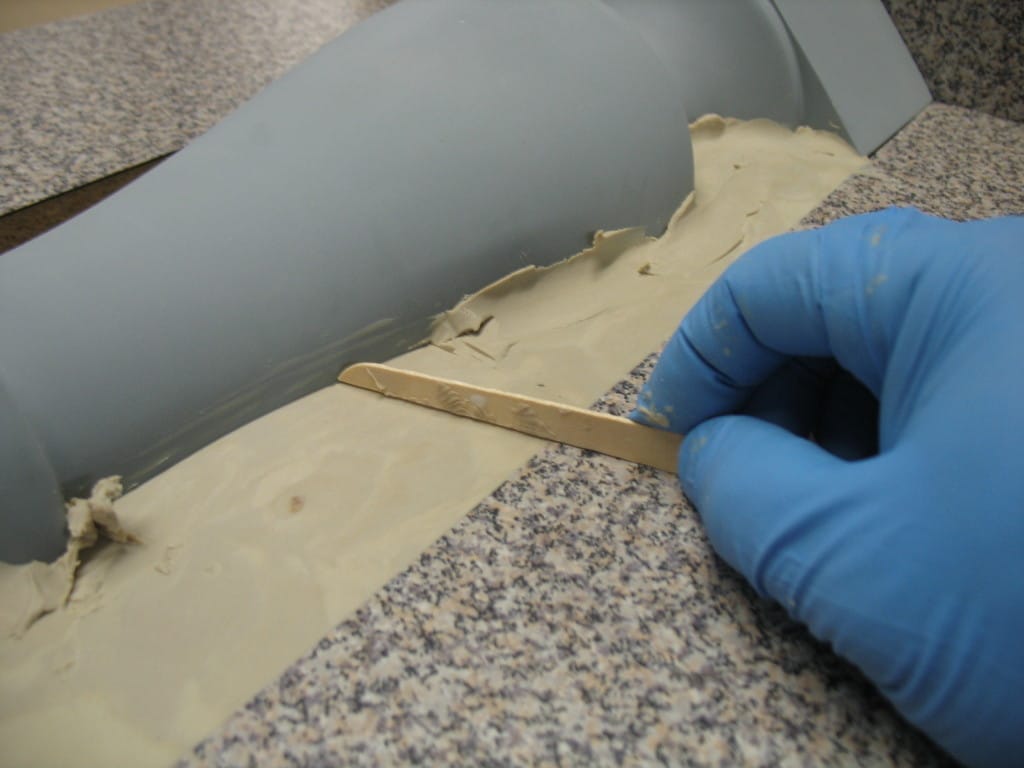
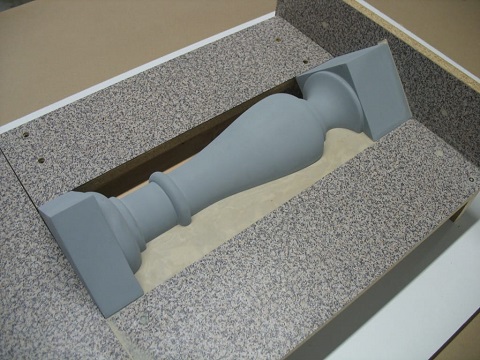
Embed one half of the model in clay (do not use water-based clay – it will negatively affect the cure of the polyurethane rubber):
—–
—–
—–
—–
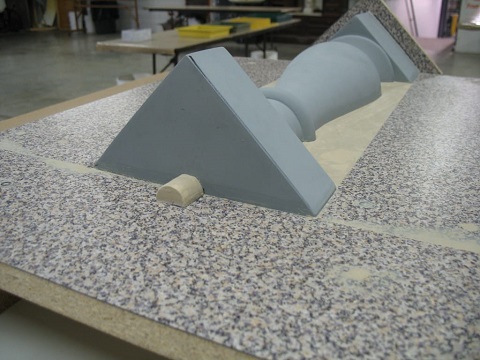
This half-cylinder piece of clay is added to later accommodate a structural metal rod (for installation of the final cast piece):
—–

—–
—–
After the top particle boards have been fitted, add “keys” to the clay. These keys will help to register the two halves of the mold together when casting. Marbles are used here, but a variety of objects, or even a pattern in the clay, can be used to achieve this registration:
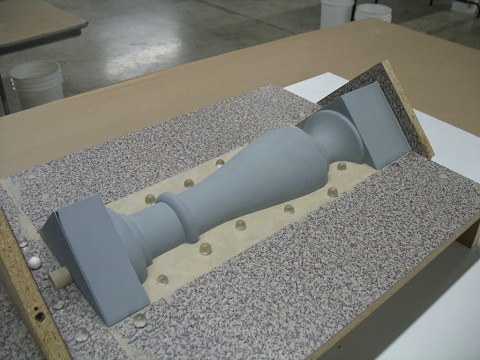
—–
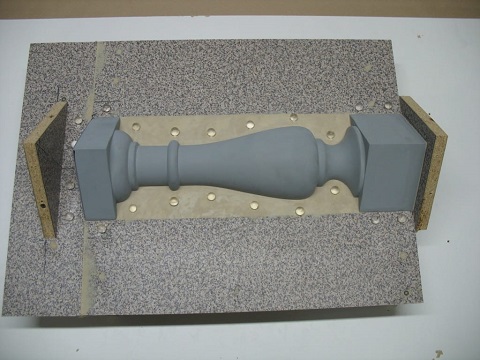
—–
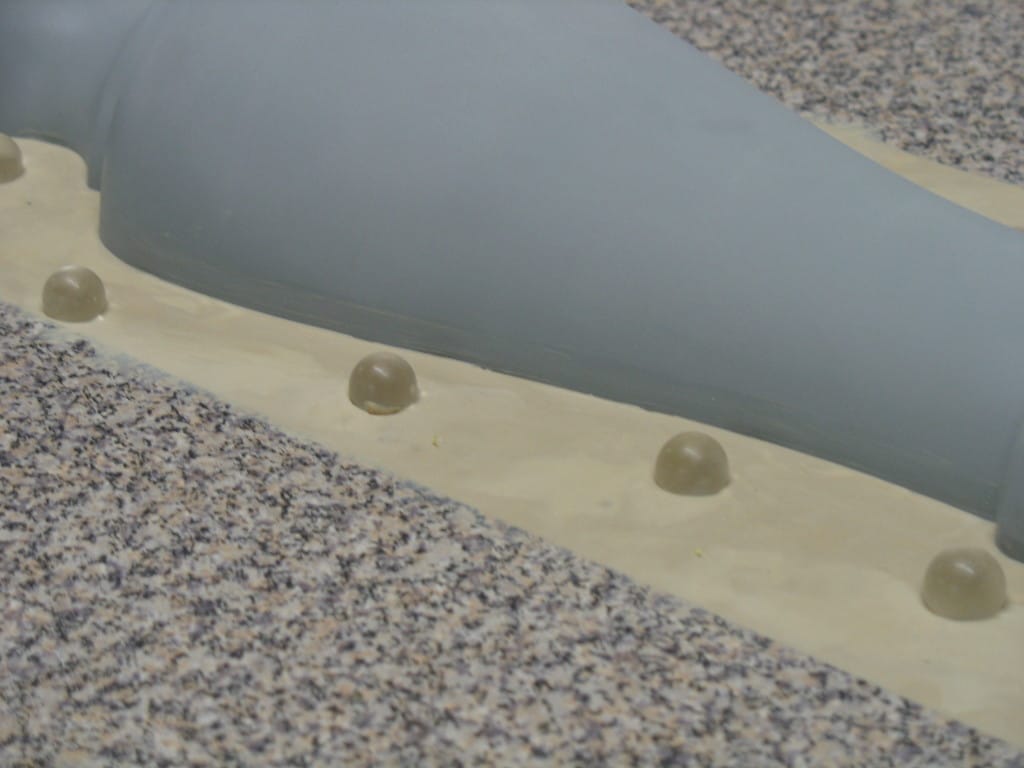
Apply and brush Pol-Ease® 2300 Release Agent onto the model, clay, and particle board:
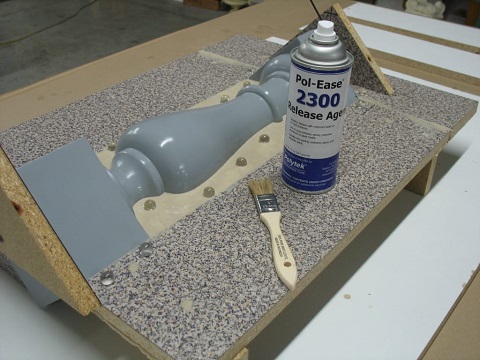
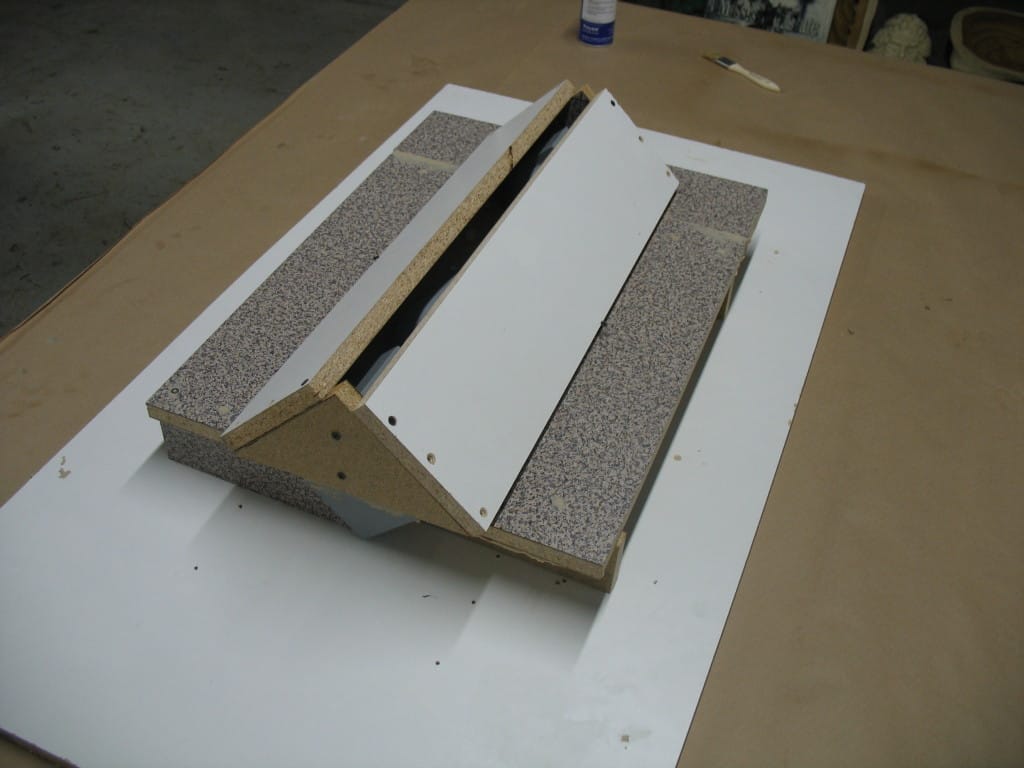
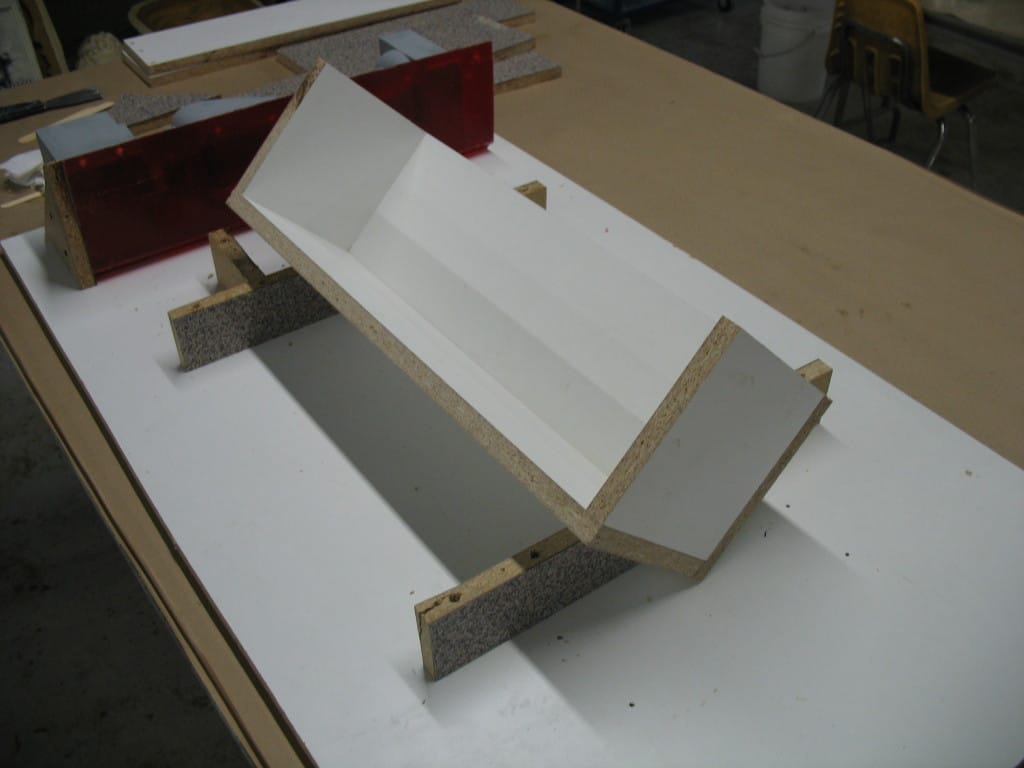
Secure the top particle board pieces:
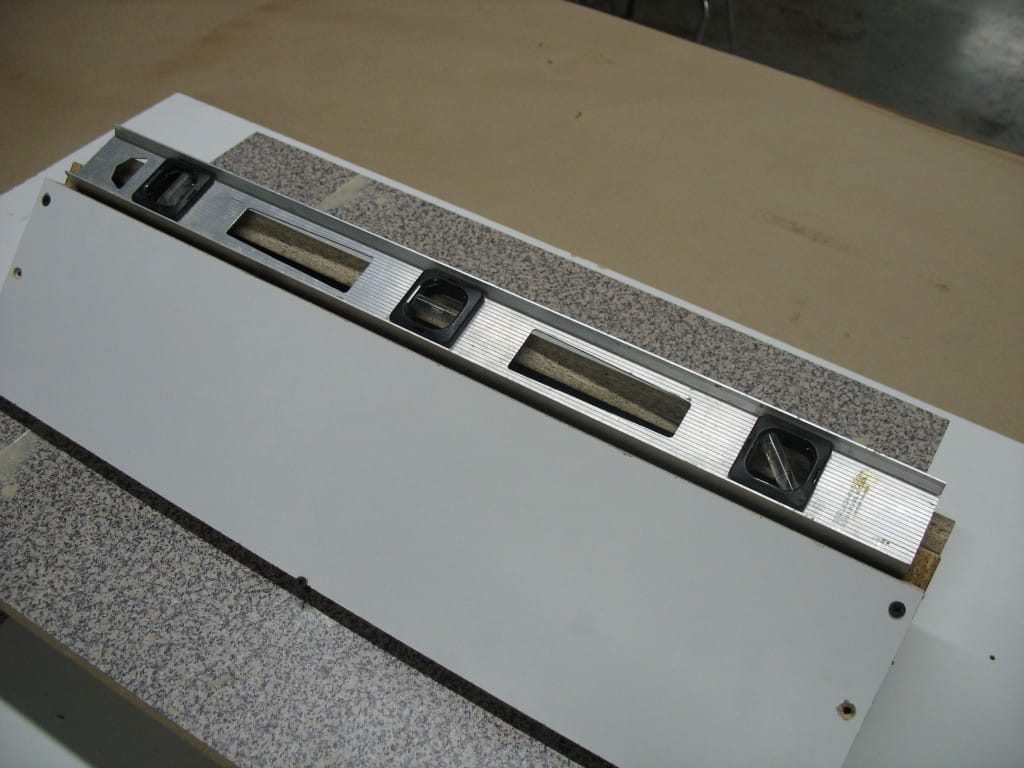
Ensure that the work space is level:
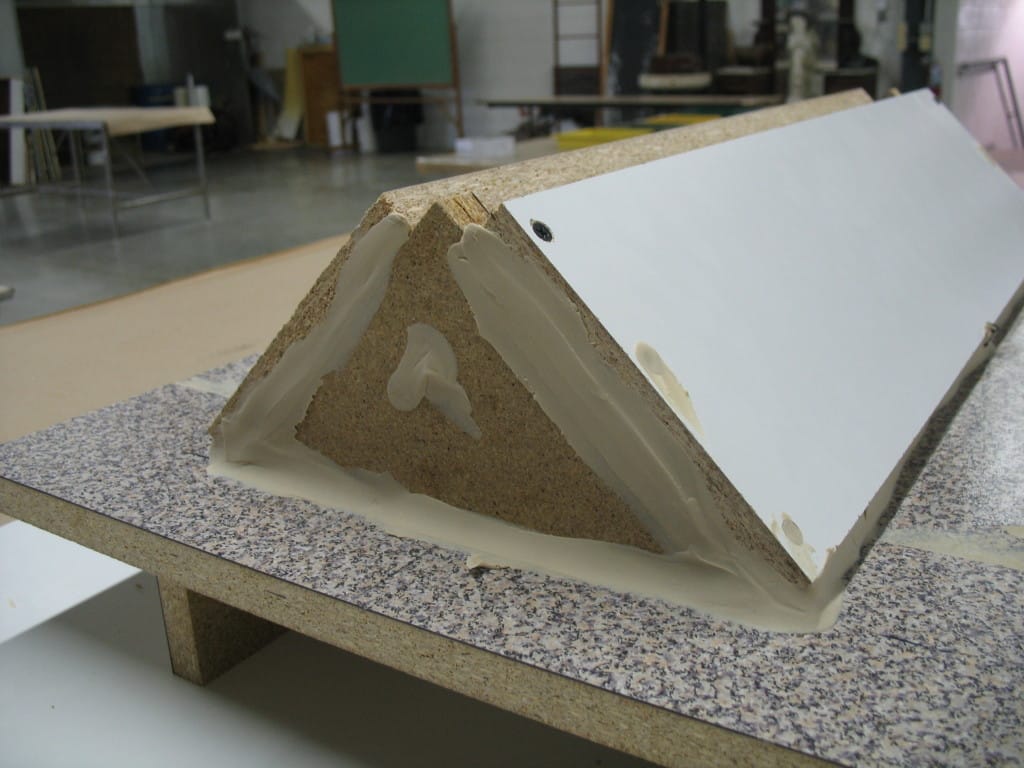
Seal all edges to prevent rubber from leaking:
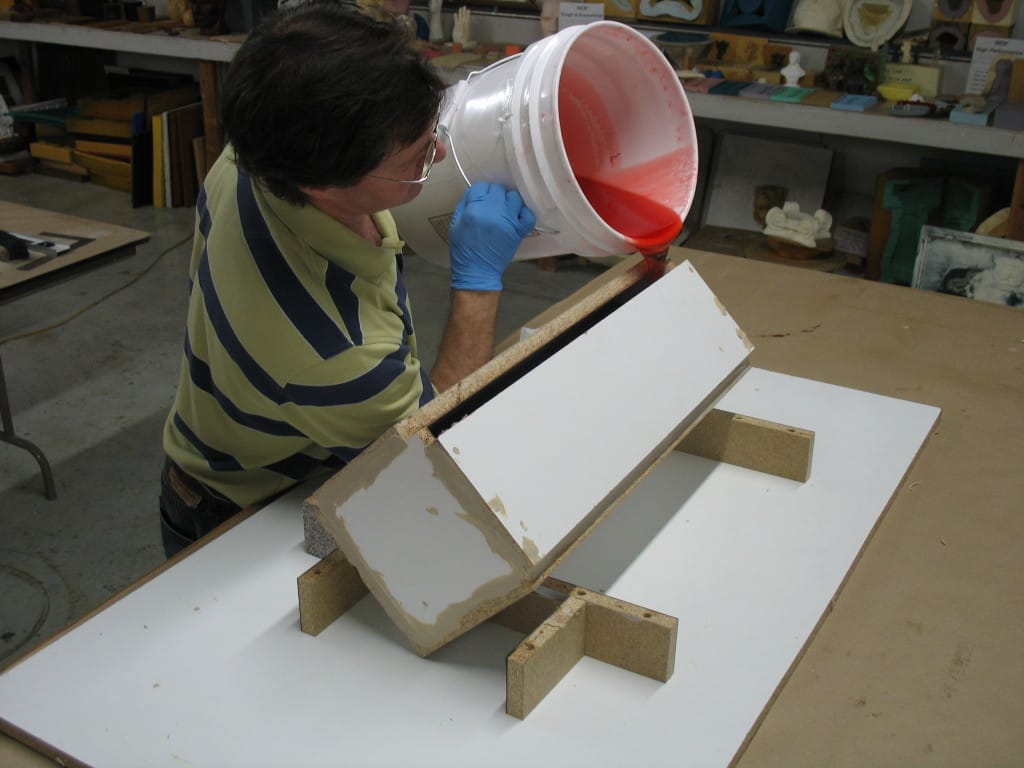
Mix and pour Poly 75-65 Polyurethane Rubber into the mold box.
Poly 75-65 has a mix ratio of 1A:1B, a pour time of 35 minutes, and a Shore Hardness of A65 (this hardness is comparable to the hardness of a car tire).
This rubber naturally cures to an amber color, but red PolyColor dye was added in this case:
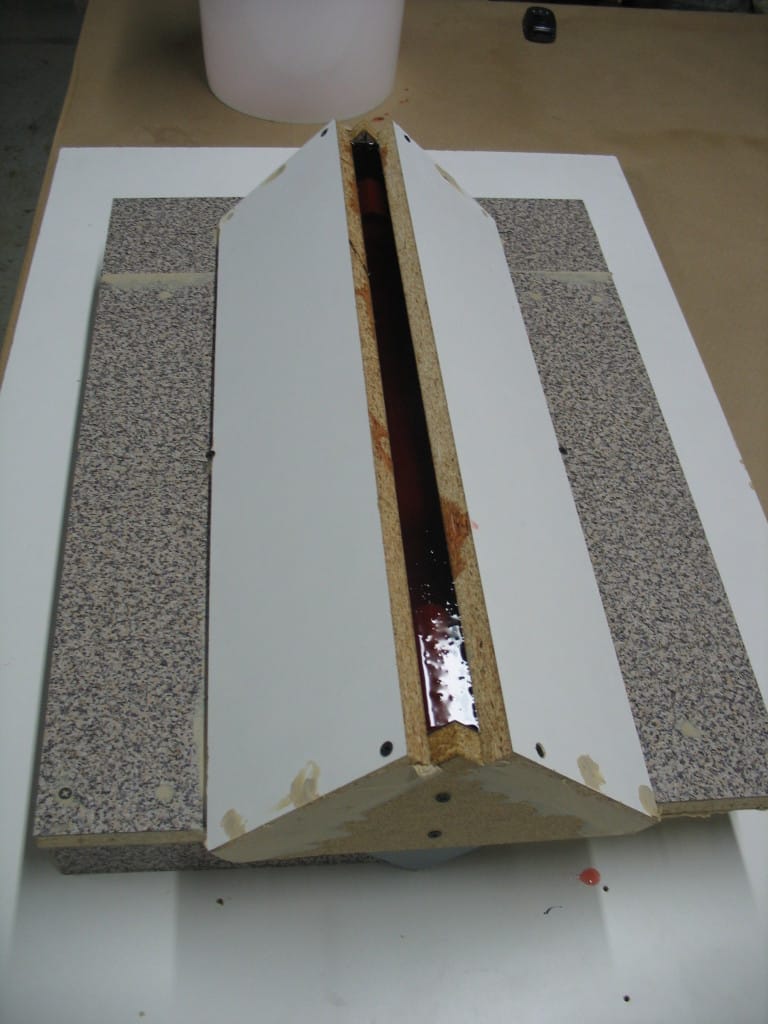
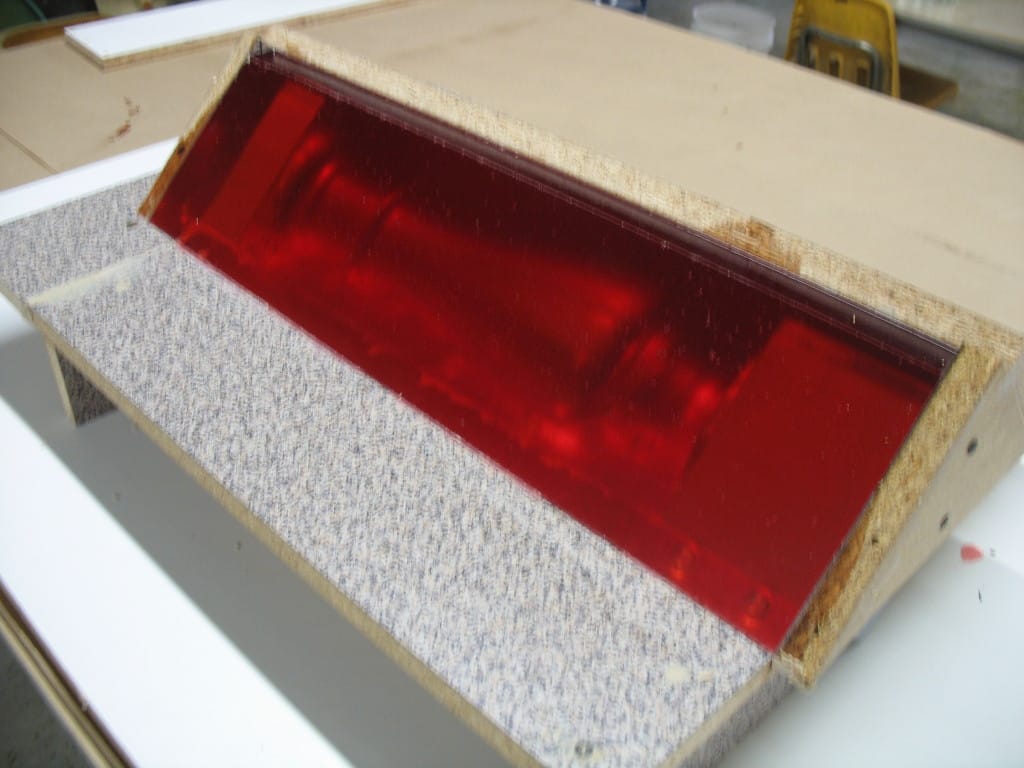
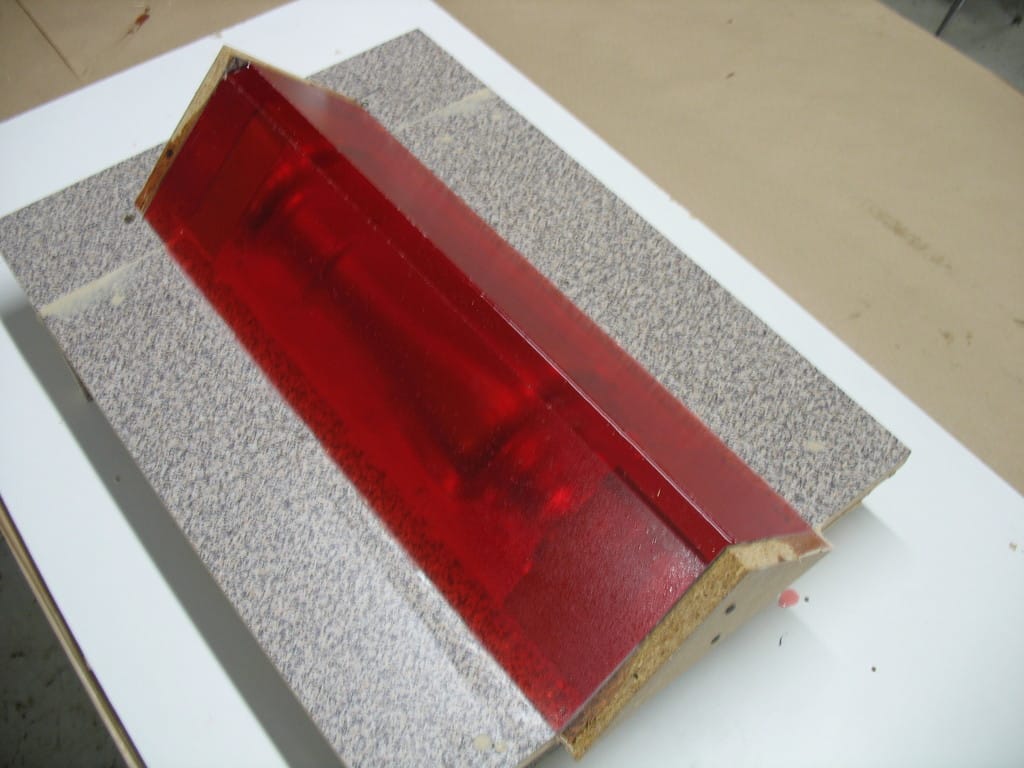
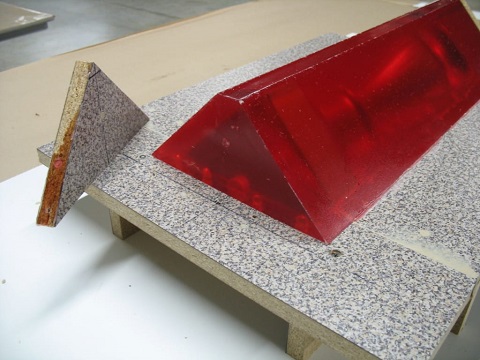
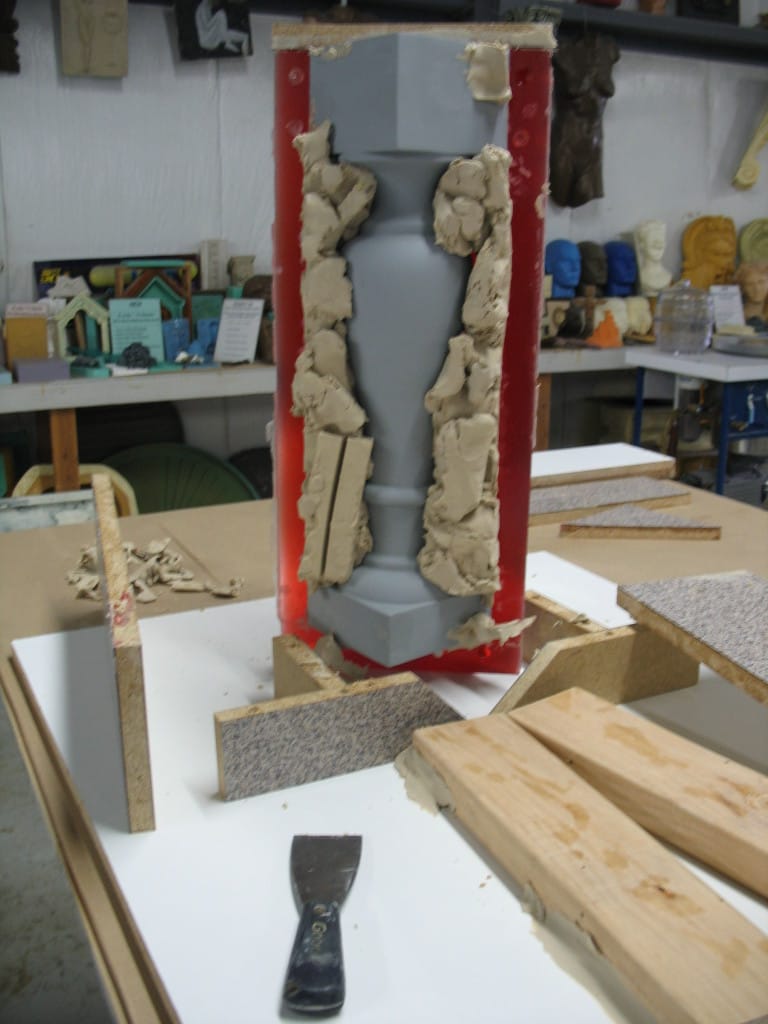
Allow Poly 75-65 to cure before demolding. This will take at least 24 hours.
—–
—–
—–
—–
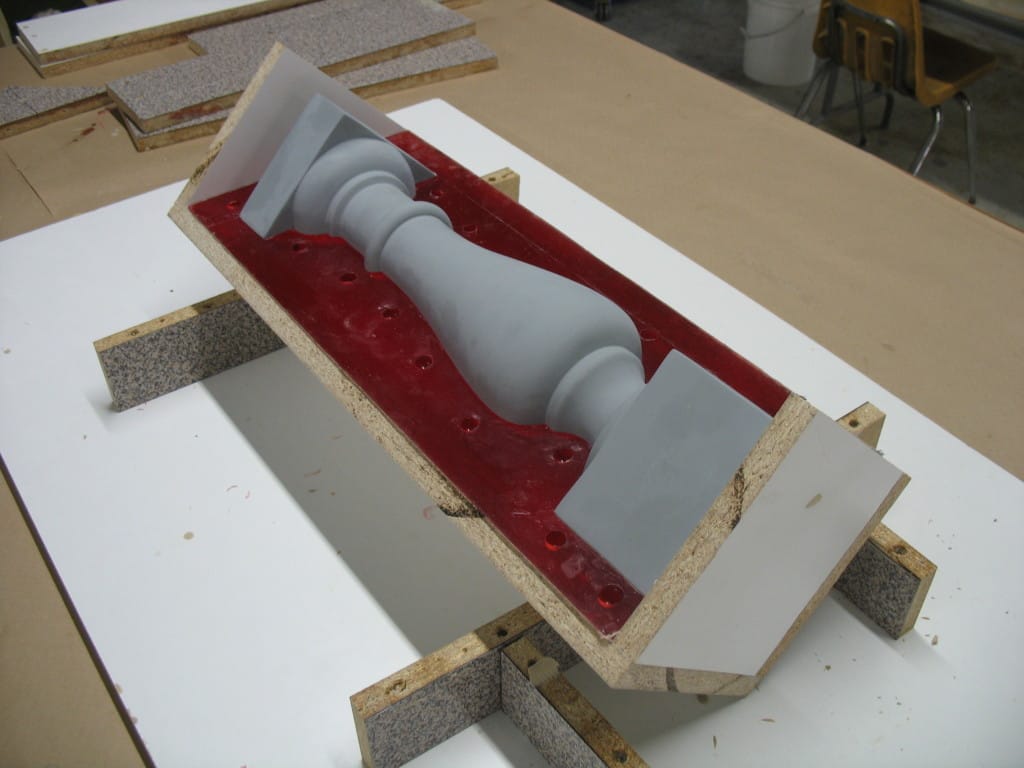
Remove clay and marbles then prepare to pour the second part of the mold:
—–
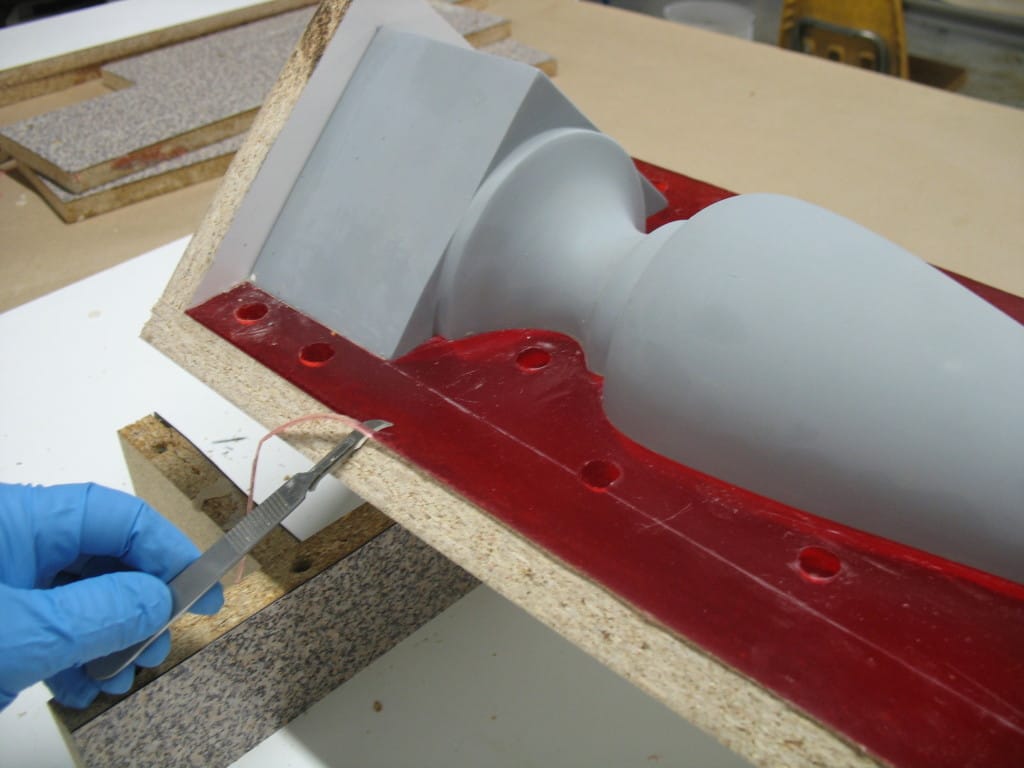
Trim excess rubber:
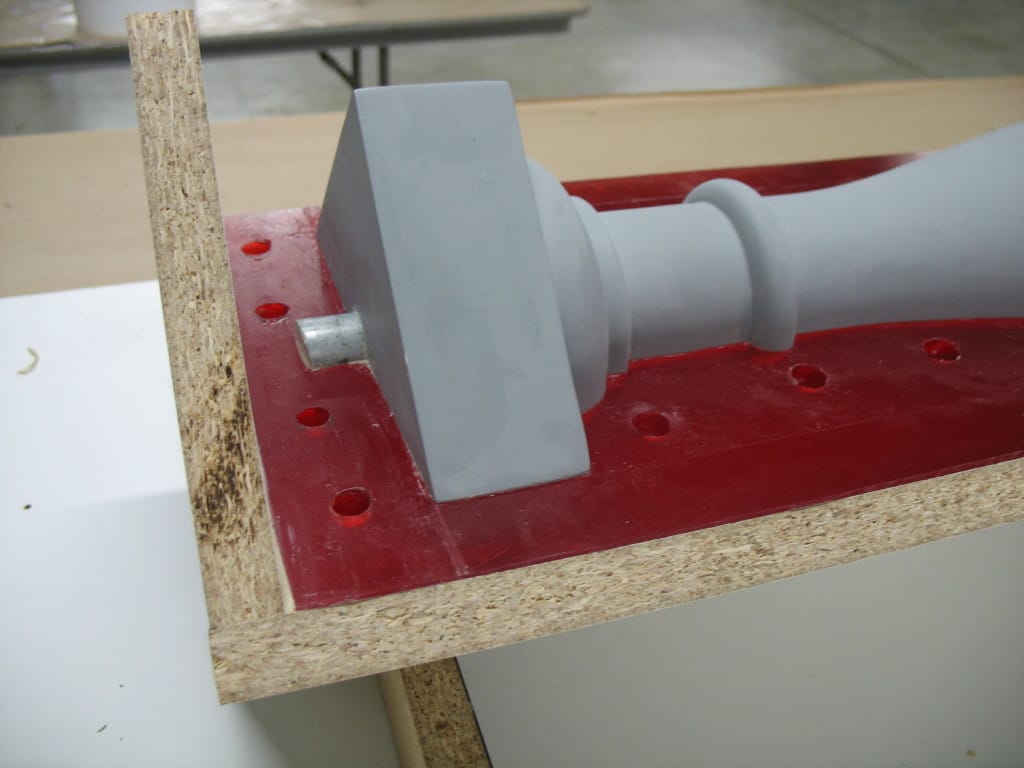
Insert metal pipe to create the second half of the structural metal rod:
—–
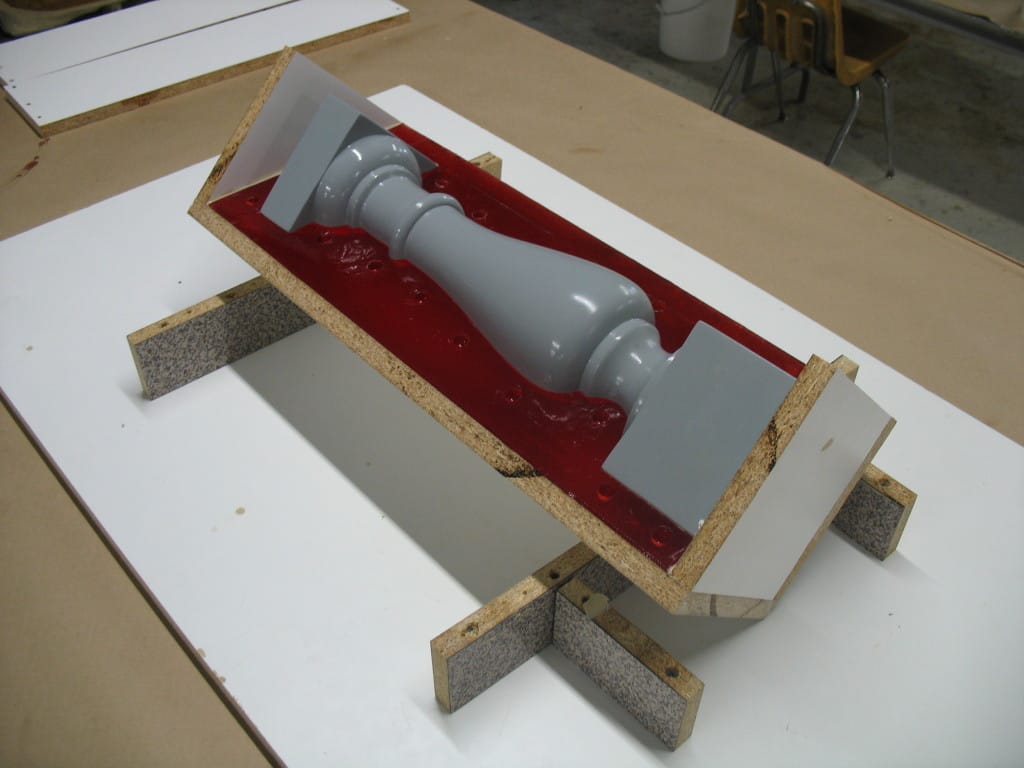
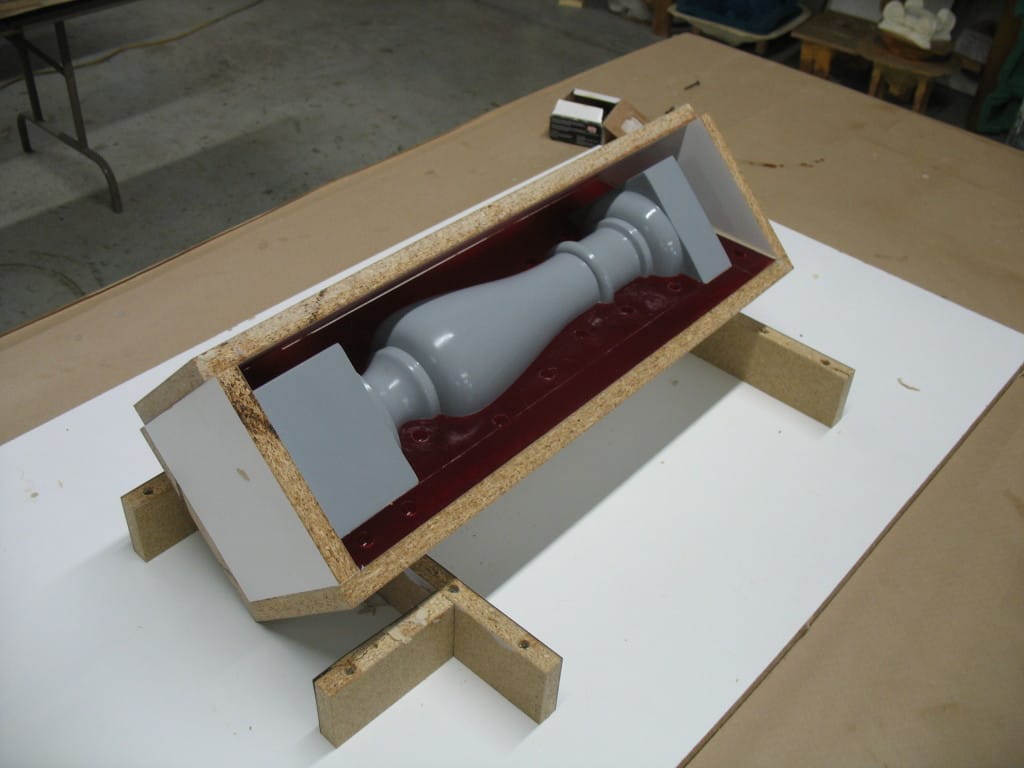
Before constructing the mold box, apply and brush Pol-Ease® 2300 Release Agent onto the model, first half of the mold, and particle board:
—–
—–
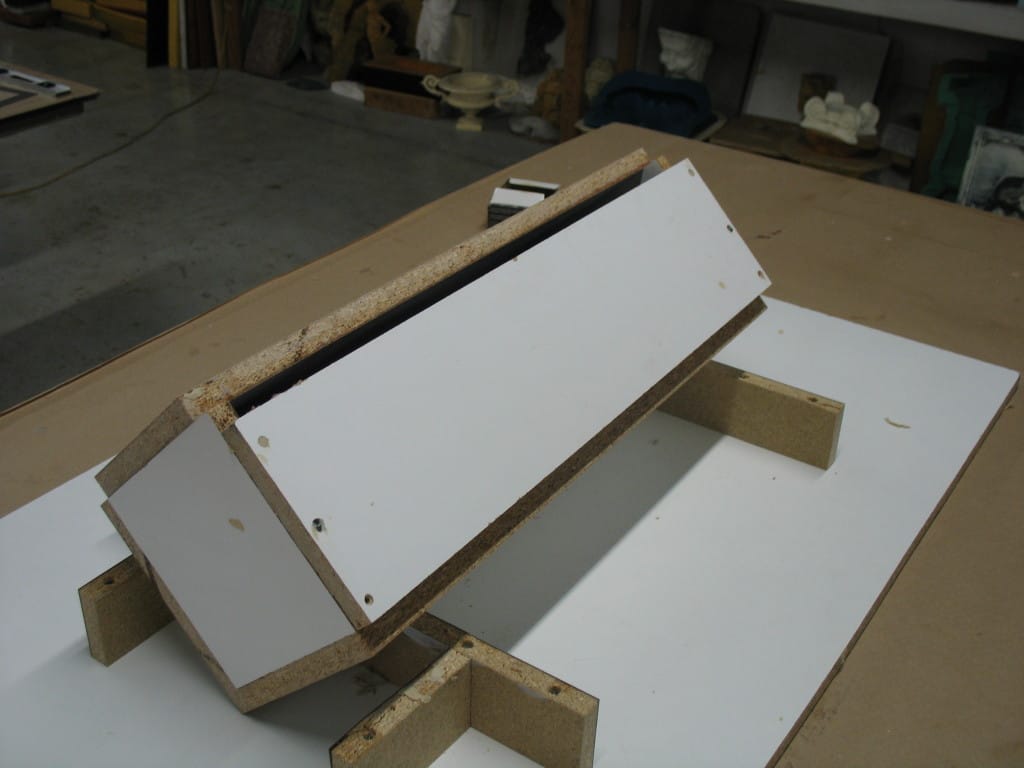
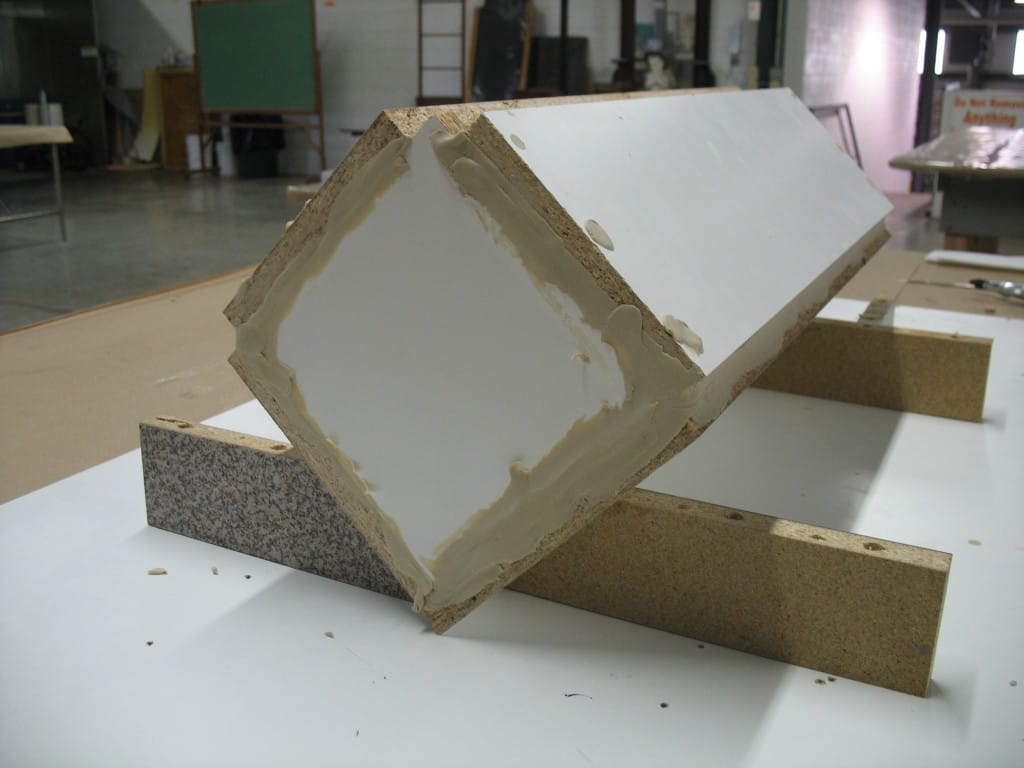
Construct the mold box and seal the edges with clay:
Mix and pour Poly 75-65 to create the second half of the mold:
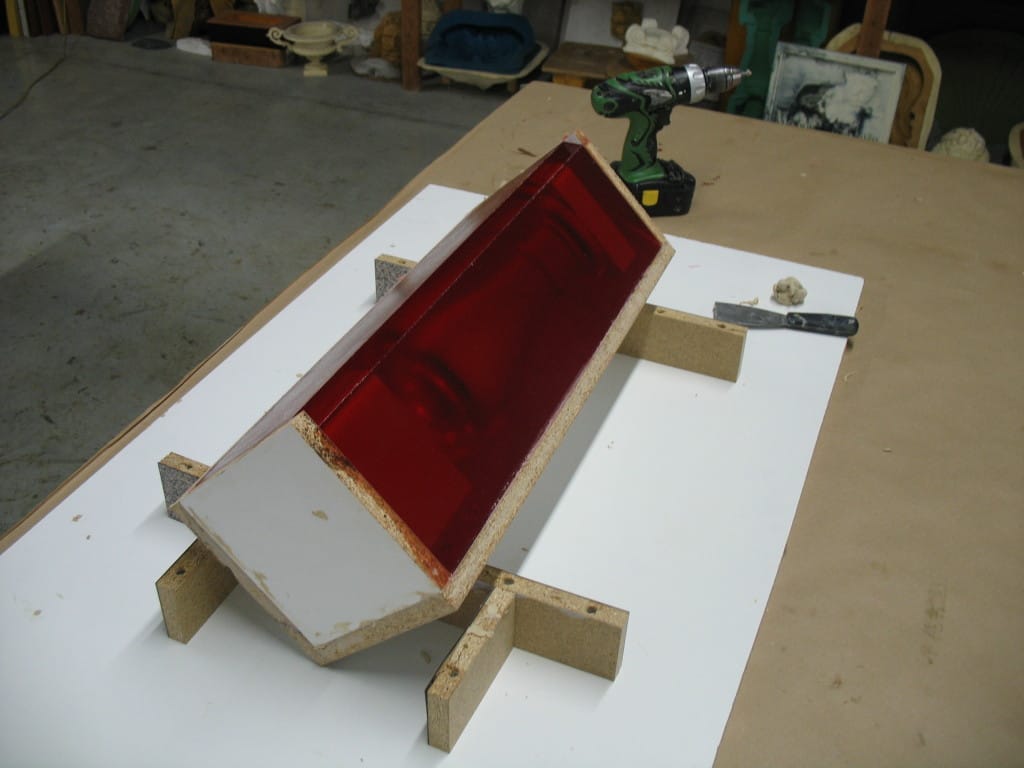
Allow the second part of the mold to cure before demolding (at least 24 hours).
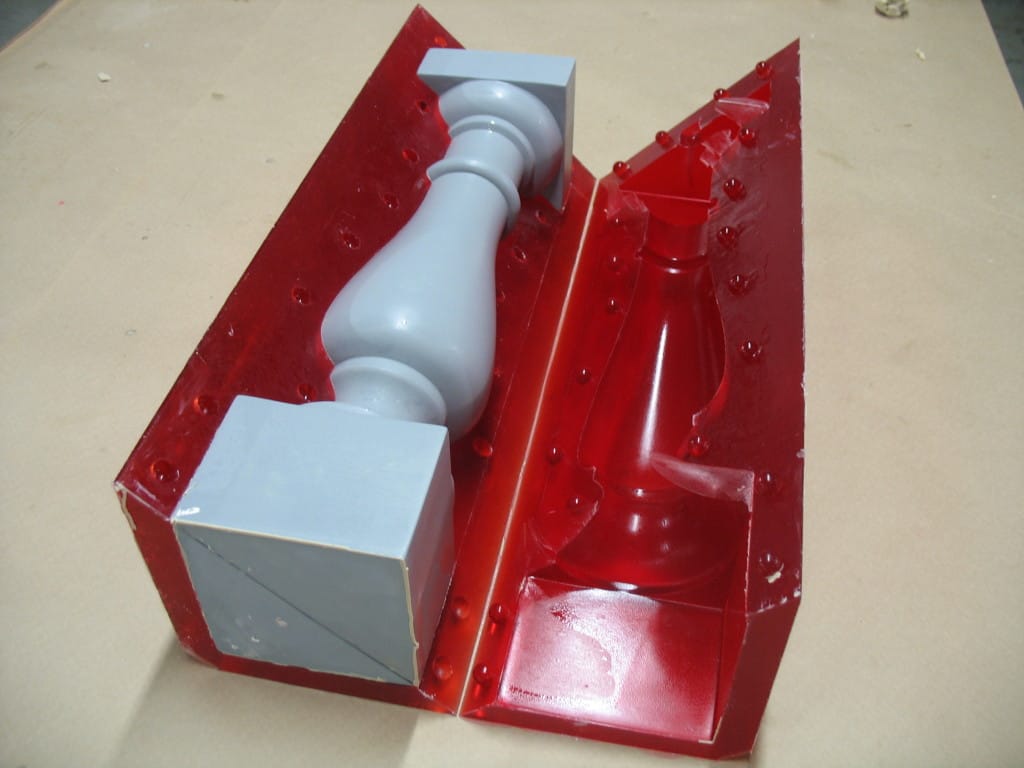
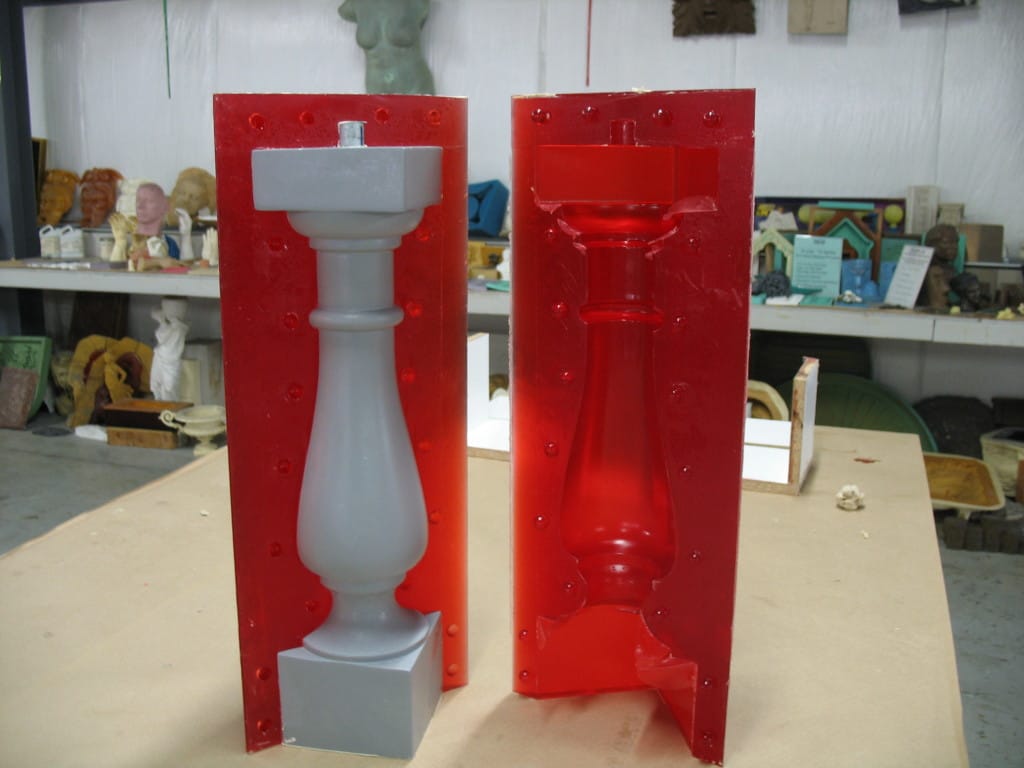
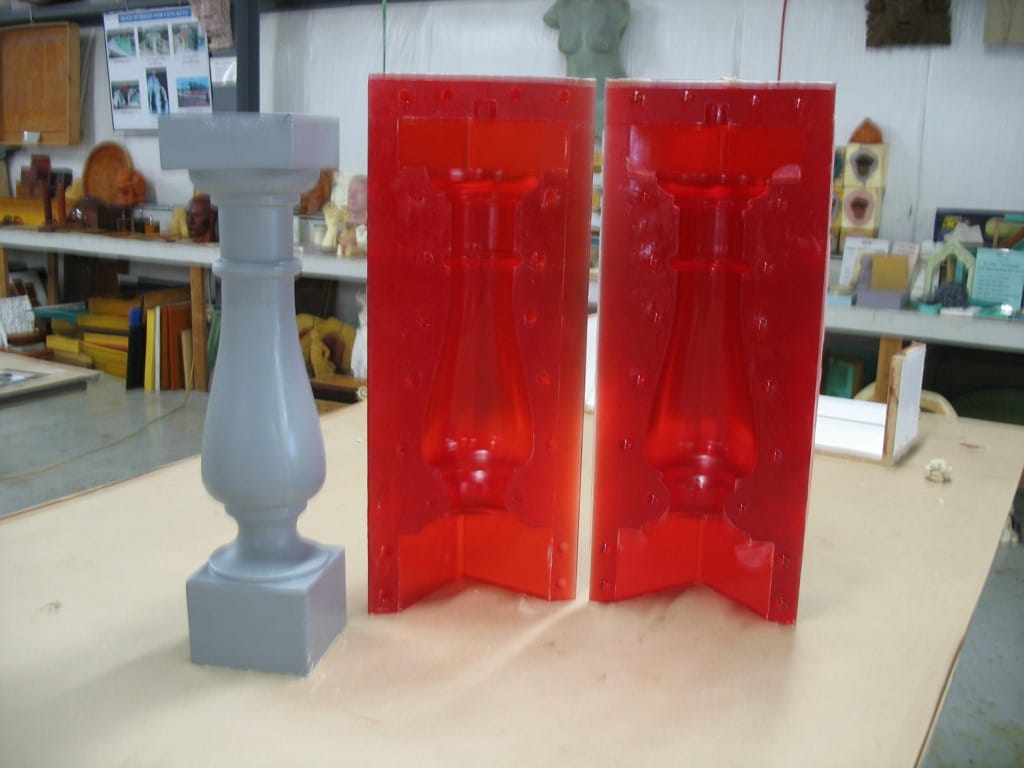
—–
—–
—–
—–
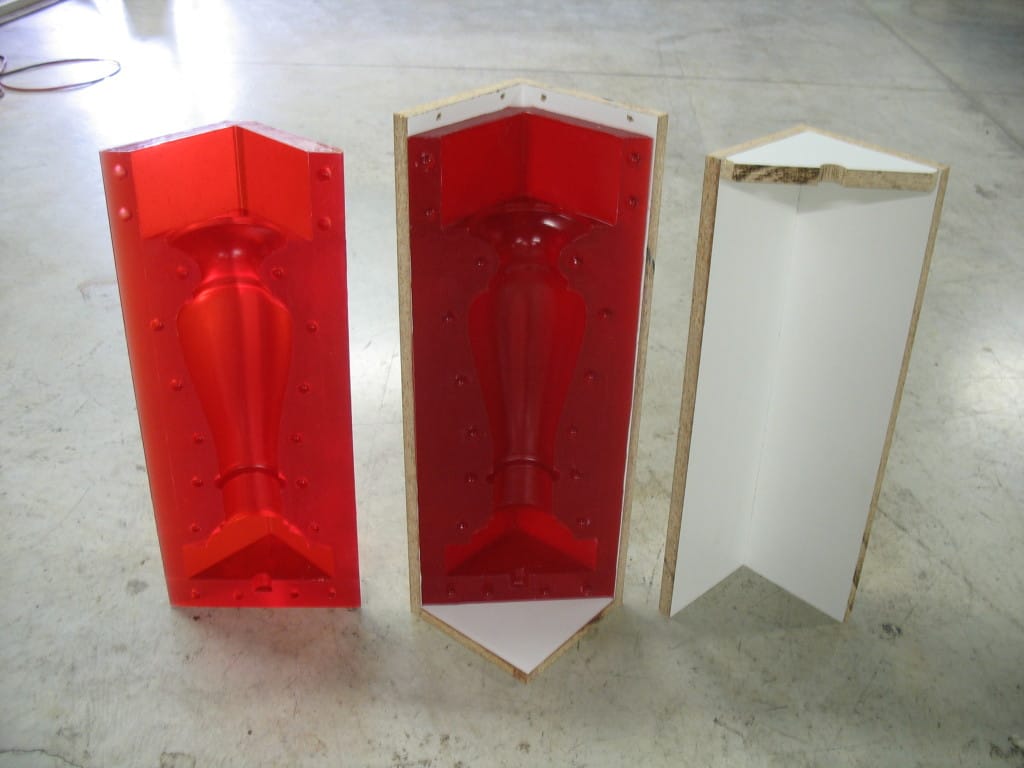
Casting material, such as concrete, polyurethane plastic, foam, or rubber can be poured into the top of the mold as pictured below:
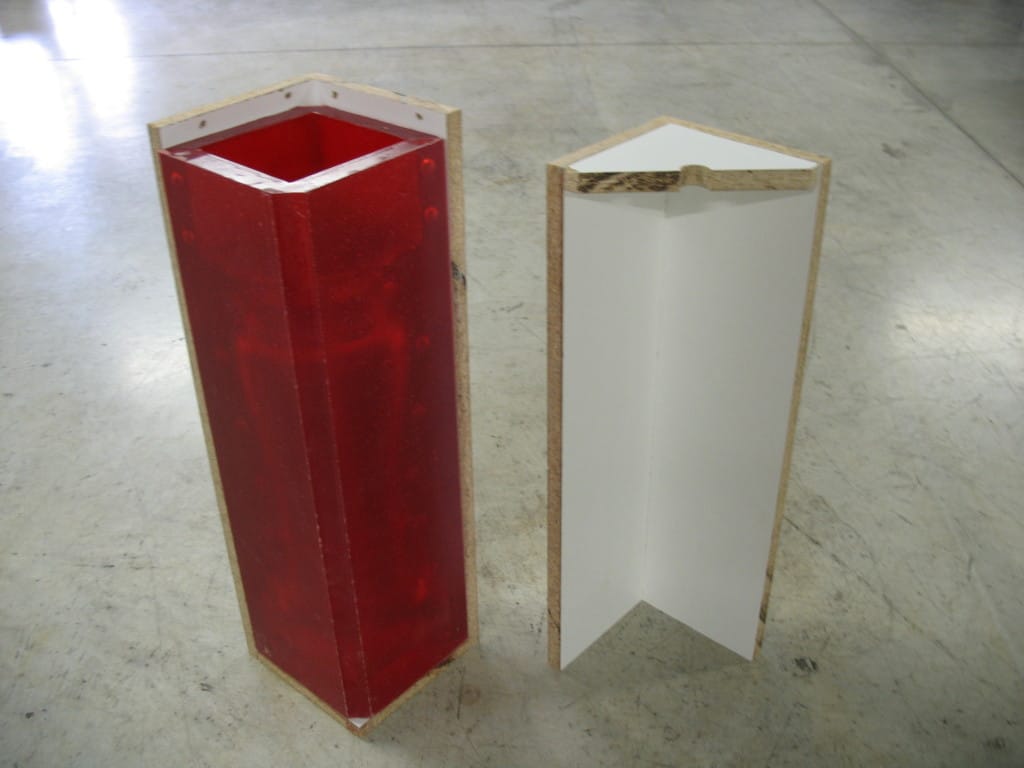
When casting, surround the mold with a mold box for added stability:
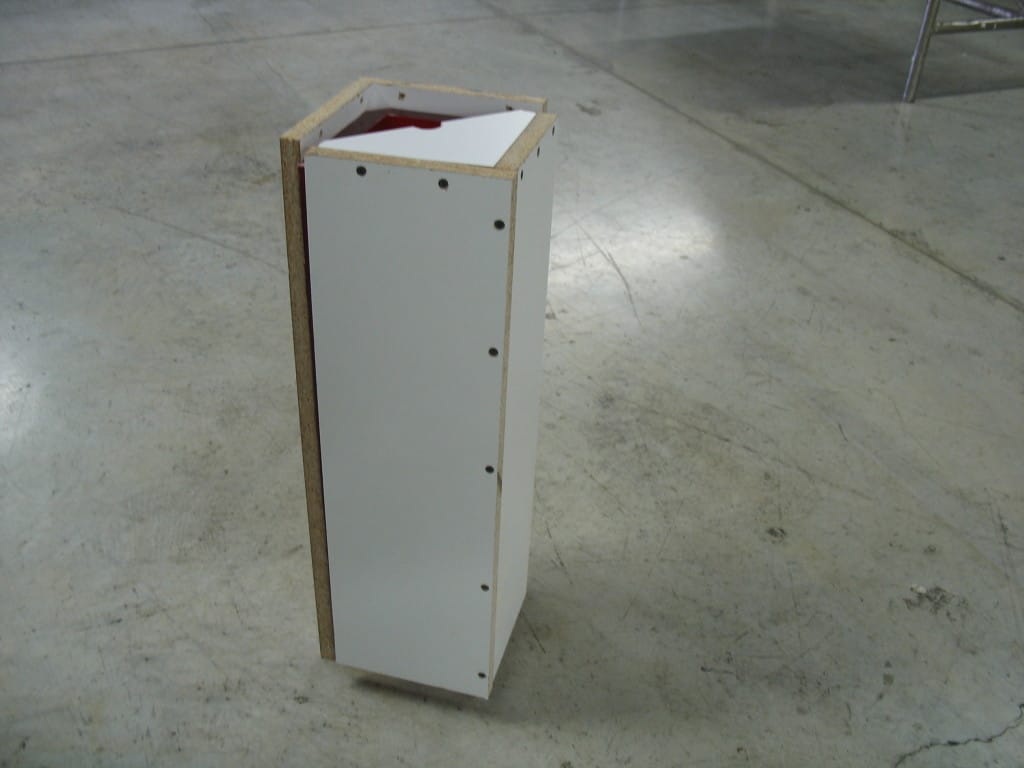
The structural metal rod discussed earlier is inserted and stabilized prior to casting. One end is placed into the space created for it at the bottom of mold while the other end is stabilized by a hole in the mold box (pictured below):
