How to Make Wood-Textured Concrete Stools
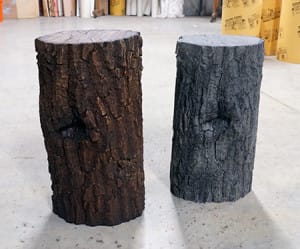
The following tutorial details the process of making a polyurethane rubber mold of a log that will be used to cast concrete stools.
A list of supplies and tools used for this project are provided at the end.
The Process:
Step 1: Prepare the Original Model
Step 2: Construct a Containment
Area
Step 3: Measure, Mix & Pour FormRub 35 Liquid Rubber
Step
4: Demold & Cut the Mold
Step 5: Cast Concrete
Step 1: Prepare the Original Model
Preparation of the original model is a very important step in the mold making process. Improper preparation can lead to the rubber bonding to the model or improper cure of the rubber.
For porous models that are brought in from the outdoors, it’s important to allow them to fully dry as moisture can affect the cure of polyurethane rubbers.
Porous models, such as this log (below), must be thoroughly sealed to prevent rubber from penetrating the pores and becoming stuck. Many sealers can be purchased through local home improvement stores while others are available directly from Polytek.
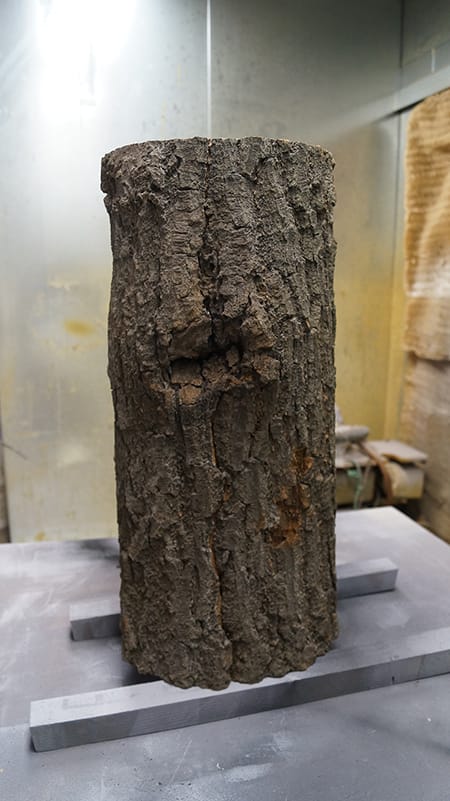
In some cases, a couple of layers of primer spray paint will be enough to seal the model; however, this log is extremely textured and porous, so we decide to paint on a layer of paint by hand. Brushing on the paint allowed us to “push it” into the texture better and seal the surface more thoroughly.
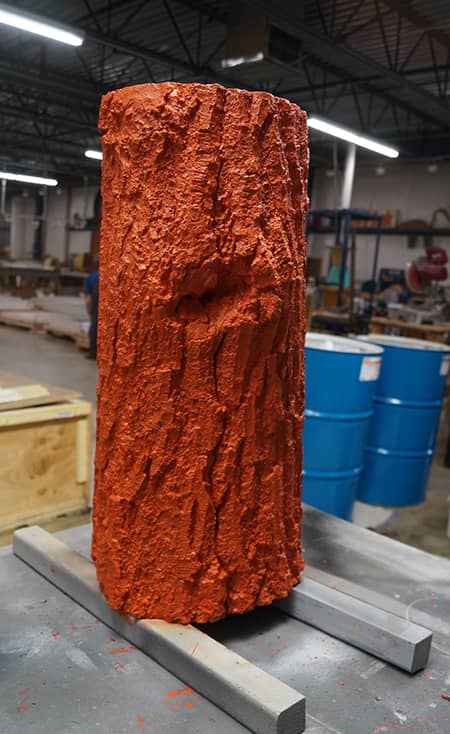
Once the model is thoroughly painted, a release agent must be applied. Again, since this log is extremely prous and the bark texture is very deep, we decided to use PolyCoat. PolyCoat is a silicone-based, semi-permanent sealer and release agent.
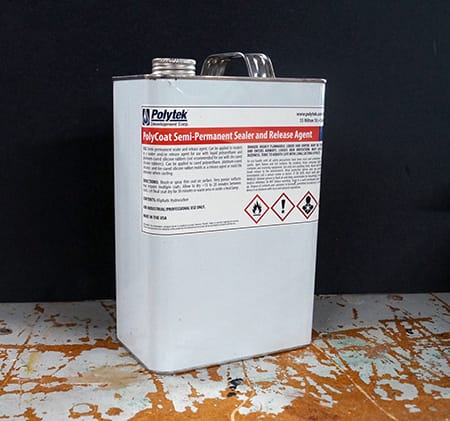
The log is turned onto its side to help prevent runoff and allow the PolyCoat to fully penetrate the irregular surface. In total, four layers of PolyCoat are applied.
PolyCoat should be allowed to cure in between application of each layer and the final layer should be allowed to cure before application of any liquid rubber.

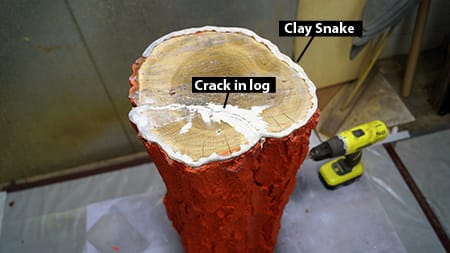
When the PolyCoat has cured, a large crack in the bottom of the log is filled with warmed plasticine clay to help prevent rubber from seeping into it (the side of the log pictured below will be the bottom of the finished concrete stool.) A clay “snake” (i.e., clay that has been rolled out into a long, thin strip) is also placed around the outside edge of the bottom of the log to act as a gasket when the log is mounted onto the baseboard.
Step 2: Construct a Containment Area (a.k.a. Mold “Box”)
The log is about 12″ in diameter, so we manufacture a plywood baseboard with a 14″-diameter recess. A 14″-diameter cardboard concrete tube (e.g., Quik-Tube® or SonoTube®) will fit snugly into the recess and will act as the containment area. The recess is only about 1/2″ deep, but it will help to keep the tube stable when the mold rubber is poured.
A 14″-diameter tube is selected so that the mold walls will be about 1″ thick.
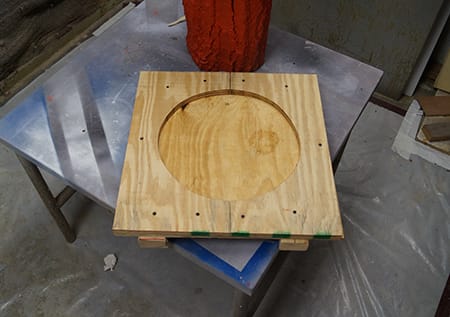
The baseboard is placed onto the bottom of the stool and secured with screws. It is important to make sure that the work surface and log are level throughout this process.
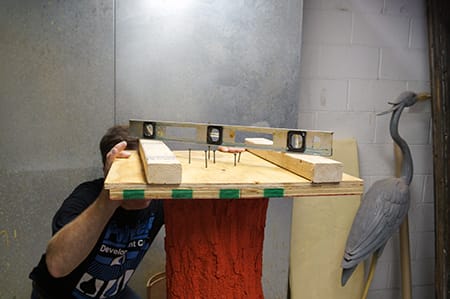
Vent holes are made in the baseboard so that air in the model may escape. Without vent holes, this air may become trapped in the rubber.
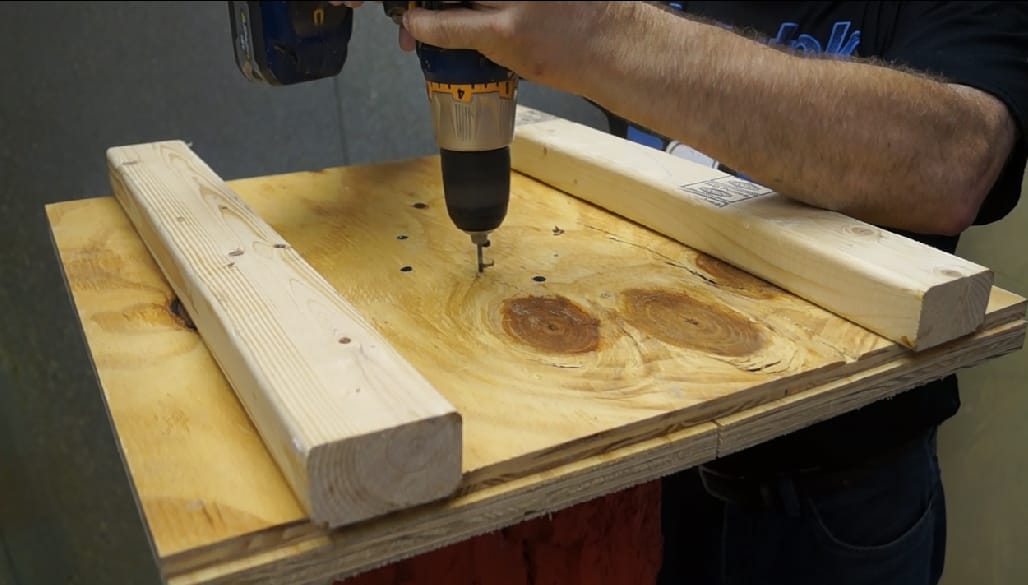
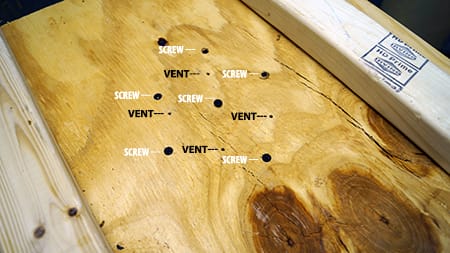
The edges of the log are sealed with plasticine clay to help prevent rubber from seeping beneath the log. The mold rubber will pick up the clay texture, so the clay is flattened/smoothed out as best as possible.

Clay is also placed around the edge of the recess to help prevent rubber from leaking outside of the containment tube.

A cut is made down one side of the tube; this will make the demolding process easier, but will also weaken the tube.
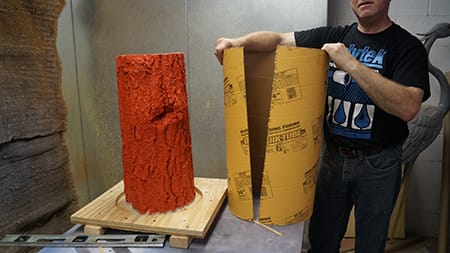
Before placing the tube around the log, we tape the inside and outside of the cut.
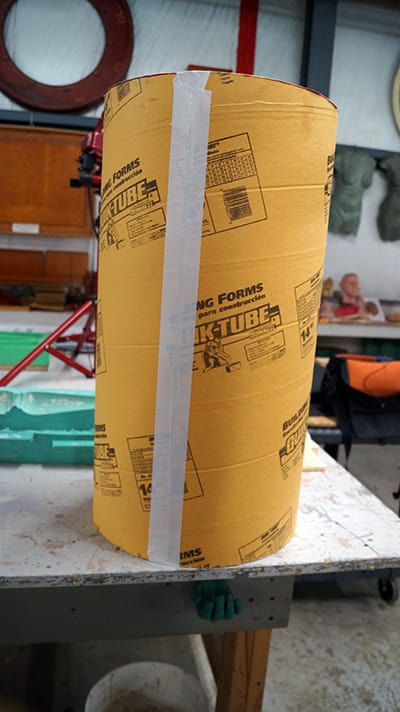
Vaseline is then applied to the entire inside of the tube with a dry brush. The exterior side of the bottom of the tube is also coated just in case rubber leaks outside of the tube.
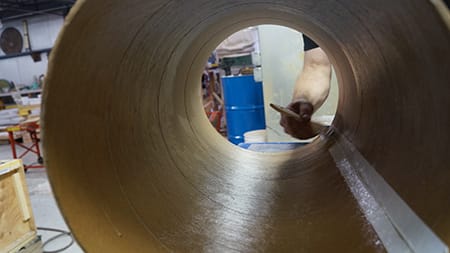
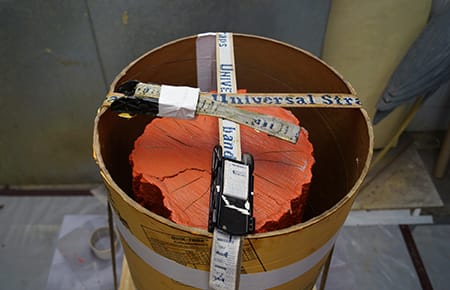
Tape is wrapped around the tube and then the tube is placed snugly into the recess. Mold straps are used to secure the tube and baseboard together.
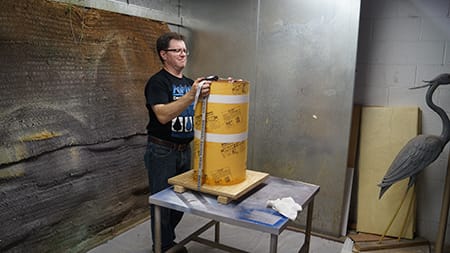
Step 3: Measure, Mix & Pour FormRub 35 Liquid Rubber
FormRub 35 Liquid Rubber is a two-part (Part A & Part B) polyurethane system that cures to a Shore A35 hardness.
Basic Specifications
Mix Ratio: 1A:1B
Initial Mixed Viscosity: 600 cP
Pour Time: 15
minutes
Demold Time: 16 hours
Cured Color: Turquoise

To determine how much rubber is needed to make this mold, we do the following calculation:
- Determine the volume (in³) of the containment area.
- Estimate the volume of the log and subtract it from the volume of the containment area.
- Take that result and divide by the specific volume of the mold rubber (the specific volume of FormRub 35 is 27.2 in³/lb).
- This final result is the amount of rubber, in pounds, needed to complete the mold.
This log mold requires approximately 65 lb of FormRub 35 Liquid Rubber.
FormRub Series rubbers can be mixed by weight or volume, but we highly recommend weighing on a digital scale.
Because these mixing pails only hold 40 lb of material, we mix three separate batches of rubber.
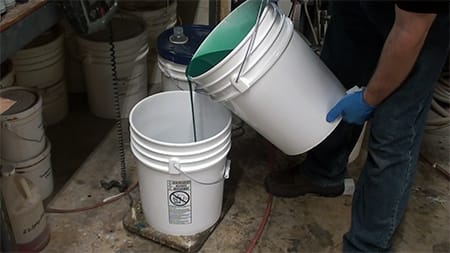
Part B is added to the mixing pail first because it is lower in viscosity and less likely to cling to the sides.
Part A is then weighed into the bucket.
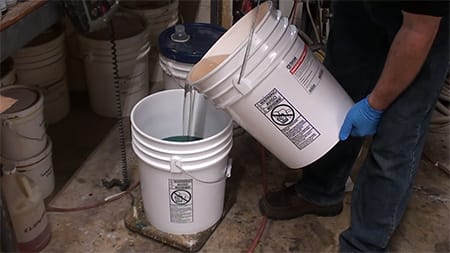
The components are thoroughly mixed. It’s important to scrape the sides and bottom of the bucket multiple times during the mixing process.
Keep the pour time of the product in mind when mixing. FormRub 35 has a pour time of 15 minutes, but this time varies from product to product.
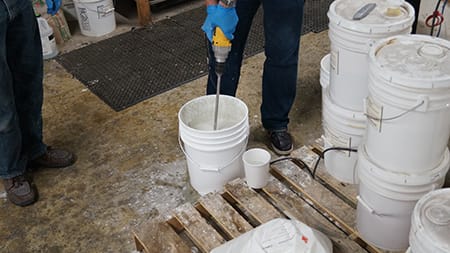
A Poly Paddle, used below, is a good tool for hand mixing.
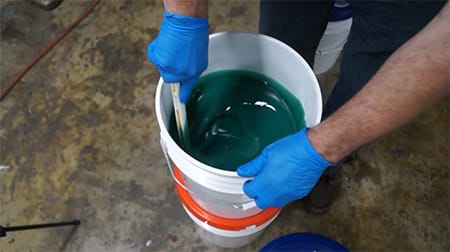
The rubber is poured into one side of the mold. We continue to pour the rubber into the same spot and allow it to rise.
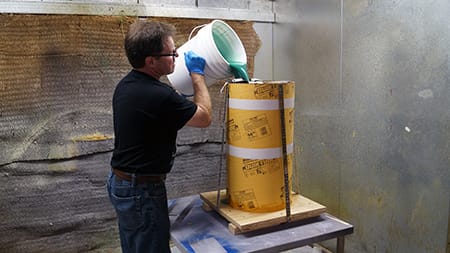
When working with multiple batches, pour the next batch as soon after pouring the previous batch as possible.

Generally, mold rubber should be poured to at least 1/2″ above the top of the model. For this mold, we pour the rubber about 1″ over the top of the log.
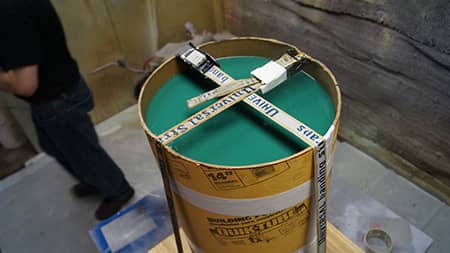
FormRub 35 can be demolded after 16 hours at room temperature.
Step 4: Demold & Cut the Mold
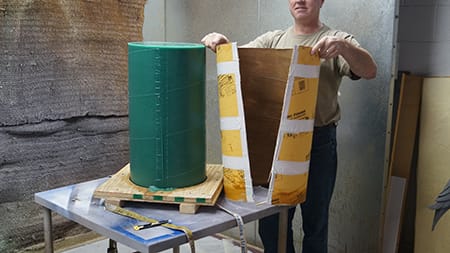
The tape that covers the cut in the tube is cut and then the tube is removed from the mold.
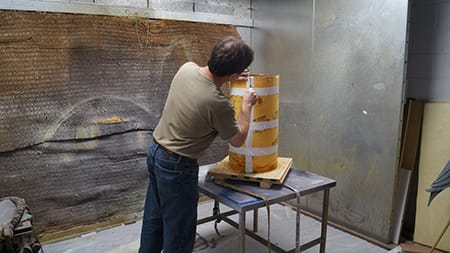
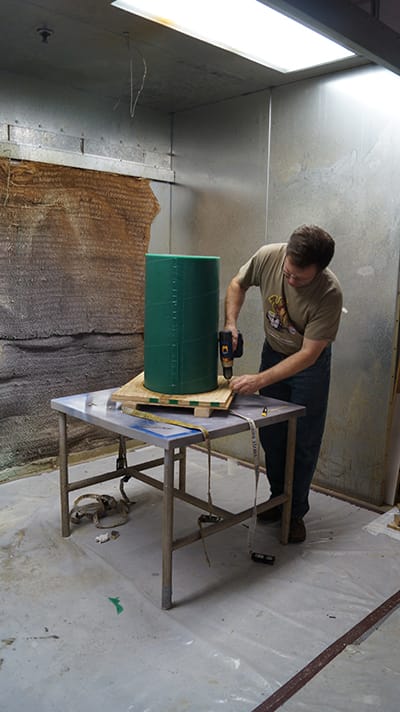
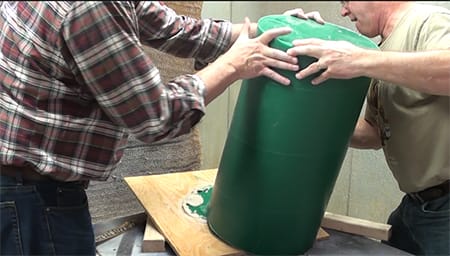
The screws are removed from the baseboard and the edges of the mold are loosened with a flat tool (e.g., putty knife). The mold is then turned over (this may require two people) so that the bottom of the log is exposed.
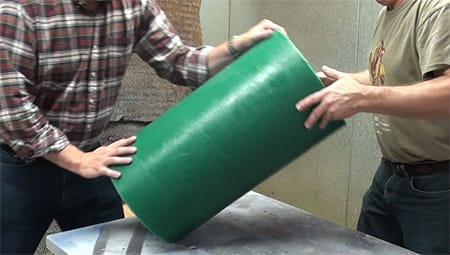
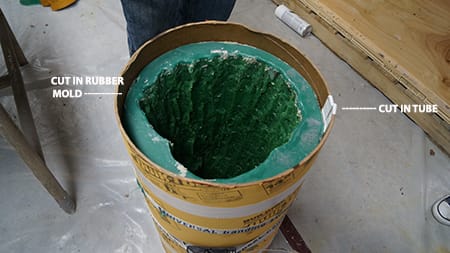
A cut will be made down one side of the mold to remove the log and subsequent castings. A sharp scalpel or blade is a good tool for cutting soft, polyurethane rubbers.
It can be helpful to have a second person pry open the cut; this gives a better view of where the model is. The location of the cut of this mold is not incredibly important because a seam line in the final casting is well-disguised in the deep textures of original model. Seam lines can be more noticeable depending on the shape and texture and original model, so cutting the mold along an existing line in the model is important in those instances.
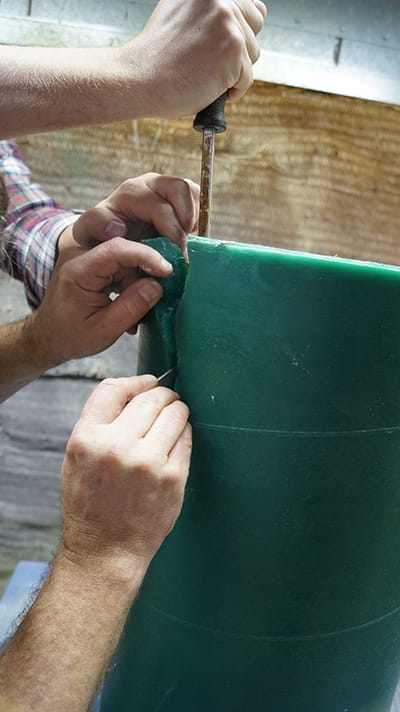
Cutting in a zigzag pattern (compared to a straight cut) is helpful for realignment of the mold when casting.
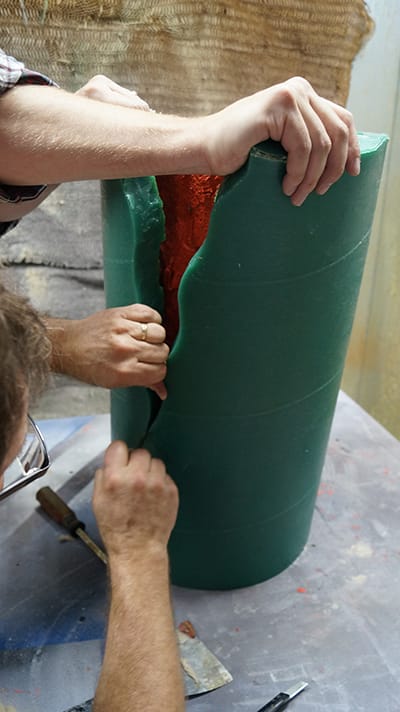
If rubber has seeped into any deep knots in the log, it can usually be cut away easily with a scalpel.
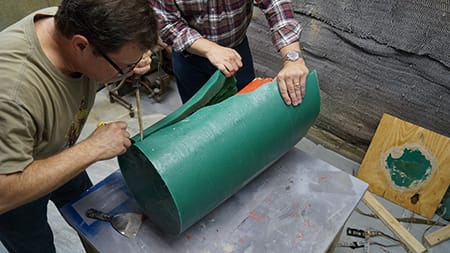
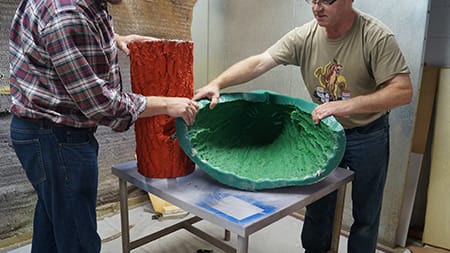
While one person holds the mold apart, a second person removes the log.
Step 5: Cast Concrete
To cast concrete, the tube is placed back around the mold and secured with a mold strap; this will help to prevent deformation of the mold from the weight of the concrete. It is situated so that the cut in the tube is on the opposite side of the location of the cut in the rubber mold. This will provide more stability during the casting process.
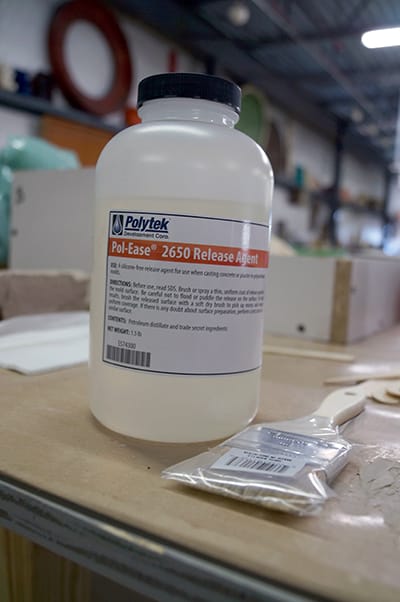
The mold is coated with Pol-Ease® 2650 Release Agent. Pol-Ease 2650 is a silicone-free, oil-based release agent that does not require any drying time before casting concrete. There are a number of other concrete release agents that are suitable for use with polyurethane mold rubbers.
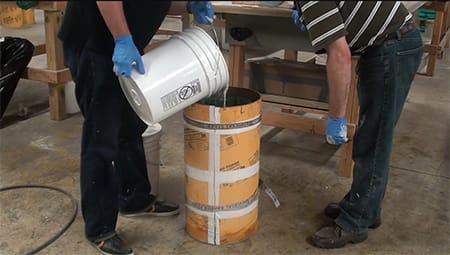
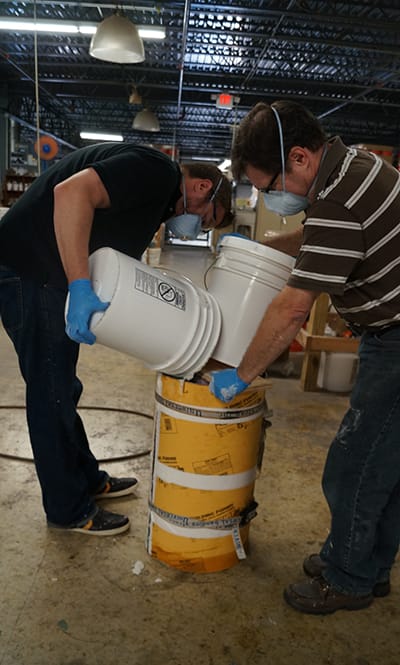
The concrete is mixed and poured into the mold.
To reduce the weight of the finished stool, a small amount of concrete is poured into the mold and then a 6″-diameter foam plug is inserted.
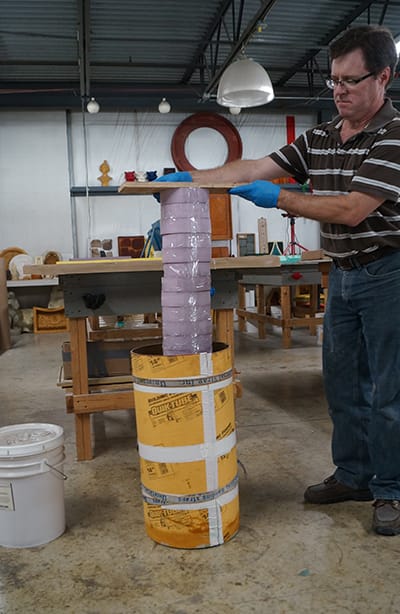
A weighted pail is placed on top of the foam insert so it doesn’t float and then the remainder of the concrete is poured into the mold.
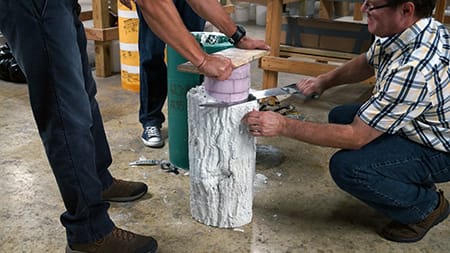
Once cured, the concrete is removed from the mold.
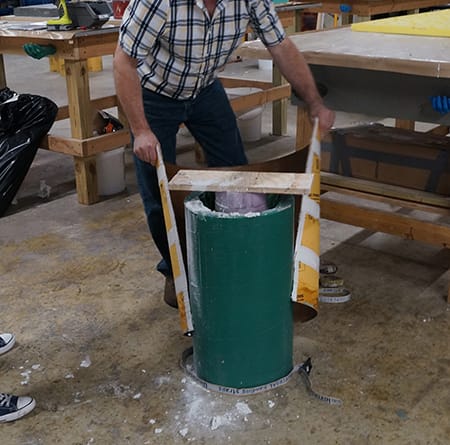
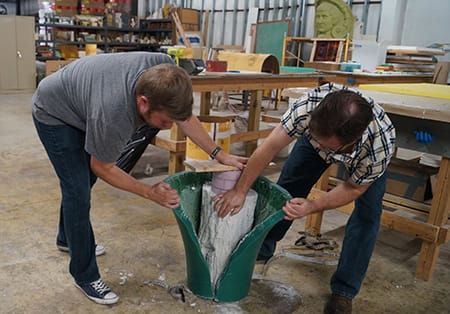
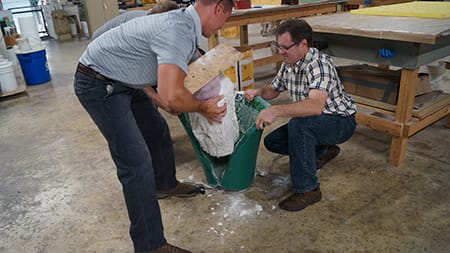
Excess foam is trimmed from the insert.
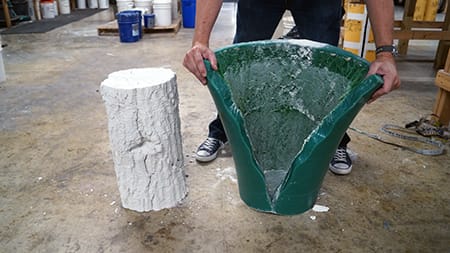
If desired, the concrete can be stained.
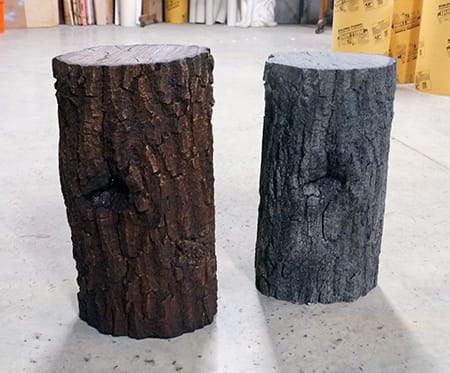


When properly taken care of, this mold can be used to cast hundreds of concrete stools.
Supplies and tools used for this project:
- Original Log Model
- FormRub 35 Liquid Rubber
- PolyCoat Sealer & Release Agent
- Pol-Ease® 2650 Release Agent
- Primer Paint
- Baseboard
- Cardboard Concrete Tube
- Plasticine Clay
- Mixing Containers & Mixing Tools
- Dry Brushes
- Tape
- Mold Straps
- Wood Screws
- Drill
- Digital Scale
- Utility Knife
- Scalpel or Sharp Blade
- Prying Tool
- Concrete Supplies
Would you like to speak with Polytek Technical Support about your concrete casting project?
Call us at 800.858.5990.
Email us at sales@polytek.com.
