Concrete Casting: Hardscape Rubber Mold Design
Mold design has a great impact on production efficiency and product quality. The following rubber mold designs are options for single-cavity wet cast pavers.
NOTE: This article covers basic mold design; the shape and size of the original paver will affect mold design and mold rubber selection. For further assistance, please reach out to the Polytek Technical Support Team.
DESIGN #1
Block Mold on Simple Bottom Board
This design features mold side walls that are cast thicker in order to hold their shape when filled with concrete. Because of the thickness of the walls, there is no need to place a rigid mold box around the mold when casting.
This mold design is simple to construct and offers great stability; it is a good option for use in automated wet cast manufacturing.
Generally, these molds are more expensive to manufacture as they require more rubber compared to other designs.
The design:

Examples are pictured below:
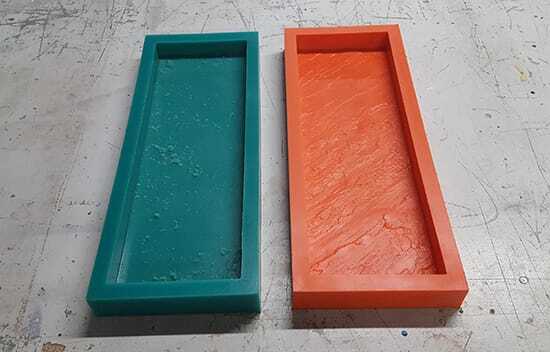
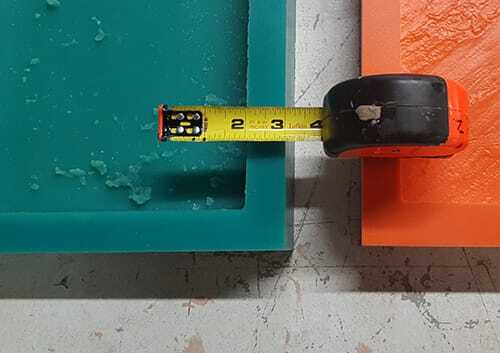
To learn the basics of making a paver block mold, refer to this tutorial.
DESIGN #2
Blanket Mold in a Mold Box
Generally, the term “blanket mold” refers to molds that are thin (resembling a blanket placed over the model). To learn about the basics of blanket molds, Read Rubber Blanket Article
In this case, the mold box is placed around the rubber mold when casting; this is what allows the mold walls to be thin.
The downside to this method is that concrete and other debris may fall between the box and the mold which can cause distortion and quality issues.
This mold design is easy to construct and requires less rubber than the previous block mold option, but the sides may be unstable.
In general, this design is not very favorable for automated or manual wet cast operation.
The Design:

An example is pictured below (without the mold box):
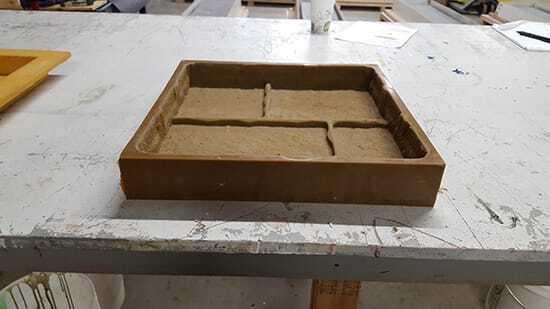
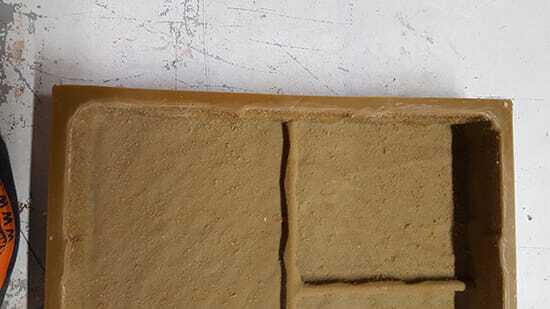
DESIGN #3
Blanket Mold with Flange in a Box
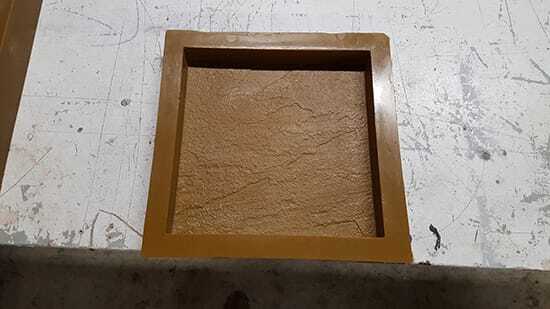
Like Design #2, this technique also has a thin blanket mold with mold box. The difference is the flange that extends along the top of the mold box walls.
The flange prevents concrete and other debris from falling between the box and the mold and also adds some rigidity and stability to the sides of the mold.
The mold may include a 5-degree draft angle on the outside of the mold wall for easier removal from the box.
The construction for this method is more complicated than the previous two designs, but is commonly used in manual wet cast operations.
The Design:

An example is pictured below (without mold box):

DESIGN #4
Blanket Mold with Locking Flange in a Box
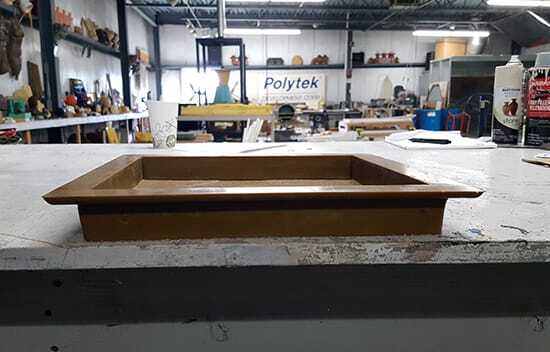
This design is very similar to Design #3; the only difference is that the flange locks around the mold box to improve stability and help to maintain overall size/dimensions.
This locking design has the most complicated construction of the four mold designs and can be challenging in a high volume production environment as it requires more effort to lock and unlock the flange repeatedly.
The Design:
Do you have questions about your concrete casting project? Get in touch with our Technical Support team:
Call us at 800.858.5990.
Email us at sales@polytek.com.
Fill out this simple online form.