How to Make a Decorative Concrete (GFRC) Panel
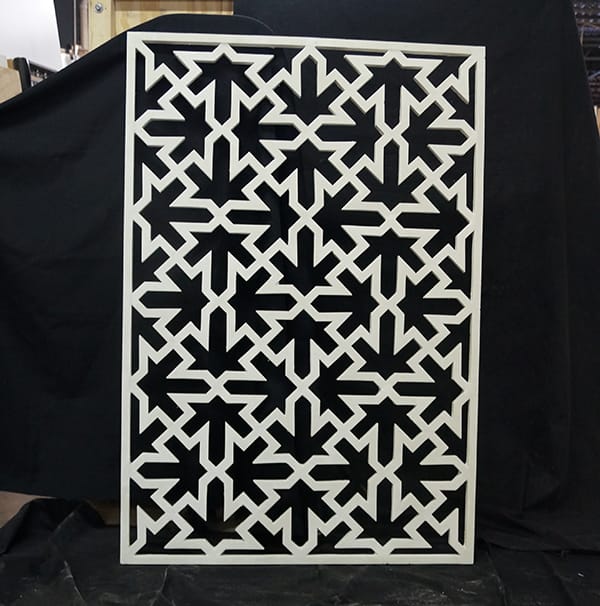
This tutorial shows the process of making a decorative glass fiber reinforced concrete (GFRC) panel using various Polytek® mold rubbers and casting materials.
STEP 1: Create an Original Pattern
The following pattern was constructed from wood. Ultimately, this small pattern will be repeated to form a large panel.

STEP 2: Make a Mold of the Original Pattern
A PlatSil® 73-25 silicone mold (not pictured) is made of the original wood pattern. Before making the mold, the wood is sealed and Pol-Ease® 2500 Release Agent is applied to the pattern so the silicone rubber will release easily.
STEP 3: Cast a Plastic Copy of the Pattern to Finalize the Design (if necessary)
Oftentimes, pattern makers will make a mold of an original pattern and then cast a copy (or copies) in order to clean-up and finalize the design.
EasyFlo 60 Liquid Plastic, used to make a the copy below, is a great option for fast replication. EasyFlo 60 has a 2 to 2.5-minute pour time, simple 1A:1B mix ratio by volume, and a 15 to 30-minute demold time. This plastic can be poured into silicone molds without any release agent.
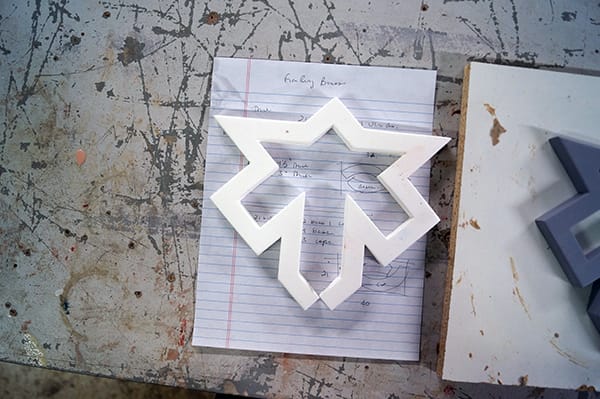
The plastic pattern is edited with various materials (e.g. bondo, primer paint) until a finalized design is reached.
If primer paint is applied to the pattern, ensure that it is fully dry before moving on to the next
step.
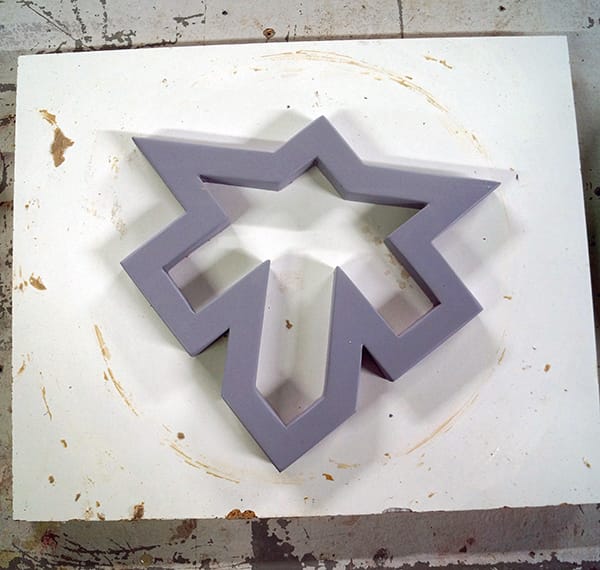
STEP 4: Make a Mold of the Finalized Pattern
A PlatSil® 73-25 Silicone Rubber mold is made of the final pattern. PlatSil 73-25 is a soft, platinum-cured silicone rubber with a 1A:1B mix ratio. This silicone has a 15-minute pour time and a 4 to 5-hour demold time.
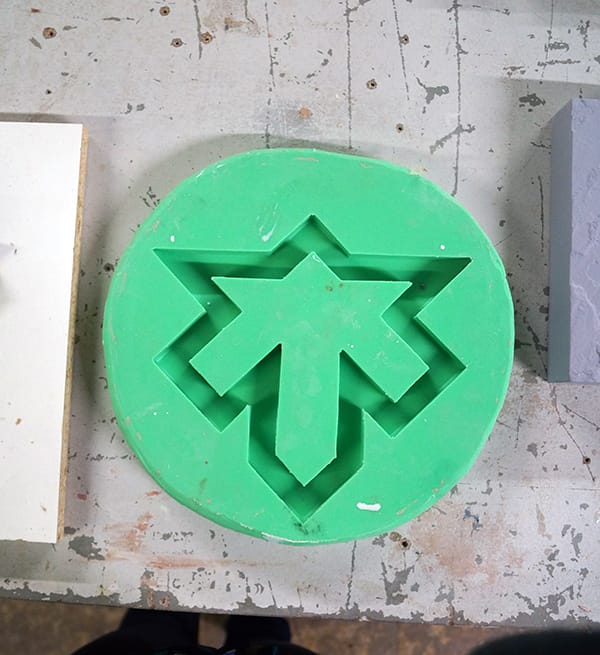
STEP 5: Cast Plastic Copies & Assemble a Larger Pattern
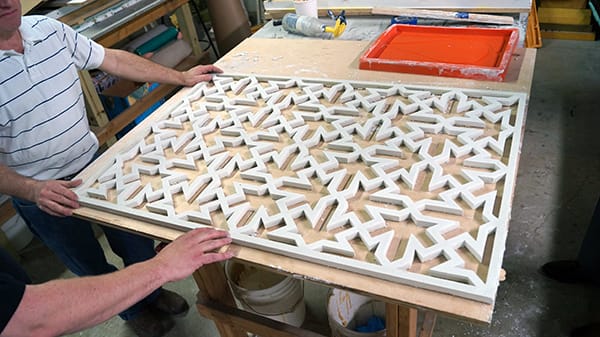
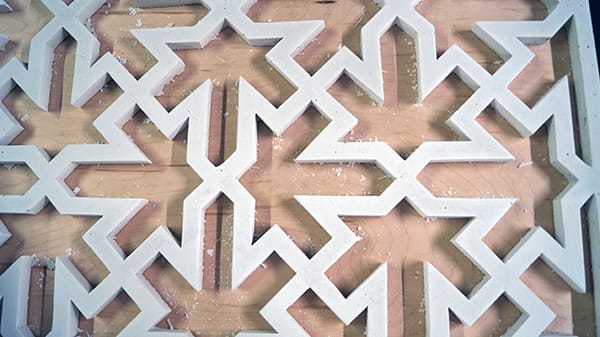
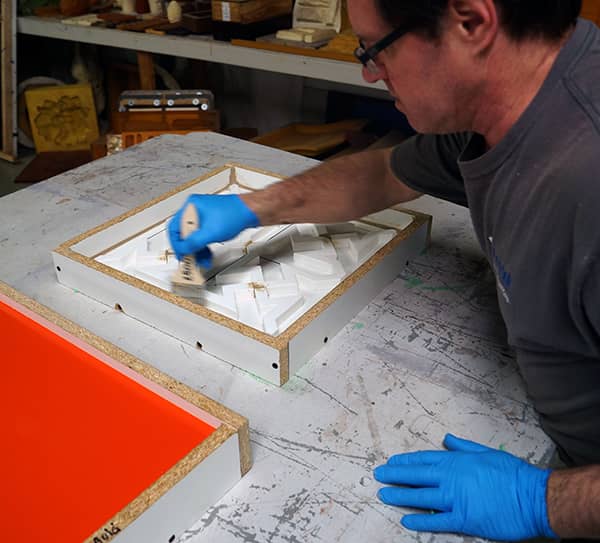
When the mold is finished, multiple EasyFlo 60 copies are cast and assembled into a larger pattern. The pattern is adhered to a baseboard, mold box walls are built around it and edges are sealed with plasticine clay where necessary. The baseboard and walls are melamine-laminated particle board.
For this pattern, we make sure to form mold walls that are least 1/2″ thick.
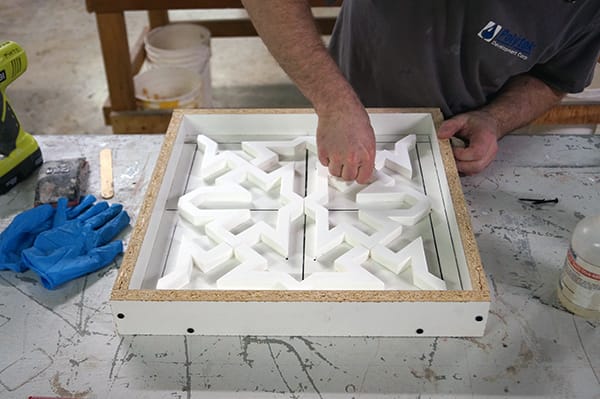
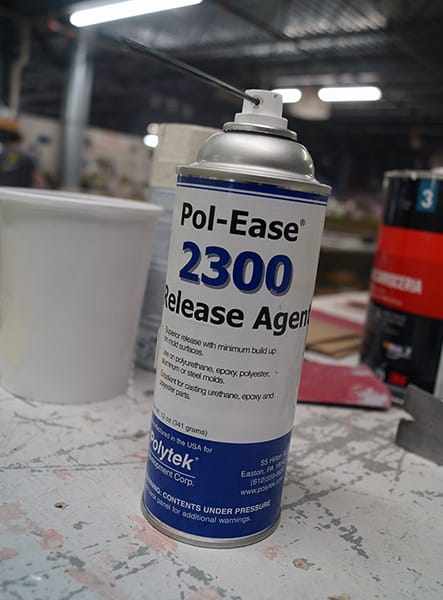
A polyurethane rubber mold will be made of this new pattern, so Pol-Ease 2300 Release Agent is applied to the pattern, baseboard and mold box walls and then brushed out.
You may be wondering why we used a silicone mold for the previous step and are going to use a polyurethane mold for this step. We’re merely doing it to showcase that either option can be used. Two of the main differences between these two options are:
- Release agent does not need to be applied to silicone molds when casting polyurethane resin; however, release agent must be applied to polyurethane molds when casting polyurethane resin. The application of release agent may be a nuisance to some.
- Polyurethane rubber is less expensive than silicone rubber.
STEP 6: Make a Mold of the New Pattern
FormRub 35, a medium-soft polyurethane rubber, is used to make the new mold. FormRub 35 has a 1A:1B mix ratio, 15-minute pour time and 16-hour demold time.
FormRub Series rubbers are specifically designed to stand up to the rigors of concrete casting.
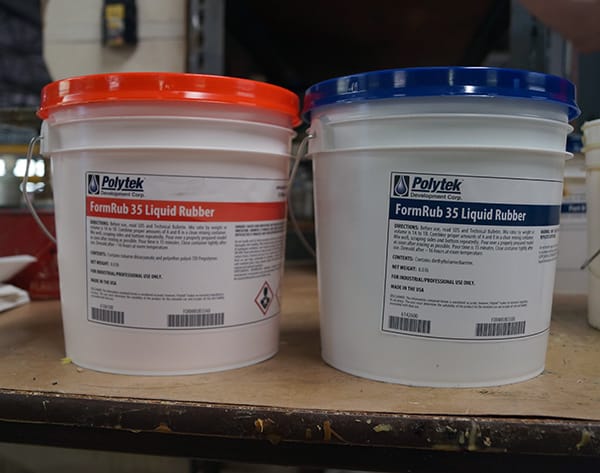
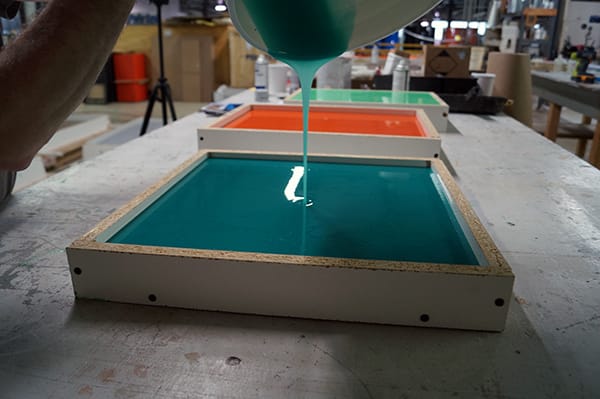
FormRub 35 is measured, mixed and poured over the EasyFlo 60 pattern.
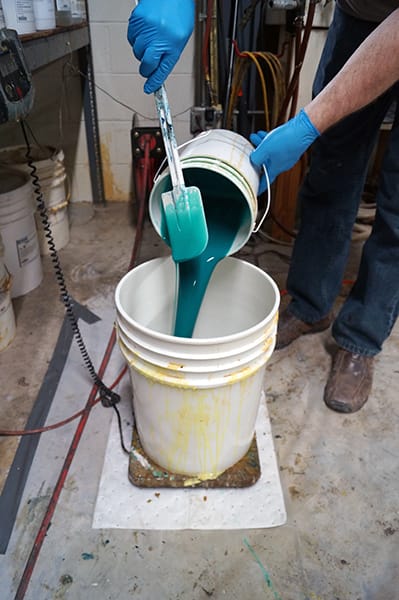
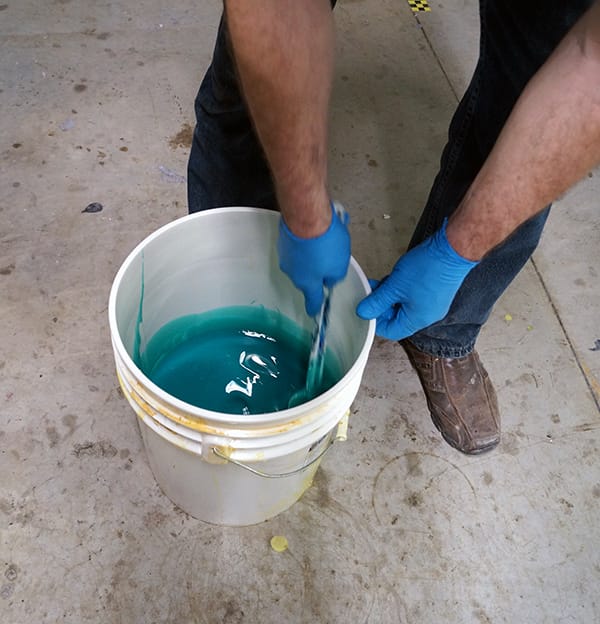
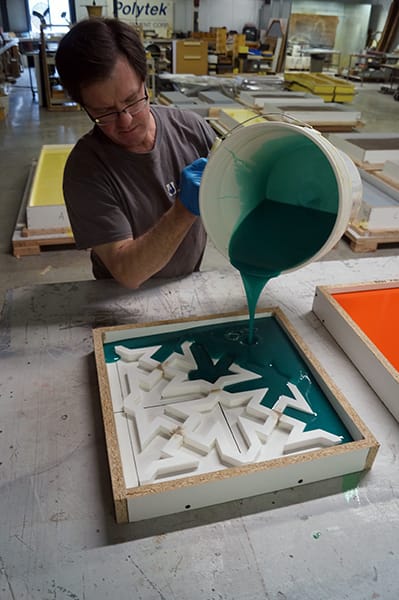
For this pattern, we make sure that the bottom of the mold is at least 1/2″ thick.
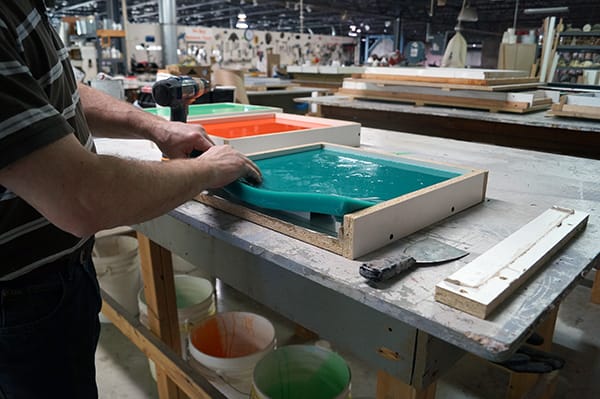
The mold is removed 16 hours later. The edges of the mold are loosened before removing the entire
mold.
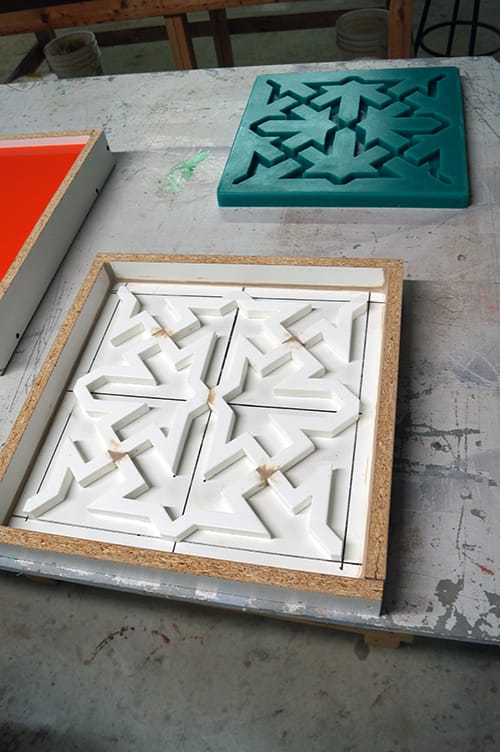
STEP 7: Cast Plastic Copies & Assemble a Larger Pattern (if desired)
When the FormRub 35 mold is complete, multiple EasyFlo 60 copies are cast and then adhered to a baseboard to form the final panel.
Plasticine clay is used to seal small gaps between the individual elements and then mold box walls are constructed around the entire pattern.
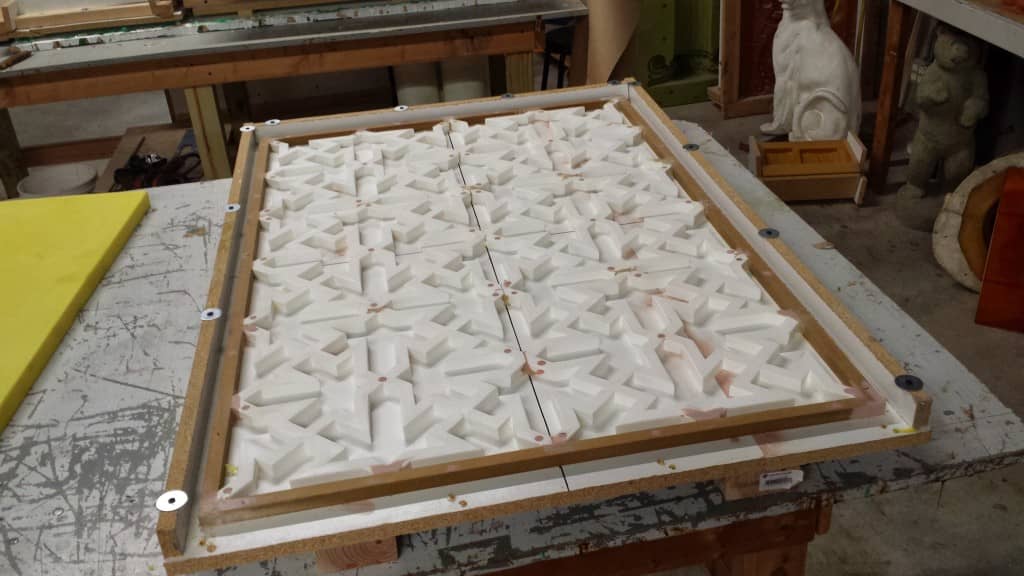
Pol-Ease 2300 Release Agent is applied to the model, baseboard and mold box walls and then brushed out to ensure even
coverage.
STEP 8: Make the Final Mold
Poly 74-20 Liquid Rubber is used to make the final mold for casting concrete. Poly 74-20 is Polytek’s softest polyurethane rubber and often does not require release agent when casting concrete. We have found this rubber to be a good option when working with intricate patterns.
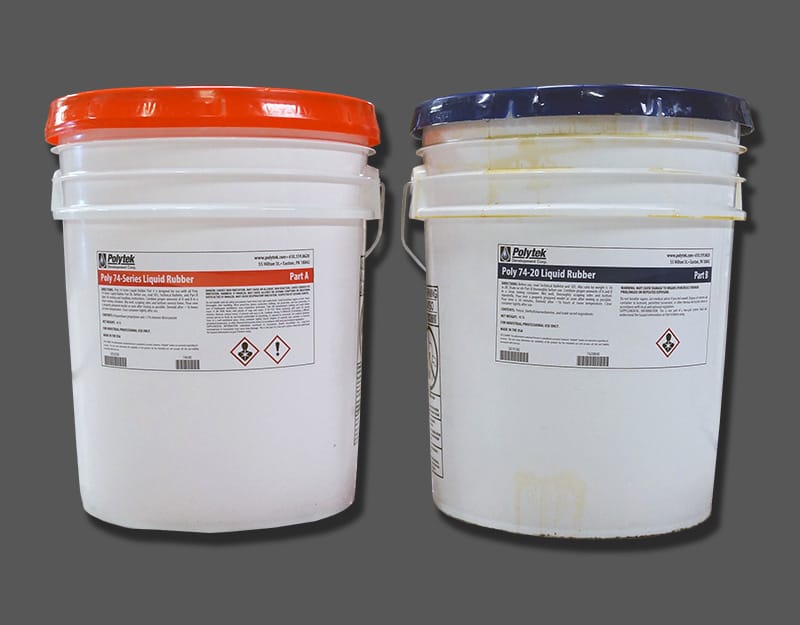
Poly 74-20 has a 1A:2B mix ratio, a low viscosity of 800 cP, a 30-minute pour time and a 16-hour demold time.
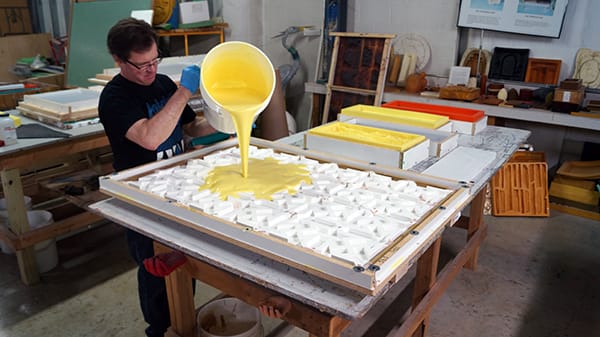
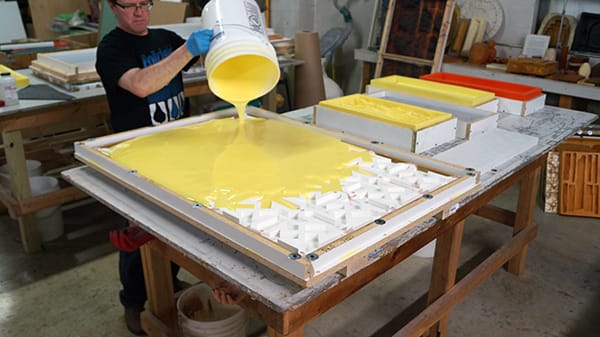
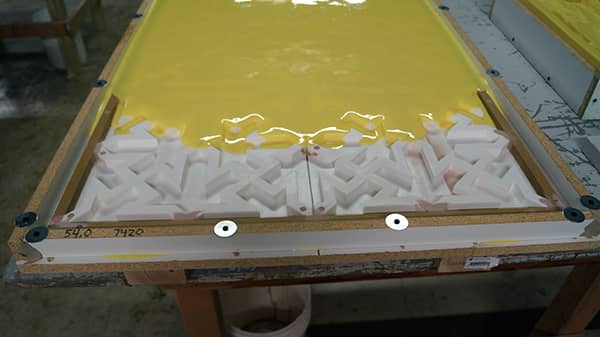
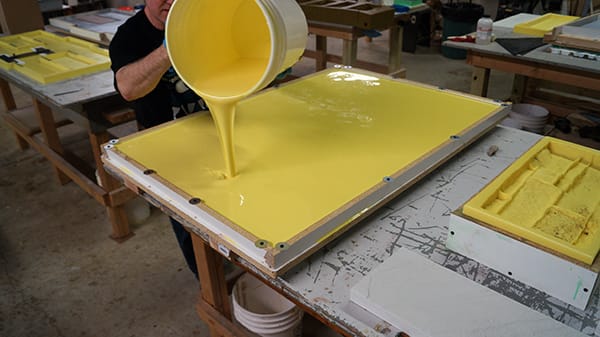
The mold is removed after 16 hours.
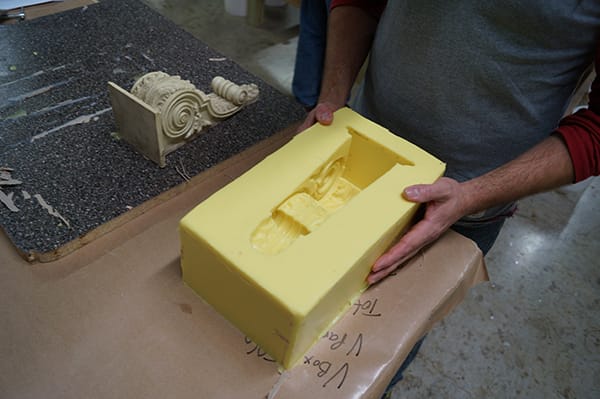
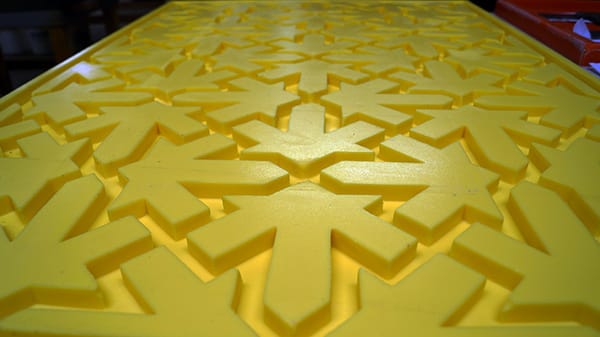
Because the plastic pattern is not harmed during the mold making process, it can be used to make many more molds, if required.
STEP 9: Cast Concrete
A GFRC mix is manually worked into the details of the mold and allowed to cure (cure times vary depending on the product).
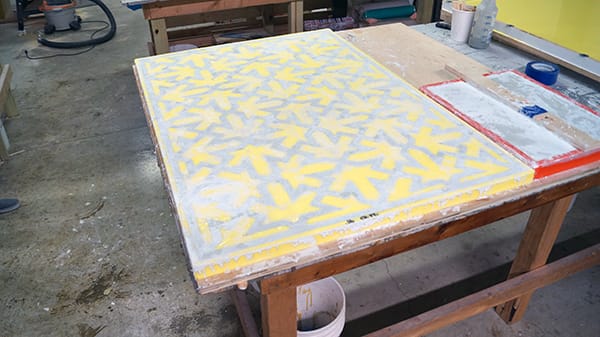
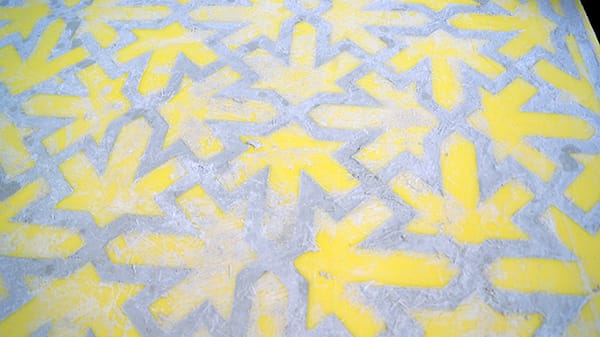
The remove the concrete, the entire mold is first carefully flipped over. All of the edges are loosened and then the entire mold is slowly peeled off of the concrete.
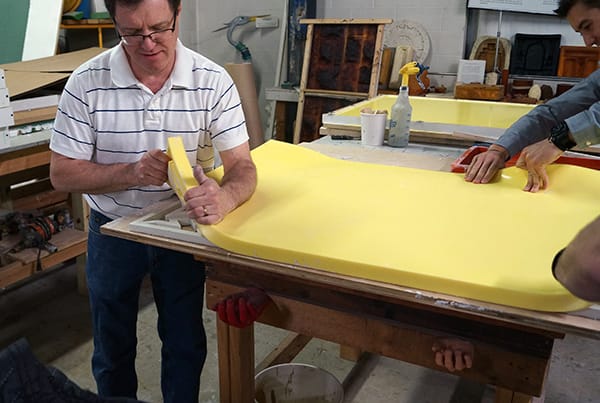
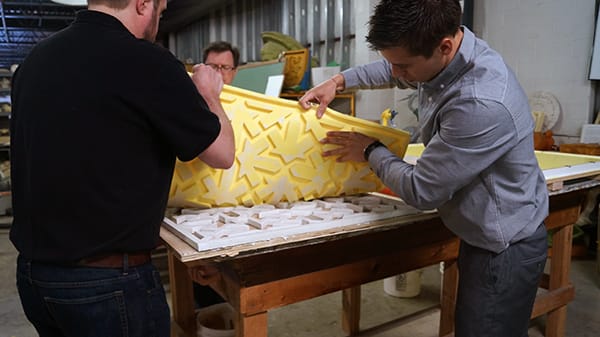
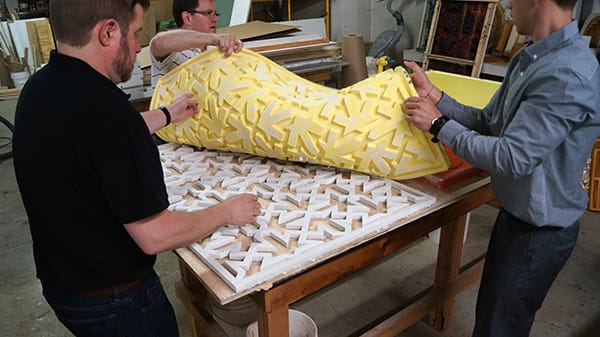
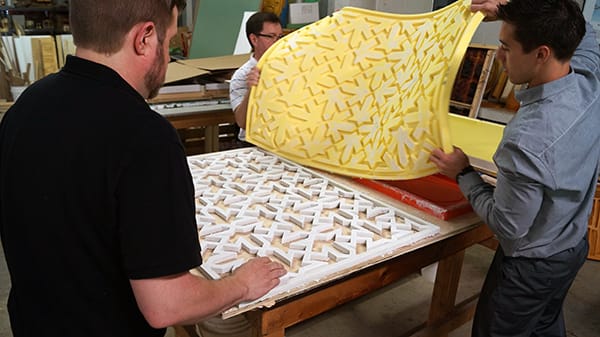
The concrete can then be sanded, colored and sealed as desired.
