How to Make a Rubber Mold to Reproduce Concrete Stepping Stones
The following tutorial details how to reproduce concrete stepping stones (or pavers) from an existing stepping stone. You might use this method if, for instance, you would like to reproduce a unique stepping stone that is no longer available for purchase or if you’d like to produce concrete stepping stones from a model you created (e.g., clay, wood, 3D-printed or other machined models).
This tutorial only shows the making of one mold, which would be used for relatively low-volume reproduction. For high production applications, consider making a “gang” mold, discussed at the end of the tutorial.
Supplies & Suggested Tools for this Project:
- A model (in this case, a stepping stone)
- Poly 75-70 Liquid Polyurethane Rubber
- Pol-Ease® 2300 Release Agent
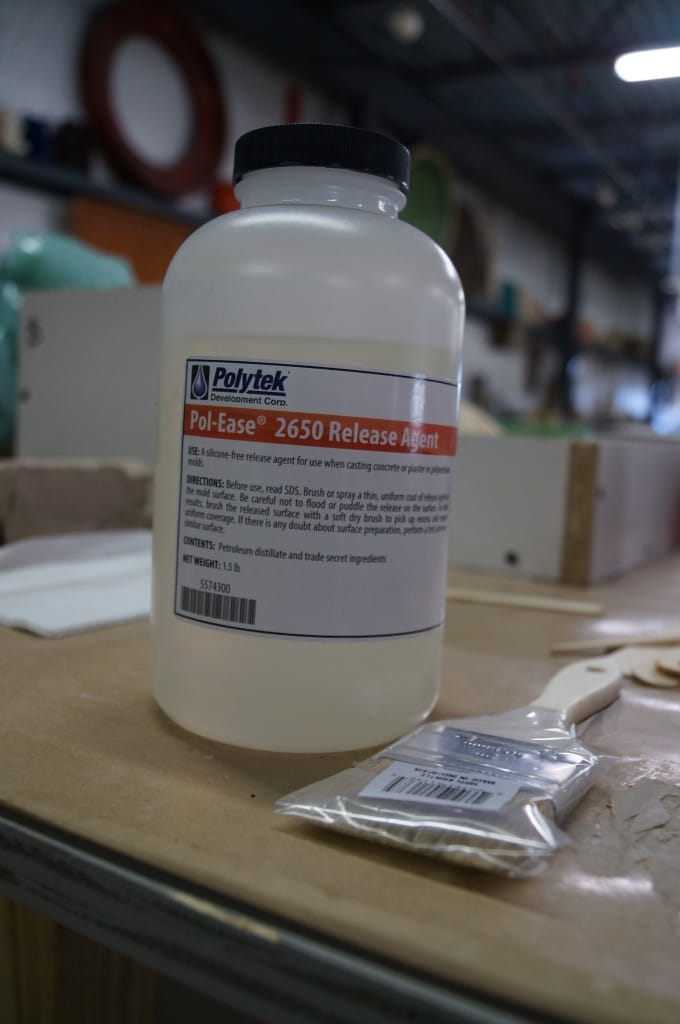
- Pol-Ease® 2650 Release Agent
- Poly PVA Solution
- Plasticine Clay
- Dry Brushes
- Mold Box
- Drill
- Screws
- Mixing Container
- Poly Paddle or other mixing tool
- Digital Scale
- Putty Knife
- Crowbar or similar prying tool, if necessary
- Concrete Mix
A video tutorial of this project is available at the end of this article.
The Project:
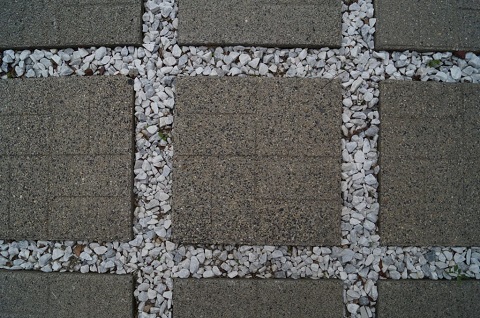
The walkway pictured below has a few crumbling stepping stones that need to be replaced:


Step 1: Select a Model to Make the Mold of
Select the most intact stepping stone from the walkway. Wash off or dislodge debris from the stone as best as possible; rubber molds will pick up every detail of the stone (e.g., clumps of dirt).

Step 2: Apply a Sealing Agent
If you plan to put the stepping stone back into its original position in the walkway, you might consider using a removable sealing agent, like Poly PVA Solution (below). It can be washed off with water after the mold making process. If you have a very porous model, like the one in this tutorial, you may have to apply more than one coat of Poly PVA Solution. We applied two coats of this sealer, waiting for it to dry (~ 1 hour) in between coats and before moving on to the next steps.
You don’t need a removable sealer? Consider paste wax, lacquer, paint, Pol-Ease® 2350 Sealer & Release Agent (you don’t need additional release agent if you use this), or PolyCoat Sealer & Release Agent (you don’t need additional release agent if you use this) as additional options.

Step 3: Construct Mold Box & Seal Edges
Find a suitable bottom board for your mold box and create vent holes; venting is required with porous models to allow trapped air to escape and prevent air from migrating into the rubber causing bubbles.
We often use melamine-laminated particle board (pictured below) for both our bottom boards and mold box walls.


Seal the edges of the stepping stone to help prevent rubber from leaking beneath the stone. We used warmed plasticine clay in this instance; hot glue or caulk are other options.

Construct the mold box walls. We left 0.75″ of space between the stepping stone and mold box walls to create 0.75″ thick mold walls.
We secured our mold box walls together with C-Clamps and also secured the mold box walls to the bottom board with screws.


Seal the outside edges of the mold box (where the walls meet the bottom board) to help prevent rubber from leaking outside of the box. Again, we used warmed plasticine clay.

Also seal the interior corners.

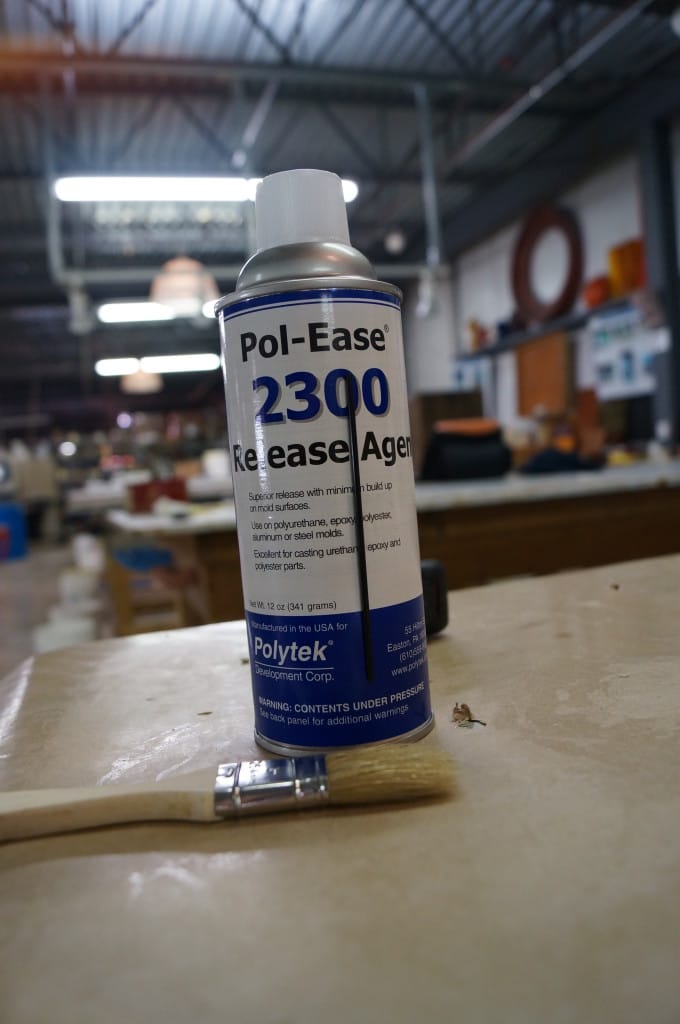
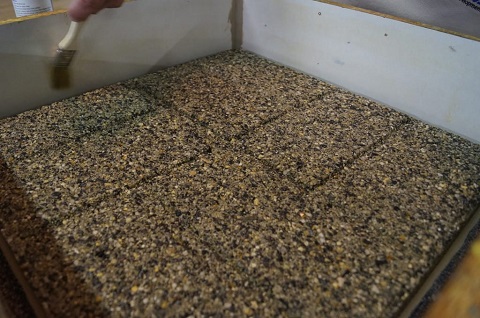
Step 4: Apply & Brush Out Release Agent
Apply Pol-Ease® 2300 Release Agent to the stepping stone, mold box walls and mold box bottom board and then brush it out with a dry brush to encourage even coverage.
Step 5: Determine How Much Rubber is Needed
Here are our calculations for this specific project:
1. Calculate Volume of Mold Box = 19.5″ x 19.5″ x 2.5″ = ~950 in³ [NOTE: We calculate the mold box volume based on a height of 0.5″ above the stepping stone so the thickness of the bottom of the finished mold will be 0.5″.]
2. Calculate Volume of Stepping Stone = 18″ x 18″ x 2″ = 648 in³
3. Subtract Volume of Stepping Stone from Volume of Mold Box = 950 in³ – 648 in³ = 302 in³
4. Take Result & Divide by Specific Volume of Poly 75-70 Liquid Rubber = 302 in³ ÷ 27 in³/lb = ~11.2 lb of Poly 75-70 Liquid Rubber
Step 6: Measure, Mix & Pour Mold Rubber
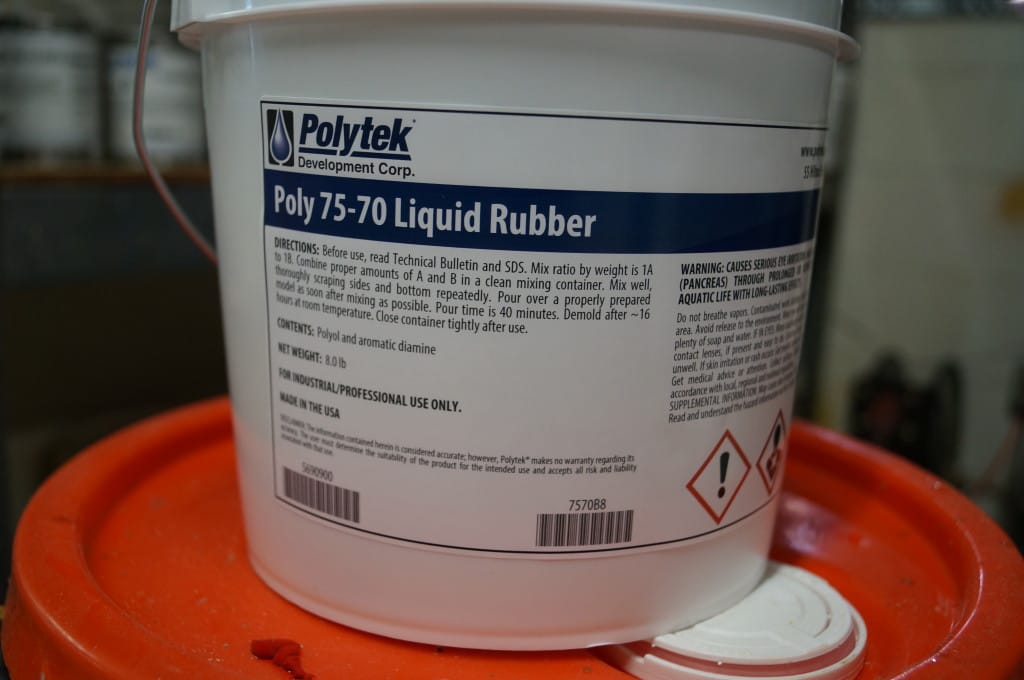
For this particular project, we used Poly 75-70 liquid rubber. Poly 75-70 is two-part polyurethane system that cures to a gray, Shore A70 rubber. Molds made from this rubber exhibit high tensile strength, tear strength, and elongation.
We recommend the use of polyurethane mold rubbers for most concrete casting applications.
Poly 75-70 liquid rubber has a 1A:1B mix ratio, 40-minute pour time, and a 16-hour demold time.
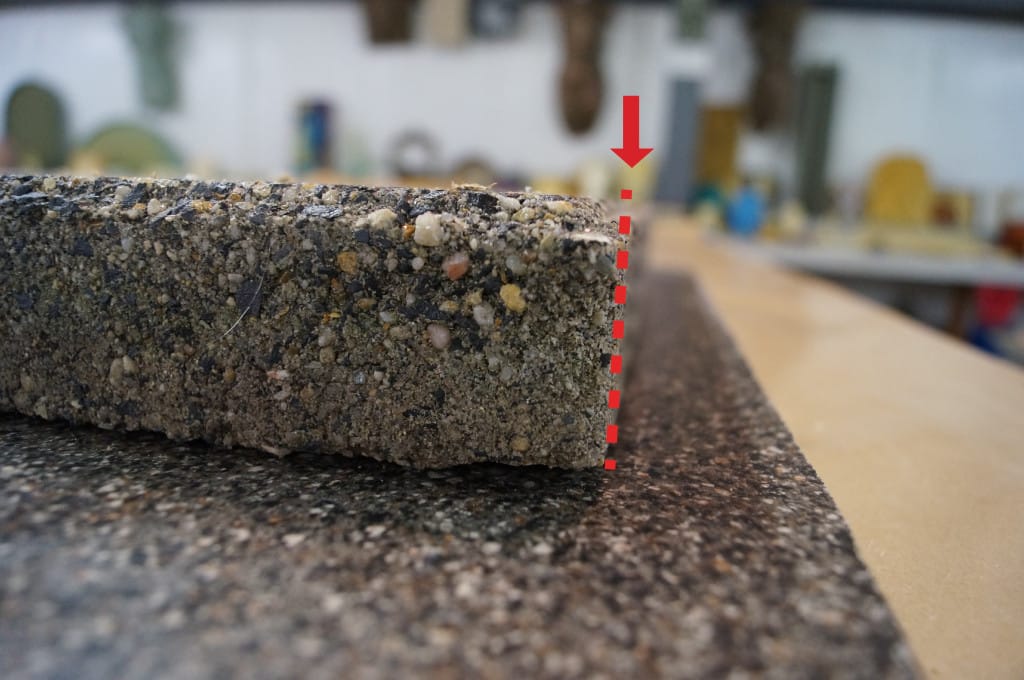
Poly 75-70 is a relatively firm rubber with a Shore Hardness of A70 (A70 is a bit harder than a standard car tire. More information on Shore Hardness here); we are able to use a rubber this hard because there are no undercuts on the sides of this stepping stone.
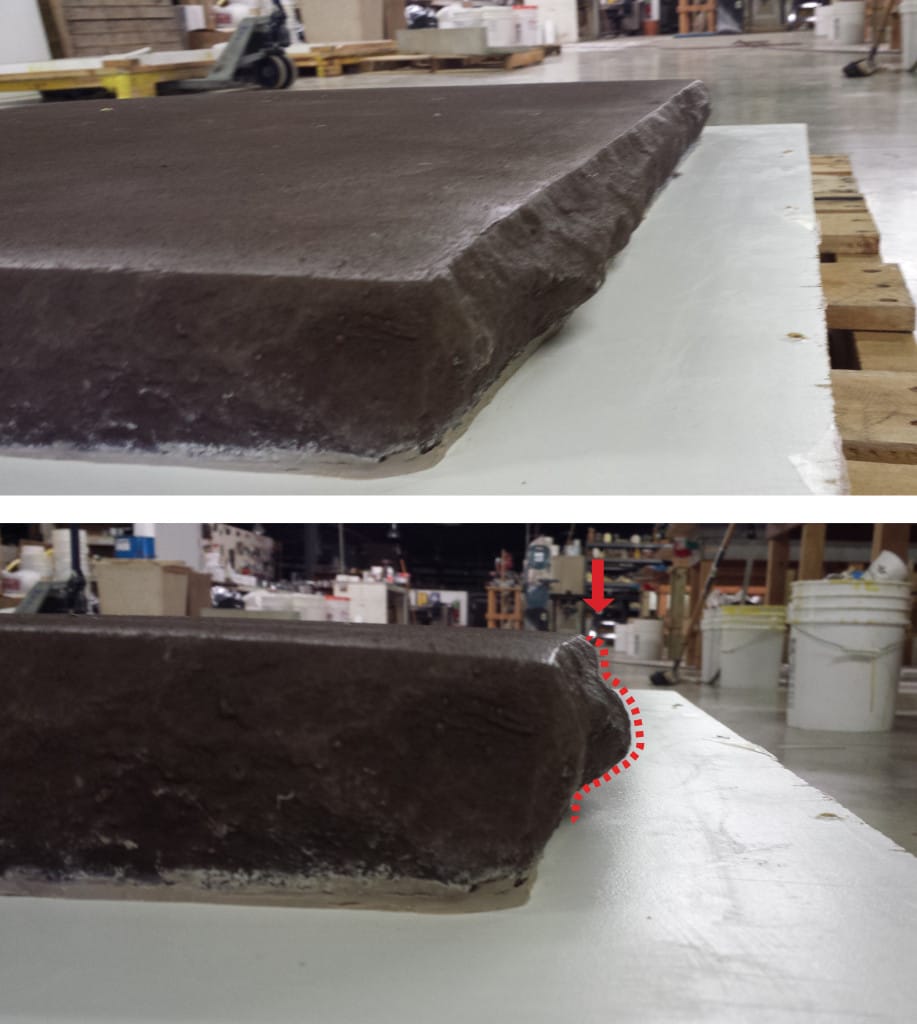
Intricate stepping stones or stones with undercuts on the sides would require a softer rubber for demolding purposes. For instance, a rubber like Poly 74-45 (Shore A45) might be used for the stone below so the sides of the mold can be flexed to allow for removal of concrete castings.
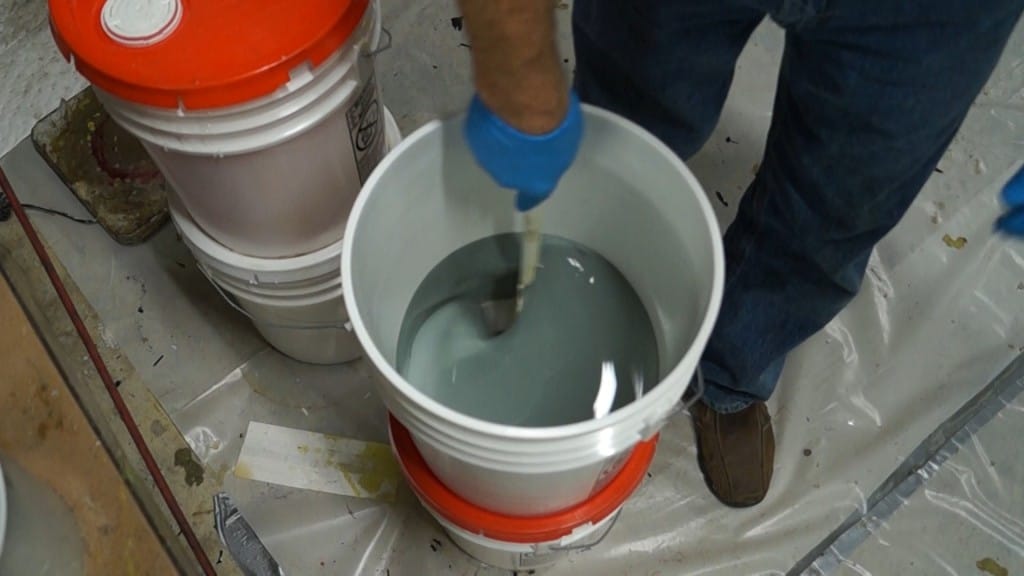
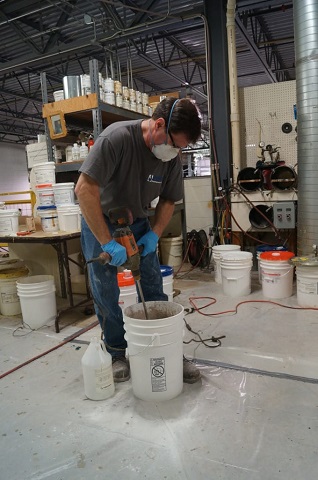
Carefully weigh or measure Part A & Part B into a clean mixing container (we often use polyethylene pails). Thoroughly mix the rubber, scraping the bottom and sides of the mixing container several times.
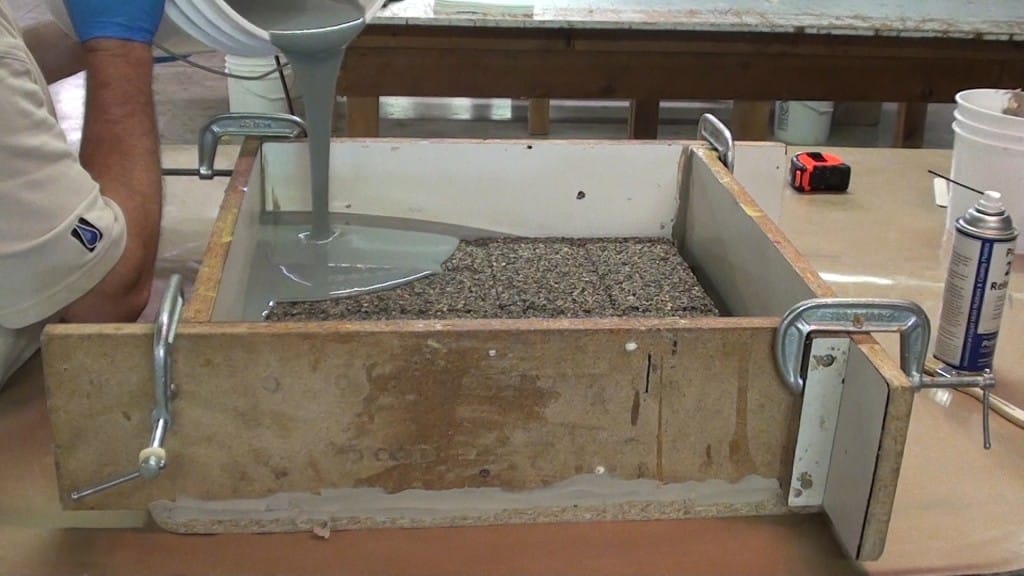
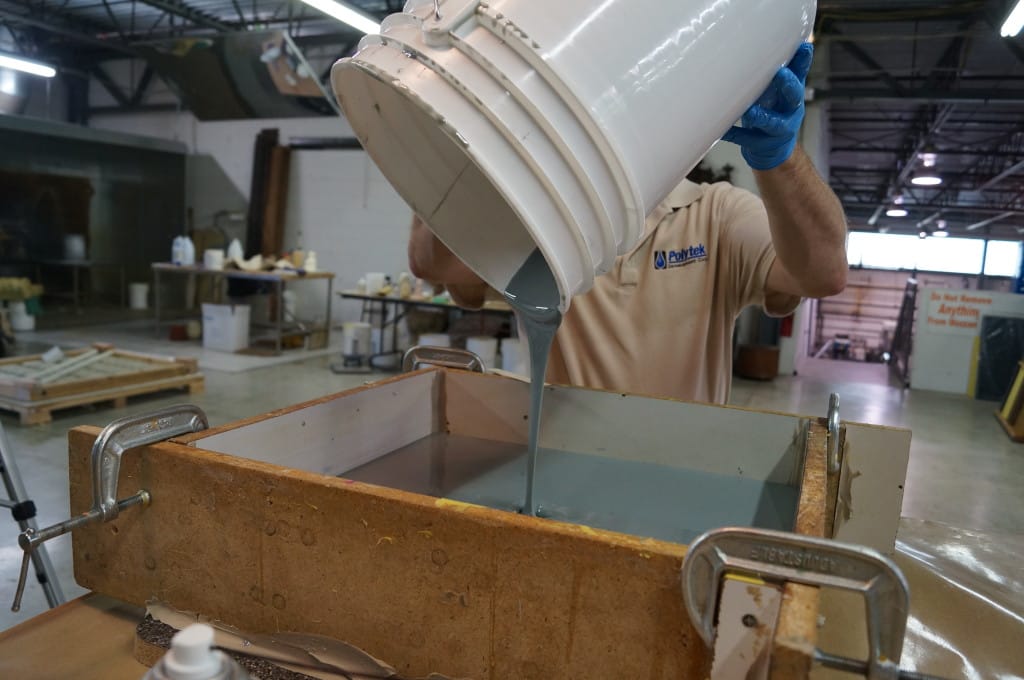
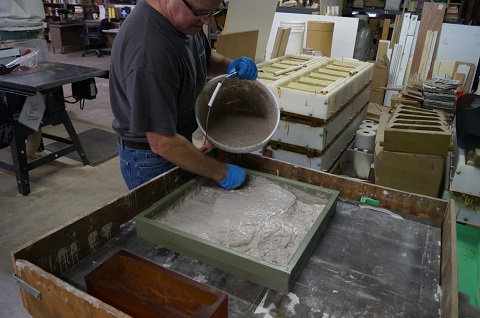
Carefully pour the rubber into one corner of the mold box and allow it to flow across the model. Pour rubber into rubber; avoid pouring rubber directly onto the model. Do not scrape the sides of the bucket as you pour as unmixed material tends to cling the sides of the mixing container.
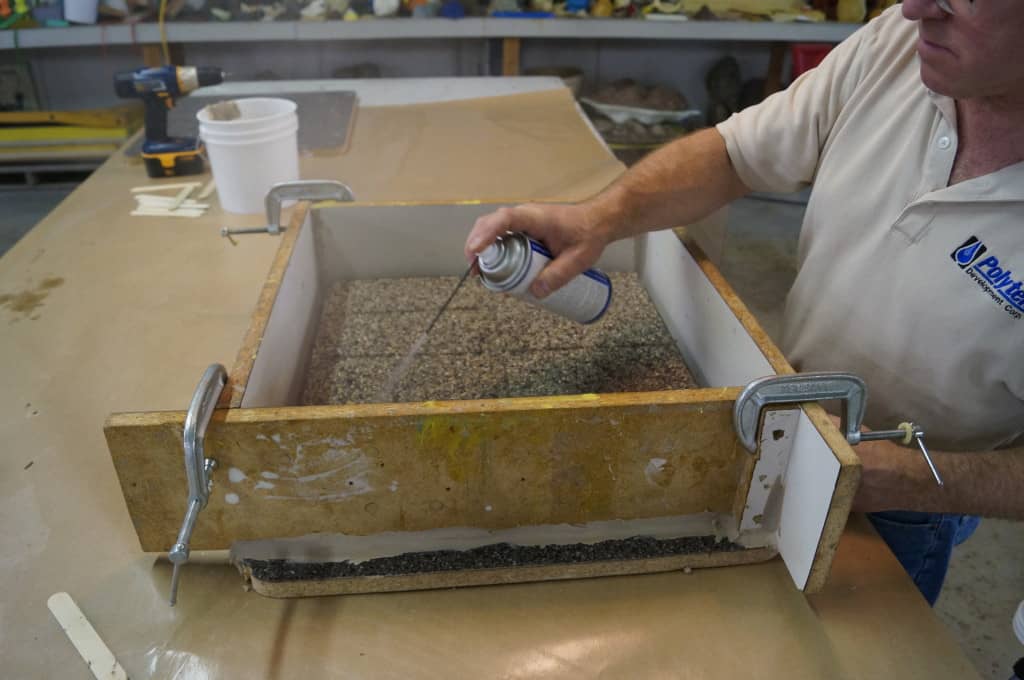
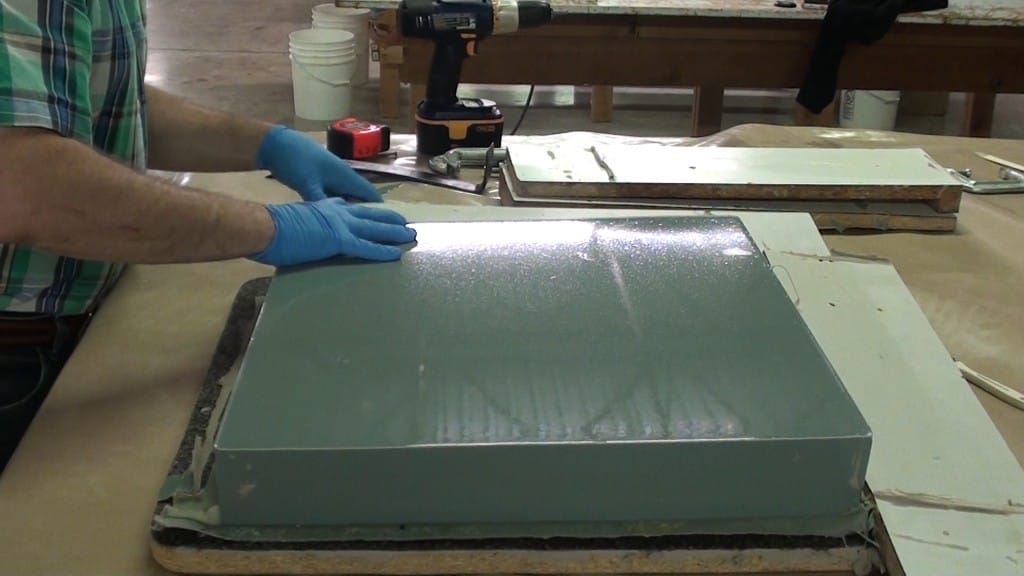
Immediately after pouring, spray Pol-Ease 2300 Release Agent across the surface of the liquid rubber to help remove surface air bubbles.
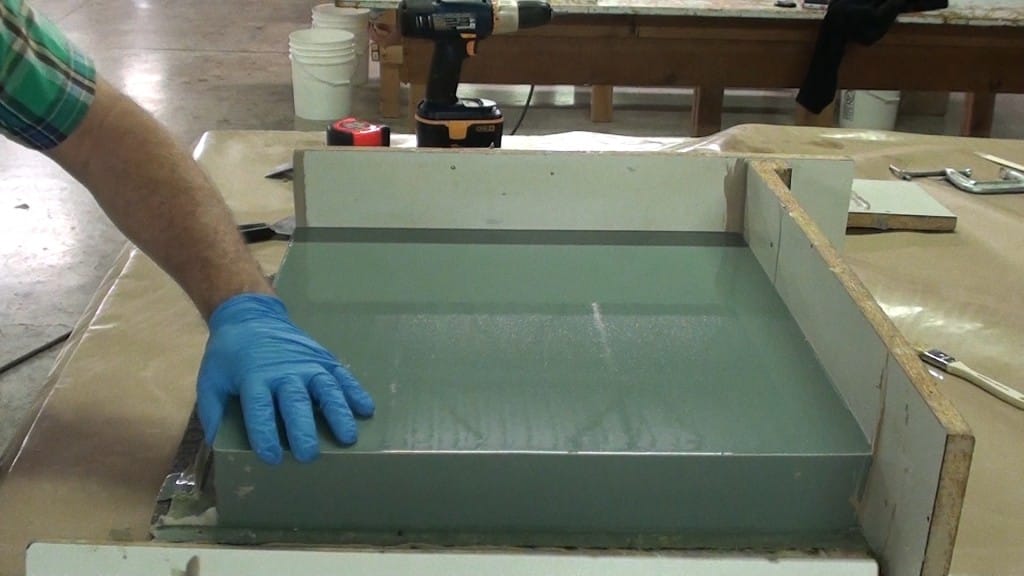
Allow Poly 75-70 to cure, undisturbed, for ~16 hours before demolding. NOTE: Although you can demold this rubber after 16 hours, we do not recommend use of the mold for at least 48 hours.
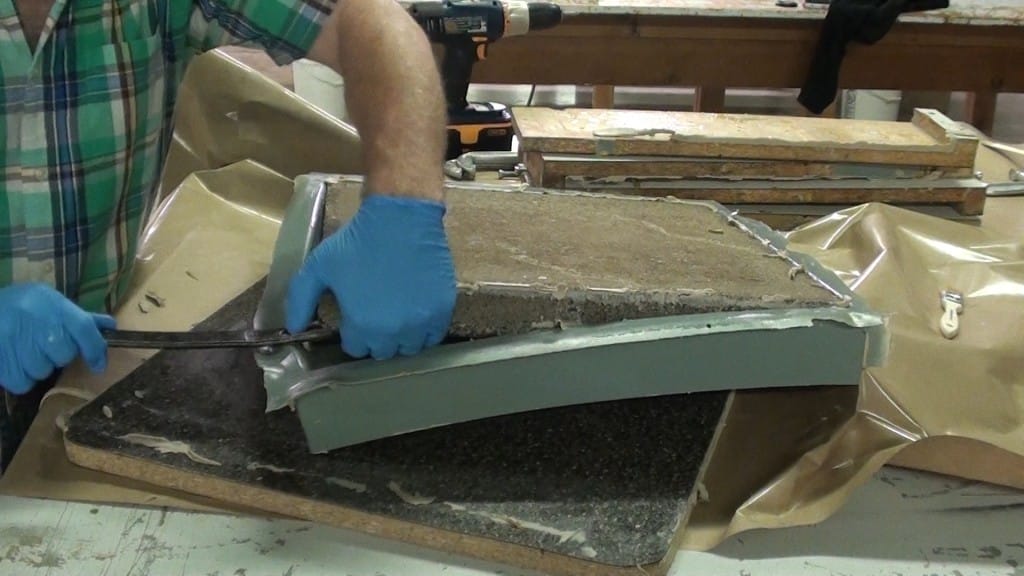
Step 7: Demold
Remove the mold box walls.
Carefully remove the stepping stone from the mold. This may require the use of a prying tool.
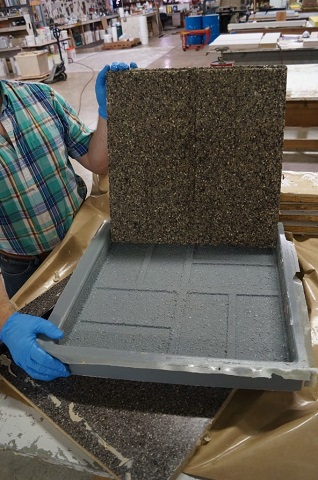
Trim the edges of the mold if necessary.
Step 8: Cast Concrete
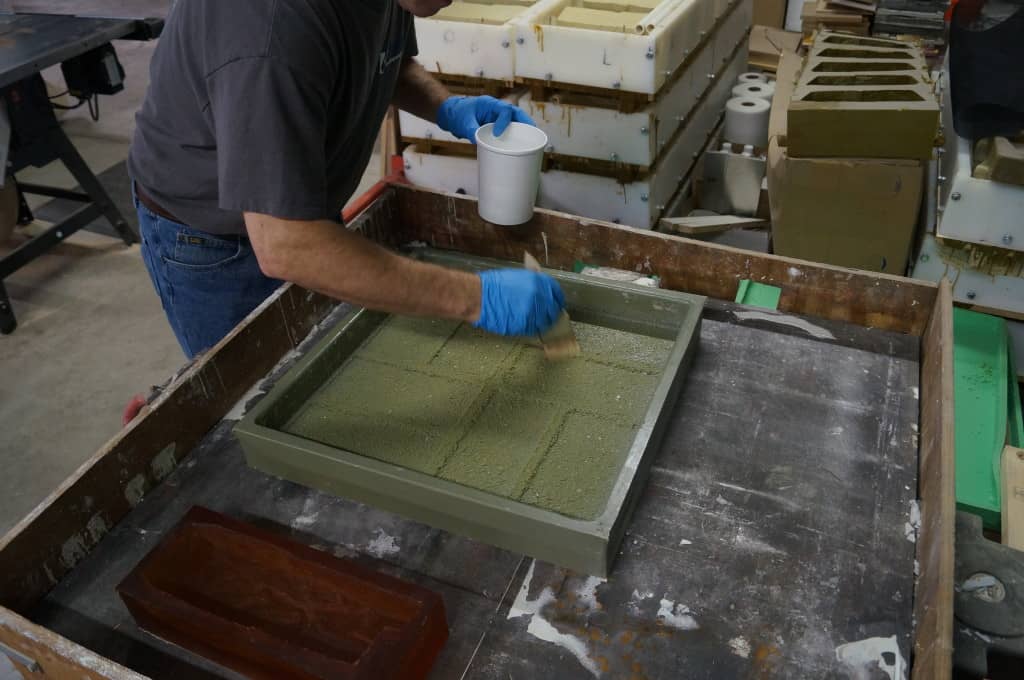
Apply a suitable concrete release agent, like Pol-Ease® 2650 Release Agent, to the mold.
Choose a concrete mixture most suitable for reproduction of your stepping stone and properly mix it. We had some SureCrete Xtreme Concrete Mix laying around our shop, so we used it for the purposes of this demonstration.
Pour the concrete mixture into the mold and vibrate if necessary.
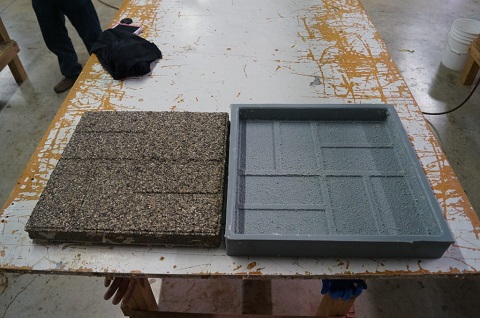
Remove the concrete casting from the mold and finish and seal the stepping stone as necessary. Use the mold to reproduce as many stepping stones as needed – polyurethane molds can last for many years and can cast hundreds to thousands of parts when well taken care of.
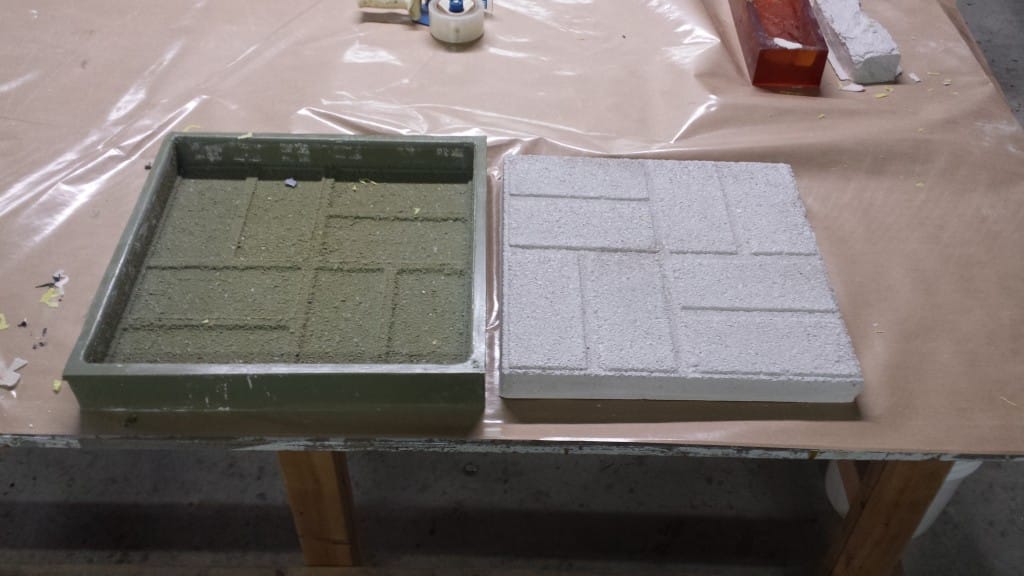
Wash the Poly PVA Solution off the original stepping stone model with water and then place the original stepping stone and reproduced stepping stones into the walkway.
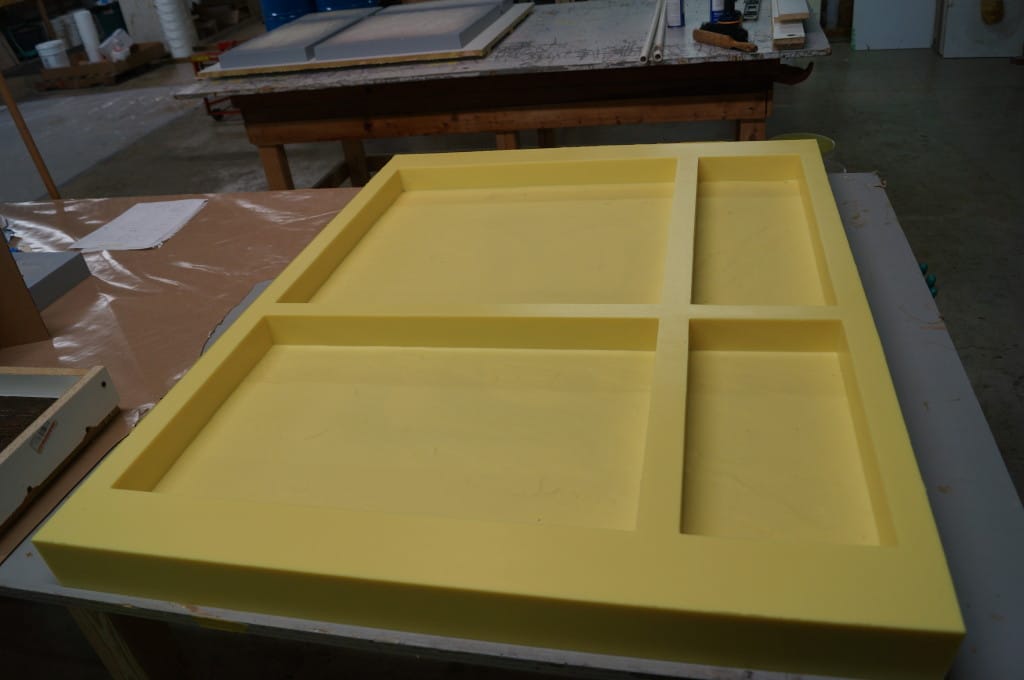
For high volume casting operations, you might consider making a “gang mold”, or multi-cavity mold (pictured below), instead of a single-cavity mold.