
Rubber Blanket Molds: The Basics
The rubber blanket mold technique is a great method to master as a mold maker. For those unfamiliar with it, it can be a bit intimidating, so let’s go over the basics:
- What is a “Blanket” Mold?
- Methods of Construction
- Complexity of Blanket Molds
- Why Make a Blanket Mold Instead of a Block Mold?
- What are the Best Mold Rubbers to Use for Blanket Molds?
- Video Tutorials
What is a “Blanket” Mold?
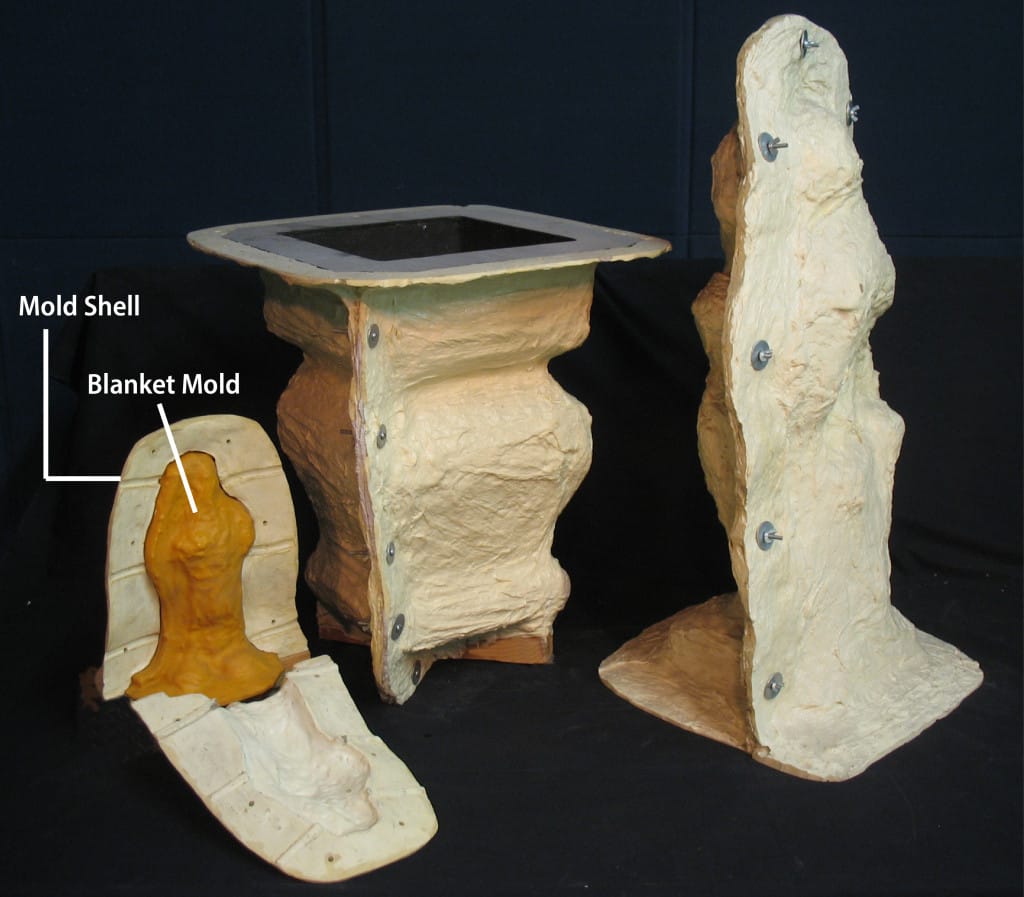
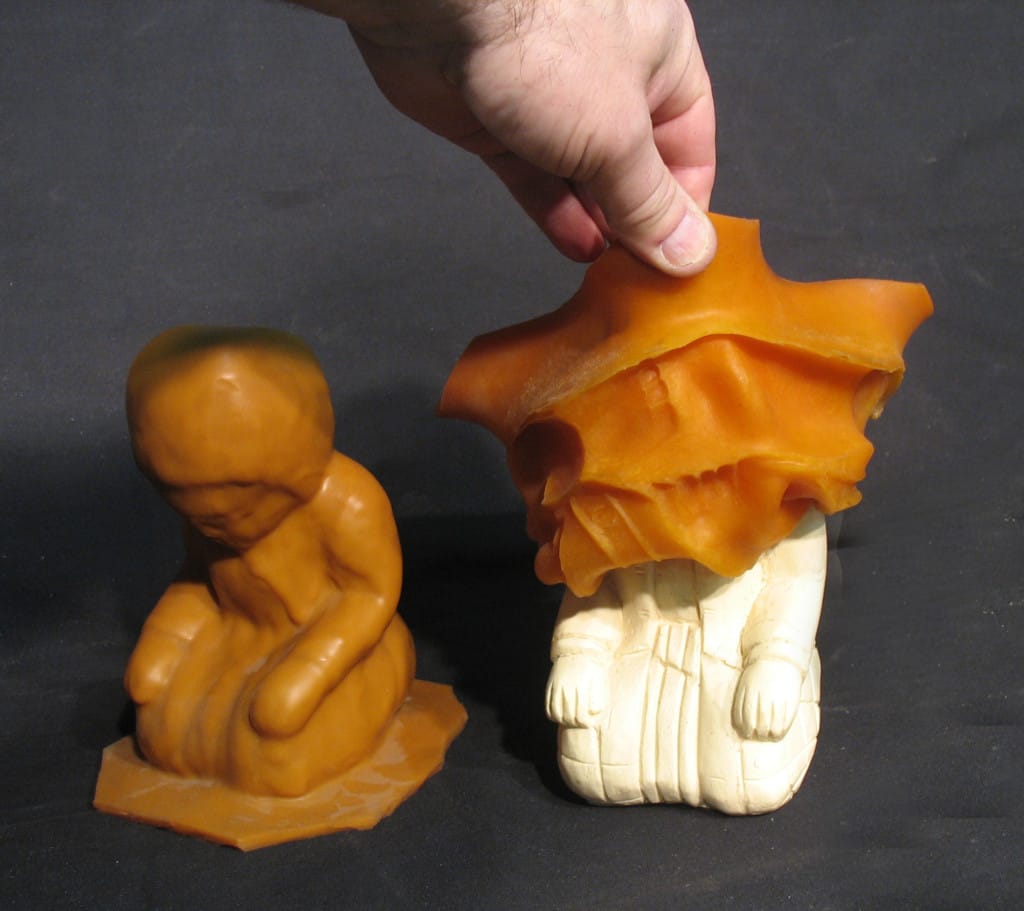
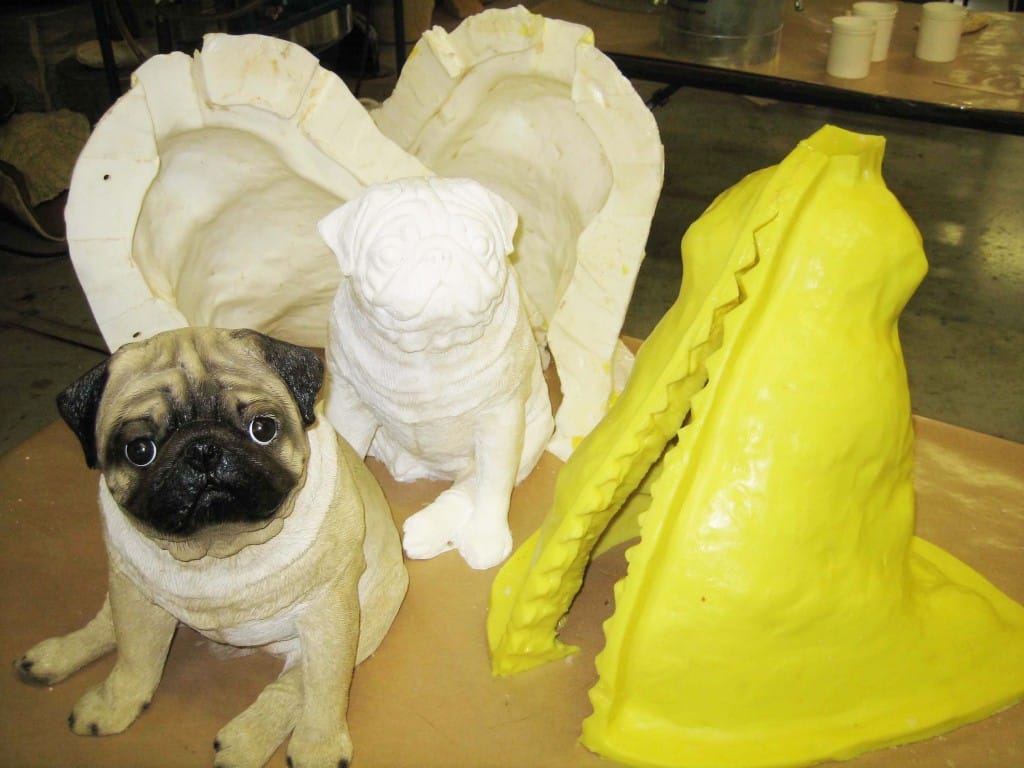
As indicated by the name, a blanket mold resembles a thin blanket of rubber placed around the model. Rubber blanket molds are generally 1/4″ to 1/2″ thick and are made either by 1) brushing or spraying flexible mold rubber onto a model and then creating a mold shell around it (the brush-on method generally requires application of multiple layers of rubber) or by 2) pouring the rubber into a previously constructed mold shell that is situated around the model.
In all cases, construction of a rigid mold shell, also known as a “mother mold”, is required in order to keep these thin molds in the proper shape and position for casting.
Scroll to the bottom to see a video tutorial of each method.
Methods of Construction
Apart from varying application methods (i.e., brush, spray, pour), blanket molds can be constructed in different ways:
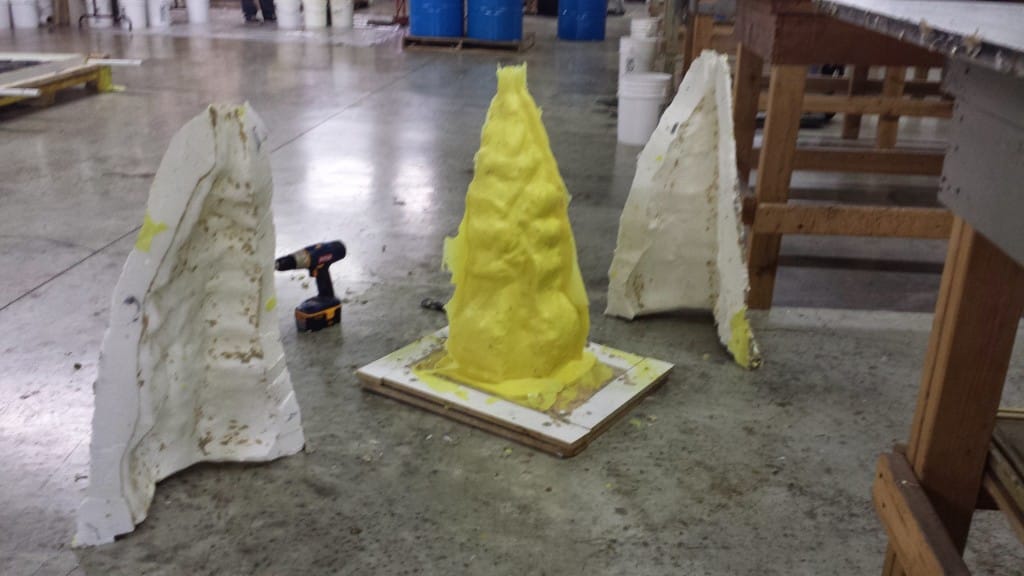
- Constructed in one piece and then removed in one-piece. This blanket mold is often referred to as a “glove” or “sock” mold as they can be turned back on themselves and peeled off the model like a glove or sock. This method is typically done on low relief or pyramid-shaped models and sometimes requires lubrication with silicone release or soapy water for easier demolding.
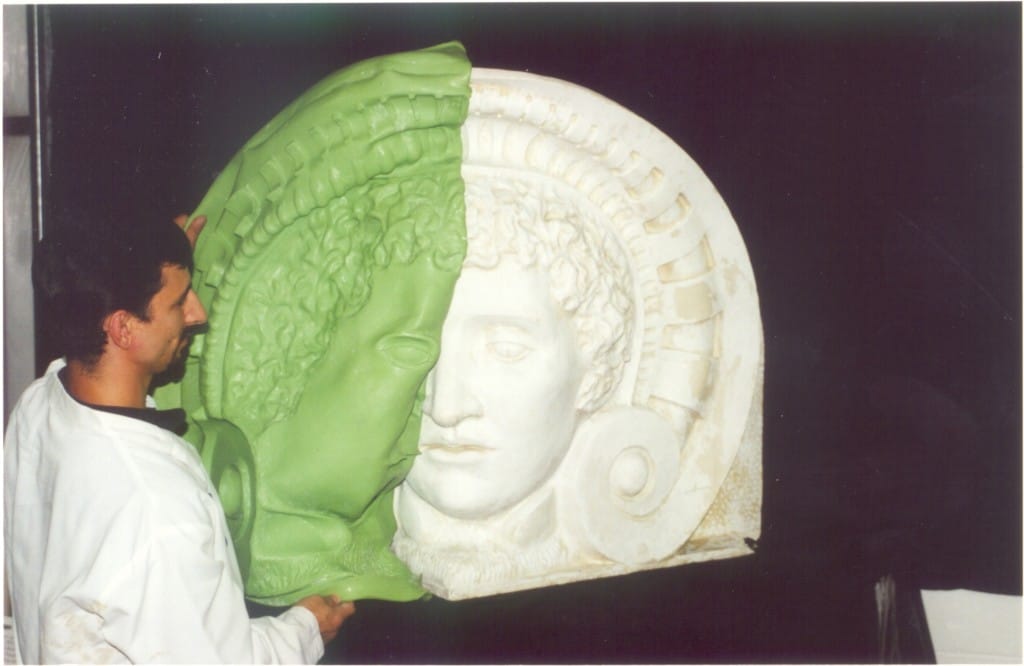
- Constructed in one piece and then later cut up one side for removal of the model and then removal of castings. Plan ahead for the cut location by building a thicker rubber flange along the cut line. This thickened area can be cut with a mold key knife or scalpel when the rubber has cured; the cut line should be irregular (as pictured below) to provide keys or locating features to adjoin the rubber mold halves properly when casting. Molds can be cut in more than one place if necessary.
- Constructed in two or more pieces. The rubber mold is created in sections and each section is allowed to cure before moving onto the next one.
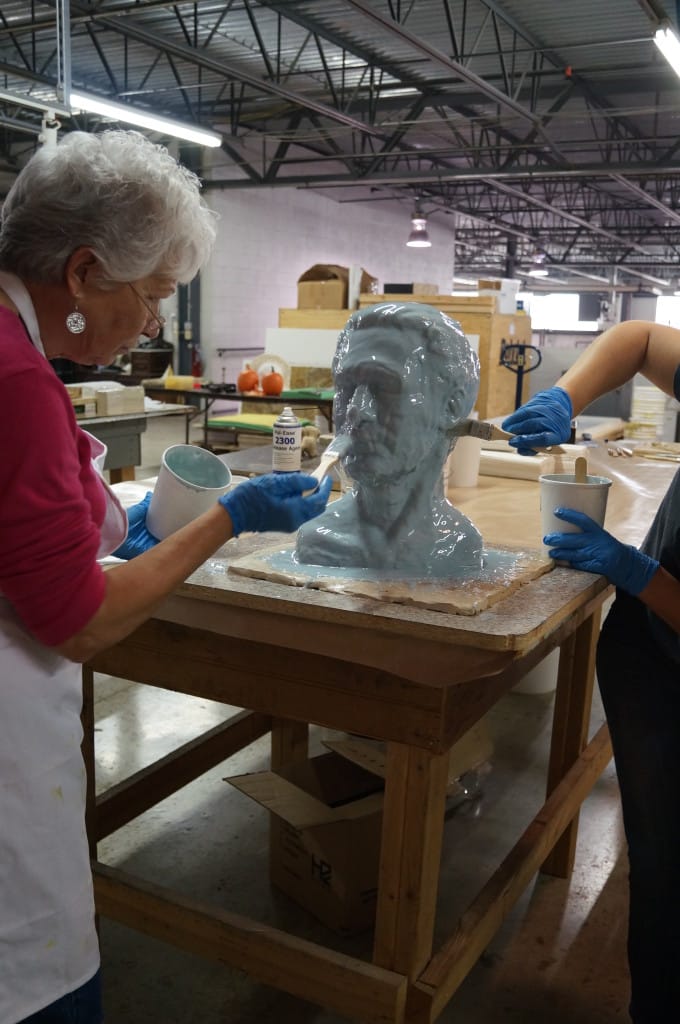
IMPORTANT NOTE ABOUT MOLD SHELLS: Although some rubber blanket molds may be made in only one piece, mold shells are almost always made in multiple pieces (and connected to each with hardware of some kind). Because mold shells are most often made of rigid material, they can easily lock onto even the smallest undercuts on the model and mold (e.g. if you covered a statue of a man with a one-piece mold shell, there would be no way to remove it). Carefully assess the undercuts on your model before beginning your mold making project in order to determine how many mold shell pieces you will need to construct. As an example, the bust below required a two-piece mold shell; the parting line for the two pieces essentially split the front and back of the bust in half.
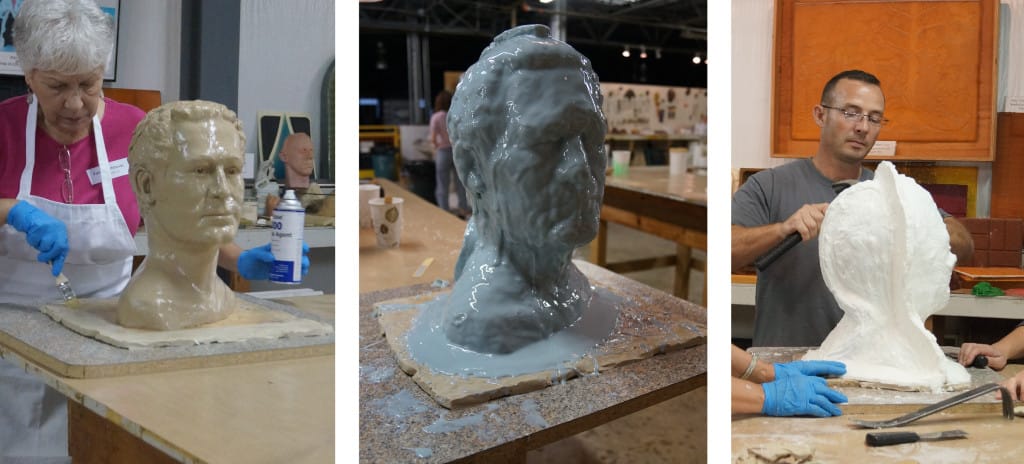
[left: clay sculpture, center: sculpture covered in a brush-on mold rubber, right: two-piece plastic mold shell]
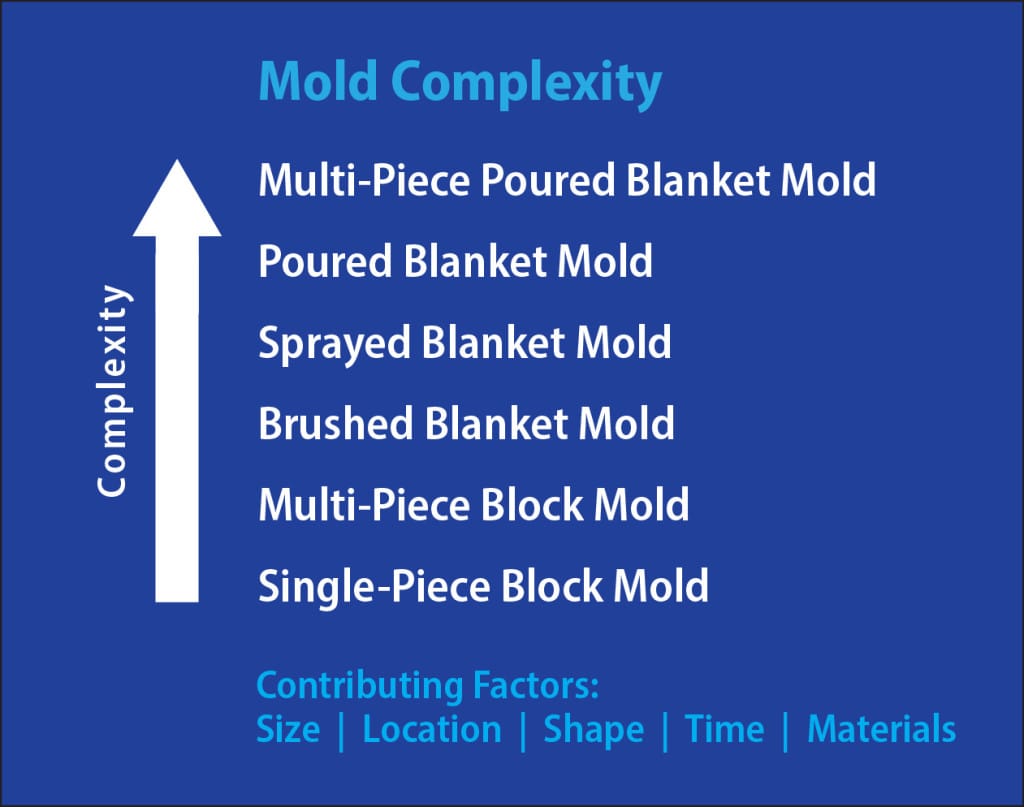
Complexity of Blanket Molds
In terms of mold complexity, blanket molds are generally more complicated than block molds. Block molds are made by placing the model in a containment area (e.g., mold box) and then pouring mold rubber over the model to fill the contained area ( click here for a one-piece block mold tutorial). Generally, blanket molds require less mold rubber, but often require more time and expertise.
Why Make a Blanket Mold Instead of a Block Mold?
Location, size, and shape of the model often determine the mold making method.
Location
For instance, a block mold would not be feasible for this vertical column located 10 feet above the ground, so a brush-on blanket mold method is used:
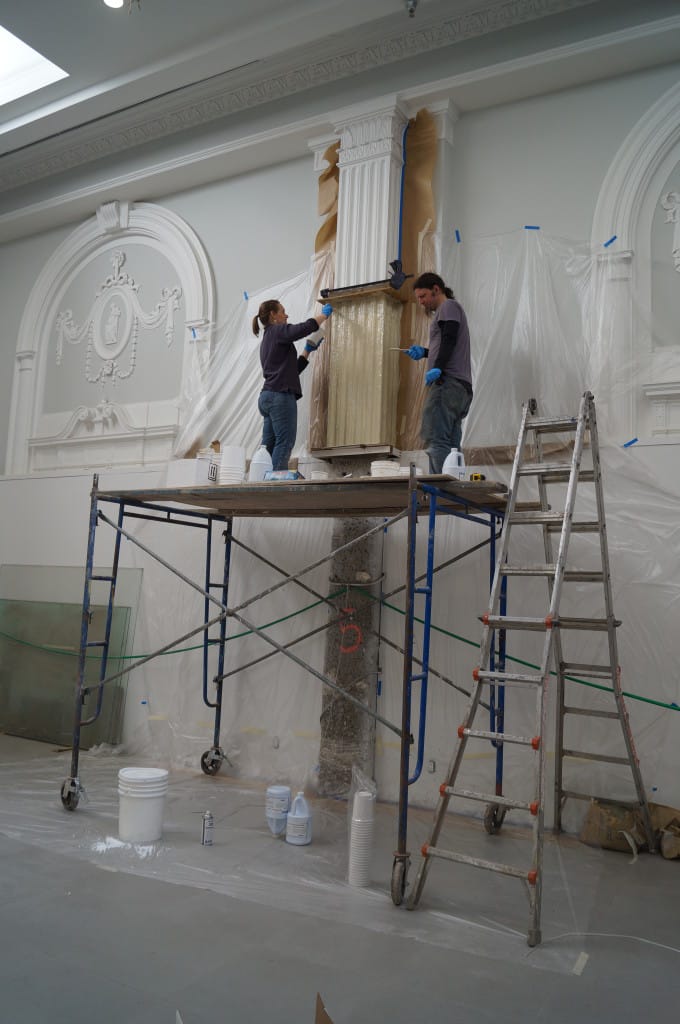
[^read this how-to article ]
Also consider, for example, a large gargoyle perched on the roof of a tall building. It would not be practical to build a large mold box around the gargoyle and pour the rubber; a brush-on or sprayed blanket mold would be the most suitable option.
Size & Shape
Blanket molds are also preferred for large or irregularly shaped models. For instance, the poured block mold technique would not be a suitable method for a life-size sculpture of a man, especially if his limbs are extended in varying directions; a brush-on or spray-on blanket mold would be the most appropriate choice.
Cost
Some choose the blanket mold technique because it requires less rubber. This does cut down on the cost of rubber; however, the materials needed for the mold shell also need to be factored in.
What are the Best Mold Rubbers to Use for Blanket Molds?
In the past, latex rubber was the go-to option for blanket molds; however, more and more mold makers are moving to polyurethane and silicone mold rubbers because these molds do not take nearly as long to complete. Because each layer of latex rubber must dry before the next layer can be applied, creating adequate mold thickness can take weeks. Polyurethane and silicone blanket molds can be completed in one day.
Product Options for Poured Blanket Molds
The majority of Polytek mold rubbers are considered “pourable”, which means that their viscosity is low enough that they can easily be poured over a model. There are numerous rubbers that can be used for this method, including polyurethane and silicone options. The casting material that you will pour into the finished mold and the Shore hardness of the rubber will play major roles in the final selection.
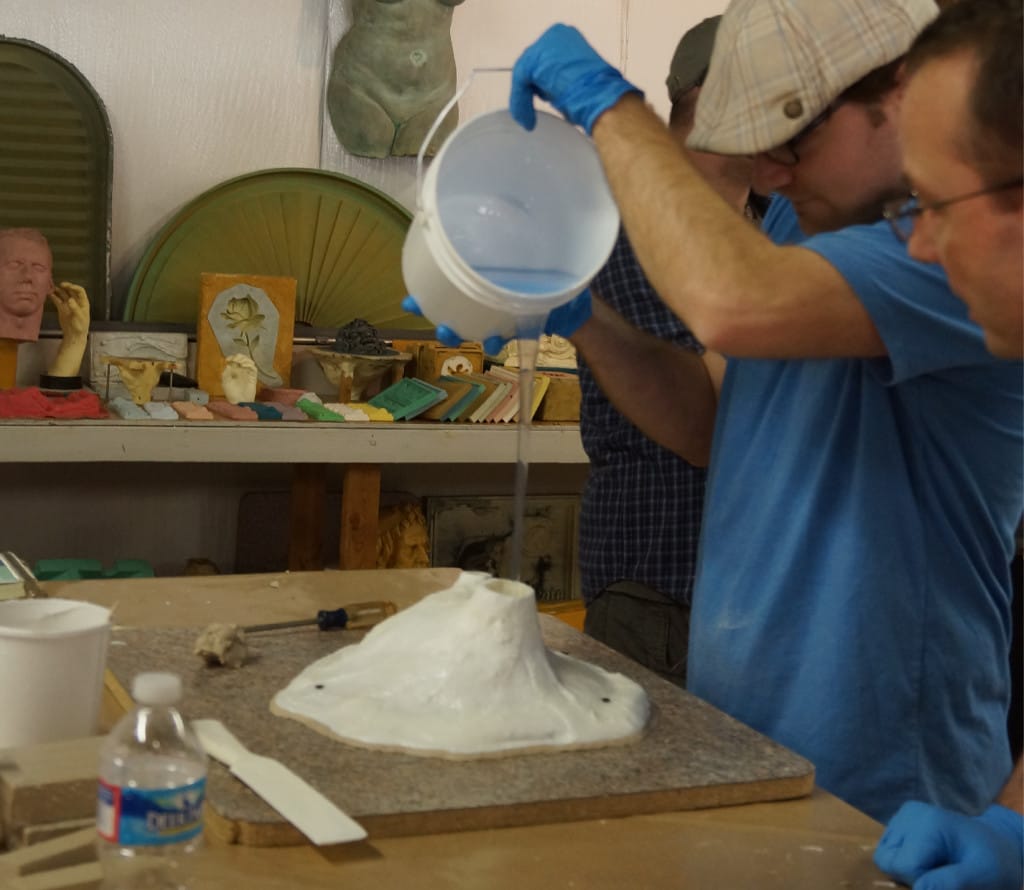
[PlatSil® 73-20 silicone rubber being poured into a mold shell and over a model to make a blanket mold]
Product Options for Brush-On Blanket Molds
The pourable rubbers mentioned above will run off of vertical surfaces, so in their natural state they are not suitable for brush-on application. By adding a thickener, like PolyFiber II (for polyurethane rubbers), Polytek pourable rubbers can be thickened to a consistency that can be applied by brush. Cabosil or liquid thickeners should be used for silicone mold rubbers. Accelerator can be added to rubbers with long pour and cure times in order to reduce the amount of time it will take to complete the mold. Again, final selection of a rubber is heavily based on the casting material you will be using as well as the mold rubber hardness best suited for the application.
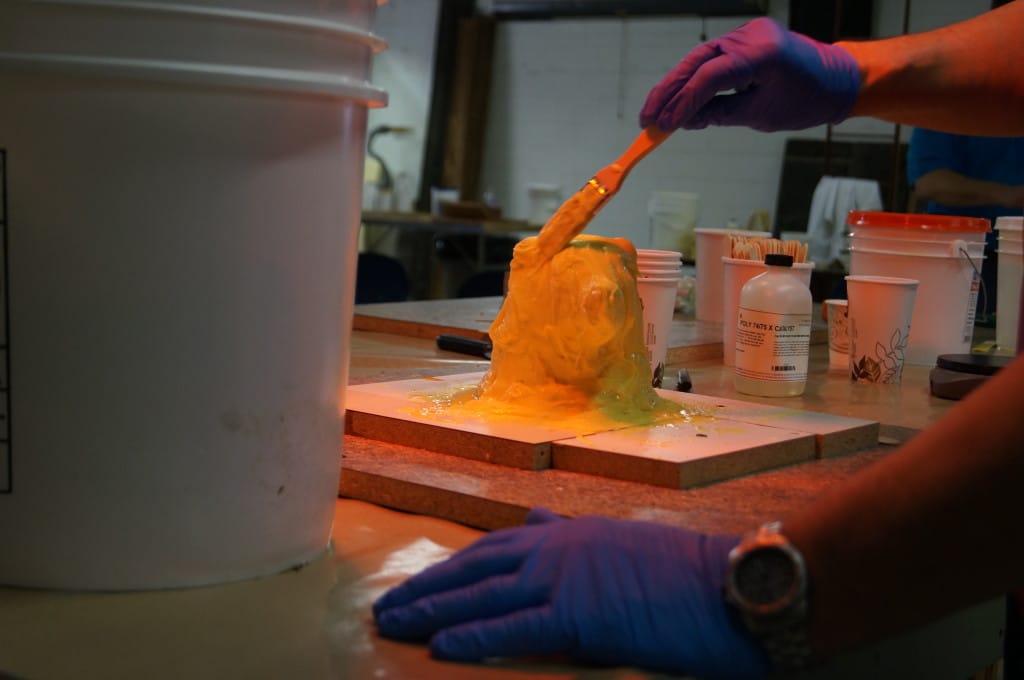
[Poly 74-20 Liquid Rubber with PolyFiber II being brushed onto a clay sculpture of a bear head]
Polytek also offers self-thickening rubbers, including Polygel® 35 (a polyurethane rubber) and TinSil ® Brush/Spray 25 (a tin-cured silicone rubber), that immediately thicken to a brushable consistency when Part A & Part B are properly mixed together; there is no need to add a thickening agent.
[Polygel® 35 Brush-On Rubber being applied to a clay sculpture]
Product Options for Spray-On Blanket Molds
Polygel® Spray 35, Polygel® Spray 50, and TinSil® Brush/Spray 25 are designed to be used with meter-mix spray equipment, like Plas-Pak Spray Guns, for making spray-on blanket molds.
[A Polygel® Spray 50 mold being removed from the model]
Polytek Plastics for Mold Shells
Mold shells can be made from a variety of materials, including plaster, plaster and hemp, plaster and burlap, polyester resin and fiberglass, polyurethane foam, firm polyurethane rubber, and polyurethane plastic.
One of Polytek’s most popular options for the creation of mold shells is Poly 1512X liquid polyurethane plastic. When combined with PolyFiber II thickener, it can be easily applied by brush. It has a fast working time of ~5 minutes and can be demolded after approximately 30 minutes.

Do you need assistance selecting the most appropriate mold rubber and mold making method?
Call us at 800.858.5990.
Email us at sales@polytek.com.
Fill out this
simple online
form.