Plasticine Clay: Multiple Uses in Mold Making
Poly Plasticine is a non-hardening, sulfur-free modeling clay. It is non-toxic, odorless, and has a smooth, firm consistency.
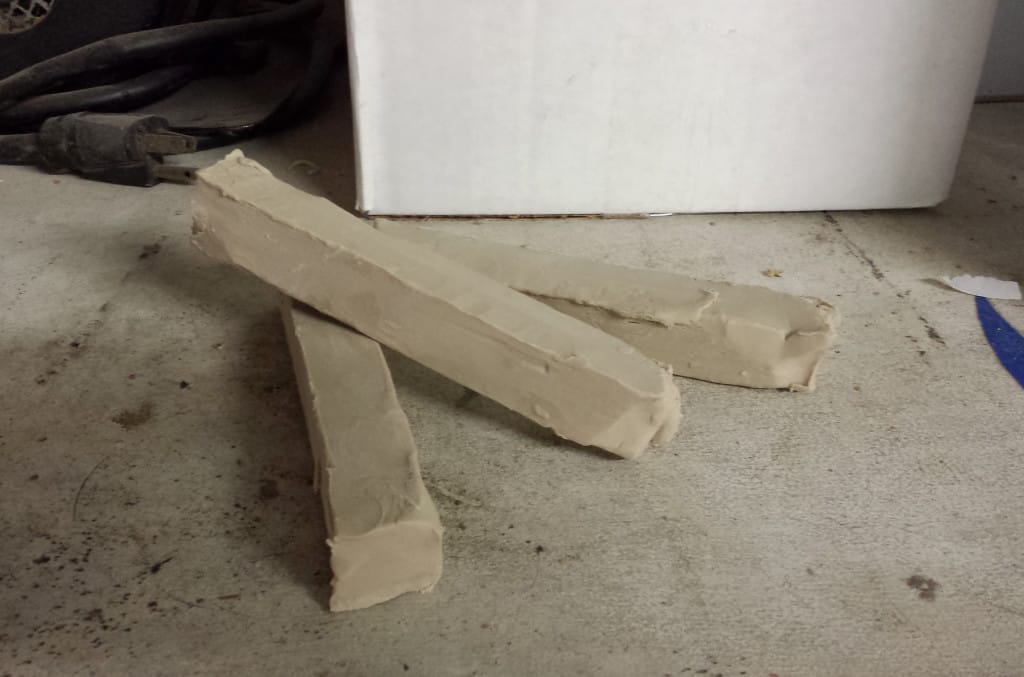
It’s great for sculpting, which might be what most people think of when they hear modeling clay; however, we use this clay for varied purposes in our mold shop. You may be able to incorporate some of these uses into your everyday mold making routine.
We mentioned earlier that the clay that we use is sulfur-free. This is important because sulfur can cause
cure inhibition in
platinum-cured silicone rubber. It is best to use an oil-based, sulfur-free clay, especially when
working with platinum
silicones.
Clay as Caulking
For the purposes of sealing, clay can often be easier to work with than hot glue or silicone caulking (and clay is recyclable!), especially when it’s warmed for easier application. We always keep a batch of clay in our oven, set at 140°F, so it’s ready to go at any time.
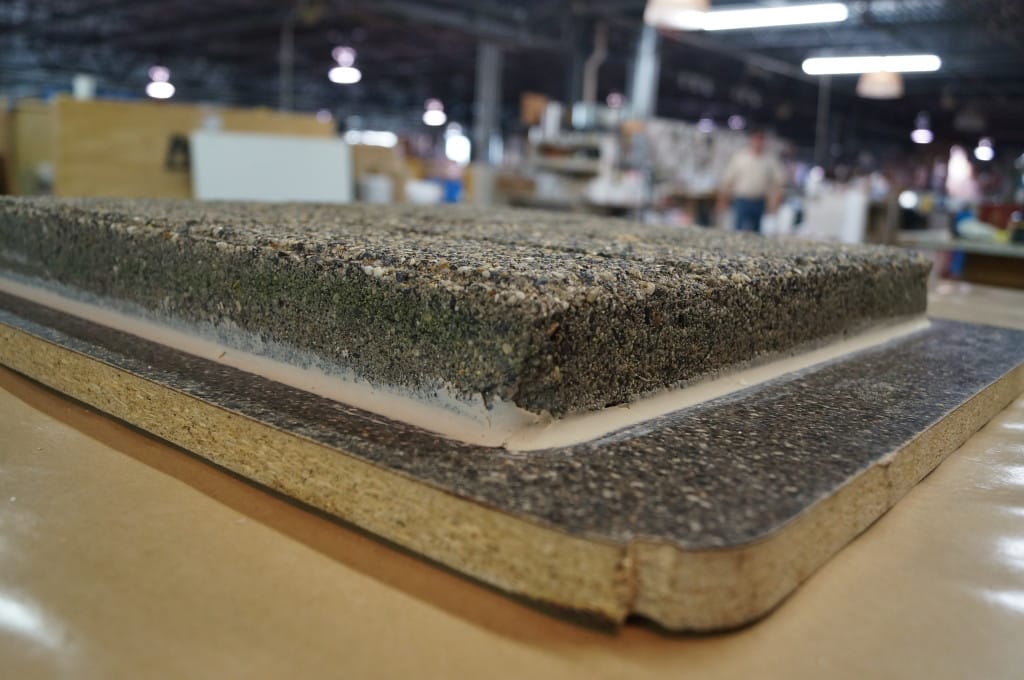
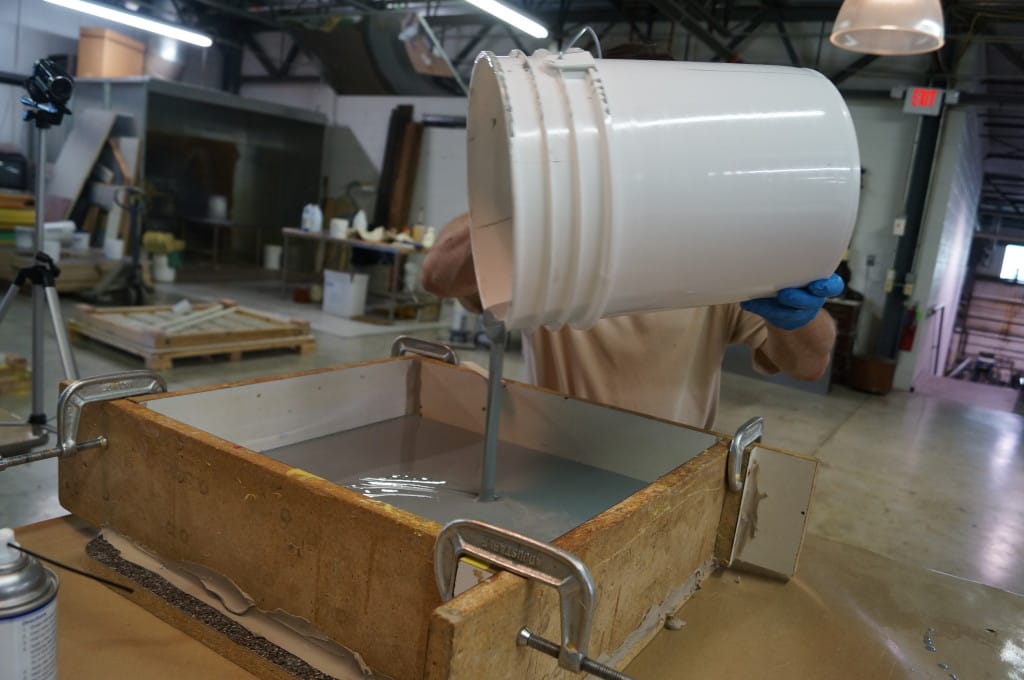
The photo below shows the edges of this stepping stone sealed with clay. This is a common practice that helps prevent rubber from leaking beneath the stone once the mold box is constructed around the stone and rubber is poured over it to make the mold (shown in the second picture below).
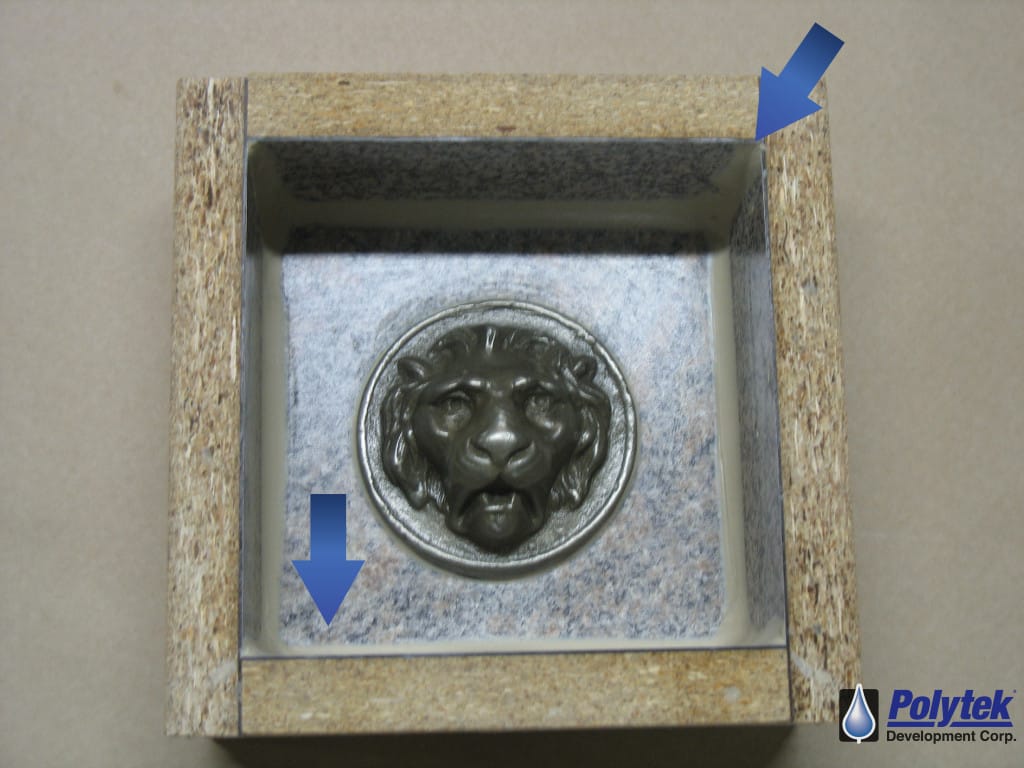
In a similar scenario, pictured below, clay is used to seal the interior edges of the mold box to help prevent rubber from leaking outside of the mold box [see this project tutorial here].
Below, clay is used to seal the exterior edges of a mold box that’s being used to make a two-part baluster mold.
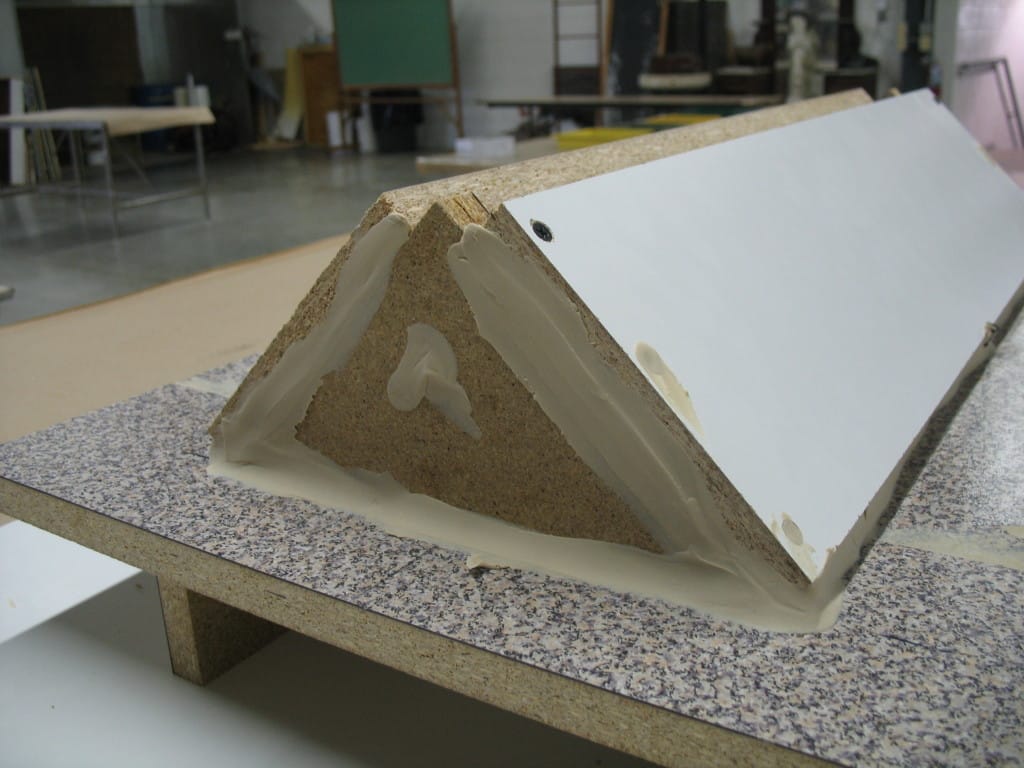
Plasticine clay can also be used to the seal the edges of mold shells. The mold shell below is constructed from Poly 1512X polyurethane plastic; the clay seals the edges as well as the areas around the hardware that is securing the mold shell to the base board.
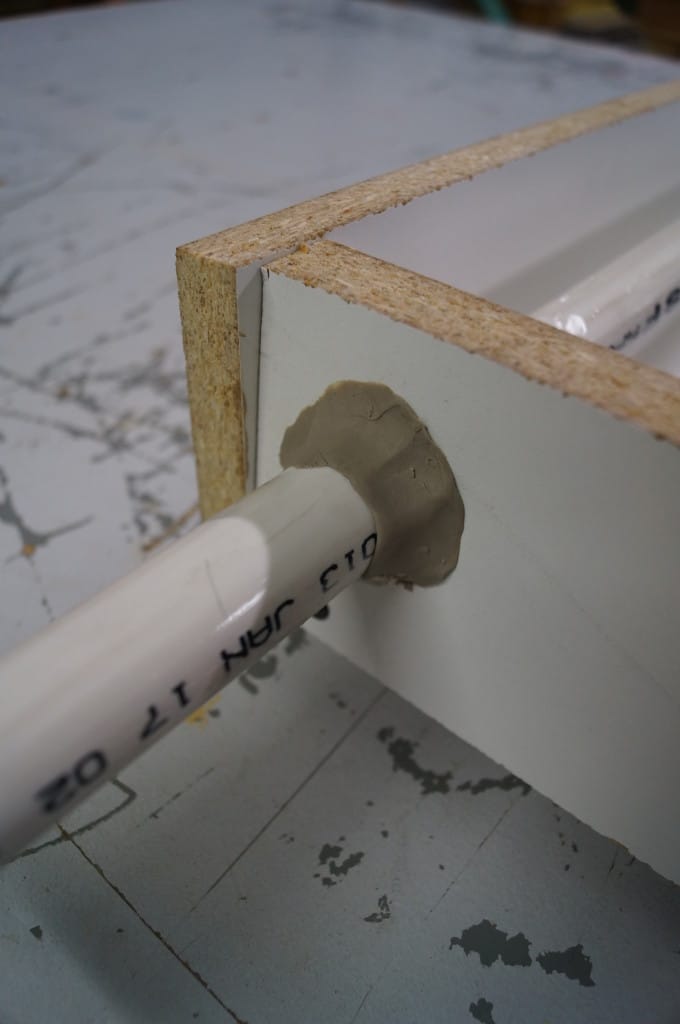
The plastic tubing pictured below is being used to create a through-hole in the mold. Clay is applied around the tube to help prevent leaks while the mold is being made.
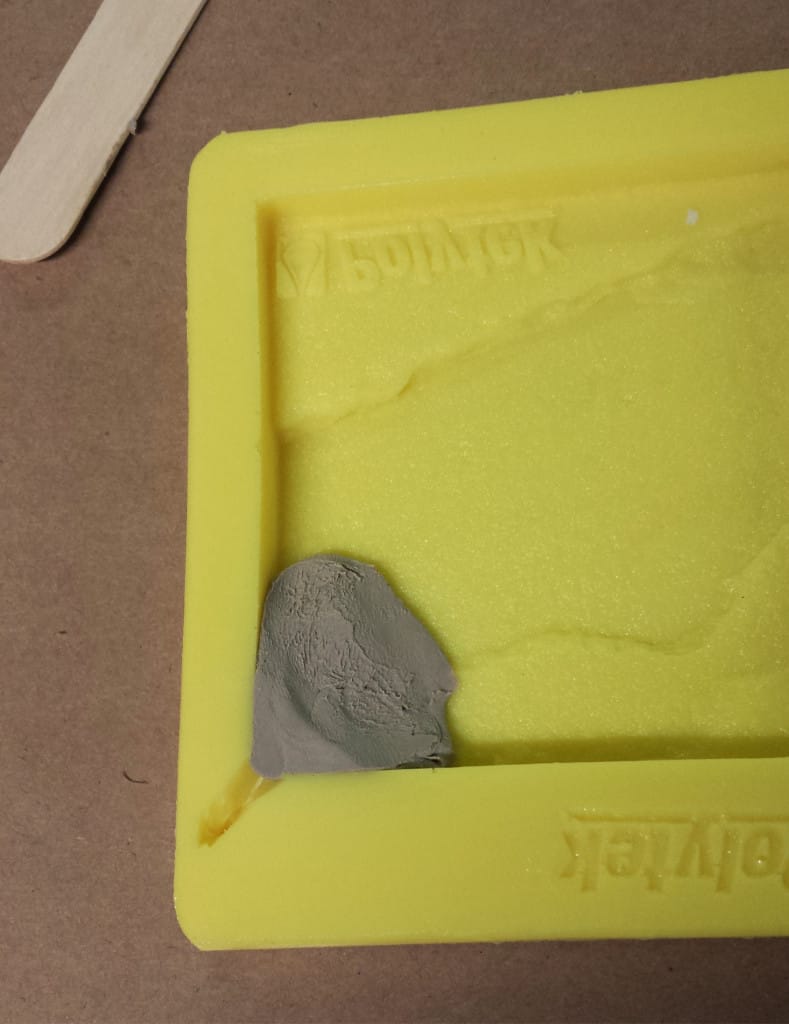
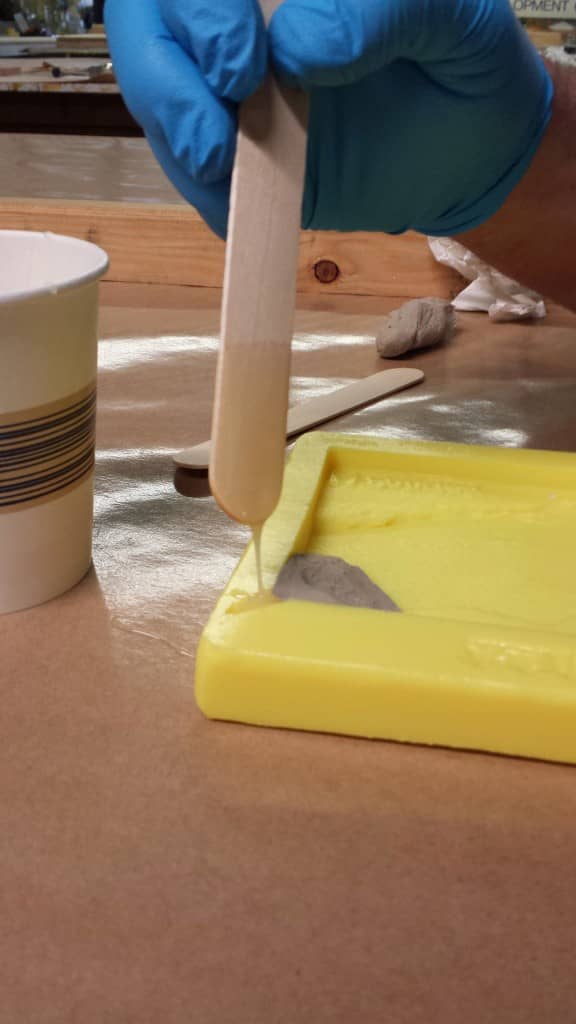
In the picture below, clay is being used to partition off an area of the mold that needs to be repaired with PolyBond adhesive.
Clay as Mold Boxes & Containment Areas
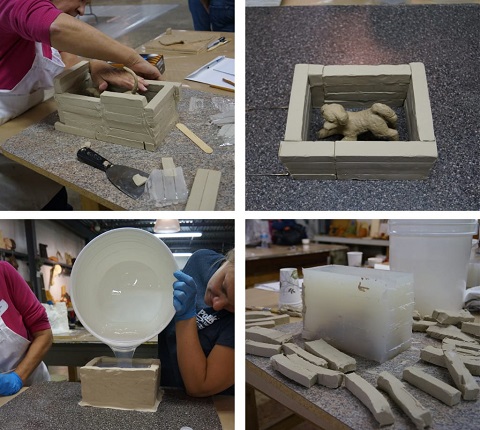
Not only is plasticine clay great at sealing mold boxes, it can can actually serve as a “mold box”, or containment area, itself. An example is pictured below.
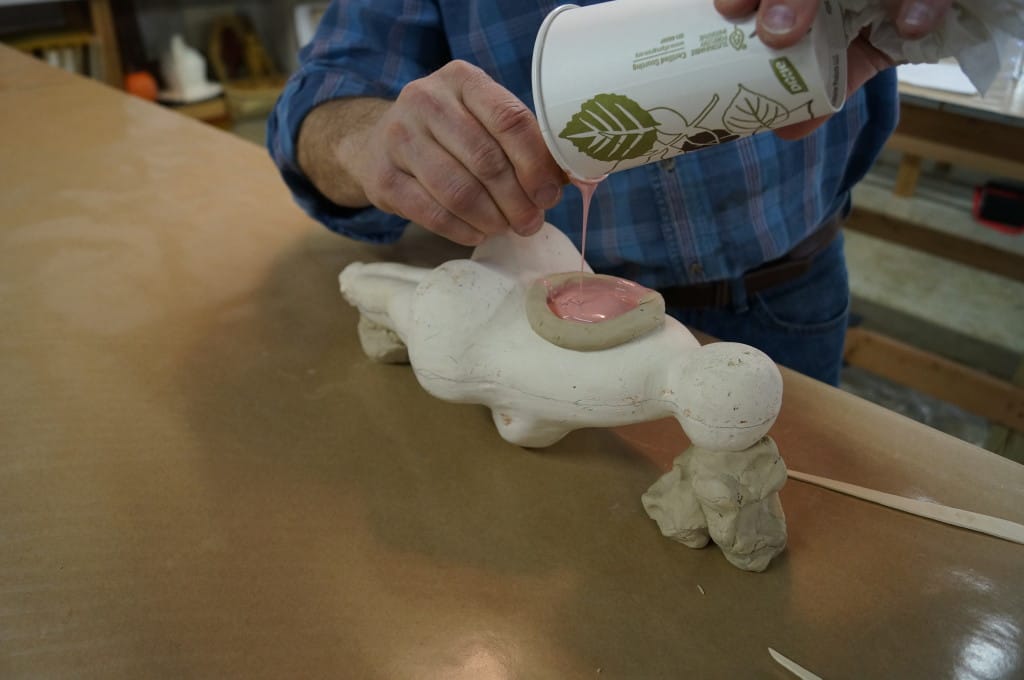
In the picture below, we use clay to create a small containment area on the model to test for cure inhibition against the model material.
Two-Part Block Molds
Clay is an integral part in the making of two-part block molds, which are constructed by pouring one piece of the mold, allowing it to cure, and then pouring the second piece.
Before pouring rubber to make the first half of the mold, one portion of the model is embedded in clay, up to the desired parting line (example below).
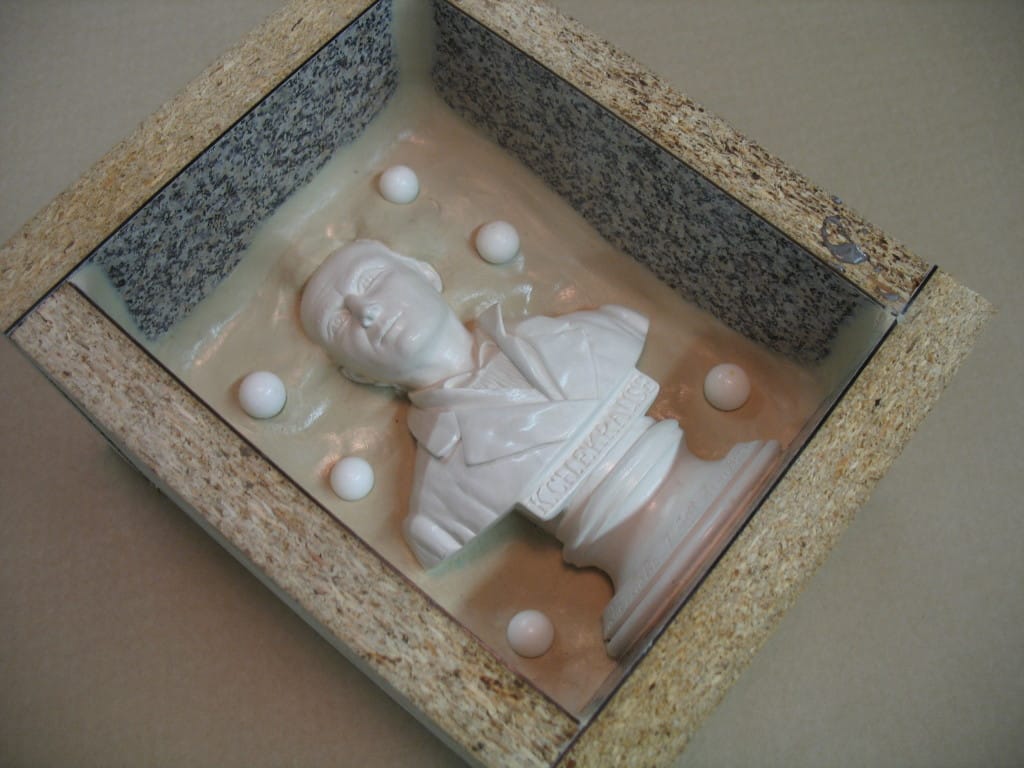
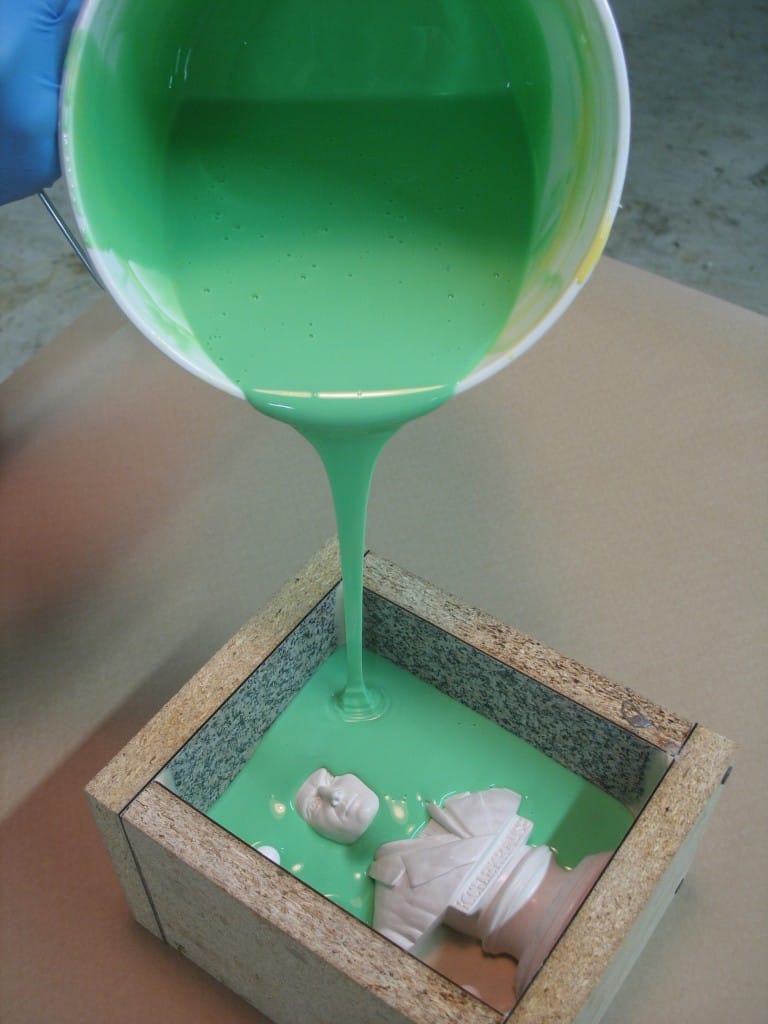
Once the rubber has cured, the clay is removed and the second half of the mold is made.
Poured Blanket Molds
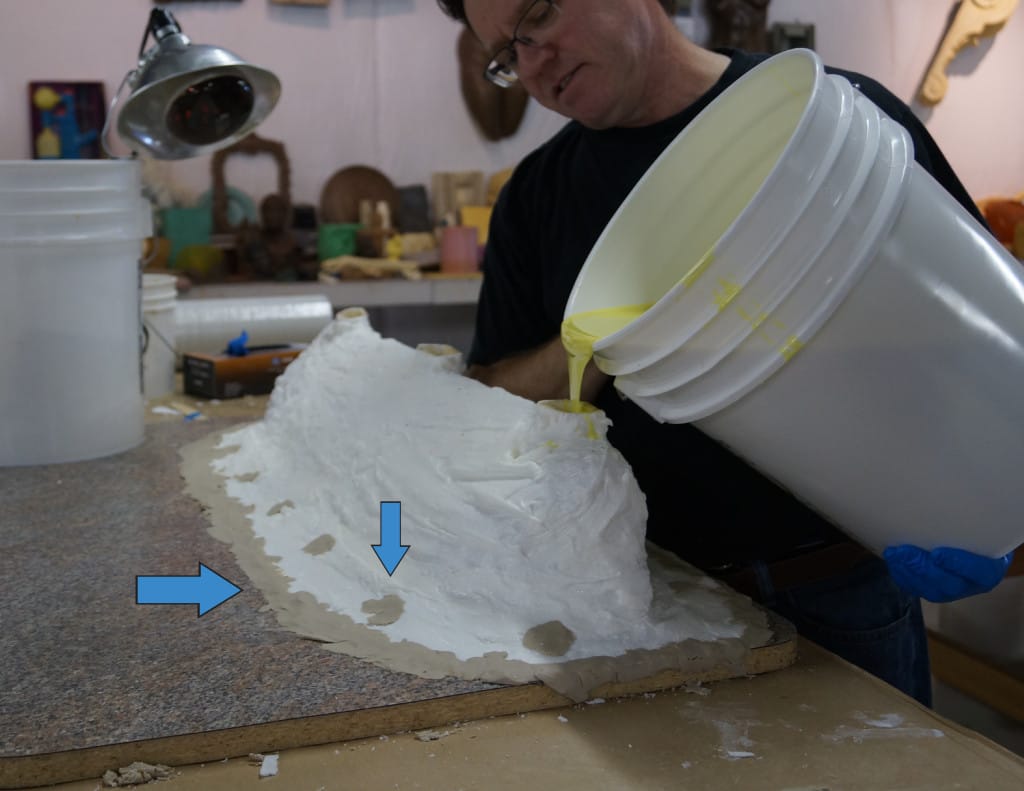
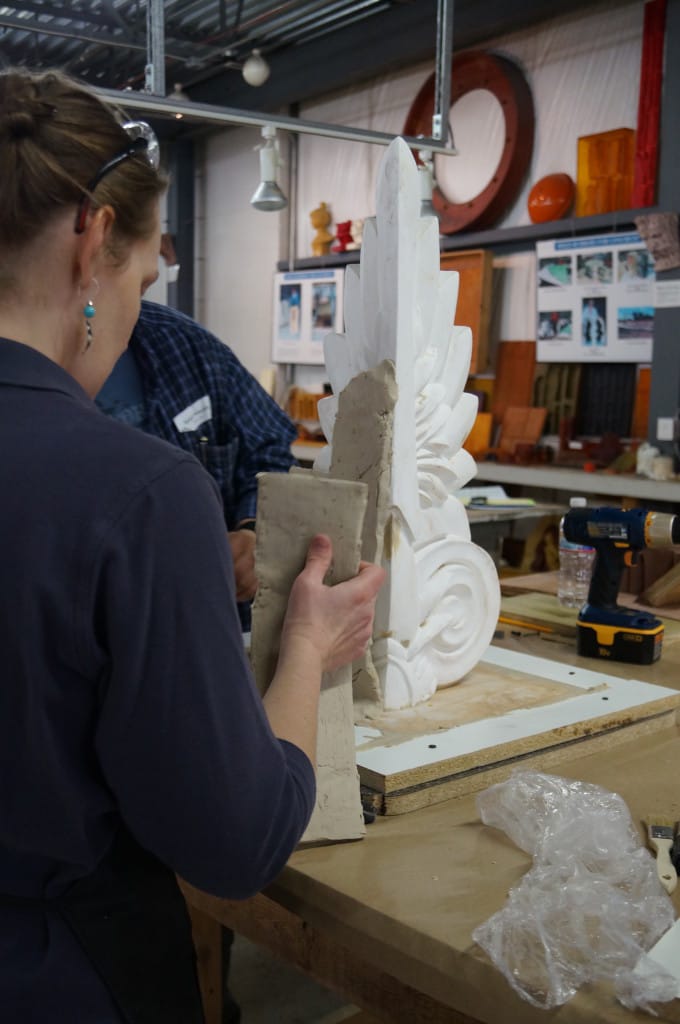
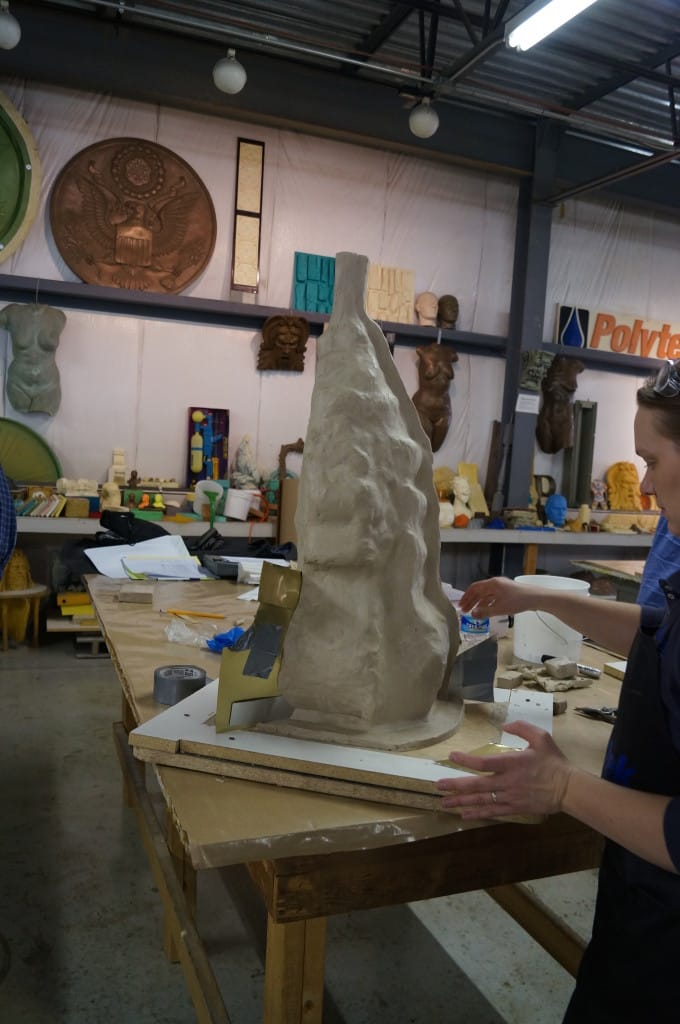
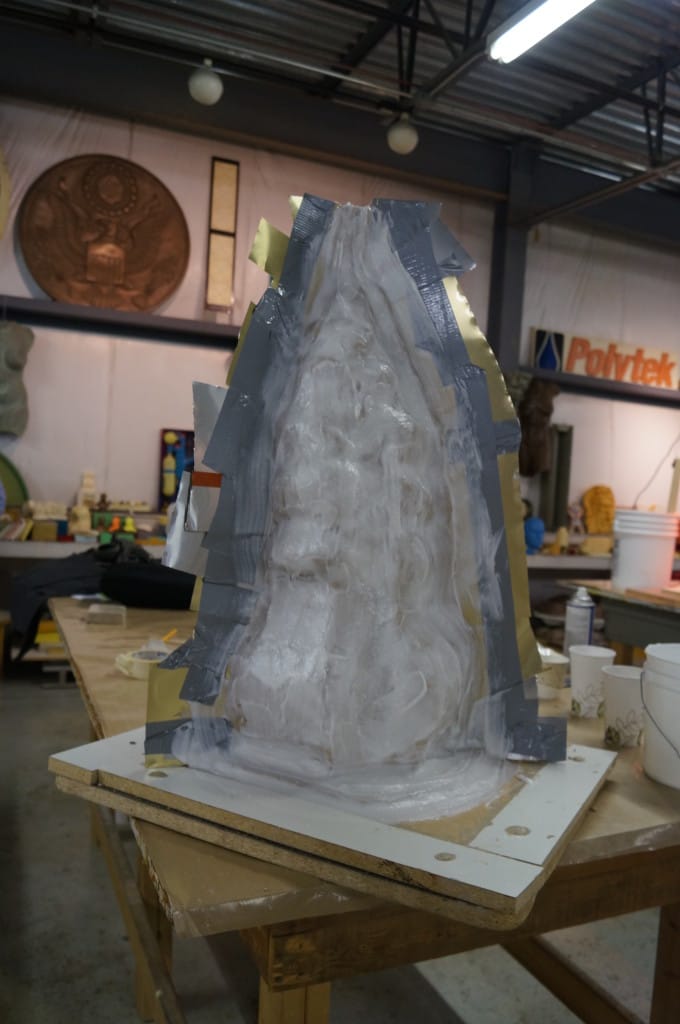
Clay also plays a very important role when making poured blanket molds. In this process, the model is covered in a layer of clay (plastic wrap is often placed over the model before doing this) and then a mold shell is constructed around it (pictures below).
Following construction and cure of the mold shell, the shell and clay are removed and then the shell is re-positioned back over the model. Mold rubber is then poured into the mold shell, covering the model and filling the space that the clay once occupied.
Keying
Keys are tongue-and-groove or button-like impressions that align molds or mold shell sections. The brush-on silicone mold pictured below is ready for mold shell construction. Before brushing on the first half of the mold shell, a cardboard shim is constructed to establish a parting line for the two halves of the mold shell and then two clay keys are positioned on the shim. The first half of the mold shell is brushed over the shim, clay keys, and mold. When the second half of the mold shell is constructed, the keys will provide an area of impression where the two halves will align nicely.
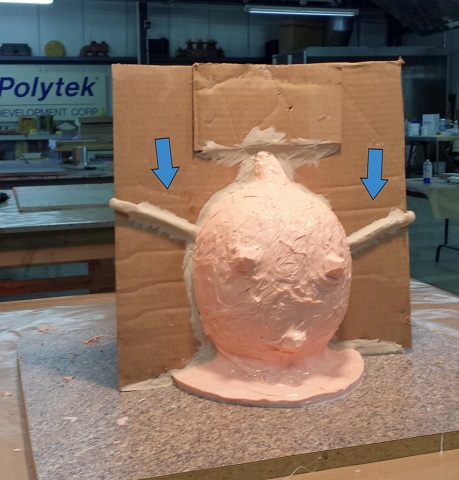
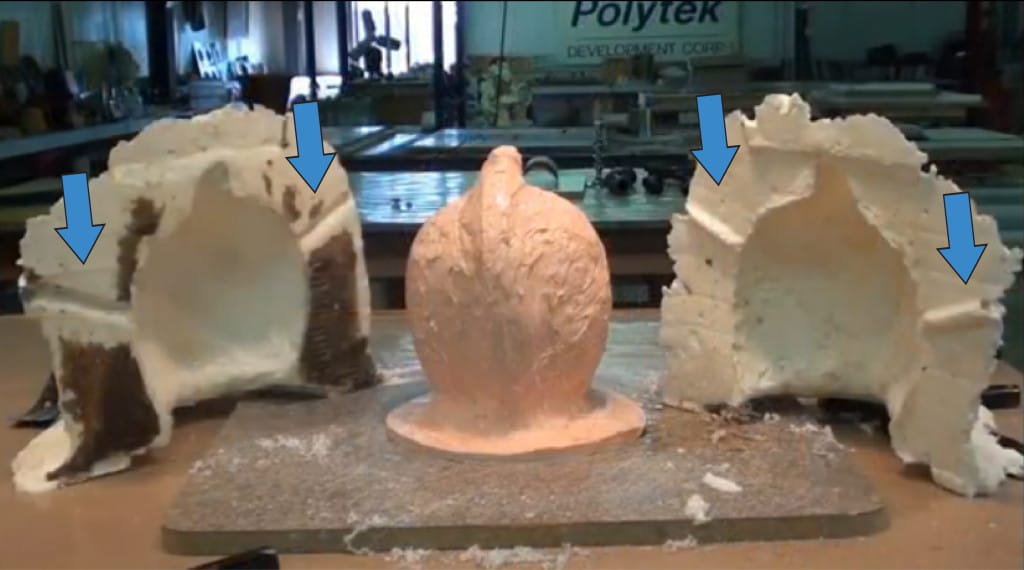
Shims to Make Parting Lines for Mold Shells
While cardboard was used to make a shim in the example above, clay is used in the example below. The finished mold shell is also pictured.
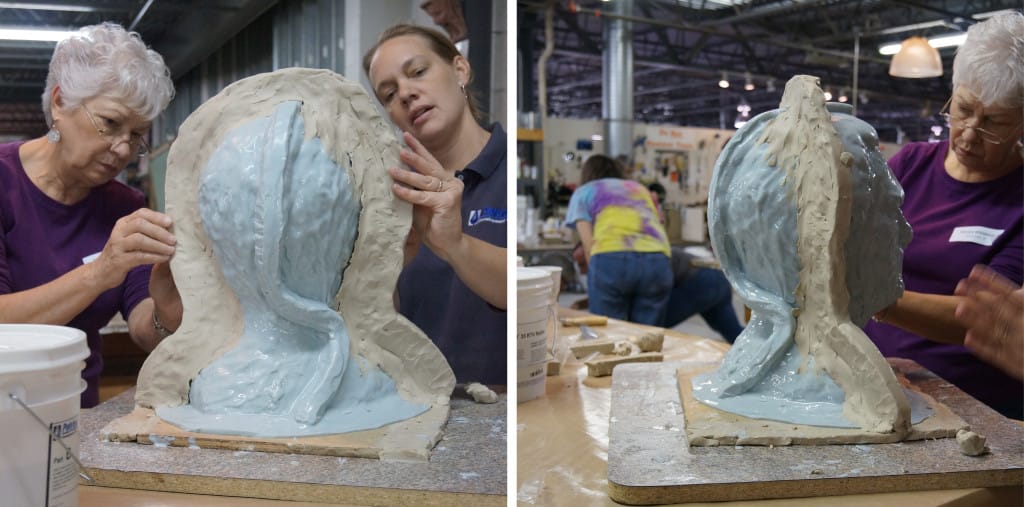
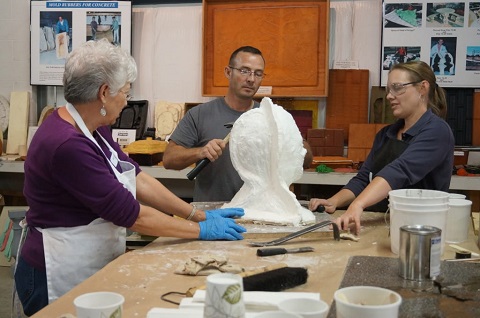
Modifying Models
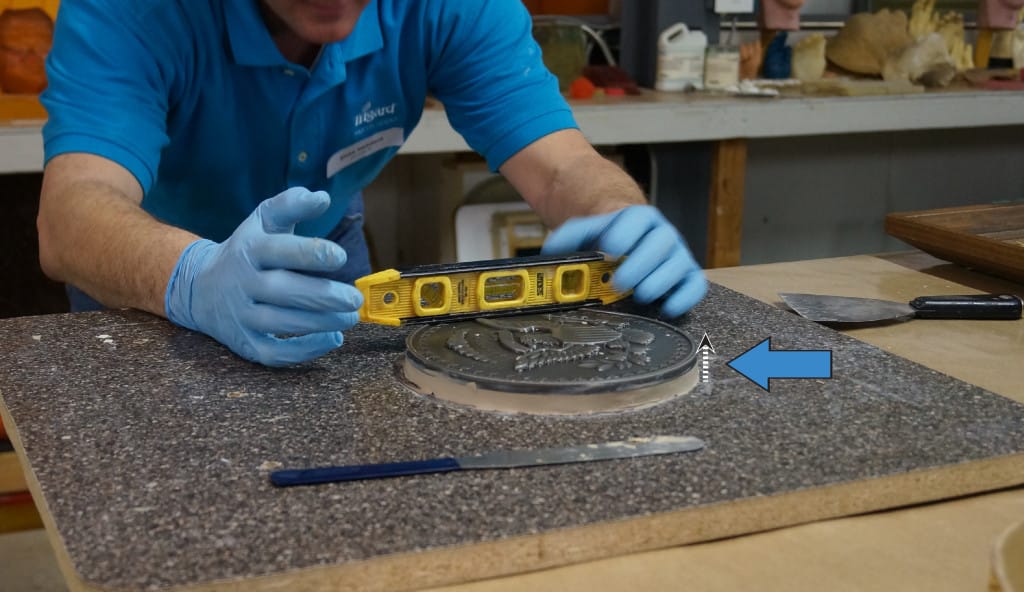
Clay can be used to modify models before the mold making process. For instance, the person making a mold of this medallion wanted the final concrete castings to be thicker, so, prior to making the mold, he increased the height of the piece by adding a uniform layer of clay beneath the medallion.
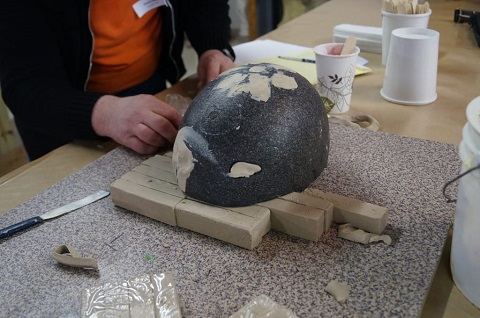
In this example, the holes in the model below were filled with clay prior to mold making because the holes were not wanted in the final castings.
What else do you use clay for around your shop?
Would you like to discuss your next mold making or casting project with a Polytek Technical
Support staff member?
Call us at 800.858.5990.
Email us at sales@polytek.com.
Fill out
this
simple online form.