
Flooring Products
Our systems are formulated to meet the needs of your customers. Let us help you under our label or yours.
Polytek |
|
 |
 |
| Polytek | |
| Poly FL17 Resin & Hardener | |
| Fast 85% SOLIDS POLYASPARTIC FLOORING | |
| SYSTEM--Basecoat | |
| FL17 Resin with FL17 Hardener is a two component, 85% solids, fast drying polyaspartic floor coating system with excellent moisture barrier and superior adhesion to concrete surfaces that supports one-day installation. The FL17 System has a low mixed viscosity and 2-hour overcoat window that is ideally suited for industrial cement floor coating applications. |
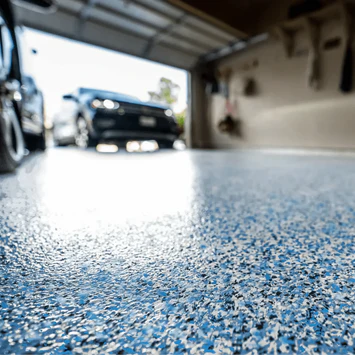
Polytek Flooring Products offer the best in durability, scratch, heat, and UV resistance. From novice to seasoned professional, Polytek Flooring Products offers solutions for every level. Fast cure time options allow contractors quick dry and recoat times while longer cure materials offer the ability to do large floors with plenty of time to work with metallics and colors.
What Are the Benefits of Epoxy Flooring?
Aside from the customizability and the unique finish supplied by flooring epoxy, there are numerous benefits attributed to it. These include:
- Chemical Resistance
- Scratch Resistance
- UV Resistance
- Impact Resistance
- High Strength
- Superior Adhesion
- And more!
How To Do Epoxy Flooring?
Safety First
When it comes to applying flooring epoxy, your material is only as good as the base it’s adhered to. The level of success rests in the attention to preparation and following the specified instructions. Preparation is key to achieving your best possible results. Additionally, wear the appropriate PPE. At a minimum, it's recommended you wear a respirator, safety glasses, and gloves.
For Epoxy Flooring, Preparation is Key
Before applying your flooring epoxy, several conditions must be met on behalf of your concrete. Firstly, if the concrete you will be coating has been recently poured, we recommend the concrete cure for a minimum of 28 days before the epoxy is applied. Various other factors such as alkaline levels, efflorescence, and relative humidity need to be taken into consideration before the application process as well. The numbers that your base flooring needs to meet to be compatible with flooring epoxy depend on the specific product you use.
Failing to adhere to the necessary conditions for proper epoxy flooring adhesion may result in a flooring finish that is discolored, delaminated, or overall complete failure of the application process. If at any point, you’re concerned about how epoxy flooring will work with your base flooring, it’s always good to test your material on a small section of the floor beforehand.
To prepare your concrete surface, remove any debris of any kind from your flooring. This includes brick, tile, dust, etc. Chisel away pieces of materials such as brick and tile and sweep away or vacuum dust and looser debris.


If you have any holes or cracks in your concrete, you can use an angle grinder to open them up. Opening them up helps remove any loose debris and prepares them for proper patching.
There are a variety of products available to patch up holes and cracks in your concrete. Choose the one that works best for you and follow strict instructions to ensure proper coverage.
At the end of the day, it’s crucial to make sure your concrete surface is both level and patched. After all, flooring epoxy is liquid and can seep into any unpatched or uneven spaces.
We recommend shot blasting or diamond grinding to prepare your concrete for floor epoxy adhesion. For the best results, the concrete surface should feel like 50 grit sandpaper before application. Use a vacuum or compressed air to remove all dust and debris from your surface before continuing.

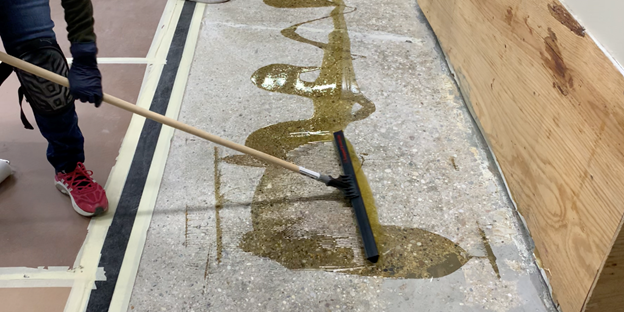
Time to Prime
Before applying flooring epoxy, it’s a great idea to use a thin layer of moisture-sealing epoxy primer of some kind. For applying the primer, we recommend using a squeegee to spread it around and a 3/8th inch non-shed nap roller to back roll and evenly spread across your concrete. If you find that there are areas that are harder to reach, use a chop brush or small roller.
Allow the primer to dry for 6 to 7 hours before applying another coat within 24 hours. If you pass this 24-hour threshold, you can still reapply a layer, however, you will need to sand the surface with a 100-120 grit drywall sander for proper adhesion. If you do end up sanding, make sure to revisit the vacuuming and debris removal process before proceeding. You can also use a spray bottle to apply acetone and wipe away any remaining small dust particles.
Measure and Mix
Choosing the right flooring epoxy depends on many things, including what kind of finish you want. There are clear options that can be tinted with dyes and pigments or ones available in specific colors to suit the look you’re shooting for.
When it comes to mixing and measuring, the process will vary depending on the product. A common measuring ratio is 2:1, that is, 2 parts Side A with one part Side B by volume or 1:1. From that point on, you may use a drill motor to mix both parts for several minutes at a low speed. It’s always important to continuously scrape the sides and bottom of your mixing container to ensure a thorough mixture.
Some products will have a shorter working time once they’re spread out on the prepared concrete flooring, so you don’t want to linger on keeping the mixture in the bucket too long.
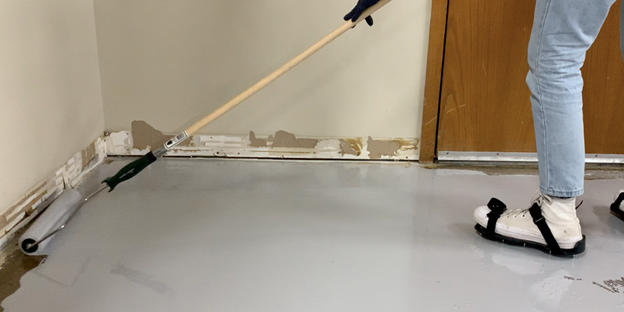
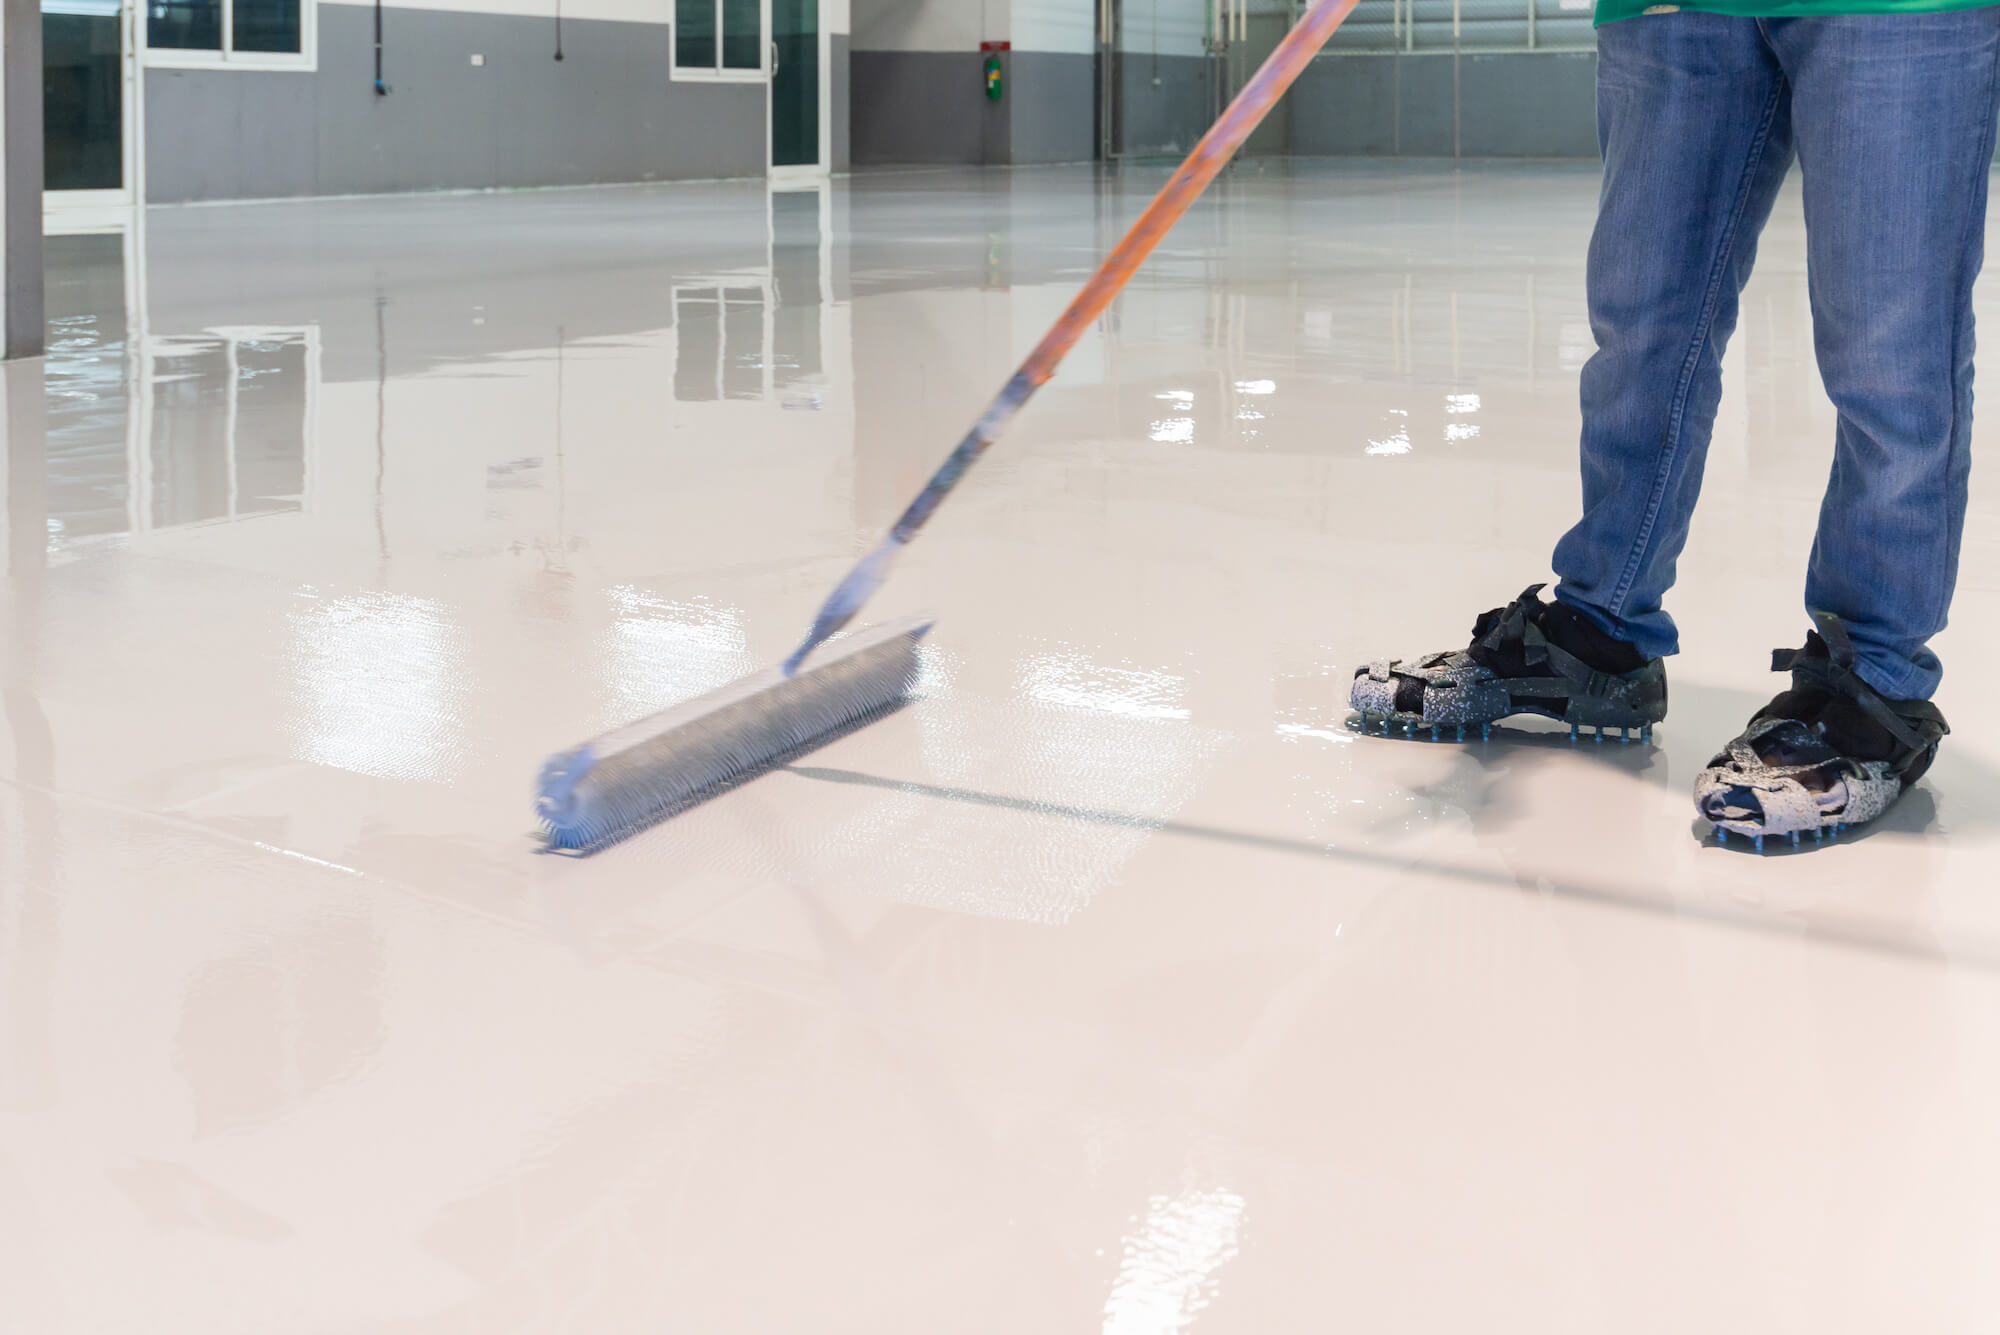
How to Apply Epoxy Flooring
Spread properly mixed and dyed epoxy flooring in strips along the edges of your room, so that you can go in with a small utensil such as a brush to cut in on those hard-to-reach areas. After dealing with the edges, pour the material and use a trowel or squeegee to spread evenly, and back roll the epoxy. Non-skid aggregates can be applied at this stage to create stronger slip resistance.
You may want to apply multiple coats to your floor, in which case, we recommend waiting for the product's prescribed amount of time before reapplying. Usually, this is when the first coat is dry to the touch.
Epoxy Flooring Cure Times
There is no one specific cure time across all brands and available epoxy flooring products. Additionally, cure times are sometimes separated based on the type of traffic it’s looking to support. So, one product may allow for light foot traffic after a 24-hour cure, light vehicle traffic after 72 hours, and finally, will result in a full cure after 3 to 7 days. The best approach to cure time with epoxy flooring is to pay attention to each product's needs.
How to Clean Epoxy Flooring
If you’re wondering about how to clean epoxy flooring, the only big thing that you have to watch out for are highly acidic cleaning products. Using things like isopropyl and acetone may eventually wear down the epoxy. Generally, a warm water wash with mild soap and detergent will do the trick.
What is Polyaspartic Flooring?
Another up-and-coming type of flooring that allows for both durability and customizability is Polyaspartic Flooring. Polyaspartic Polyurethane is a material subset of polyurethane that, when used in floor coatings, results in a combination of two parts creating a customized and strong surface. Just like with flooring epoxy, you can customize your polyaspartic flooring finish by adding color or distributing decorative paint chips. Different polyaspartic flooring products exist with shifted chemistry to allow for qualities such as faster drying times or limited-gas emissions.
What are the benefits of Polyaspartic Flooring?
Although it depends on the specific products, generally, in addition to being customizable, polyaspartic flooring’s advantages include:
- Chemical Resistance
- Scratch Resistance
- UV Resistance
- Impact and Abrasion Resistance
- High Strength
- Superior Adhesion
- Color and Gloss Retention
- Application Versatility
- Flexible Drying Times
- And more!
How to Apply Polyaspartic Flooring?
Stay Safe
Before working with polyaspartic flooring, always consult product information about the necessary safety and PPE equipment to wear. Typically, the most common items include a respirator, safety glasses, and gloves, but you should consider each environment you’re working in.
Preparing for Polyaspartic
Like with flooring epoxy, there are certain criteria that your base floor needs to meet for it to be compatible with polyaspartic flooring. These include qualities like humidity, pH level, and other factors whose qualifying numbers will be specific to the product that you use. For example, your floor could need to reach a pH reading between 5-9 to be compatible.
As mentioned in epoxy flooring, if there are any holes or cracks in your concrete, you can use an angle grinder to open them up. When you open them up, you’re helping to remove any loose debris and prepare them for proper patching. There are a variety of products you can use to patch up any cracks or holes, it's just essential you follow the appropriate instructions and use what's best for your particular situation.
Always make sure your concrete surface is level and patched before applying polyaspartic flooring. If you have any divots or cracks remaining, you increase the likelihood that your product will seep into those uneven spots.
Again, the success of polyaspartic flooring is all about preparation. Ensure that, whether through the process of diamond grinding or shot blasting, the surface of the concrete floor beneath feels like 30 grit sandpaper. It should also be porous and free of any contaminants before you consider applying your product.

Measuring and Mixing
When it comes to mixing Polyaspartic flooring, the steps for combining the necessary materials might vary depending on the individual product. A common ratio involves mixing one part of each side of the polyaspartic flooring until it forms a homogenous mixture. This is not a universal ratio, however, so always be sure to thoroughly read through instructions beforehand.
Be aware of your product’s working time before measuring and mixing. This will help you section out how much time you’ll need for mixing and calculate what you have left for the pouring and application process.
How to Apply Polyaspartic Flooring
Whether you’re using epoxy flooring or polyaspartic flooring, it’s important to sand in between layers to increase the product’s adhesive capabilities.

The best approach to applying your combined polyaspartic flooring is by using tools such as rollers, brushes, or squeegees. We recommend using a troweled squeegee to initially spread it before rolling back over with a 3/8th inch non-shed nap roller.
Spread thin and evenly to create the perfect surface coating and avoid allowing the material to puddle or be over rolled, as this can affect the overall finish and curing process. For harder-to-reach areas, you can typically cut in using a brush.
You can also apply non-skid aggregates to this coating to create a more slip-free surface.

Polyaspartic Flooring Cure Times
Some polyaspartic flooring options are fast drying and some are slower. Each type is meant to suit a consumer’s specific needs and will likely result in various drying times even across brands. For instance, some slow-drying formulas may need 72 hours before allowing for light foot traffic or even a full 7 days for vehicle traffic. Faster cures may land at about 48 hours cure tie for light traffic and 3 to 7 days for a full cure.
How to Clean Polyaspartic Floors
Clean Polyaspartic flooring using a mop, mild soap and detergent, and warm water. Depending on the product used, you will likely need to reapply another coat in several years to reseal the surface.
Preparation
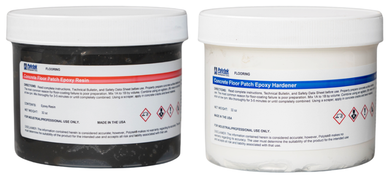
Concrete Epoxy Floor Patch Paste
Easy to use hand-mix paste allows users to quickly and easily fill cracks, divots, and gouges of every size.
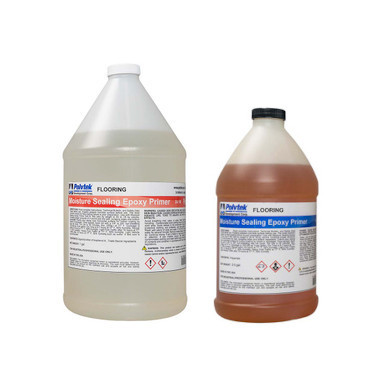
Moisture Sealing Epoxy Primer
Moisture sealing primer that penetrates deep into concrete and provides ultimate moisture barrier and phenomenal adhesion.
Floor Coatings
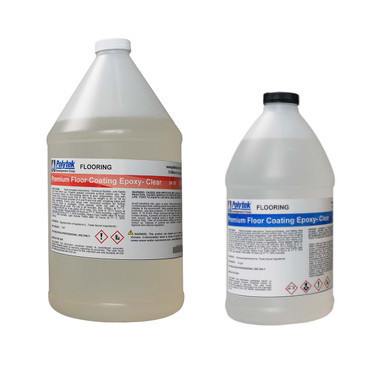
Premium Floor Coating Epoxy - Clear
Ultimate clear epoxy floor coating material for custom colors; compatible with dyes, pigments, metallic powders, and more.
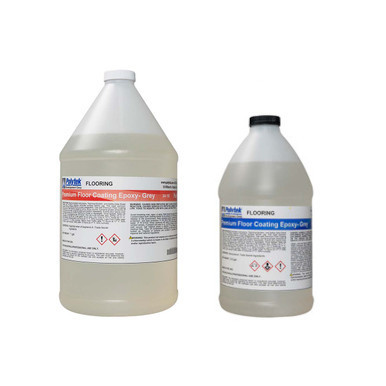
Premium Floor Coating Epoxy - Colored
Ultimate epoxy floor coating material for ease of use and durability pre-colored in your choice of white, gray, and tan.
Top Coats
Ultimate Top Coat Flooring
Best scratch, chemical, and heat-resistant coating. The Ultimate in wearability and protection.
Polyaspartic Extreme Durability - Slow
Extreme durability polyaspartic, perfect for big projects and mass areas where an extended open time is needed.

Polyaspartic Extreme Durability - Fast
Extremely durable and fast polyaspartic, great for small projects or contractors that desire faster tack-free and recoat times and a higher build in one coat.
Additives & Colorants

Dye Pigments
Metallic Pigment Powders
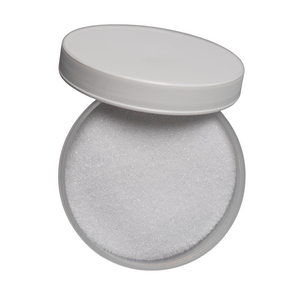
Non-Skid Additives
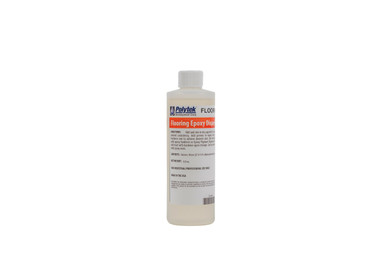
Epoxy Dispersion Fluid
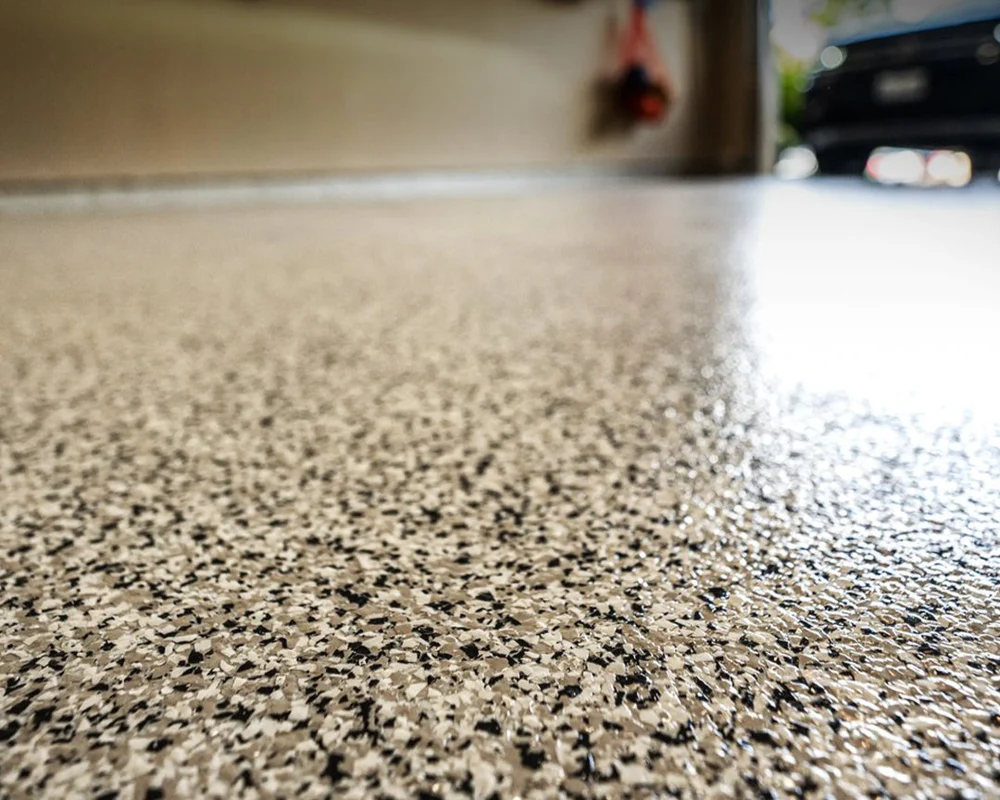
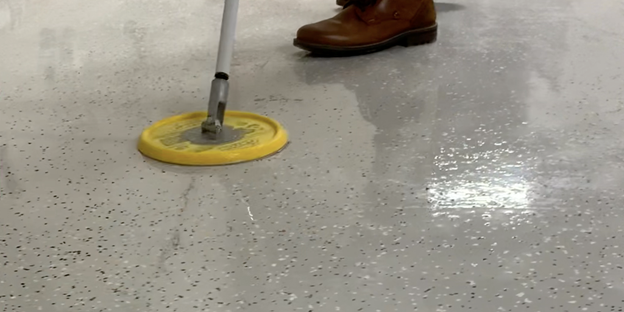
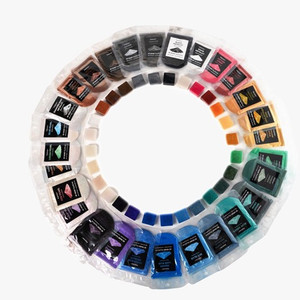
Flake Collection
Polytek’s Flake Aggregate Collection is engineered to enhance the aesthetic and ergonomic qualities of the most challenging flooring environments.
Perfect for a customized finish, this product was designed for use in conjunction with our Epoxy Flooring system. For full coverage, broadcast flakes at a rate of 10 sq. ft per lb. For a lighter density of flakes, apply at a rate of 100 sq. ft per lb. After the basecoat has dried, the flakes may be scraped or lightly sanded to remove any high spots.
- Perfect for a Custom Floor Finish
- Enhances Aesthetic and Ergonomic Qualities
- Variety of Collection Colors Available


Application Examples


Polytek® Epoxy Flooring
Technical Reference Chart
| Series |
|---|
| Preparation |
| Floor Coatings |
| Top Coats |
| Product | Mix Ratio | Shore D Hardness |
Color | Mixed Viscosity (cps) |
Coverage | Work Time | Recoat Time | Dry Time | Light Foot Traffic |
Light Vehicle Traffic |
Full Cure | VOCs | Tensile Strength |
|---|---|---|---|---|---|---|---|---|---|---|---|---|---|
| Concrete Epoxy Floor Patch Paste | 1:1 | 45D | Gray | 7,500-10,000 | N/A | 35 min | 4-8 hours | 4-8 hours | 24 hours | 48 hours | 3-7 days | 0 g/l | 1,490 psi |
| Moisture Sealing Epoxy Primer | 2:1 | 80D | Amber | 1,150 | 125-160 sq ft/gal (10-12 Mil) | 30 min | within 24 hours | 6-7 hours | 24 hours | 72 hours | 3-7 days | 0 g/l | N/A |
| Premium Floor Coating Epoxy - Colored | 2:1 | 81D | Gray | 2,400 | 130-170 sq ft/gal (6-8 Mil) | 40 min | within 24 hours | 10-11 hours | 24 hours | 72 hours | 3-7 days | 0 g/l | 7,250 psi |
| Premium Floor Coating Epoxy - Clear | 2:1 | 81D | Clear | 2,400 | 60-80 sq ft/gal (12-16 Mil) | 70 min | 12-24 hours | 12 hours | 24 hours | 72 hours | 3-7 days | 0 g/l | 7,250 psi |
| Polyaspartic Extreme Durability - Fast | 1:1 | 82D | Translucent | 350-400 | 200-300 sq ft/gal | 30 min | 4-24 hours | 1.5-3 hours | 24 hours | 48 hours | 3-7 days | <5 g/l | 3,980 psi |
| Polyaspartic Extreme Durability - Slow | 1:1 | 82D | Translucent | 350-400 | 175-300 sq ft/gal | 40 min | 6-24 hours | 3-4 hours | 24 hours | 72 hours | 3-7 days | <5 g/l | 3,980 psi |
| Ultimate Top Coat Flooring | 2:1 | N/A | Clear | 800 | 530-800 sq ft/gal (Single Layer) | 60 min | 6-12 hours | 4-6 hours | 18 hours | 72 hours | 3-7 days | <50 g/l | 3,980 psi |