Customer Project: Decorated Venus Figurine – EasyFlo Liquid Plastic
At the Polytek March 2014 Mold Making & Casting Workshop, attendee Ro-Z Esposito (more info. on this artist at the end of the article) brought the plaster Venus figurine pictured below. She wanted to make a rubber mold of the figure and then cast plastic copies.
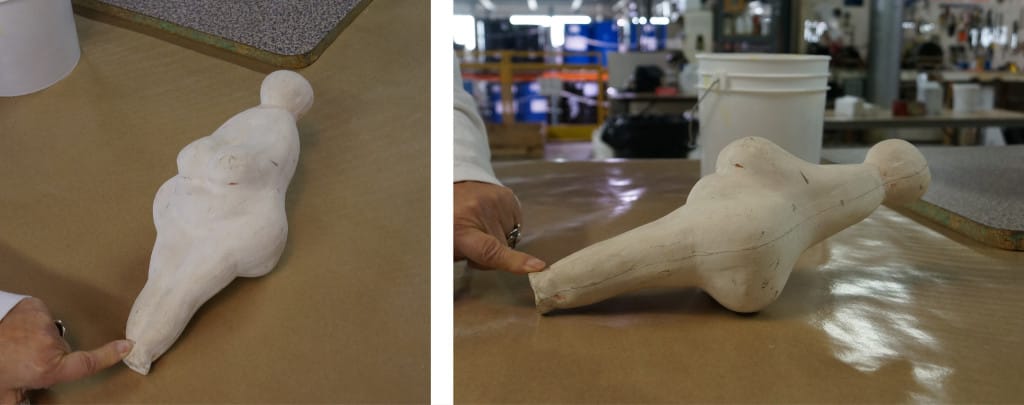
Ro-Z would later decorate the plastic casting by gluing intricate beading to the surface (pictures of the finished piece are at the end of this article).
After a discussion with Polytek staff members at the workshop, a strategy was decided for the making of the mold:
- Mold Making Method: Two-Part Poured Block Mold
- Mold Product: PlatSil® 73-40 Silicone Rubber
- Casting Material: EasyFlo Series Liquid Plastics
The following steps were taken to complete the mold and make the plastic castings:
Step 1: Test the Model Material for Cure Inhibition
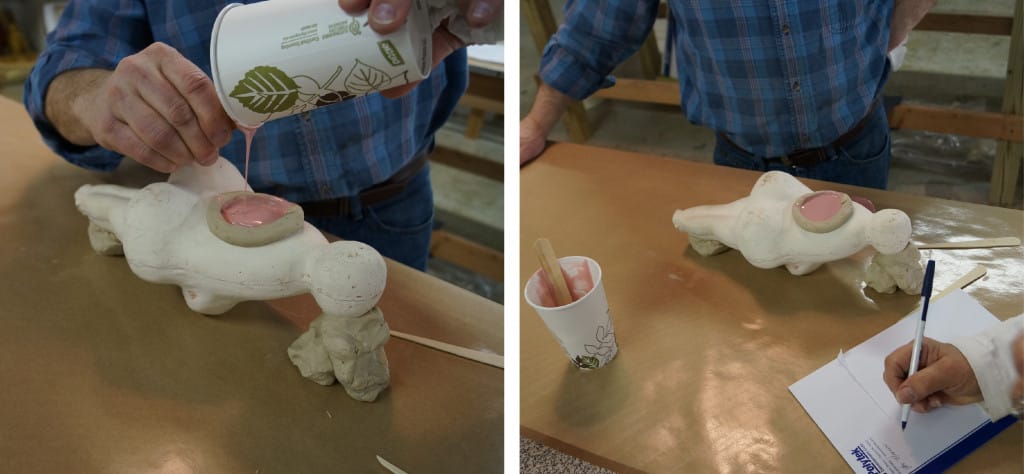
Platinum silicone mold rubbers, like PlatSil 73-40, can suffer from cure inhibition when in contact with certain materials (e.g., sulfur, tin compounds), so a small amount of a fast-setting platinum silicone rubber was applied to the model surface to ensure that it would cure properly against the plaster. You can read more about cure inhibition and “test cures” here.
Step 2: Embed Half of the Model in Clay
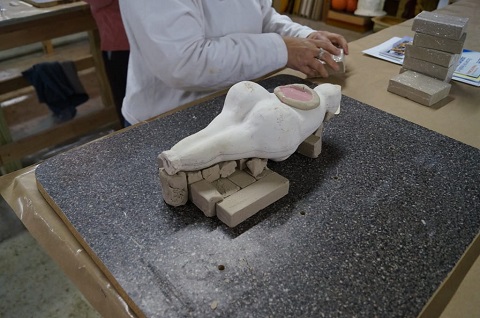
As mentioned previously, the two-part poured block mold method was selected for this model. To begin, a parting line (i.e., the line where sections of the mold divide) was determined and then the process of embedding half of the model in plasticine clay was started. The selected parting line essentially split the front and the back of the model in half.
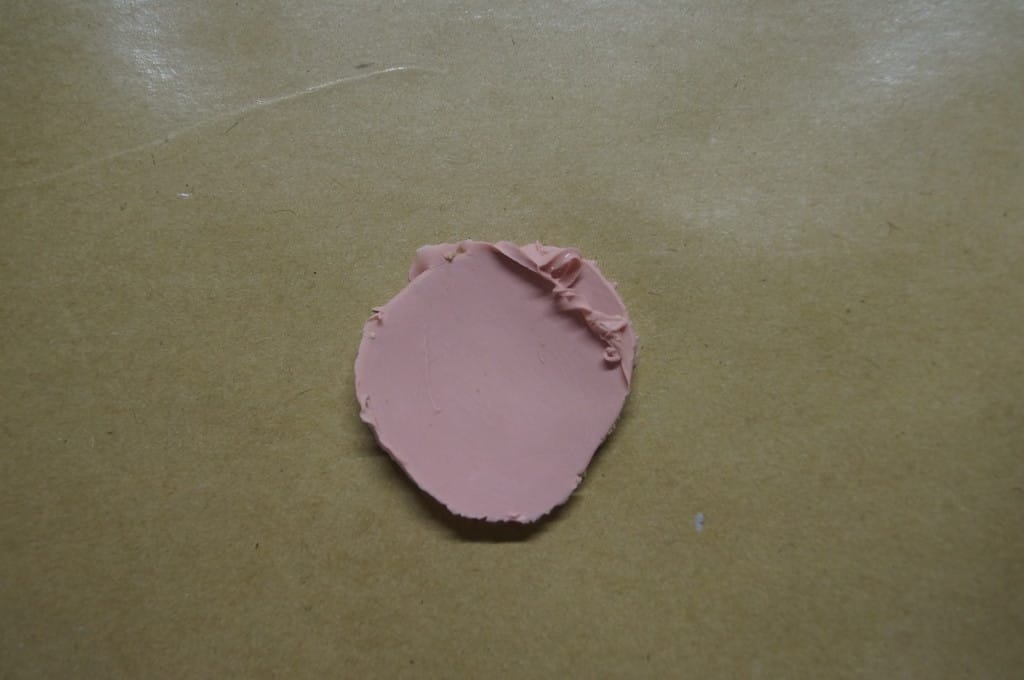
Meanwhile, the platinum silicone test sample was removed and we found that it cured properly.
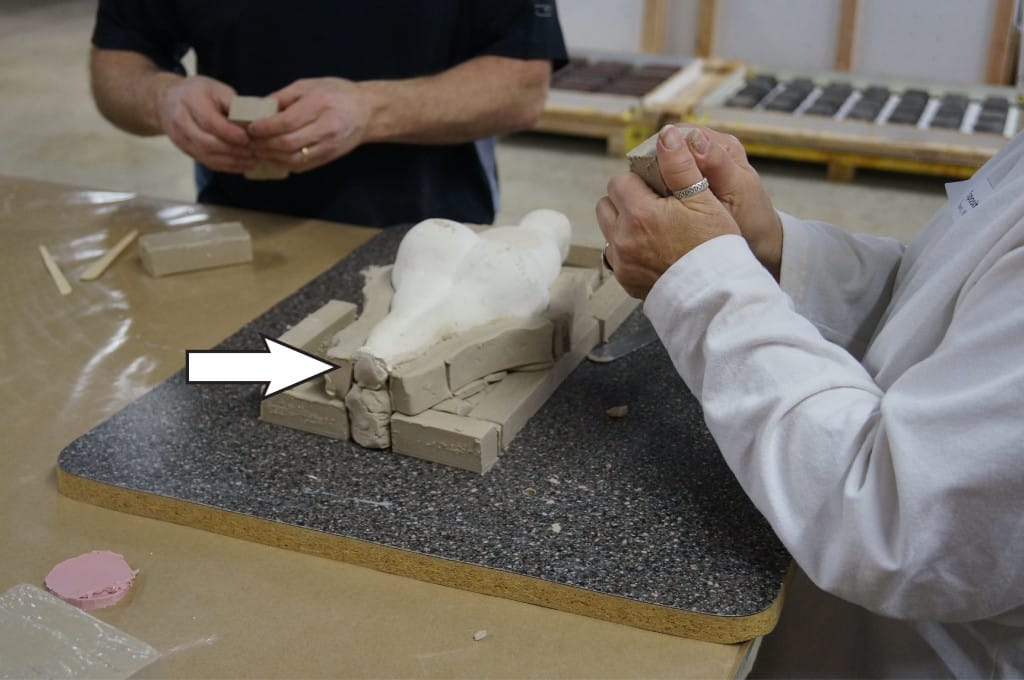
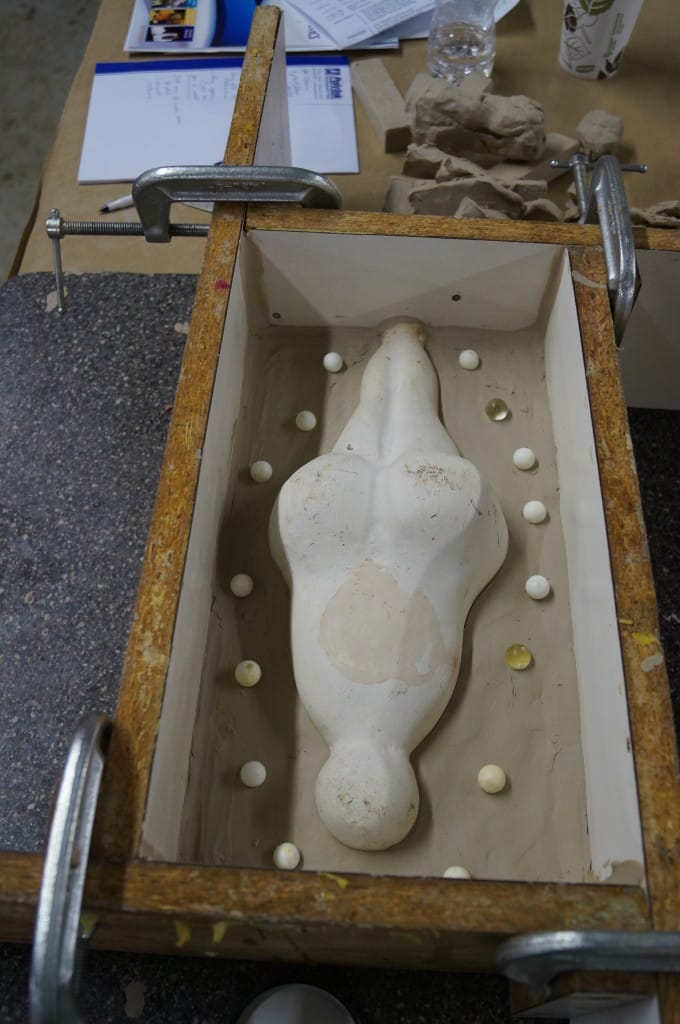
The “pour hole” (i.e., where the casting material will later be poured) was built in at the “feet” of the model.
The surface of the exposed clay was smoothed and a mold box, tall enough to accommodate an appropriate mold wall thickness, was constructed. Melamine-laminated particle board and C-Clamps were used to make and secure the mold box.
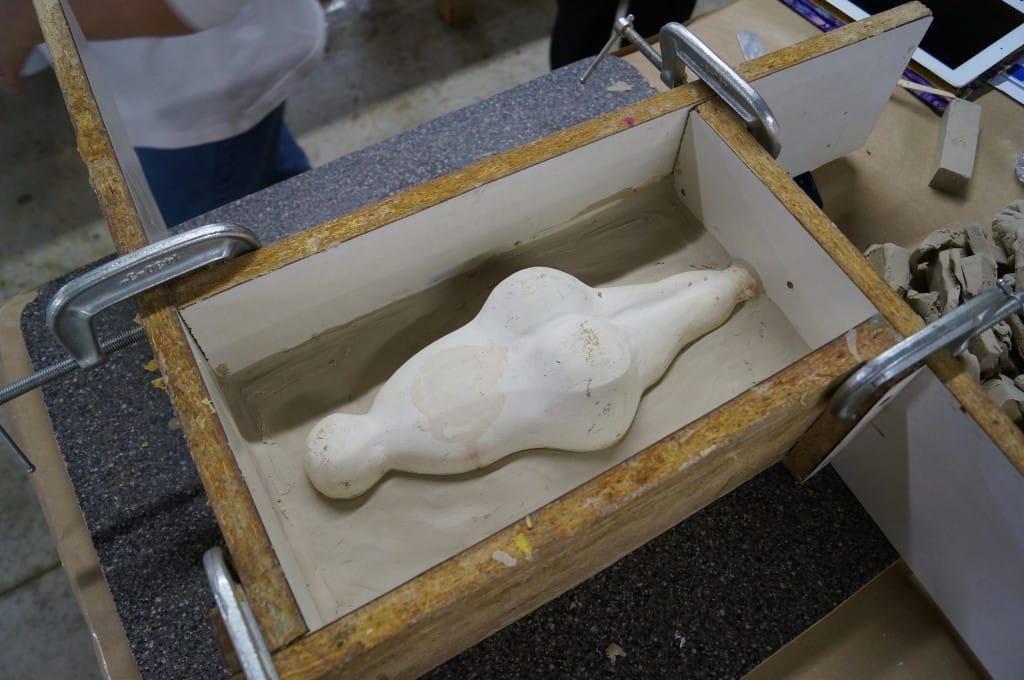
Marbles were partially embedded in the clay to create “keys” that would align the two halves of the mold when complete. The interior corners of the mold box were then sealed with clay to help prevent rubber from leaking out of the mold box.
Step 3: Apply Release Agent
A few sealer/release agent options could have been used in this case (e.g., Vaseline, Pol-Ease® 2500 Release Agent), but Pol-Ease 2350® Sealer & Release Agent was ultimately selected. Pol-Ease 2350 is white petrolatum dissolved in mineral spirits and can be used when working with liquid silicone or polyurethane mold rubber. It was sprayed on to the model, clay, and mold box walls with a Sure Shot Atomizer and then brushed out with a dry brush.
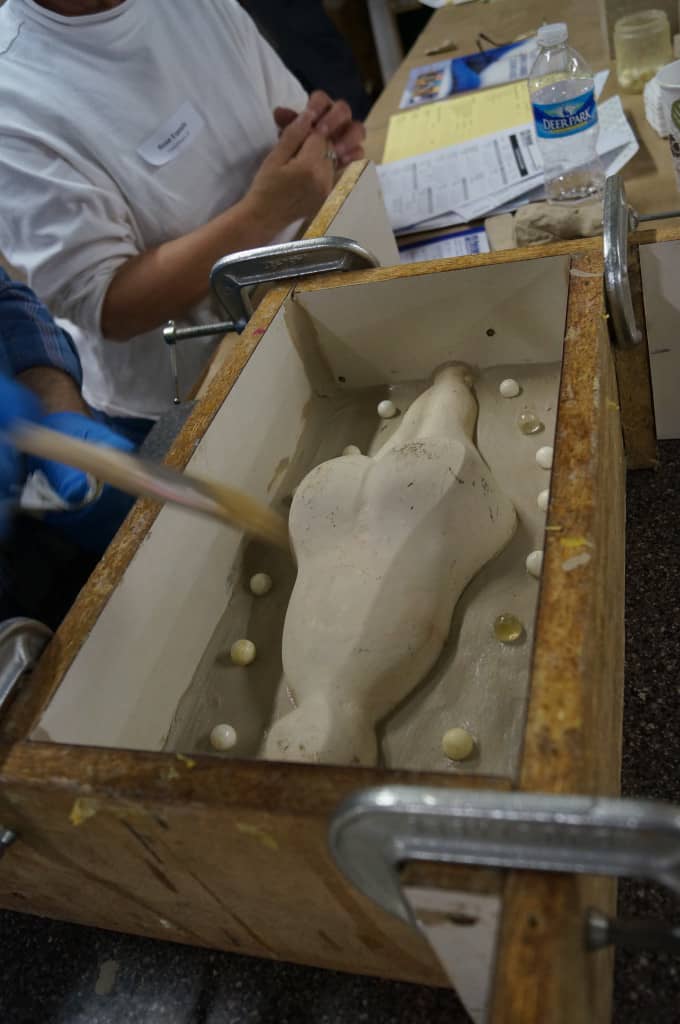
When working with Pol-Ease 2350, it is important to make sure that it has sufficiently evaporated before applying any rubber (evaporation takes ~1 hour and varies depending on temperature, porosity of the model, and thickness of the layer) – if the Pol-Ease 2350 has not evaporated sufficiently, it can interfere with the cure of the rubber.
Step 4: Measure, Mix & Pour the Mold Rubber
The mold rubber selected for this project was PlatSil® 73-40 Silicone Rubber. It is a 1A:10B mix (by weight), platinum-cured silicone rubber with a 45-minute pour time and a 16-hour demold time.
One of the reasons that a platinum silicone rubber was recommended as the mold material for this project is because release agent is not required when casting polyurethane plastic. Glue (used later in the process to apply items directly to the surface of the casting) does not adhere well to plastic coated in release agent and many release agents are difficult to wash off of plastic, so we eliminated the need for release agent entirely.
Parts A & B of PlatSil 73-40 were individually weighed using a digital scale and then combined and mixed thoroughly.
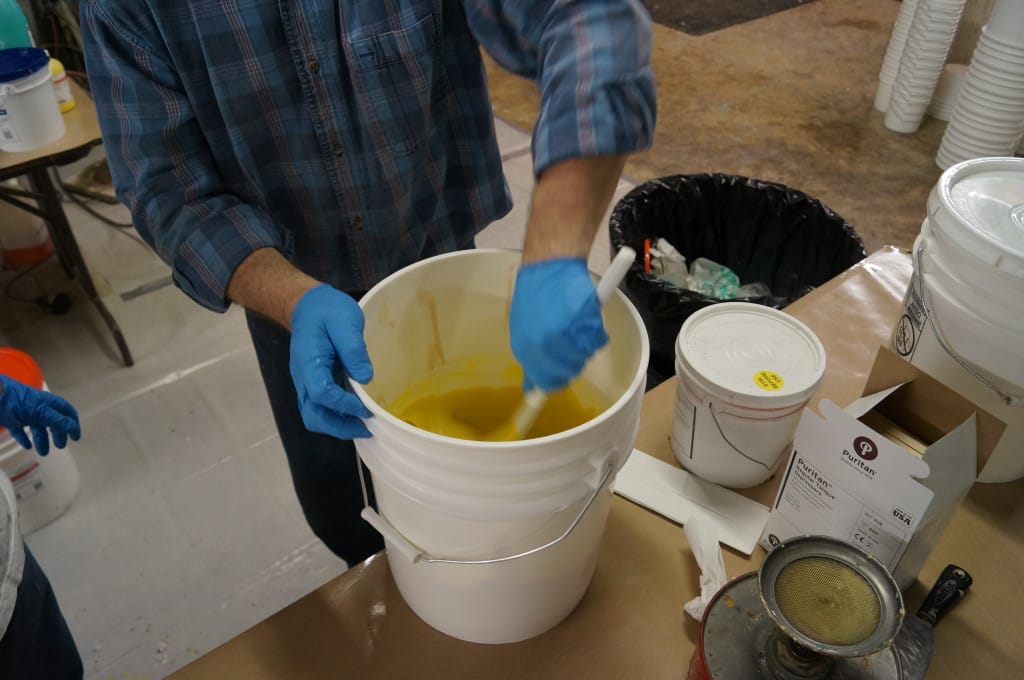
The silicone rubber was poured into one corner of the mold box and allowed to flow across the model until it reached the top of the mold box walls.
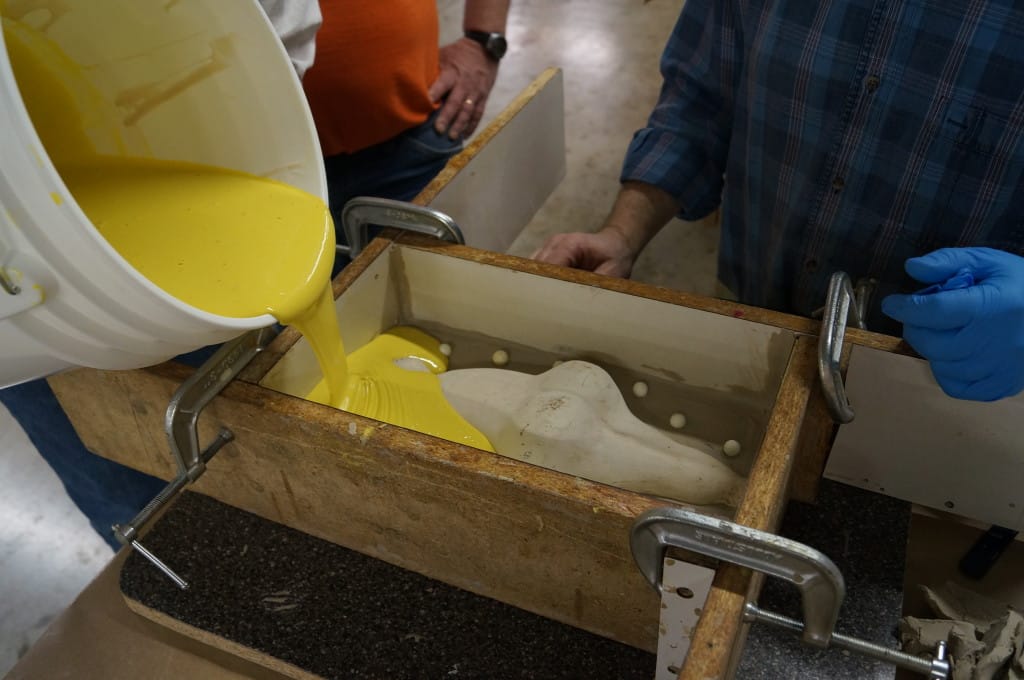
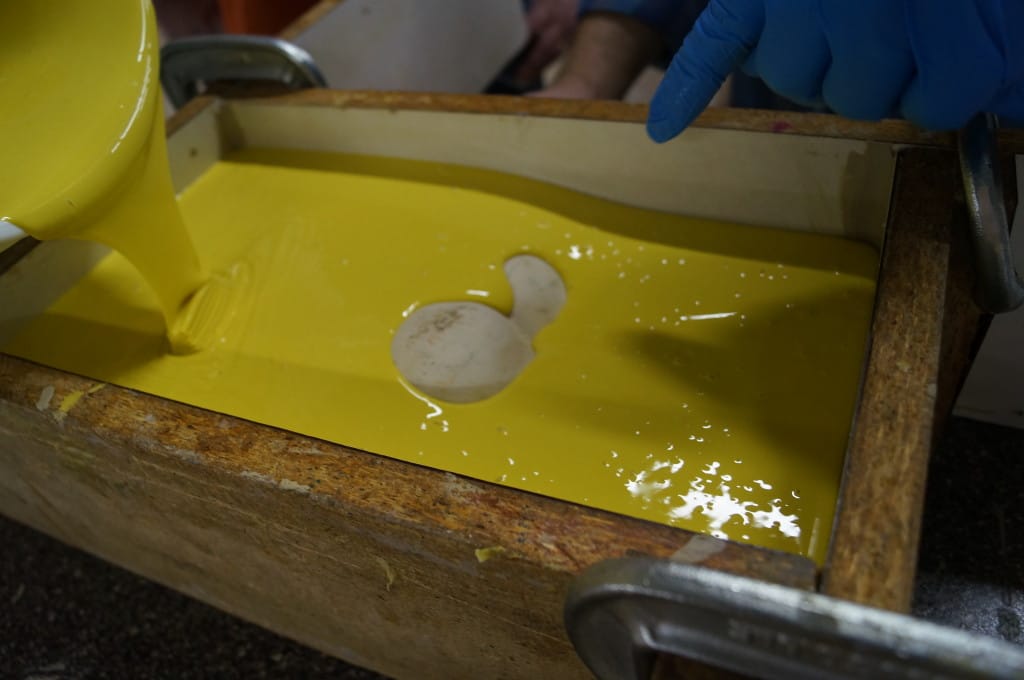
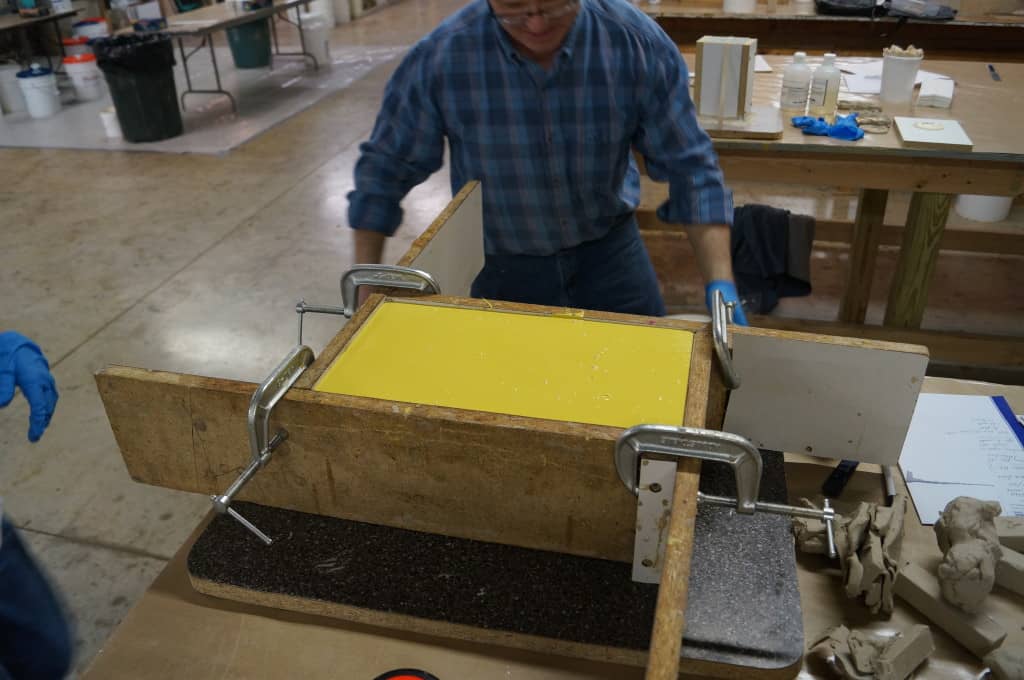
The rubber was allowed to cure, undisturbed, for 16 hours. Heat (e.g., heat lamps) or PlatSil® 71/73 Part X Accelerator can be used to speed the cure.
Step 5: Make the Second Half of the Mold
To begin the process of making the second half of the mold, the mold box was temporarily set aside and all of the clay and marbles were removed.
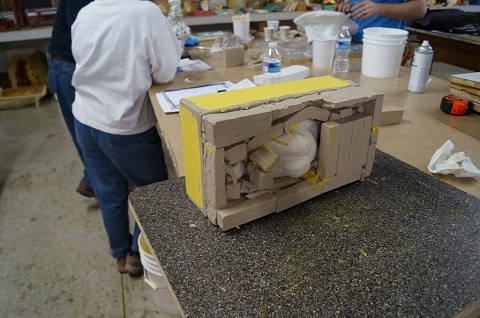
Then the first half of the mold was turned over and the model was kept in the same position.
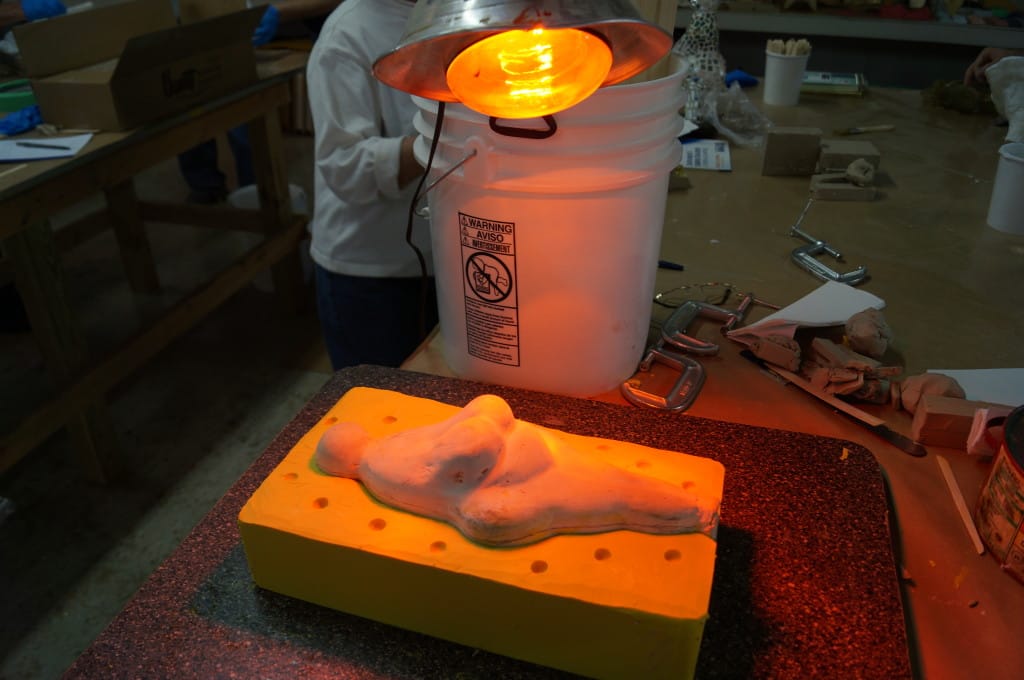
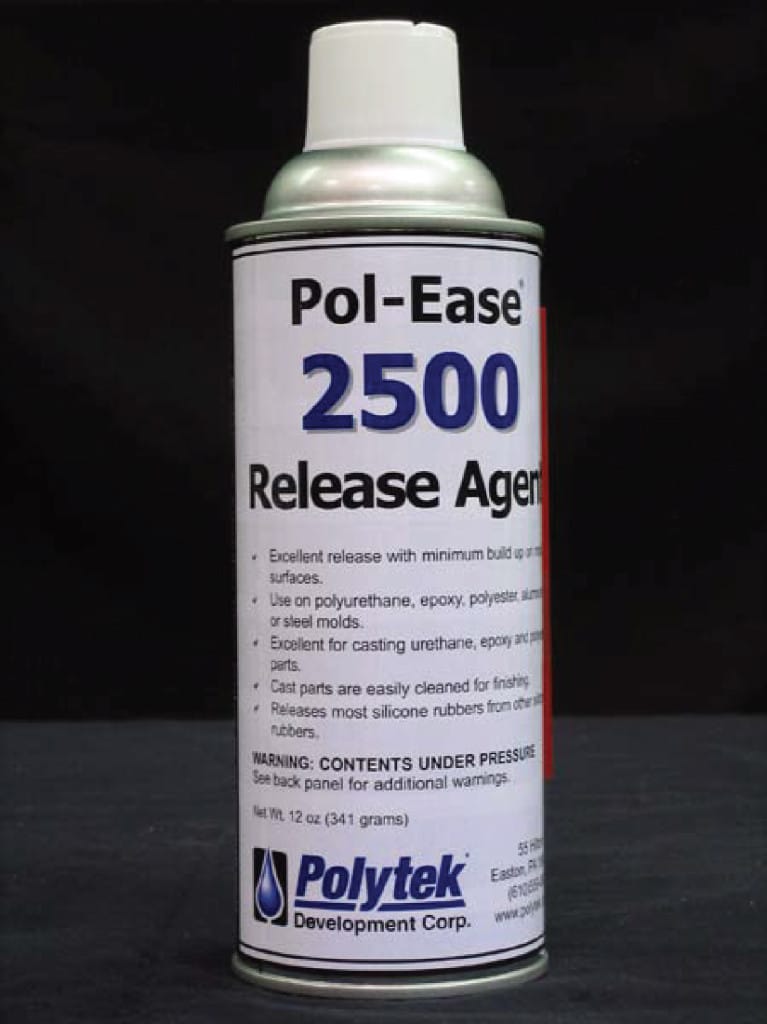
The mold box was repositioned around the first half of the mold and model and the interior corners of the mold box were sealed with clay. Silicone will bond to silicone if there is no release agent applied, so Pol-Ease® 2500 Release Agent was sprayed on to the model and exposed silicone and then brushed out with a dry brush to ensure even coverage.
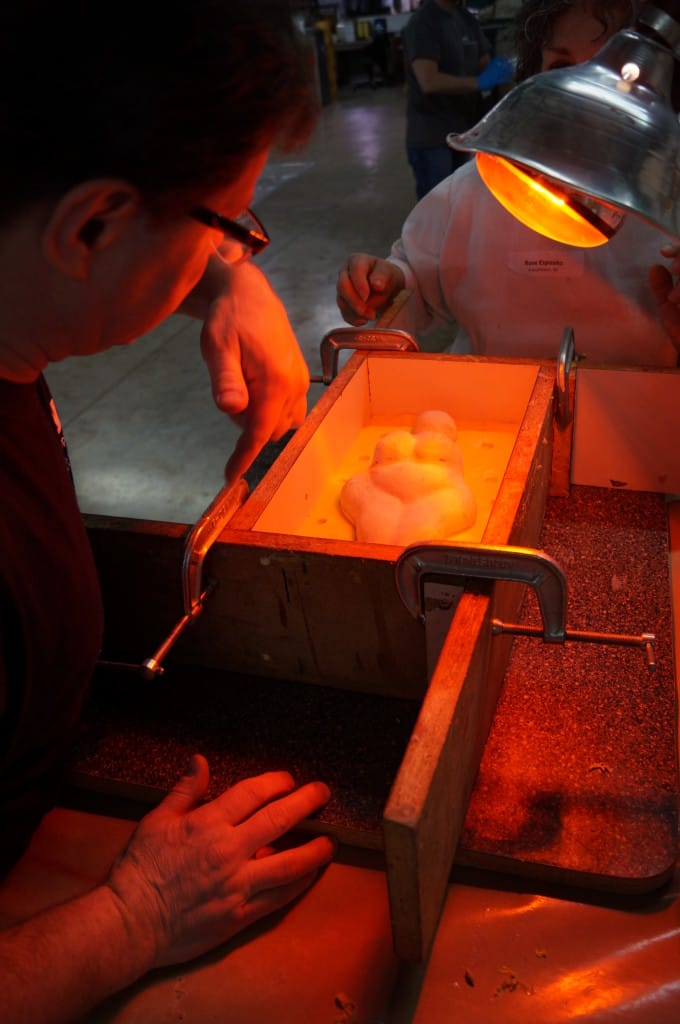
Again, the rubber was carefully measured, mixed, and poured to the create the second half of the mold.
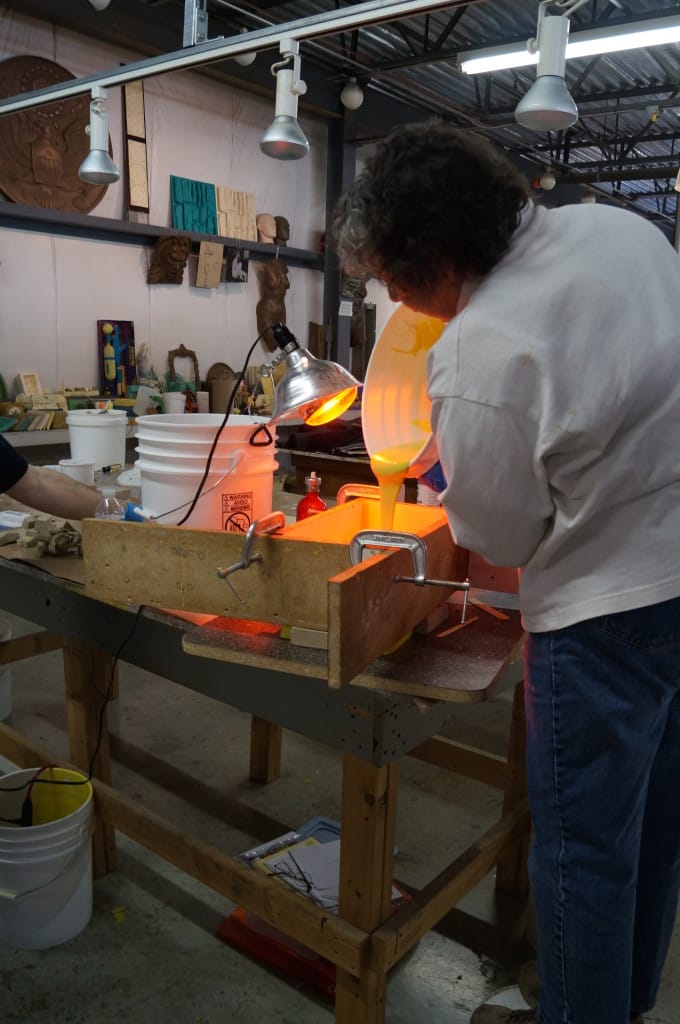
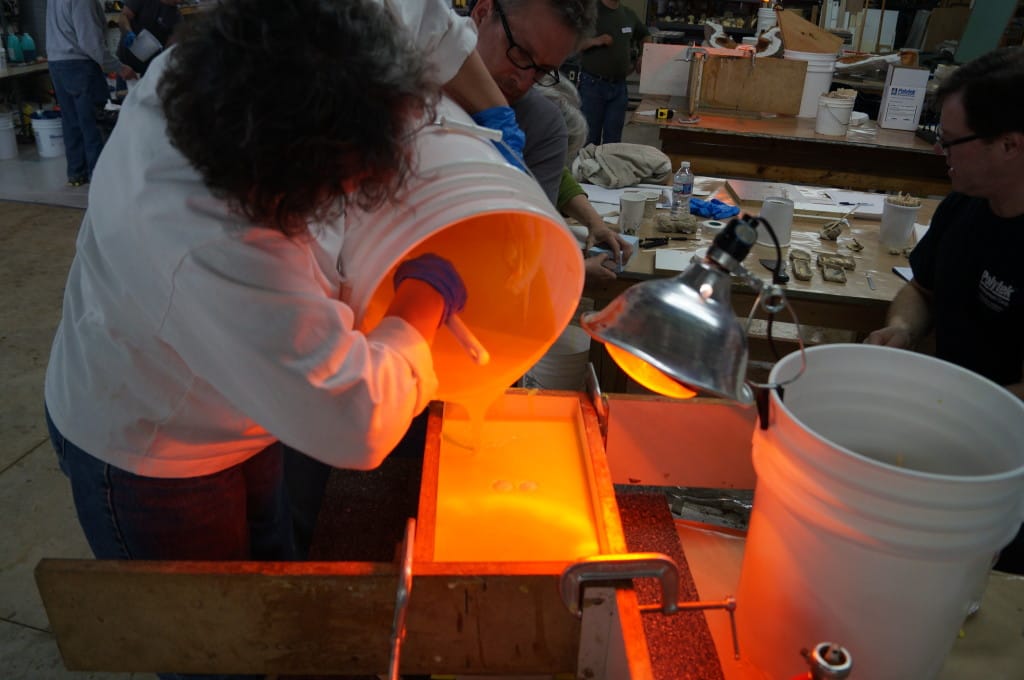
Step 6: Demold
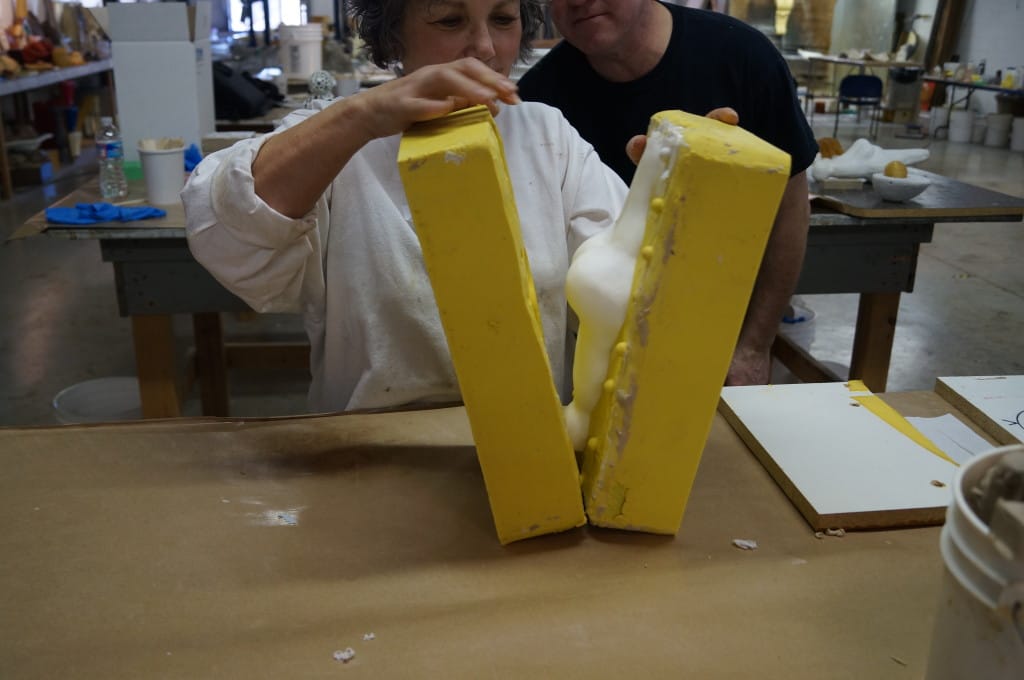
Upon cure of the second half of the mold (~16 hours), the mold box was removed and two halves were parted.
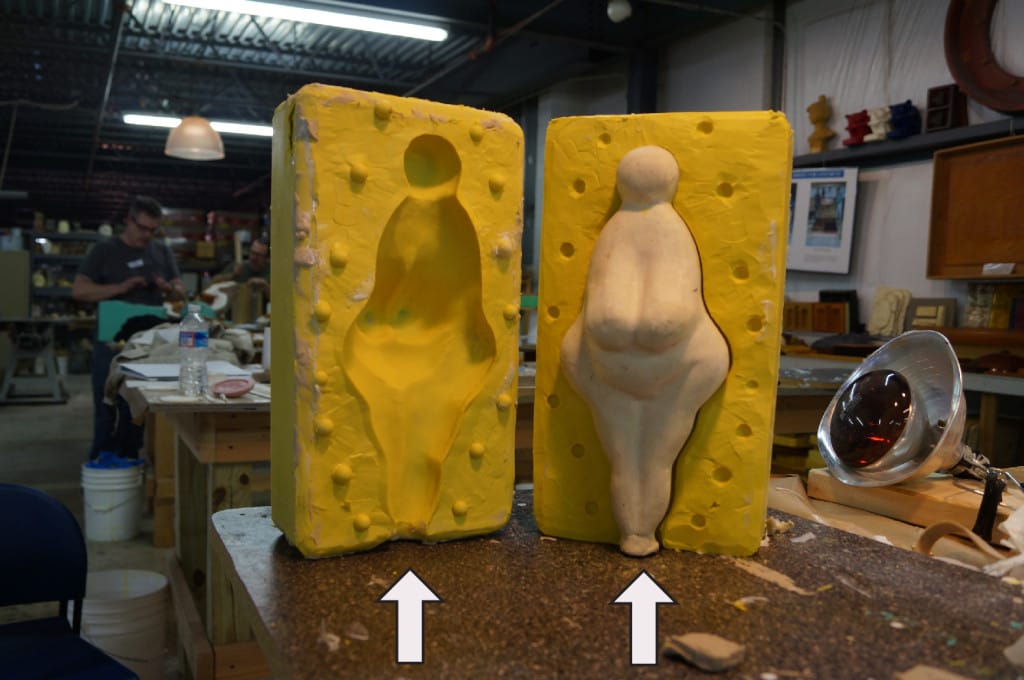
Step 7: Casting EasyFlo Series Liquid Plastic
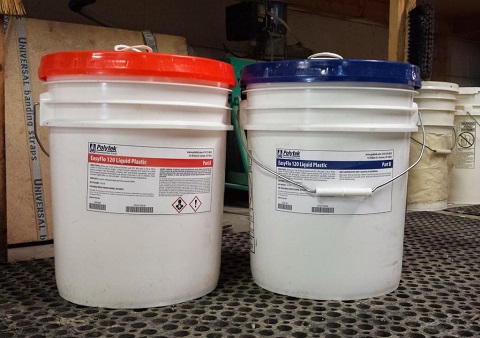
EasyFlo Series Liquid Plastics are fast-setting, two-part polyurethane plastics. All options within the series have simple 1A:1B mix ratios by volume.
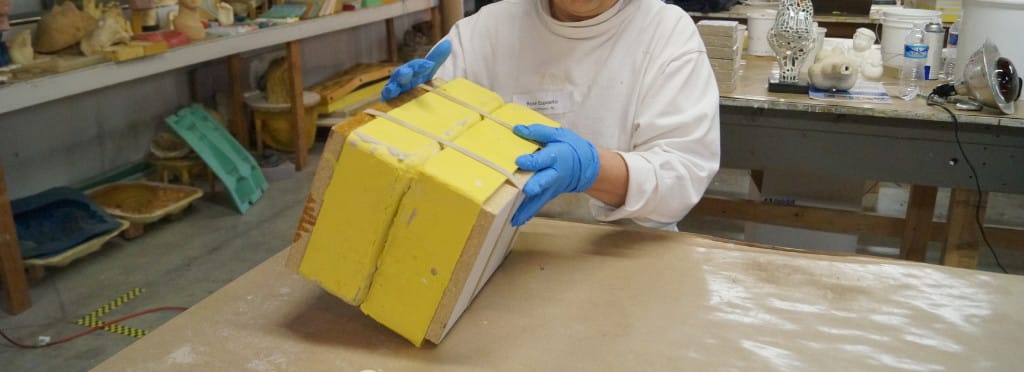
Release agent is not necessary when casting EasyFlo Series liquid plastics in platinum silicone molds, so once the two halves of the mold are properly aligned (we used large rubber bands to further stabilize the mold), casting material can easily be poured into the pour hole, which is indicated by arrows in the pictures above and below.
The first casting that Ro-Z made was a solid pour of EasyFlo 60 Liquid Plastic, but she opted to slush cast the second time around to produce a lightweight, hollow part.
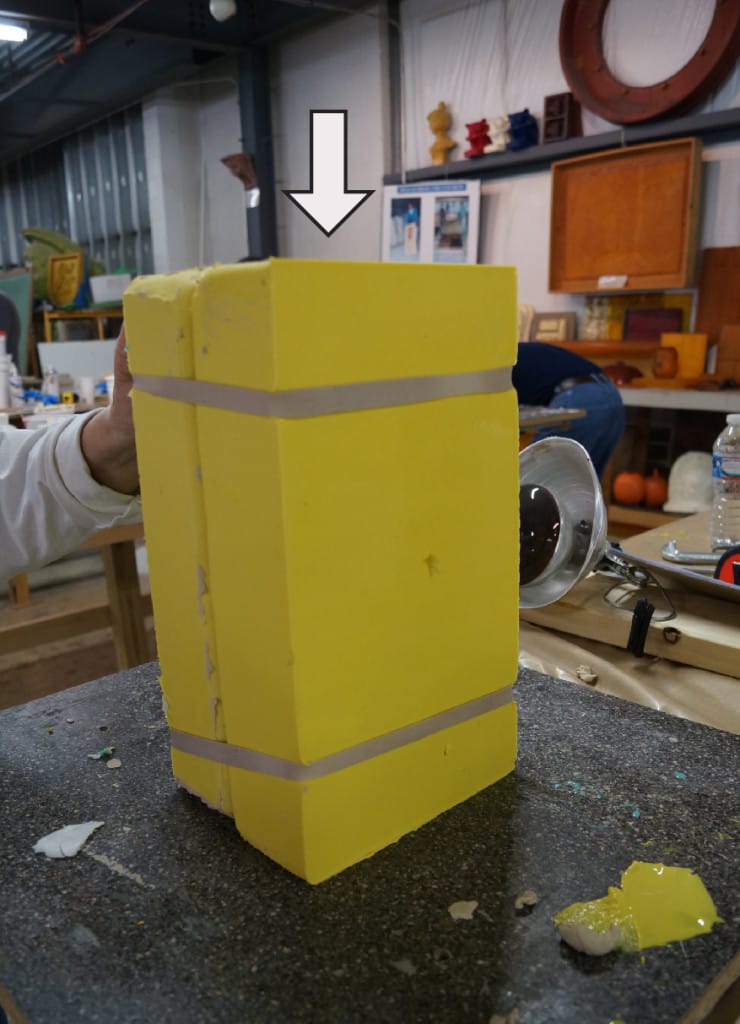
For slush casting, a small amount of EasyFlo 120 was poured into the pour hole and the mold was manually rotated in all directions for about 5 minutes [you can learn more about slush casting in this article].
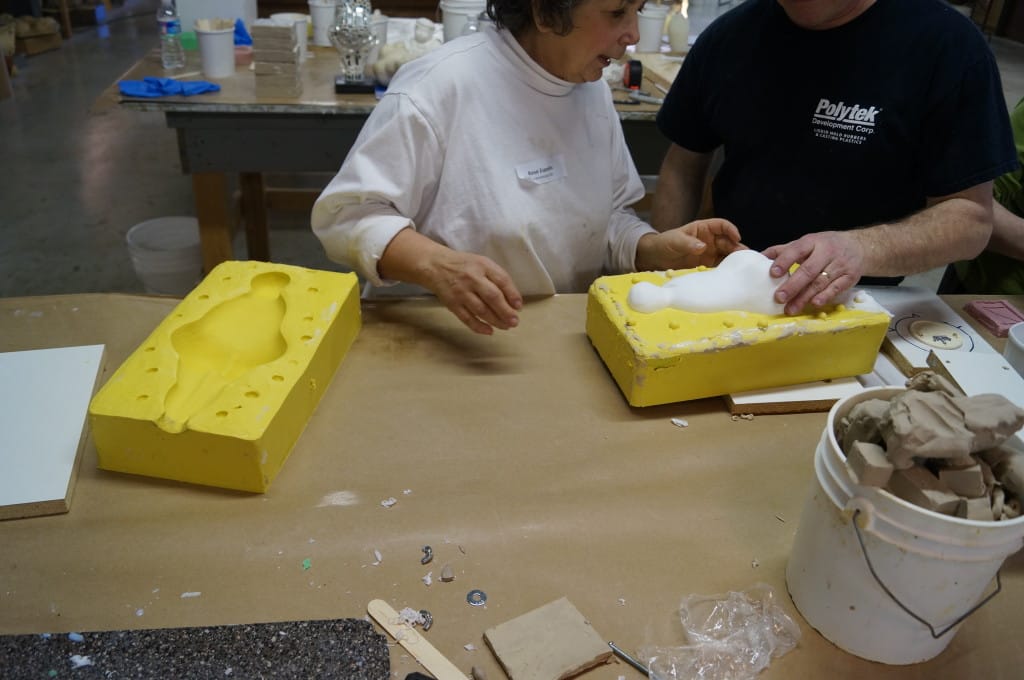
In the picture below, the original model is displayed on the left, while the slush-cast, hollow EasyFlo 120 part is on the right.
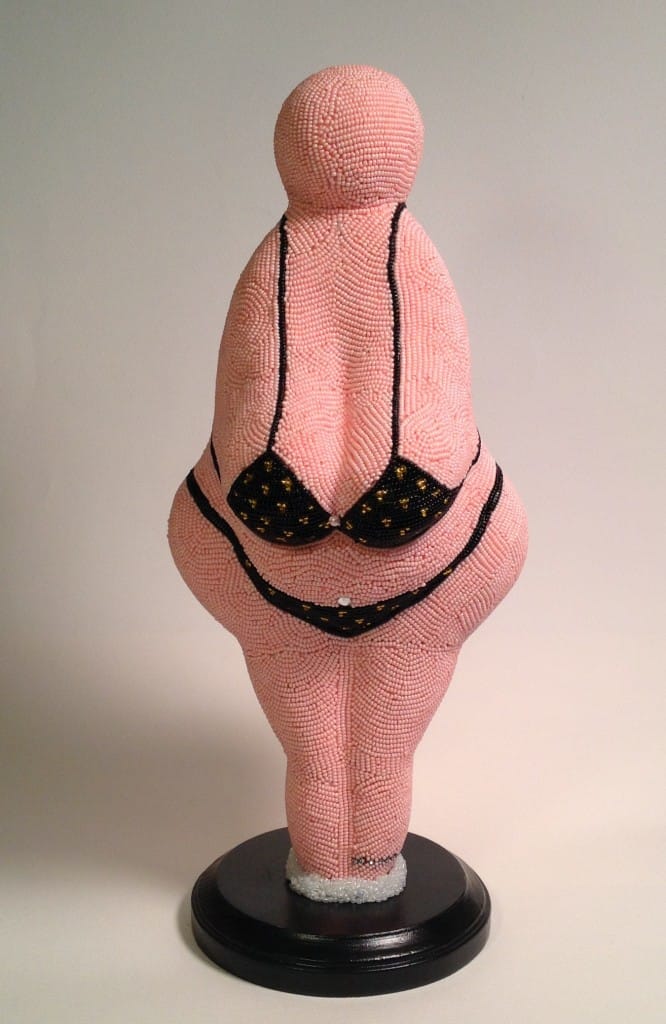
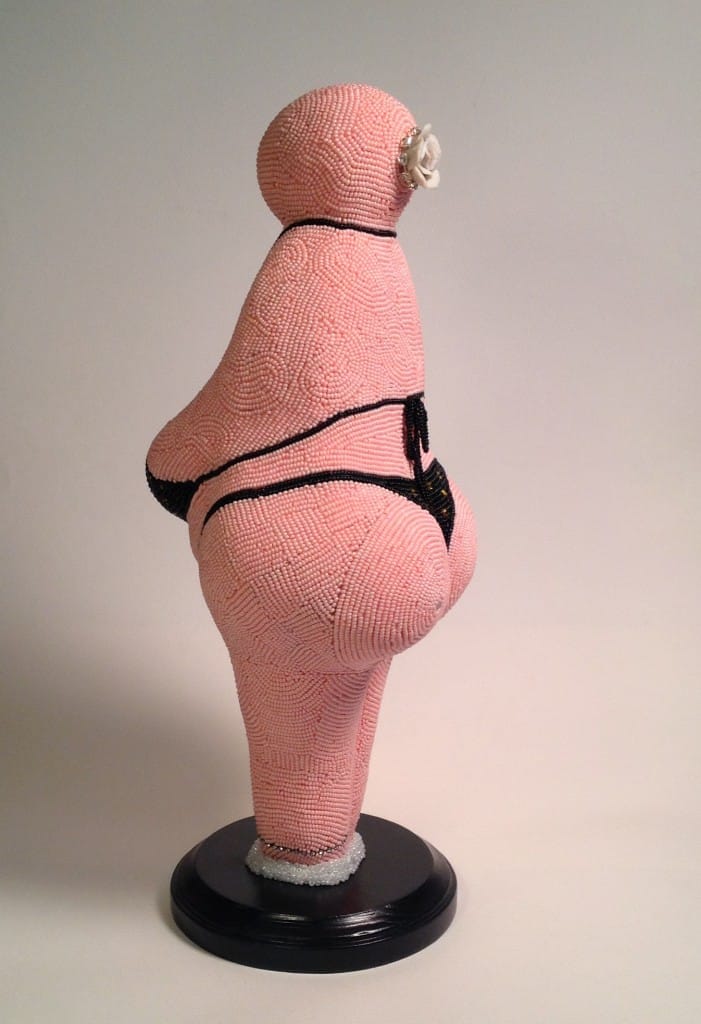
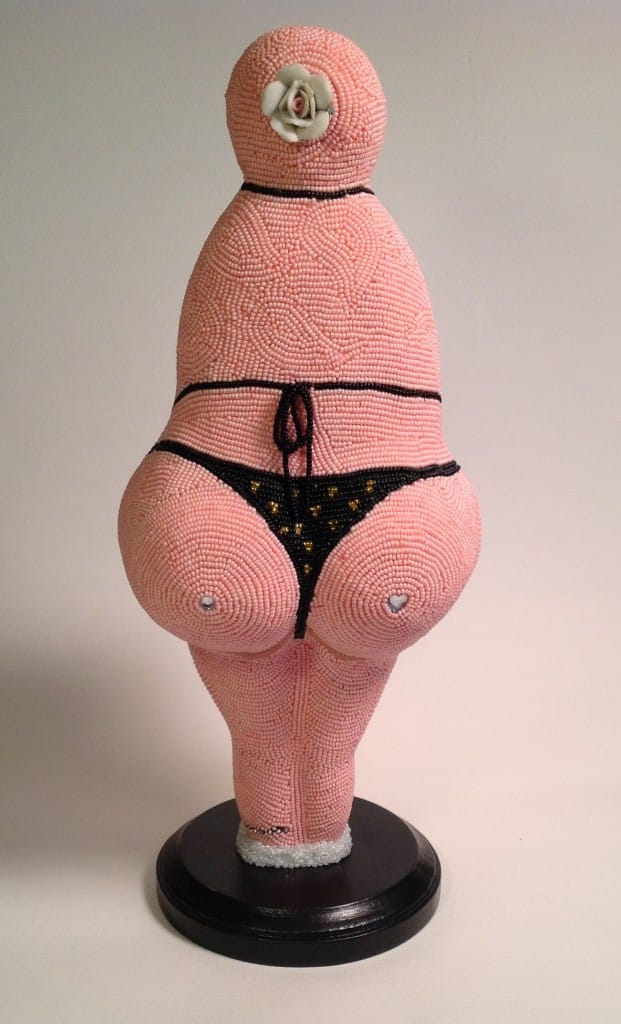
Ro-Z took this casting home and completed her design with intricate beading:
You can view Ro-Z Esposito’s work at www.ro-zesposito.com and can contact her at mypaintbrush@gmail.com.
Ro-Z has provided the following photos of her finished piece:
