How to Make a Rubber Mold for Casting Concrete Tiled Panels
Rubber panel molds made for casting concrete can be created from a variety of natural textures. In this case, Travertine tile was used.
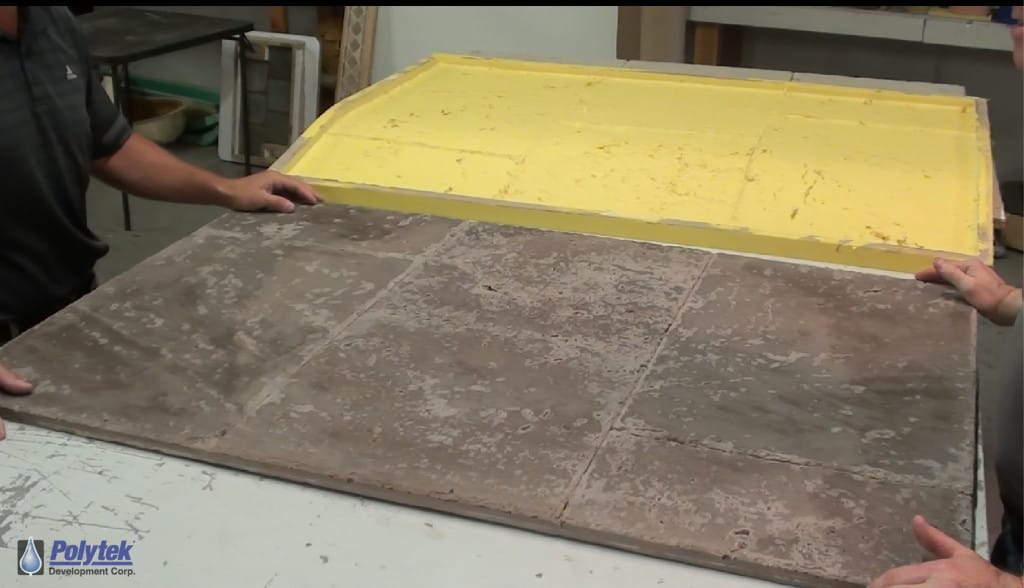
SECTION I is a step-by-step tutorial on making the rubber mold using Poly 74-45 polyurethane rubber.
SECTION II is a step-by-step tutorial on casting concrete in the mold.
SECTION I: Making the Rubber Mold
Supplies Needed:
- Travertine Tiles
- Poly 74-45 Liquid Polyurethane Rubber (Part A & Part B)
- Pol-Ease® 2350 Sealer & Release Agent
- Pol-Ease® 2300 Release Agent
- Luan Plywood
- Melamine-Laminated Particle Board (or other mold box material)
- Poly Paddle (or other mixing tool)
- Mixing Containers
- Wood Screws
- Plasticine Clay
- Digital Scale
Suggested Tools:
- Personal Protective Equipment
- Putty Knife
- Drill & Bits
- Tape Measure
- Calculator
- Level
- Scale
- Table Saw (if mold box walls need to be cut)
- Screw Gun or Screwdriver
Always review product Safety Data Sheets before use.
—For a video tutorial of this process, scroll to the bottom—
Step One: Select Real Travertine Tiles (or other material)
Travertine tiles [Figure 1], and a variety of other tiles types, can be purchased from local home improvement stores (e.g., Home Depot, Lowes). Make sure that the selected tiles will fit nicely into a rectangular pattern (or other desired shape).
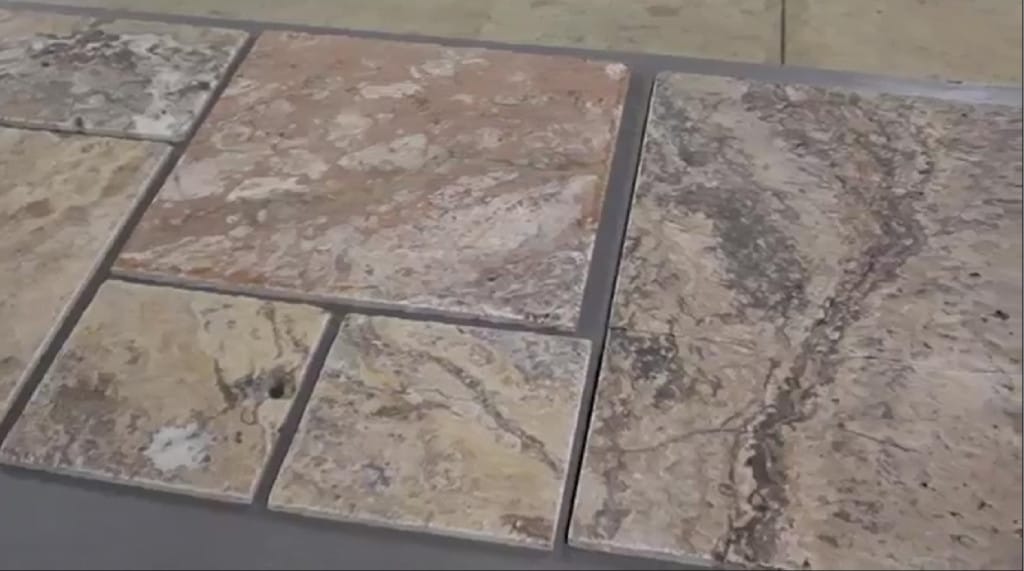
Figure 1: Travertine tiles purchased from a local home improvement store
Step Two: Establish Proper Measurements for the Final Casting
The selected Travertine tiles are 0.5” thick. The desired thickness of the final concrete casting is 0.75”, so 0.25” of luan plywood is added beneath the Travertine tiles [Figure 2].
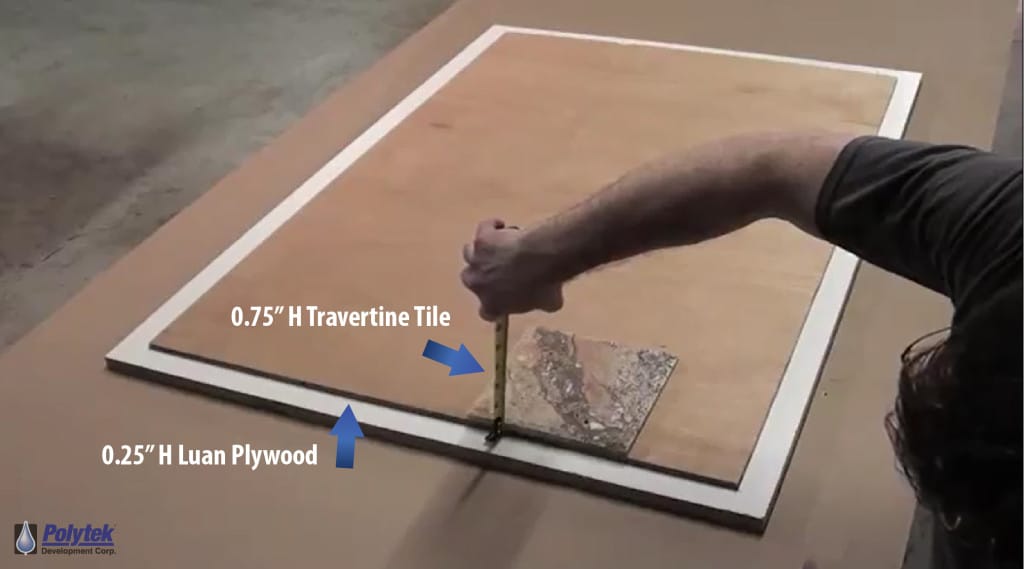
Figure 2: A base of luan plywood is added to increase the height of the final concrete Travertine panel
Step Three: Establish Proper Dimensions for Mold Box
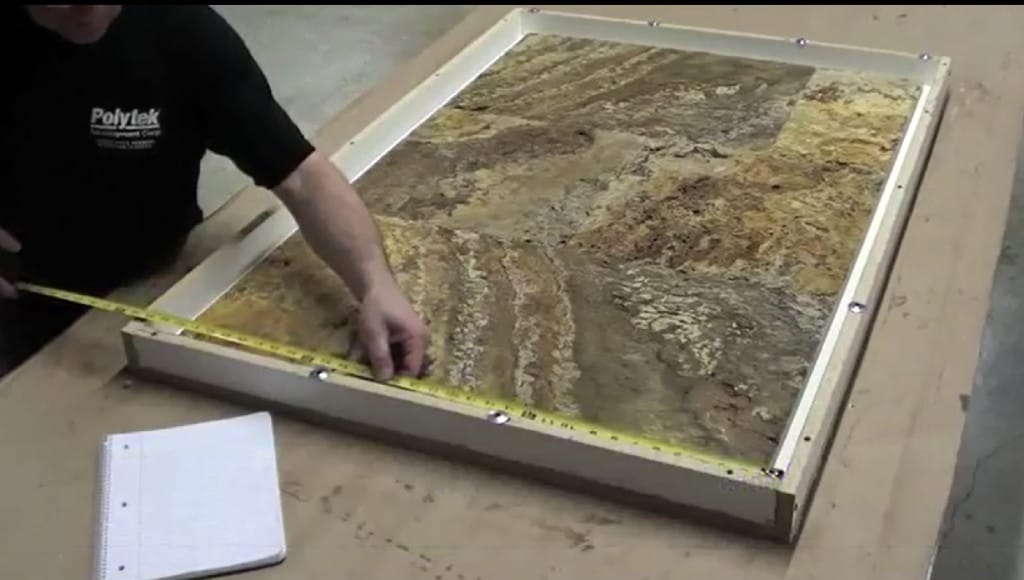
In our case, the mold box will not be used as support when the concrete is cast, so an appropriate mold wall thickness needs to be established; if the walls of the rubber mold are not thick enough, they may deform and bend when the concrete is poured later in the process. 1.0” of space is left on all sides of what will become the “Travertine master panel.” 0.75” of space is left beyond the 1.0” to accommodate the thickness of the mold box walls that will be established in Step Eight [Figure 3].
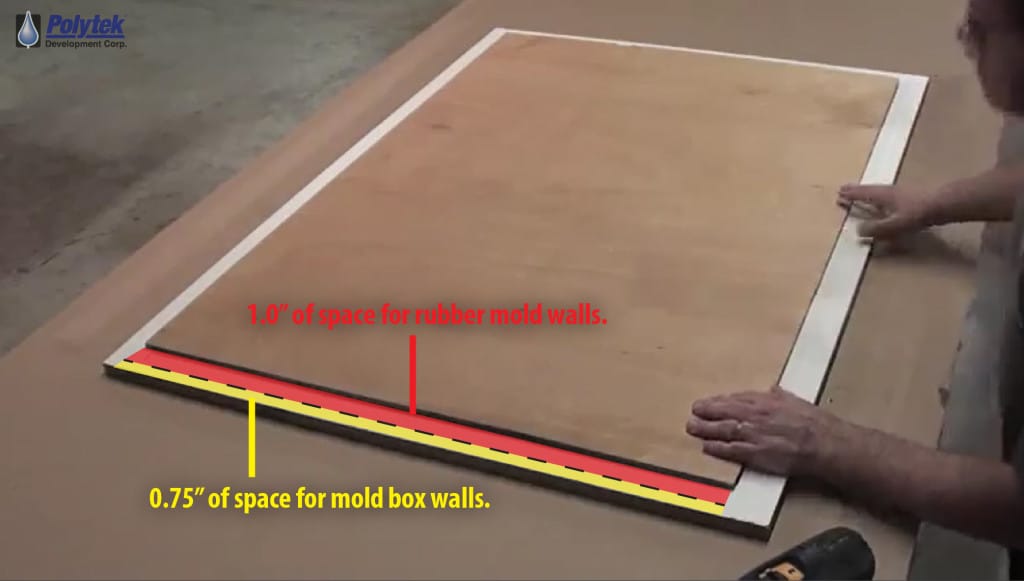
Figure 3: Space is left around the Travertine master panel to accommodate rubber mold wall thickness and mold box walls
Step Four: Secure Luan Plywood to Mold Box Bottom Board
To ensure that the Travertine master panel does not shift during mold box preparation, secure it to the mold box bottom board [Figure 4].
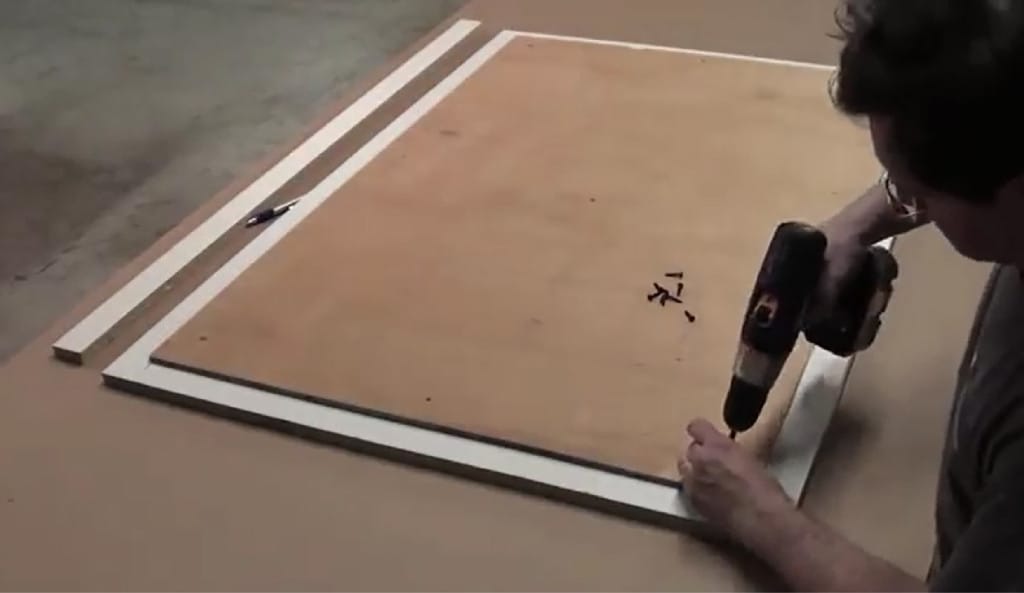
Figure 4: The Travertine master panel is screwed to the mold box bottom board
Step Five: Place Travertine Tiles
Before placing the Travertine tiles [Figure 5], ensure that the workspace is level. The mold box may be too heavy to level later in the process. Travertine is heavy, so does not need to be secured to the luan plywood. Lighter material should be secured (e.g. with glue) to the base so rubber does not seep beneath it.
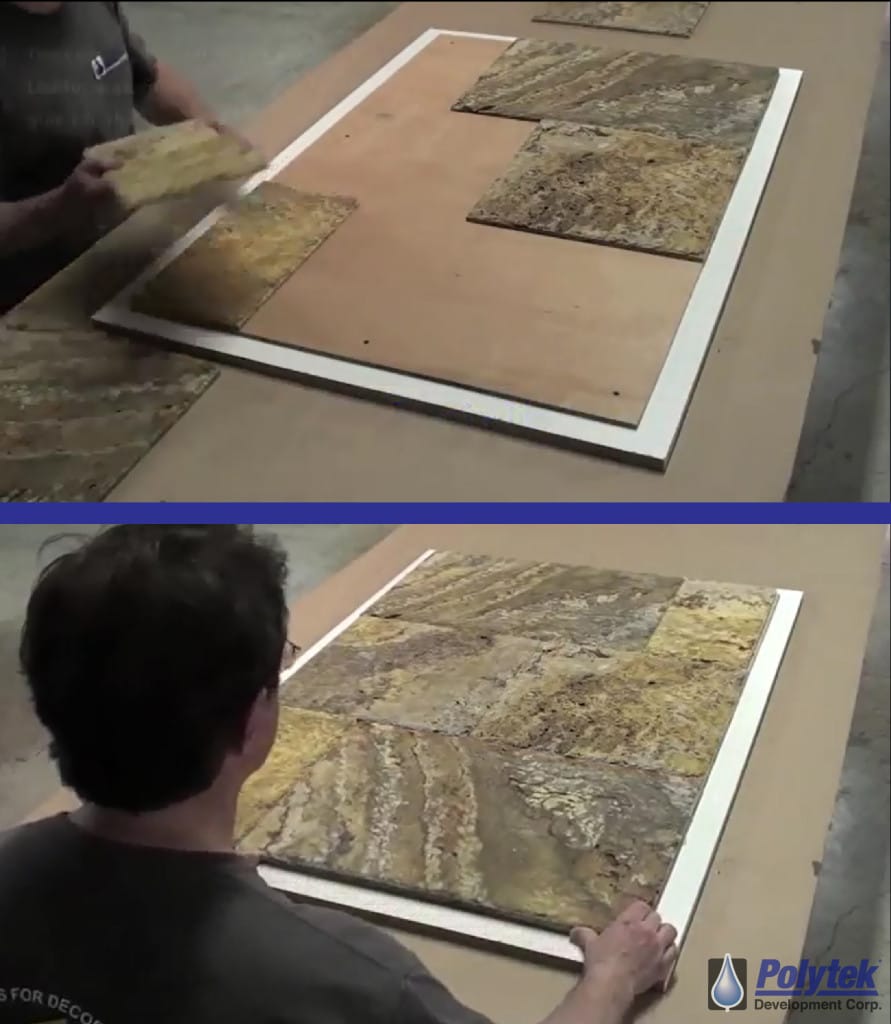
Figure 5: Place the Travertine tiles
Step Six: Apply Clay to Edges of the Travertine Master Panel
Apply clay to all edges of the Travertine master panel [Figure 6]. This will help prevent rubber from leaking beneath. Warmed plasticine clay is used for this process; caulking and hot melt glue are other options. Edges should be smooth and flat; any unusual patterns created by the clay will be replicated by the mold material. A wooden block was used to smooth the edges.
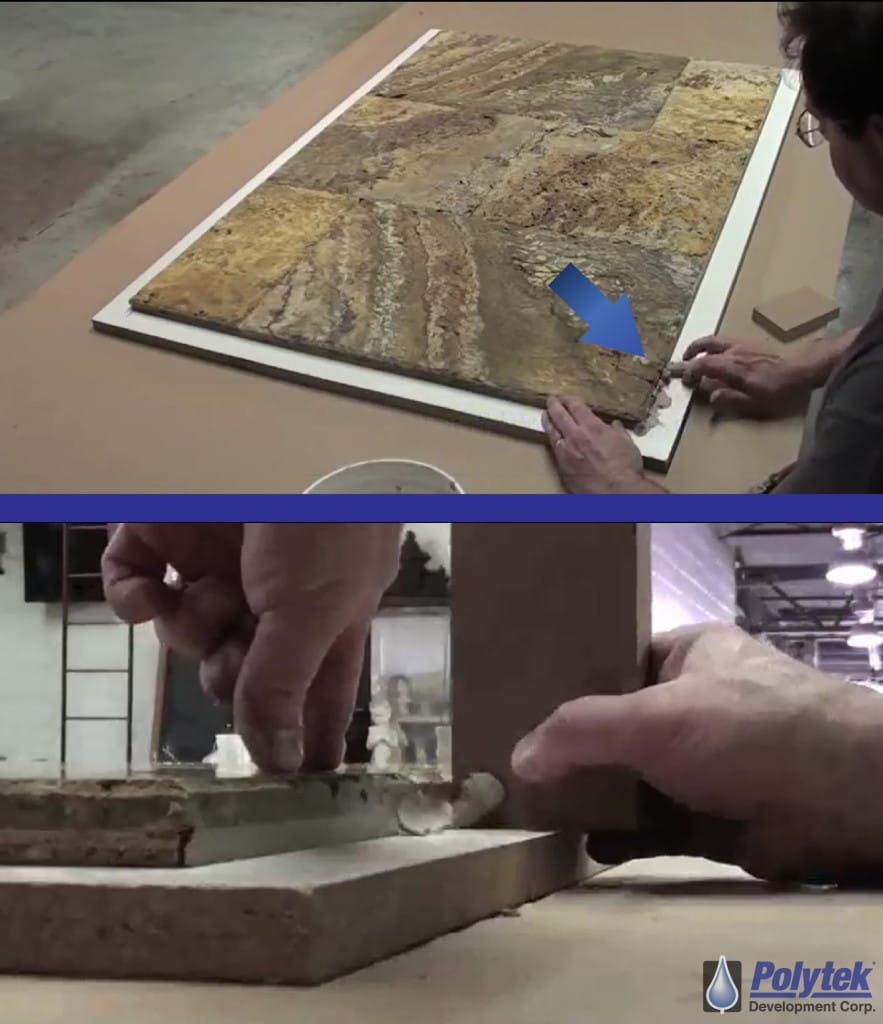
Figure 6: To help prevent rubber from leaking beneath it, apply clay to the edges of the Travertine master panel
Step Seven: Seal the Porous Travertine Using Pol-Ease® 2350 Release Agent
Pol-Ease® 2350 Release Agent [Figure 7] is a mineral spirits solution that can be used as a sealer and release agent for porous masters when working with polyurethane or silicone rubbers. This product needs to be shaken well before use. Apply with a soft brush to reach all surface crevices [Figure 8]. Pol-Ease® 2350 Release Agent should be allowed to evaporate (leaving behind a thin coating) before any rubber is applied.
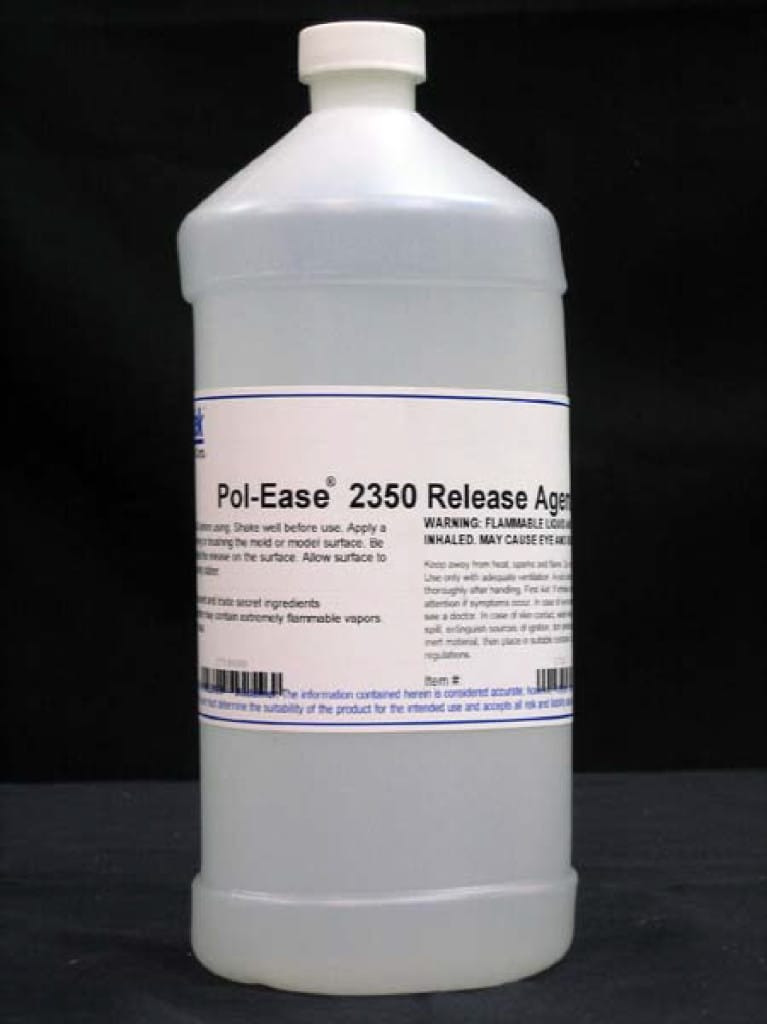
Figure 7: Pol-Ease® 2350 Release Agent
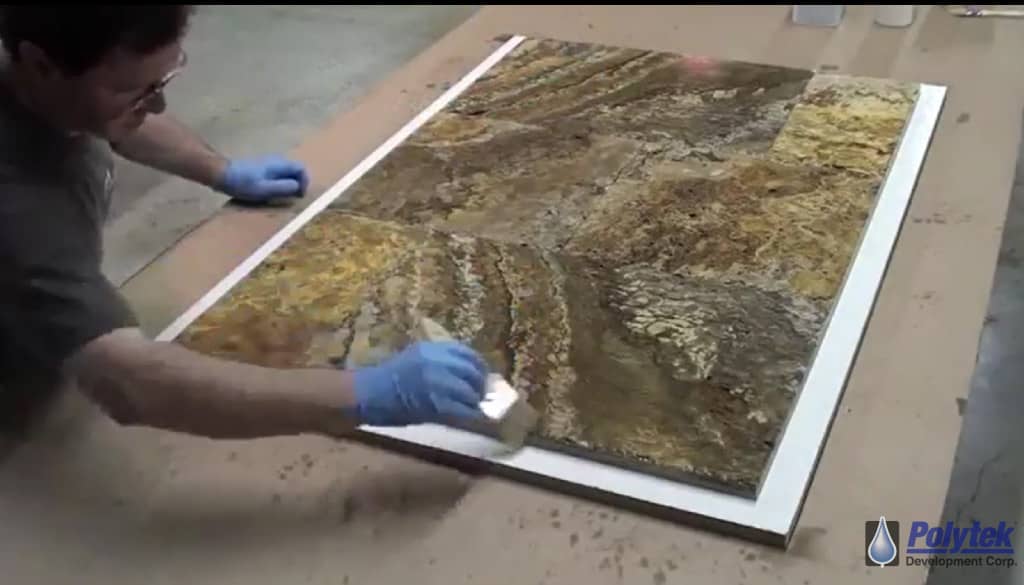
Figure 8: Ensure that all surface crevices are covered with the Pol-Ease® 2350 Release Agent by using a soft brush
Step Eight: Construct Mold Box Walls
Mold box walls [Figure 9] should be at least 0.5” taller than the Travertine master panel. This creates a 0.5” thick rubber mold bottom.
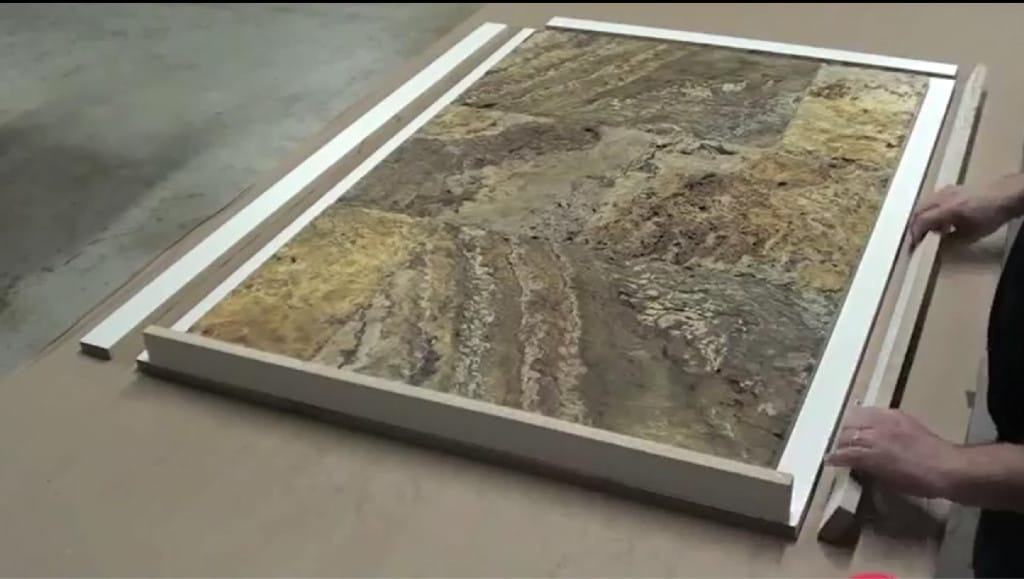
Figure 9: Mold box walls should be at least 0.5” taller than the top of the Travertine master panel
Step Nine: Spray Release Agent & Secure Mold Box Walls
Apply Pol-Ease® 2300 Release Agent to mold box walls and exposed bottom board, then brush [Figure 10].
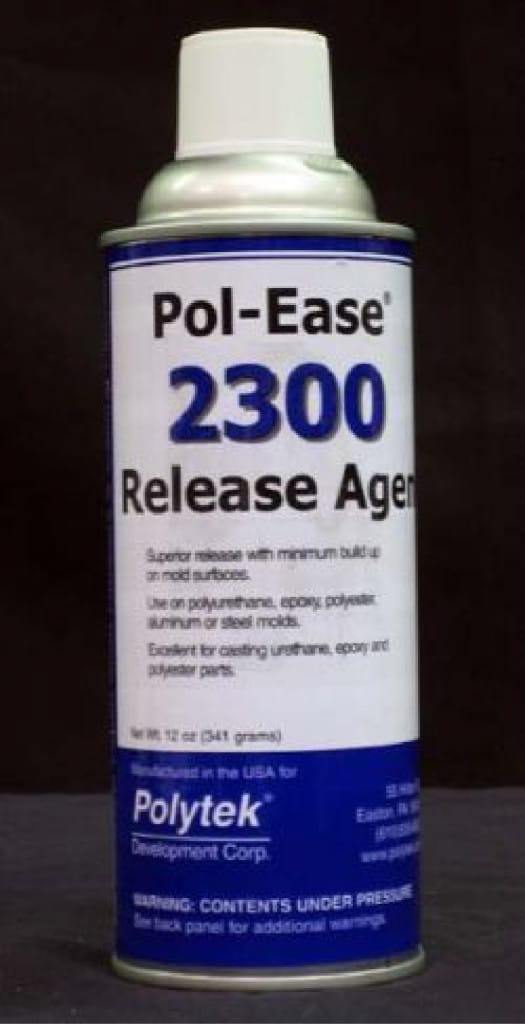
Figure 10: Spray and brush Pol-Ease® 2300 Release Agent onto mold box walls and bottom board to help release the polyurethane rubber properly
The mold box walls are secured to the bottom board with flat washers (to help prevent splitting in the plywood) and screws [Figure 11].
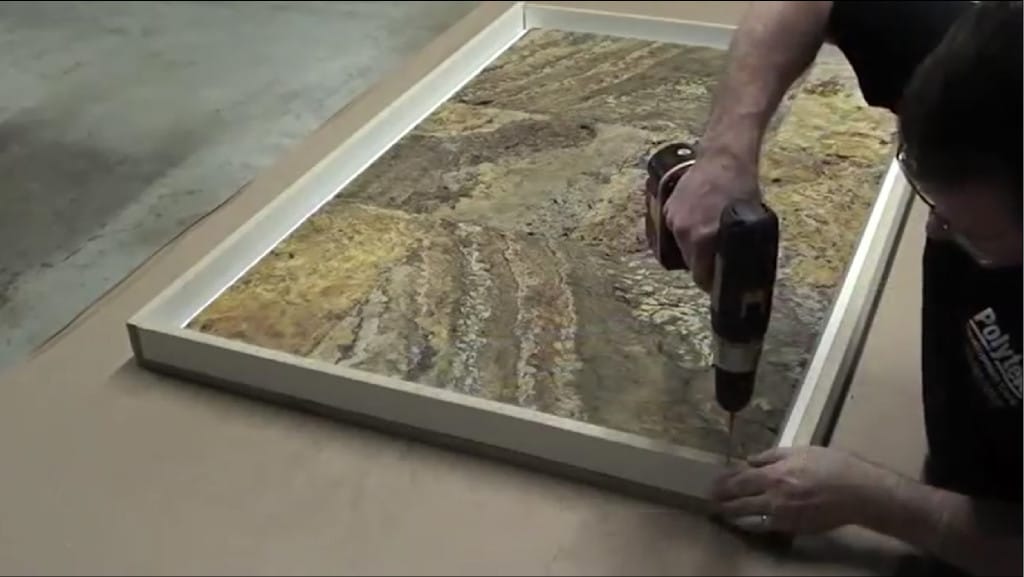
Figure 11: Secure mold box walls to the bottom board
Step Ten: Determine How Much Liquid Rubber is Necessary
How to Calculate:
1) Determine volume of the mold box (L x W x H) – 50” L x 34” W x 1.25” D = 2,125 in3
2) Determine volume of the Travertine master panel – 48” L x 30” W x 0.75” D = 1,080 in3
3) Subtract Travertine master panel volume from mold box volume – 2,125 in3 – 1,080 in3 = 1,045 in3
4) Divide this number by the specific volume of the rubber (in this case, the specific volume of Poly 74-45 is 27.5 in3/lb) – 1,045 ÷ 27.5 = 38 lb of Poly 74-45 Liquid Rubber
Step Eleven: Weigh & Pour Part B of Poly 74-45
Poly 74-45 is a polyurethane rubber with a mix ratio of 1A:1B. Because this project requires about 40 lb of rubber; two 20-lb batches were mixed in two 5-gallon pails. Before beginning the mixing process, make sure that all materials are at room temperature (~77°F) and that all tools are ready.
Poly 74-45 has a pour time (i.e., the time you have before the rubber begins to cure) of 45 minutes. Some pourable polyurethane rubbers have pour times of 20 minutes, while some silicone rubbers have pour times as short as 5 minutes (check the product Technical Bulletin or Product Catalog carefully for these times), so it is important to have all materials ready and to watch the clock.
Part B is poured first [Figure 12] because it has a lower viscosity and is less likely (compared to Part A) to cling to the sides of the mixing container. Some Part Bs need to shaken or stirred before use; this will be indicated on the product label.
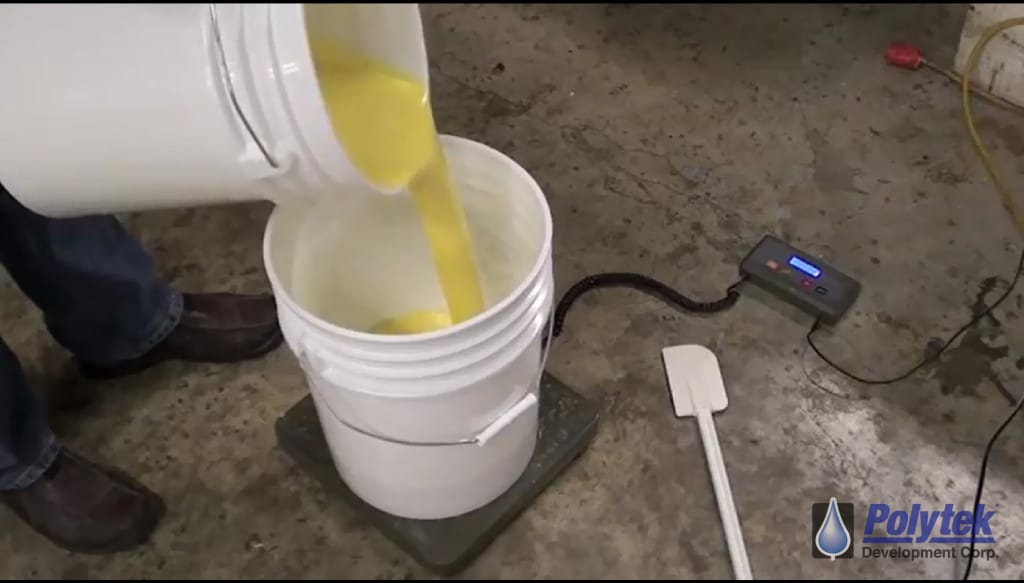
Figure 12: Part B is poured first because it has a lower viscosity
Step Twelve: Weight & Pour Part A of Poly 74-45
After pouring Part B, zero-out the scale, then pour Part A [Figure 13]. Using a digital scale for all measuring is recommended (especially when the mix ratio is not 1A:1B). Measuring containers with printed-on volume measurements can vary from container to container, which can easily create off-ratio mixes, resulting in improperly-cured rubber.
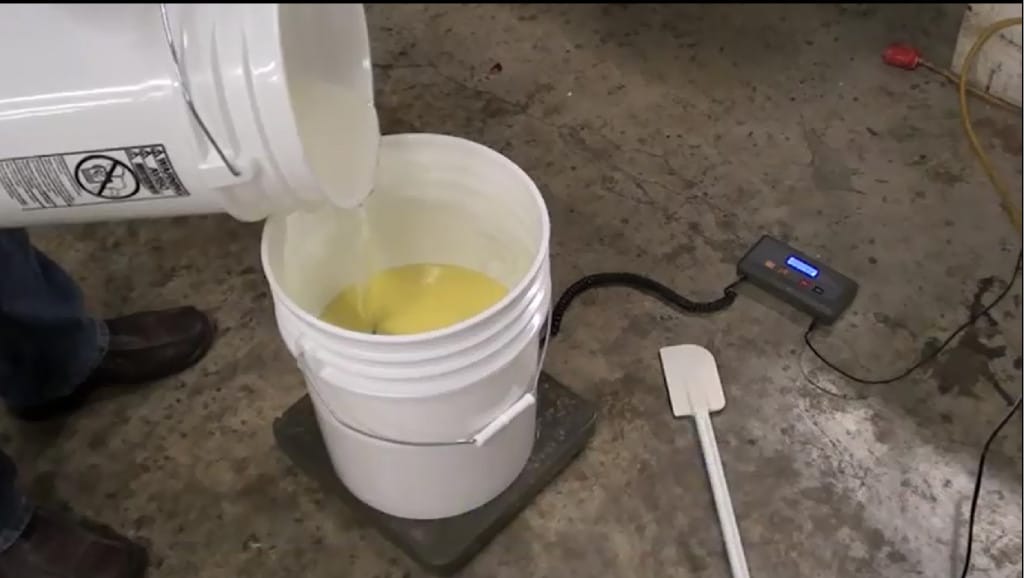
Figure 13: Pour Part A
Step Thirteen: Thoroughly Mix Rubber
A Poly-Paddle is often used for hand mixing [Figure 14]. This 16-Inch long tool is effective because of its shape and material composition. When hand mixing, it is important to scrape the sides and bottom of the mixing container several times to mix-in any clinging rubber. For larger mixes, a Turbo or Jiffy mixer is sometimes used. When using these mixers, care must be taken not to introduce air into the mix or scrape the blades against the side or bottom of the container. Tools should immediately be cleaned after use, so rubber does not cure on them.
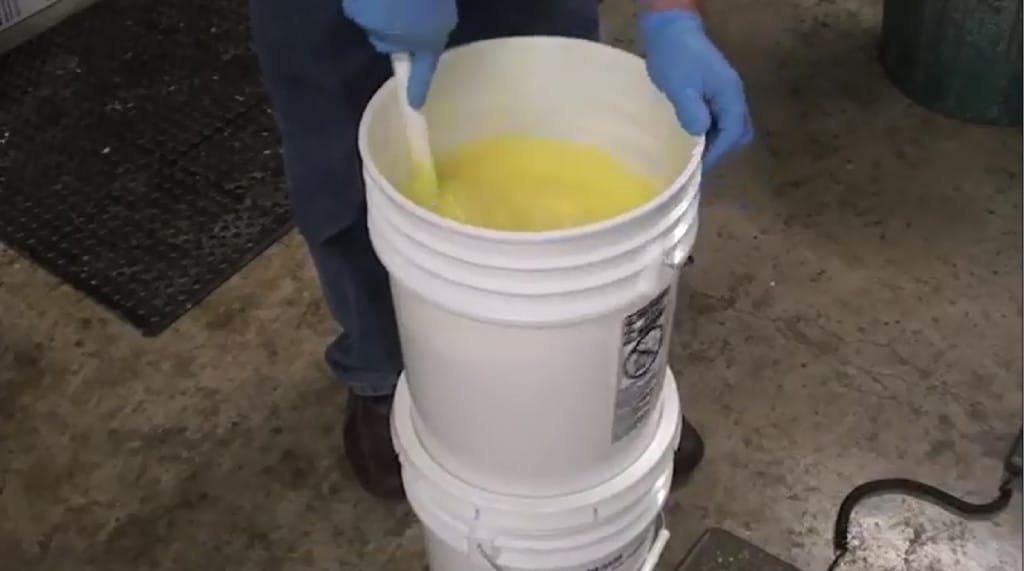
Figure 14: Mix rubber thoroughly, scraping the sides and bottom of the mixing container
Step Fourteen: Pour Rubber into Mold Box
Begin by pouring the rubber into a corner of the mold box, then allow the rubber to flow across the model, pushing the air ahead of it to help prevent air bubbles [Figure 15].
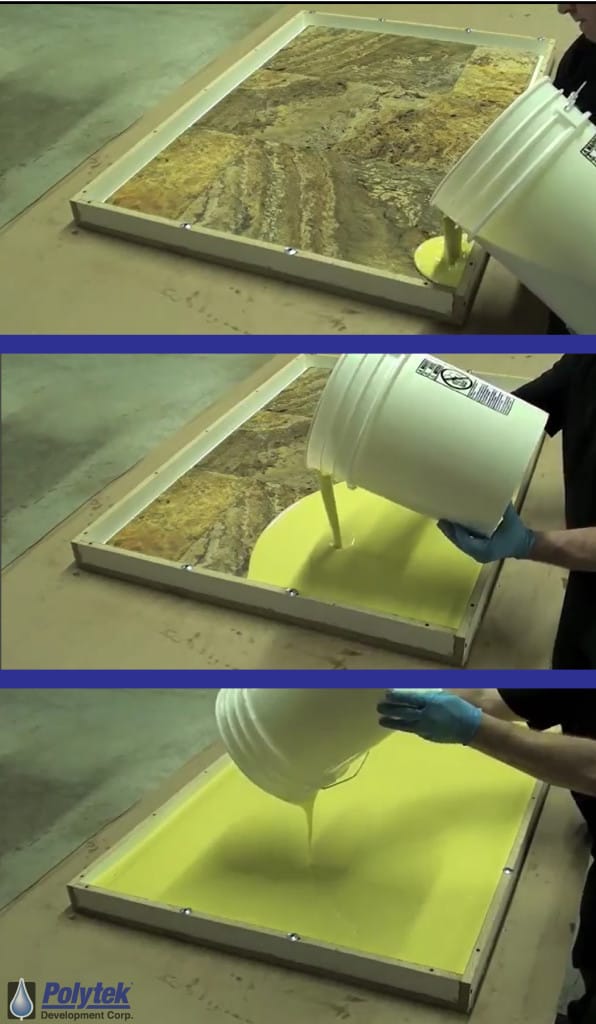
Figure 15: Start in one corner when pouring the rubber
Step Fifteen: Spray Pol-Ease® 2300 Release Agent on Rubber Surface
Spray an appropriate release agent across the entire surface of the rubber immediately after pouring [Figure 16]; it will help release air bubbles.
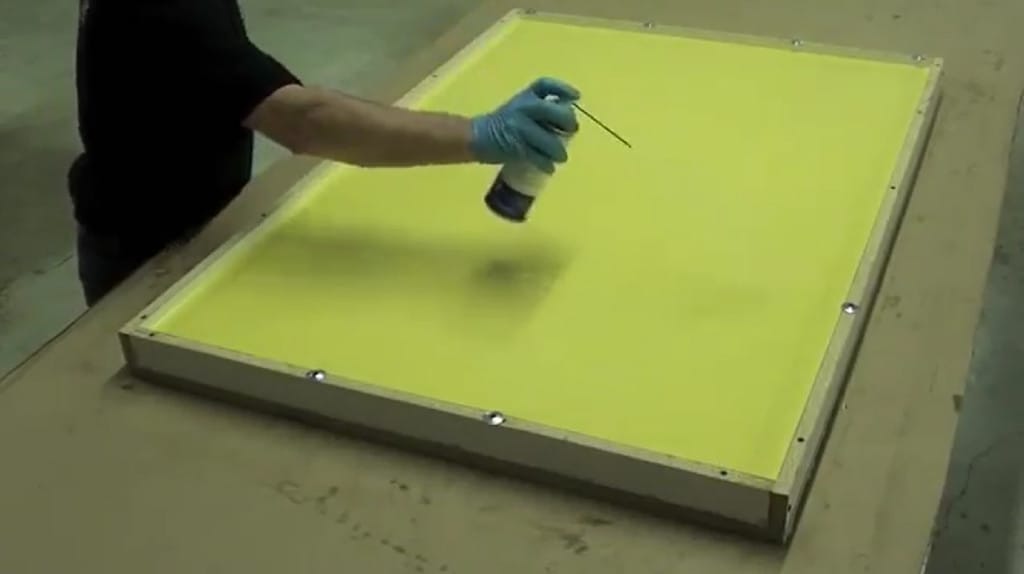
Figure 16: Spraying a release agent over the rubber after pouring can help to release surface air bubbles
— Allow Mold to Cure Undisturbed for 24 Hours at Room Temperature (~70°F) —
Step Sixteen: Remove Mold Box Walls
Once the screws are removed, a putty knife is useful for removing the mold box walls [Figure 17]. Trim flashing at the edges of the mold with a utility knife if necessary.
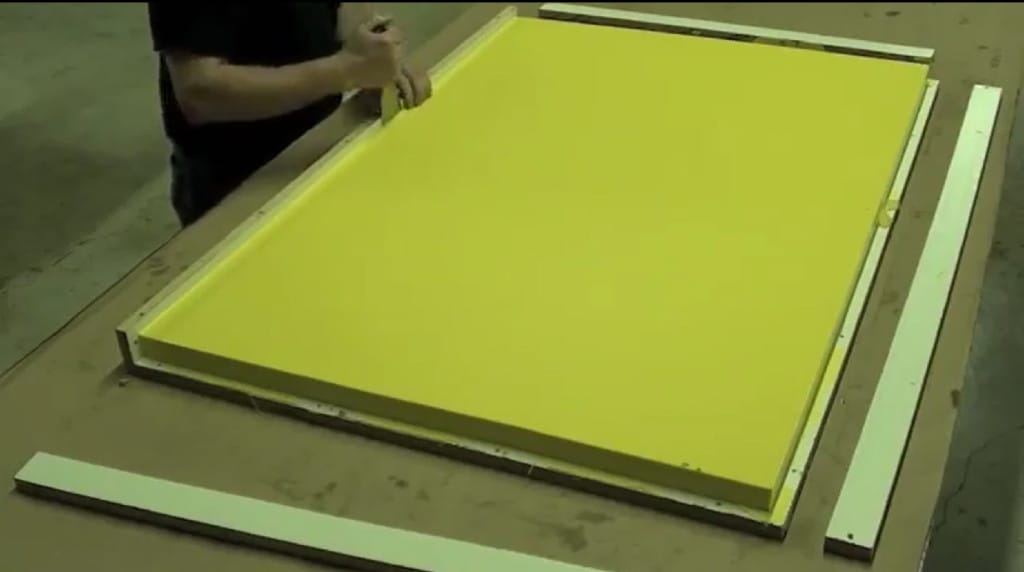
Figure 17: A putty knife can be useful for removing mold box walls
Step Seventeen: Demold
Before completely removing the mold, loosen all edges. Slowly peel the rubber mold off of the Travertine master panel starting from one corner.
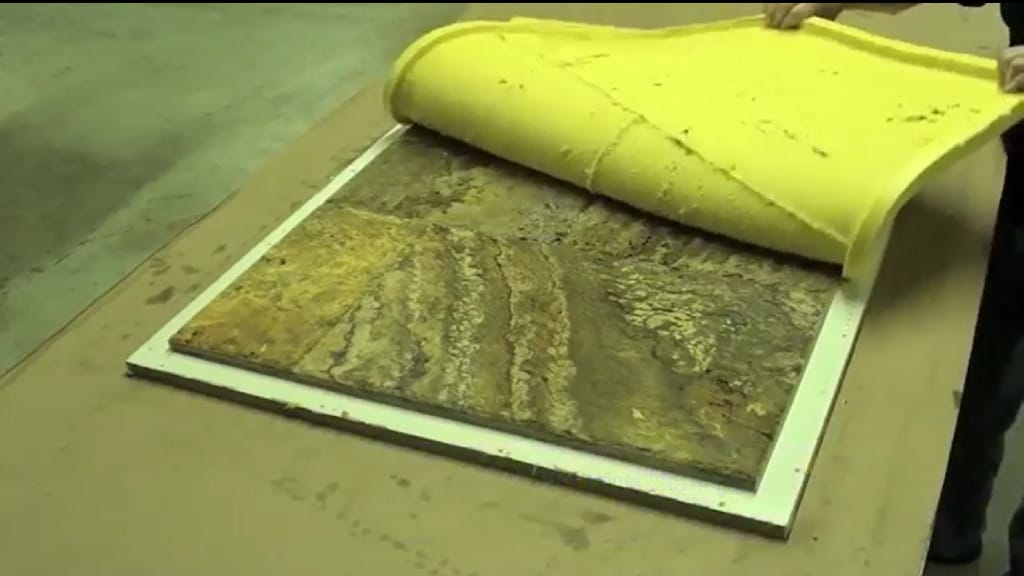
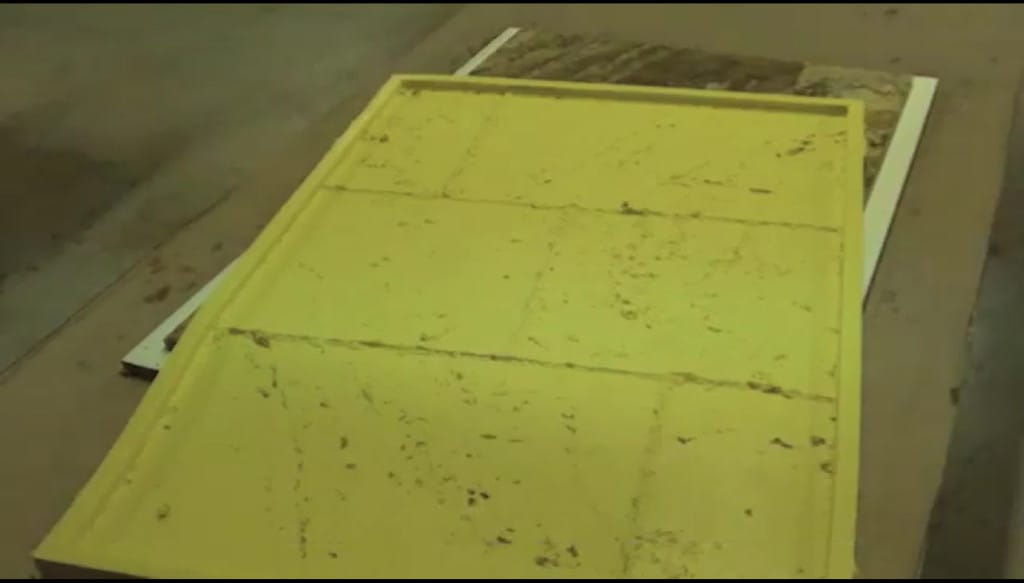
— The Rubber Mold is ready for use! —
SECTION II: Casting Concrete in the Rubber Travertine Panel Mold
Supplies & Tools Needed:
- Rubber Mold (created in Section I)
- Concrete Mix
- Jiffy Mixer
- Mixing Pails
- Personal Protective Equipment
Step One: Mix Concrete
IMPORTANT NOTE ABOUT RELEASE AGENTS: In this case, release agent was not applied to the mold before casting. Some polyurethane rubbers have great natural release properties when casting concrete and do not require a release agent. The specific rubber and the type of concrete mix being used will determine whether or not a release agent is necessary. If you have a question about release agents, please contact us (800.858.5990).
The following concrete mix is used for this project: SureCrete® Xtreme Countertop Mix, SureCrete® Liquid Modifier, SureCrete® Color, and Water. A Jiffy Mixer is used for the mixing process [Figure 18]. For a marbled effect in the final product, consider using two different color additives.
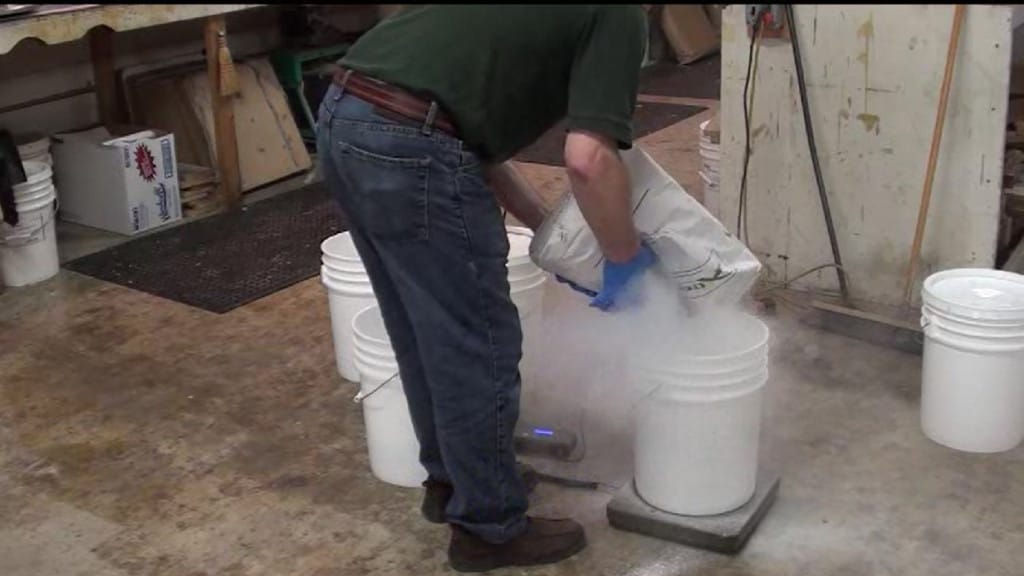
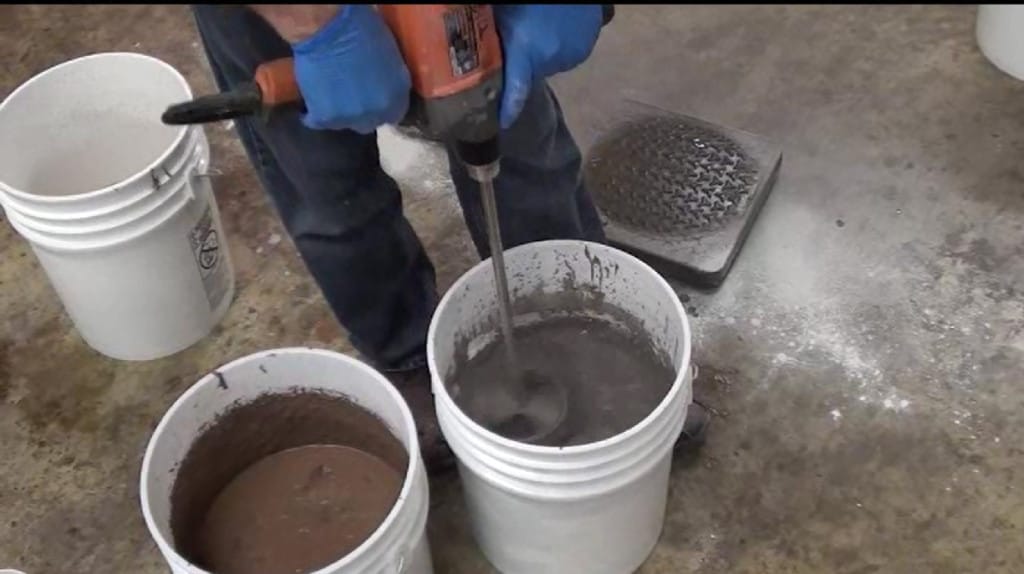
Figure 18: A jiffy mixer is used to mix the concrete
Step Two: Pour Concrete Mix
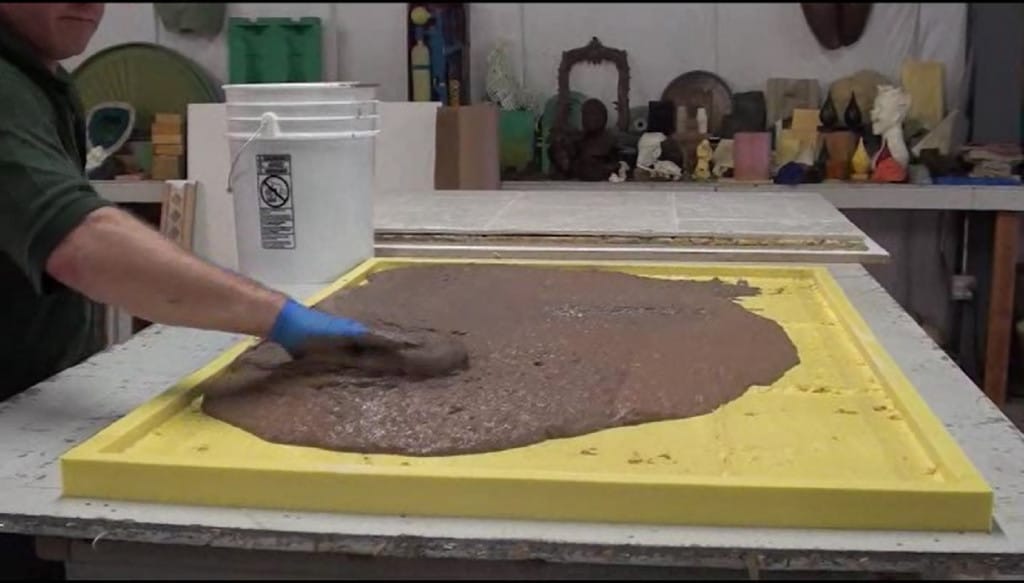
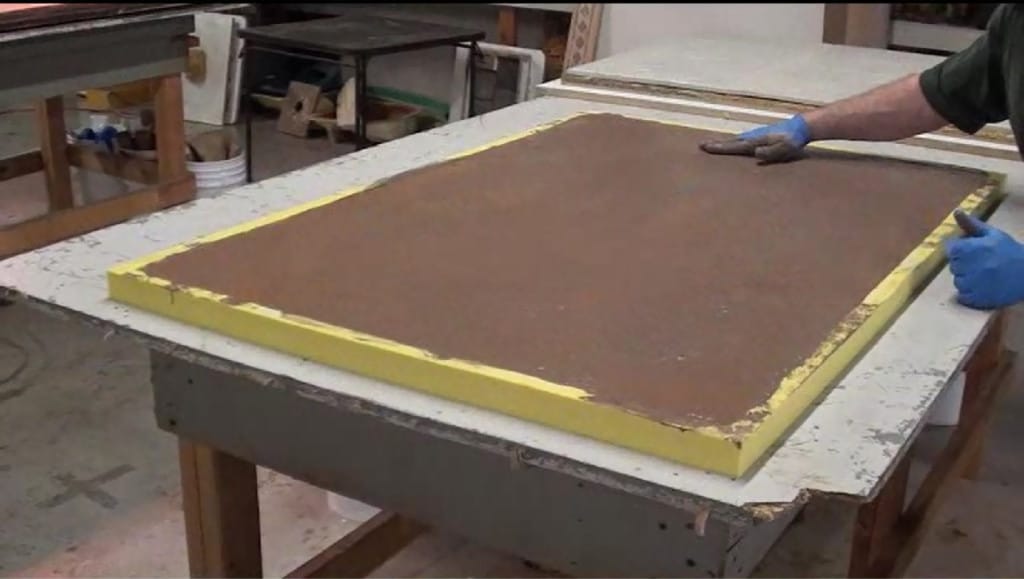
Pour the concrete mix into the mold. After all concrete is poured, level-out the mix within the mold, ensuring coverage in all corners and crevices.
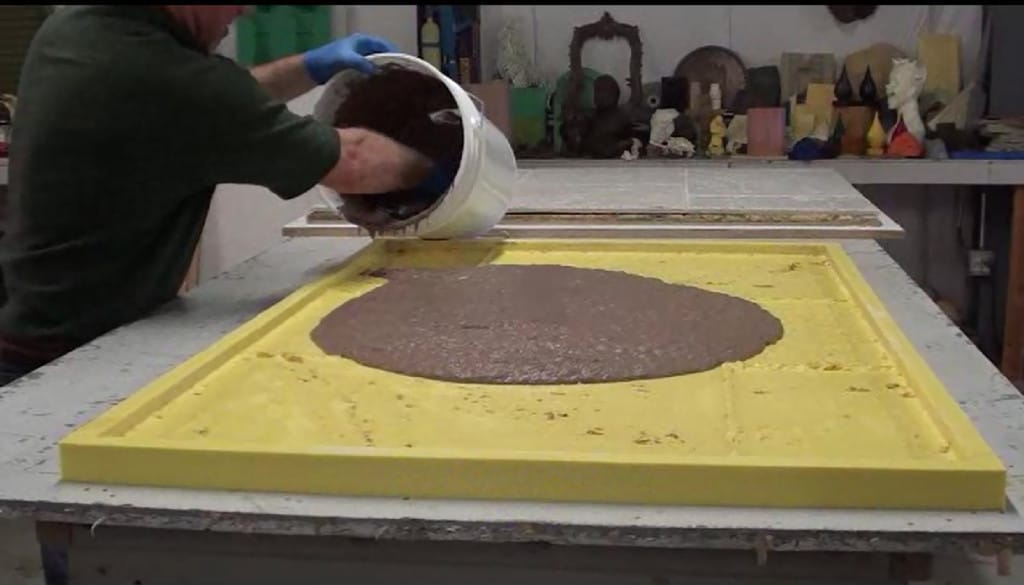
— Allow the Mix to Cure Undisturbed for 6 – 12 hours —
Step Three: Remove Concrete Casting from Mold
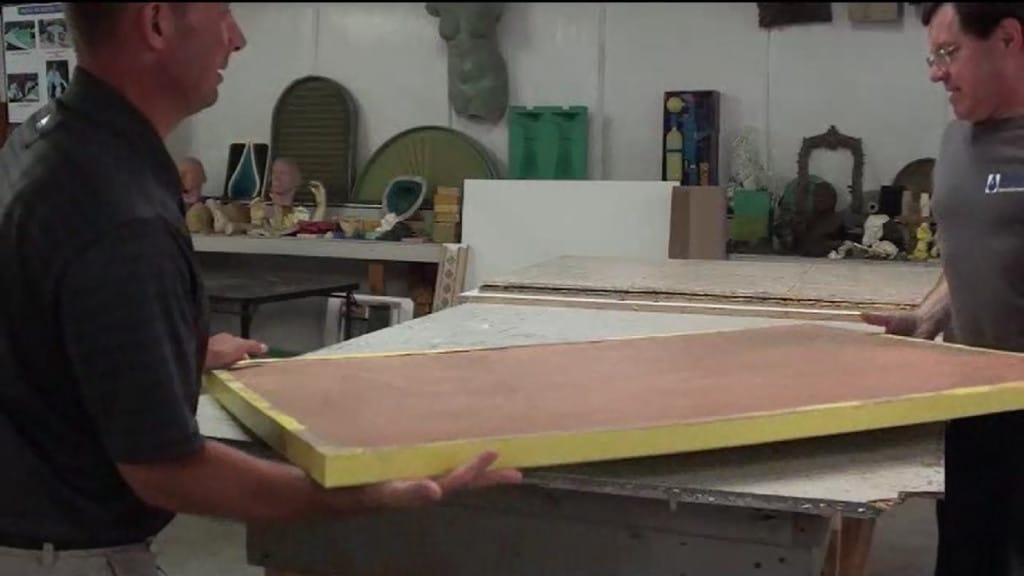
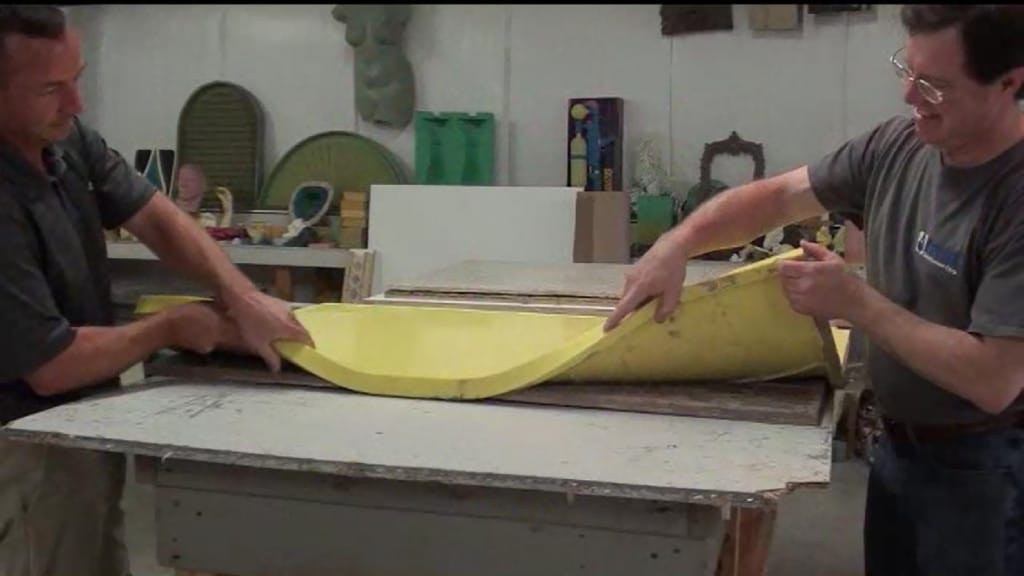
The cure time for this particular concrete mix is between 6 – 12 hours. One demold method for a casting of this size is to carefully turn over the mold/casting (using two sets of hands) and then remove the mold from the casting.
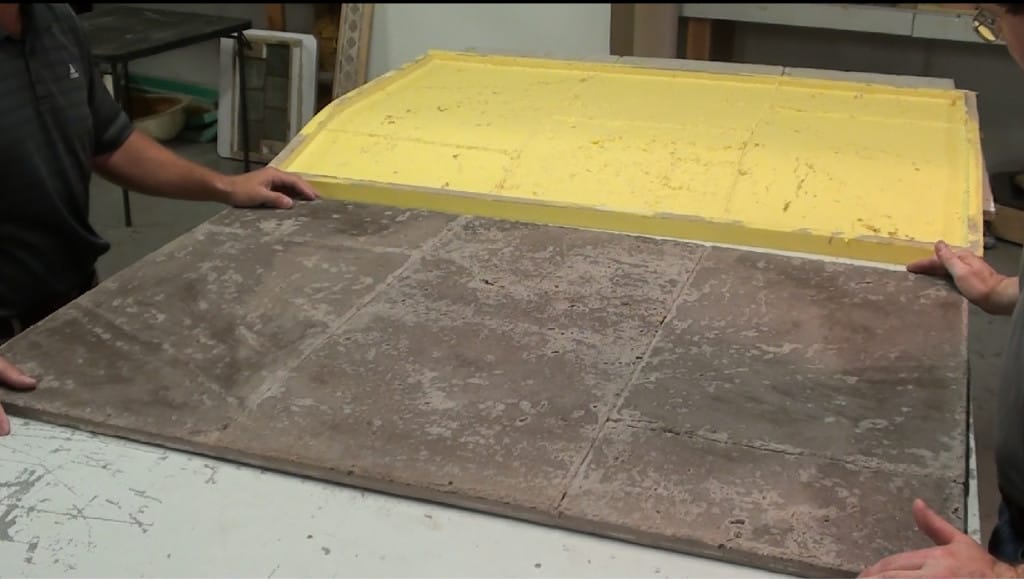
— The concrete casting is complete! —
At this point, the concrete panel could be treated in a number of ways (e.g., stained, sealed) and can be used for a number of indoor or outdoor purposes: part of a walkway, driveway, or patio; as a coffee table (with the addition of legs); as a countertop; and much more.
Video Demonstration
SECTION I: Making the Rubber Mold
SECTION II: Casting Concrete in the Rubber Travertine Panel Mold