
How to Make a Rubber Mold of a Corbel
 This mold
making and casting tutorial features the making of a poured, polyurethane block mold of a plastic corbel.
Polyurethane plastic copies are then cast in the mold.
This mold
making and casting tutorial features the making of a poured, polyurethane block mold of a plastic corbel.
Polyurethane plastic copies are then cast in the mold.
A polyurethane mold rubber will be used to the make the mold because the intent is to eventually cast concrete (although we do show some resin casting in this tutorial). Polyurethane mold rubbers work very well for a variety of concrete applications.
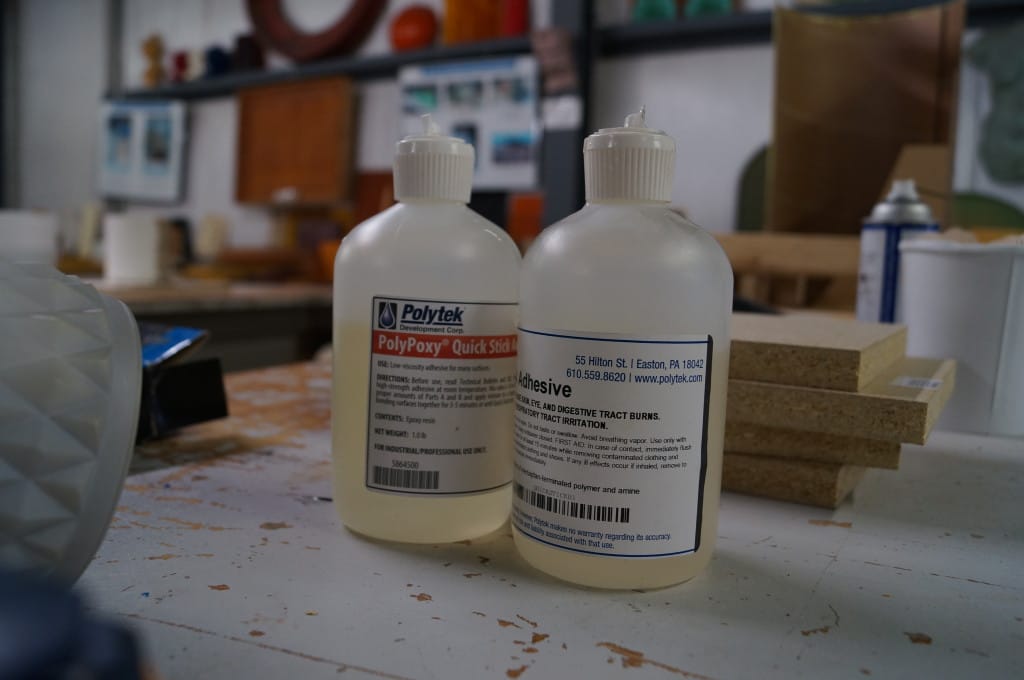
Polytek Products Used
- Poly 74-20 Liquid Polyurethane Rubber
- PolyPoxy® Quick Stick Adhesive
- Plasticine Clay
- Pol-Ease® 2300 Release Agent
Other Supplies & Tools
- Melamine-laminated particle board (or other material to make mold box)
- C-Clamps
- Drill
- Wood screws
- Dry Brushes
- Putty knife
- Digital Scale
- Mixing Pail
- Mixing Tool (Poly-Paddle)
Step 1: Prepare the Model & Containment Area
Because this corbel is plastic, the only preparation for the surface of the model is the application of a release agent. This will be applied once the mold box is constructed around it.
When working with a porous model (e.g., unsealed wood, concrete), it must be sealed prior to the mold making process.
Some sealer options include paint, lacquer, paste wax and pre-packaged options from Polytek, including
water-soluble Poly PVA Solution,
Pol-Ease® 2350
Sealer & Release Agent
and PolyCoat Sealer & Release
Agent
. View the Sealer
& Release Agent Selection Guide
for more information.


Secure the corbel to a baseboard. We use PolyPoxy® Quick Stick Adhesive, a two-part,
fast-setting epoxy adhesive to secure this model to a melamine-laminated particle board. It could also be
screwed to the baseboard.
When working with porous models, the baseboard should be vented from
beneath to prevent trapped air from forming bubbles in the rubber.

Construct mold box walls around the model. They should be spaced at least 3/4″ beyond the model on
all sides and the height should be at least 1/2″ above the model.
We use melamine-laminated
particle board as the mold box wall material and secure them together with C-Clamps. The walls are also
secured to the baseboard with screws.


Because there is quite a bit of empty space surrounding the thinner, bottom-area of the model, some
block-outs could be added to take up space (pictured below in red) and reduce the amount of rubber needed to
make the mold.

Seal the inside edges and corners of the mold box with clay (we use warmed plasticine clay). Hot glue
or caulking could also be used.
Also seal the edges of the model that meet the baseboard (all
clayed areas are marked with a dotted line below). Sealing the edges of the model is easier to do before the
mold box walls are in place.
This step helps to prevent mold rubber from seeping beneath the
model and out of the mold box.

Spray Pol-Ease® 2300 Release
Agent
onto the model, baseboard and mold box walls and then brush it out to ensure even coverage and
no puddling. If a silicone mold is being made, use Pol-Ease
® 2500 Release Agent instead.

Step 2: Determine How Much Mold Rubber is Needed
To determine the amount of rubber needed for the mold, first start by estimating the volume of the original
corbel.


Based on the measurements, we estimate 88 in³.
Then, determine the volume of the mold box. This mold box is approximately 506 in³.
Next, subtract the volume of the original corbel from the volume of the mold box.
506 in³ – 88 in³ = 418 in³.
Divide the result by the specific volume of the mold rubber. The specific volume of Poly 74-20 Liquid Rubber is 27.5 in³/lb.
418 in³ ÷ 27.5 in³ = 15.2 lb
~15.2 lb of Poly 74-20 Liquid Rubber is needed to make this mold.
Step 3: Measure, Mix & Pour Poly 74-20 Liquid Rubber
Poly 74-20 Liquid Rubber is the softest (Shore A20) rubber in the 74-Series line of polyurethanes. It is selected because it is flexible enough to easily demold from the intricate sides of the original corbel.
The Basics of Poly 74-20
- Mix Ratio: 1A:2B
- Shore Hardness: A20
- Pour Time: 30 minutes
- Cured Color: Yellow
- Mixed Viscosity (cP): 800
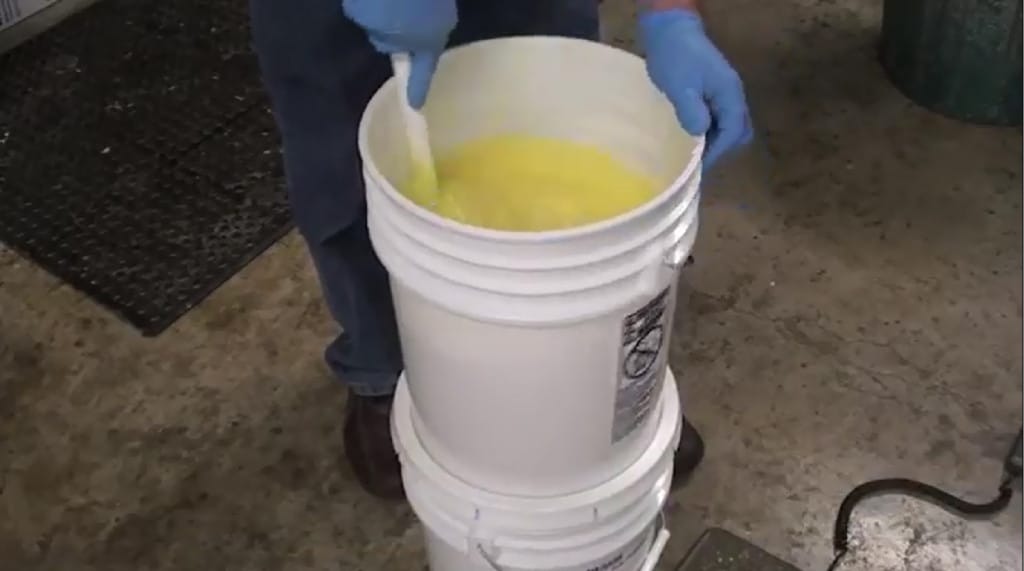
Measure Part A & Part B on a digital scale at the proper ratio (1A:2B) and then combine them (we
recommend adding Part B to the pail first because it’s lower in viscosity). Mix thoroughly, scraping the sides
and bottom of the mixing container several times.
Pour the rubber into a low spot in the mold box and allow the rubber to rise.


Fill the mold box to at least 1/2″ above the highest part of the corbel.

If needed, slightly tilt the box and baseboard back and forth to help dislodge any air bubbles that may
be trapped against the model.

Allow the rubber to cure at room temperature for ~16 hours before demolding.
Step 4: Demold
Remove the mold box walls and then loosen the edges of the mold (a putty knife or stainless steel spatula are useful
tools for this).


After loosening the edges, carefully remove the entire mold.

The mold is now ready for casting.
Step 5: Casting
There are many casting materials that can be poured/brushed/sprayed into polyurethane molds, including:
- Concrete
- Plaster
- Wax
- Resin (polyurethane, epoxy, polyester), with the proper release agent
- Foam, with the proper release agent
NOTE: Although it’s not necessary in this case, there are times when the mold box should be placed back
around the rubber mold when casting so that the mold walls do not deform. Use of the mold box is most often
needed when casting deep concrete objects.
In the example below, EasyFlo 60 Liquid
Plastic, a fast-setting polyurethane plastic, is measured out by volume (1A:1B). Pol-Ease 2300 Release Agent is
sprayed into the mold and brushed out and then the EasyFlo 60 is mixed and poured.


Although the mixed liquid is a translucent yellow color, this plastic cures to a white color. The
demold time is 15-30 minutes.


The picture below shows the EasyFlo 60 casting next to the original.

To make a cold cast bronze part, mix up a layer of EasyFlo 60, Brown PolyColor and Bronze Powder and
slush/brush a thin layer into the mold. Again, Pol-Ease 2300 Release Agent must be applied prior to casting


Once this layer gels, it can be backed with EasyFlo 60 and Brown PolyColor (exclude the bronze powder
this time) or a less expensive material like rigid polyurethane foam.
Once it cures, remove it from
the mold.

Burnish the casting with steel wool to expose the metal particles.

Pictured below from left to right: EasyFlo Clear Liquid Plastic, EasyFlo 60 Liquid Plastic and EasyFlo
60 + Brown PolyColor + Bronze Powder.
