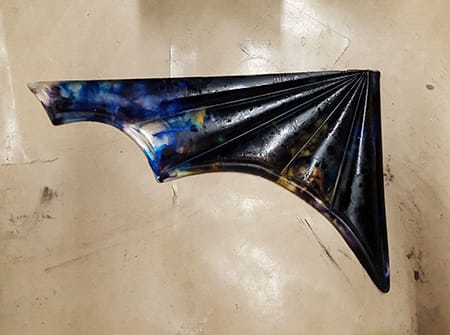
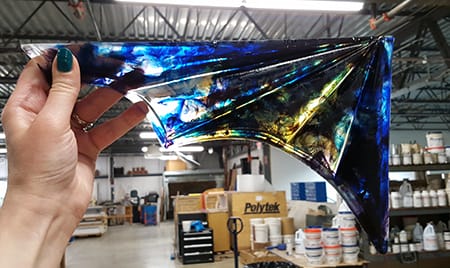
Marbled Effect in Polyurethane Resin
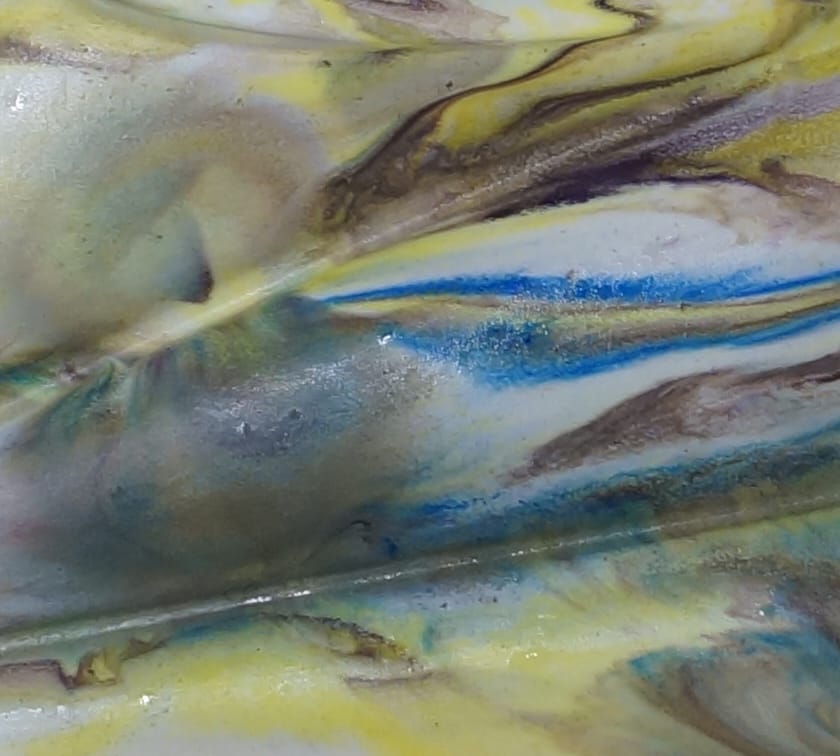
An intrinsic “marbled” look can be a challenge to achieve with resin. It takes experimentation and it is extremely difficult to reproduce the same look/pattern every time.
General recommendations:
– use a fast-setting resin (this may prevent the color dyes from migrating/settling too much)
– use a resin that cures to a white/off-white color
– experiment with PolyColor Dyes
– experiment with thickeners to achieve varying effects
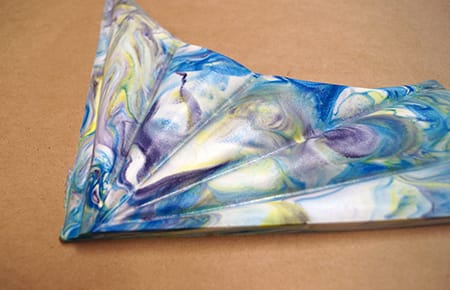
In the example below, we show you a general method of achieving a marble pattern in polyurethane plastic.
Supplies needed for the following example:
- EasyFlo 60 Liquid Plastic
- PolyColor Dyes
- Thickener (e.g., PolyFiber II) – optional
- Mixing tools and containers
Step 1: Prepare the Mold
Properly release the mold prior to pouring the casting resin. This PlatSil® 71-30 Silicone Mold does not require any preparation prior to casting because release agent is not necessary when casting polyurethane resin in silicone molds.
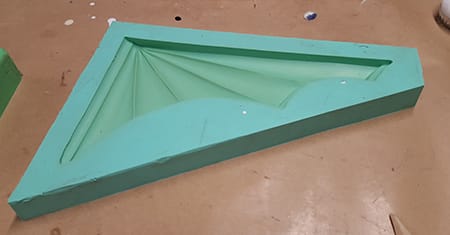
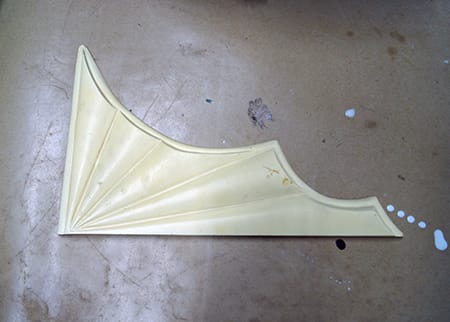
This mold is of a stair runner architectural detail (typically found on the side of steps). The following is an example of a polyurethane resin cast in this silicone mold without any PolyColor Dyes or fillers.
Step 2: Prepare All Components
EasyFlo 60 Liquid Plastic has a very short working time (2 to 2.5 minutes), so it’s important to prepare all components ahead of time.
First, measure out Parts A & B of EasyFlo 60 by volume (1A:1B) or weight (100A:90B).
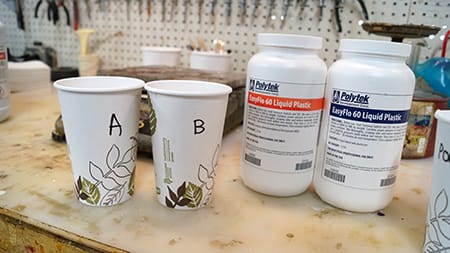
Next, prepare the PolyColor Dyes desired for marbling. Some may choose to only use PolyColor Black for natural-looking marble striations. Others may choose to use a variety of colors.
PolyColor Dyes are available in black, brown, blue, green, red, yellow and white.

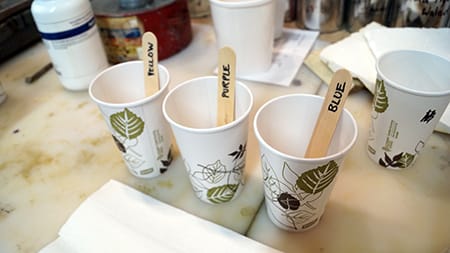
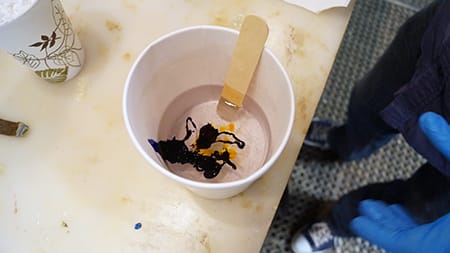
Pour a small amount of each desired color into individual cups. In this example, we use blue, purple (a combination of PolyColor Red and PolyColor Blue), and yellow.
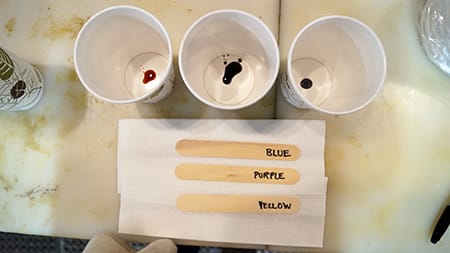
Ensure that you have a mixing tool for each color.
Step 3: Mix Primary Batch of Resin
Combine EasyFlo 60 Parts A and B and mix thoroughly.
By mixing in a thickener, you may be able to gain more control over the marble pattern. Thickened resin will not flow as easily, allowing more control of its placement and dispersion. In the following example, we do not add any thickener, but we will show some examples of marbled resin with thickener later in this article.
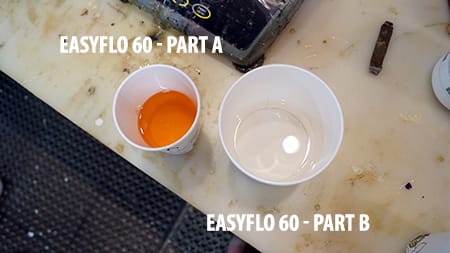
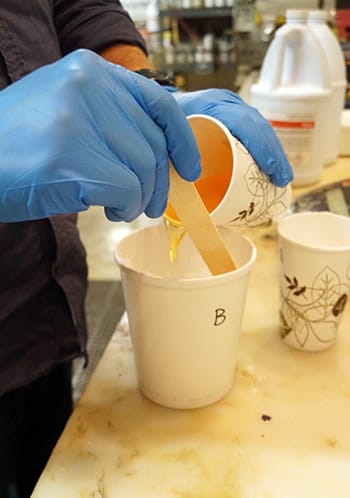
Keep in mind that the working time of this product is 2 to 2.5 minutes once these components are
mixed.
Step 4: Dispense Small Amount of Resin into PolyColor Containers
PolyColor Dyes are reactive; if they are not thoroughly mixed in with the A & B components of the primary casting material, they will not cure properly and may “bleed” out of the cured casting. Do not pour PolyColor Dyes directly into the primary batch.
Dispense small amounts of the primary EasyFlo 60 batch into each of the containers that contain the PolyColor Dye.
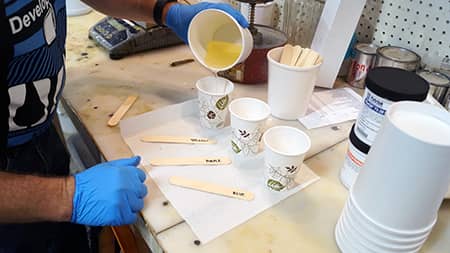
Then, individually mix each color.
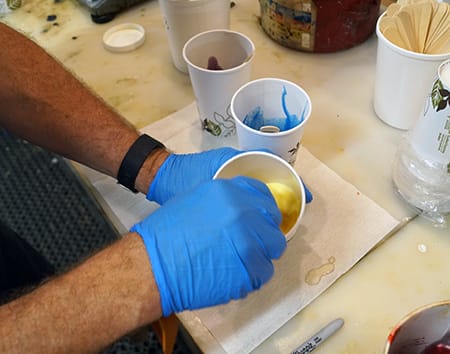
Step 5: Pour PolyColor Mixes into Primary Batch & Pour Into Mold
Pour each PolyColor mix back into the primary EasyFlo 60 batch but do not mix.
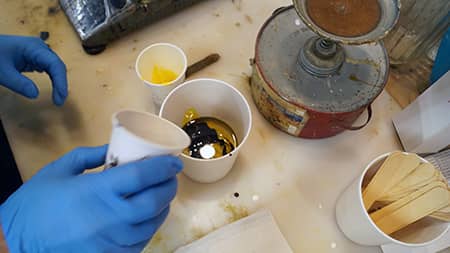
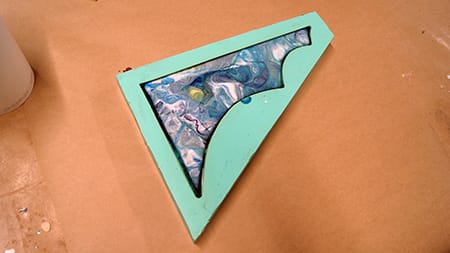
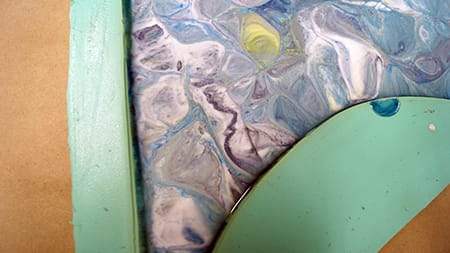
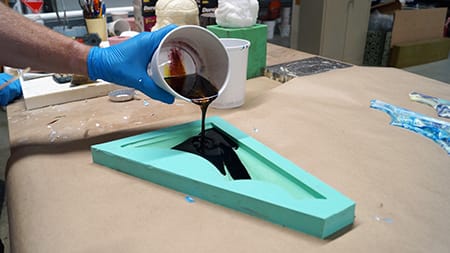
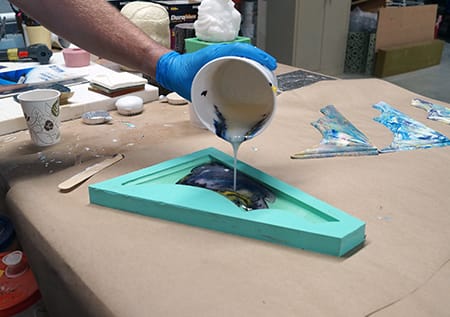
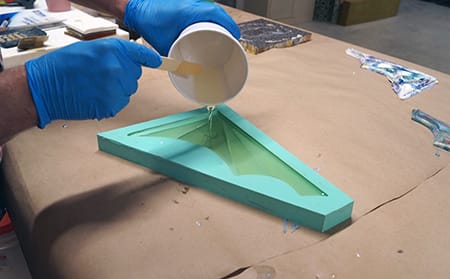
Pour the mixture into the mold. Some may choose to pour into one spot and allow the resin to flow across the mold while others may pour the resin into different spots in the mold. The technique used to pour the resin will affect the final look of the casting.
We choose to pour the resin in one spot and allow it to flow across the mold.
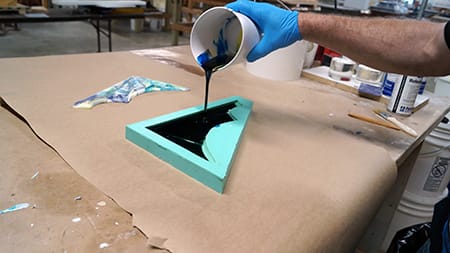
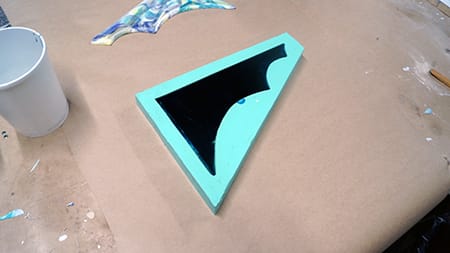
When EasyFlo 60 begins to set, it turns from a transparent yellow/amber color to an opaque white color; therefore, the liquid mixture that you pour into the mold will change color quite significantly as it cures.
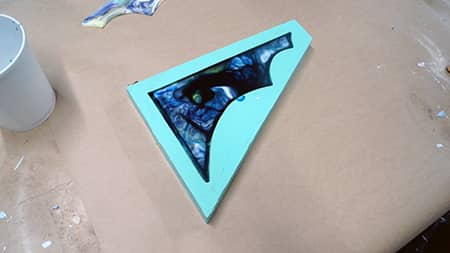
Step 6: Demold
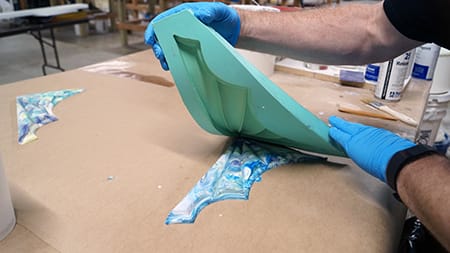
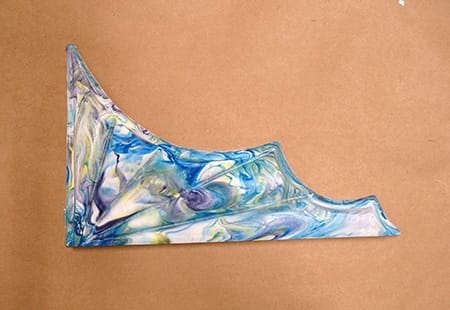
After 15-30 minutes, the casting can be removed from the mold.
You’ll also notice that the front of the casting can look quite different compared to the back.
Using Thickeners for Marbling Resin
EasyFlo 60 and PolyColor Dyes are both very low in viscosity; some may choose to add thickeners to the resin in order to gain more control of the striations. We show some examples below of the results we got when using thickeners in varying scenarios.
The thickener used in the following examples is PolyFiber II. This product is traditionally used to thicken polyurethane rubbers and plastics for brush-on application.
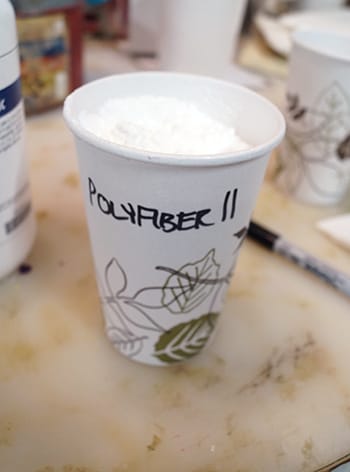
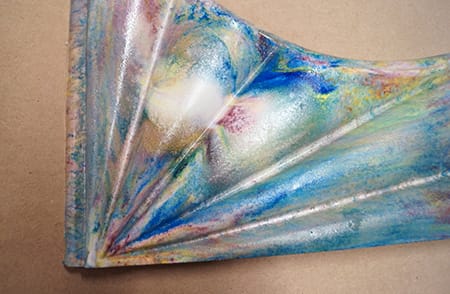
In the example below, we thicken a batch of mixed EasyFlo 60 with PolyFiber II and then divide that mixture among the cups that contain PolyColor Dyes. Then we add those individual PolyColor Dye mixtures into a batch of EasyFlo 60 that does not contain thickener.
The colors appear to be more concentrated with this method.
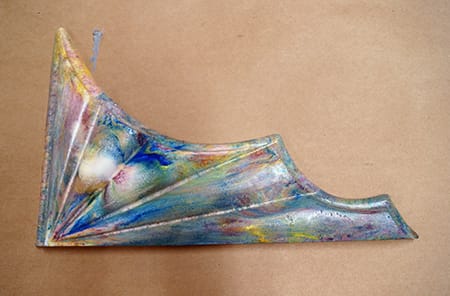
In the example below, we use PolyFiber II to thicken both the PolyColor Dye mixtures and the
primary batch of EasyFlo 60. The thickened PolyColor Dye mixtures are added to the thickened EasyFlo 60 primary
batch and then poured into the mold.
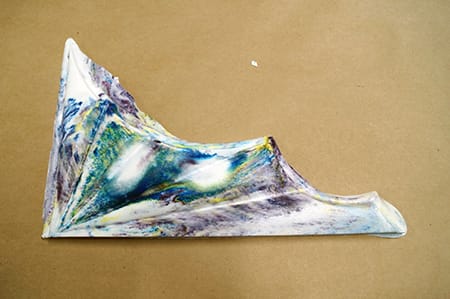
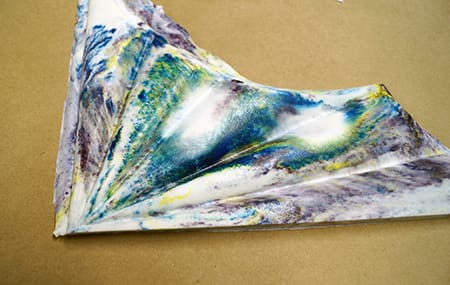
In the example below, we pour mixed EasyFlo 60 resin into the mold and then drizzle the EasyFlo 60
+ PolyColor Dye mixtures into the resin.
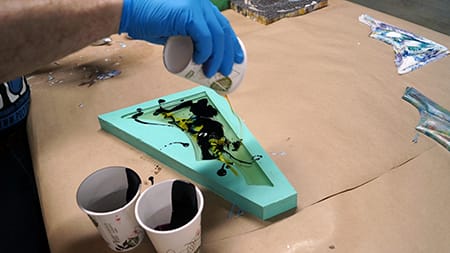
As you can see in the final casting, the color dyes did not make their way to the front of casting very well.
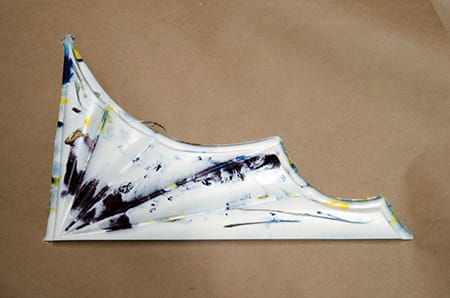
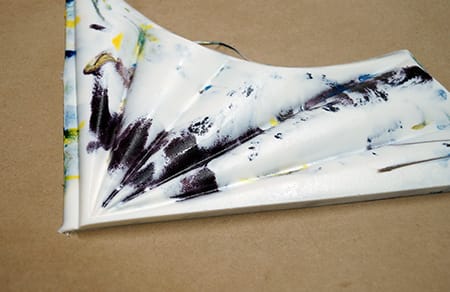
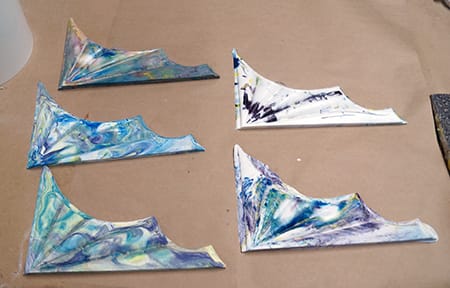
An important takeaway is that even though the same PolyColor Dyes and base resin are used for each
casting, they turn out quite different based on the thickeners added to the resin and the pour technique as
it’s poured into the mold.
Marbling Clear Resin
A very different look is achieved by using a clear resin instead of a white resin. In the finished casting, it’s difficult to see the striations without holding it up to light.
 \
\
