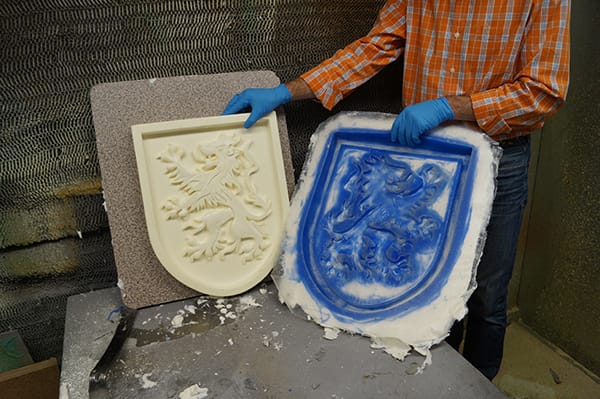
Spray-On PlatSil® Gel-25 Mold with Mold Shell
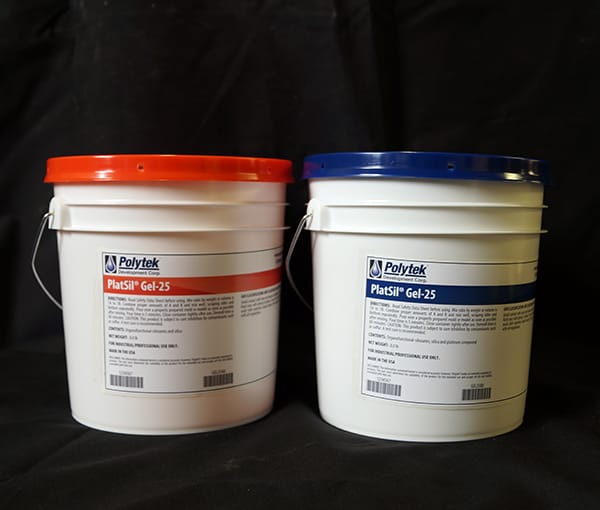
PlatSil® Gel-25 is a platinum-cured silicone rubber that is used for theatrical prosthetics, lifecasting and mold making. It is a versatile system that can be used with a variety of accessories, including thickener, accelerator, deadener and hardener. This article will focus on PlatSil Gel-25 as a mold rubber.
Without any additives, PlatSil Gel-25 is a pourable rubber that is great for making poured block molds or poured blanket molds. With the addition of TinThix or PlatThix liquid thickeners, it can be brushed or sprayed onto a model.
In this article, we detail the process of making a spray-on mold with a PlasPak Spray Gun and then making an EasyFlo 120 mold shell. If a model is on a wall, ceiling or other location preventing it from being laid flat, spraying (or brushing) the mold rubber is a good option. Sprayable mold rubbers are also great when working on large models.
Step 1: Prepare the Original Model
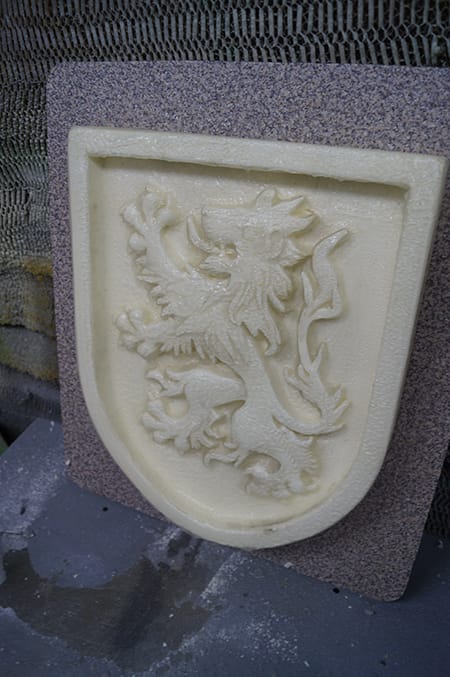
The original model, shown below, is made of plastic. It is adhered to melamine-laminated particle board for the mold making process.
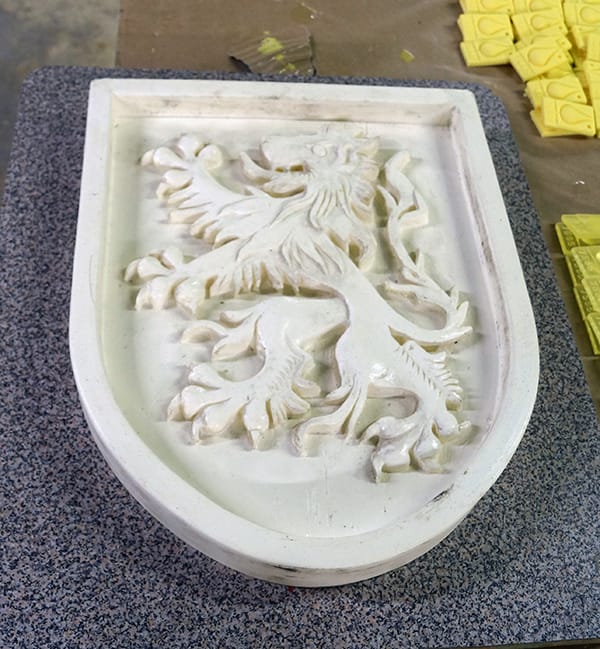
To prepare this non-porous model for silicone mold making, it is coated with Pol-Ease® 2500
Release Agent. After spraying, it is brushed out with a dry brush to ensure even coverage and no puddling.
Release Agent is also applied to the surrounding melamine baseboard.
Porous models should be sealed
prior to applying release agent.
Step 2: Thicken Rubber & Load PlasPak Spray Gun
All necessary
components for the spray system should be ready to go before preparing the PlatSil
Gel-25.
Necessary equipment for the PlasPak system include:
- 1:1 PlasPak Spray Gun/Regulator
- Cartridge Assembly for 1:1 PlasPak System
- Static Mixers
- Air (not to exceed 145 psi)
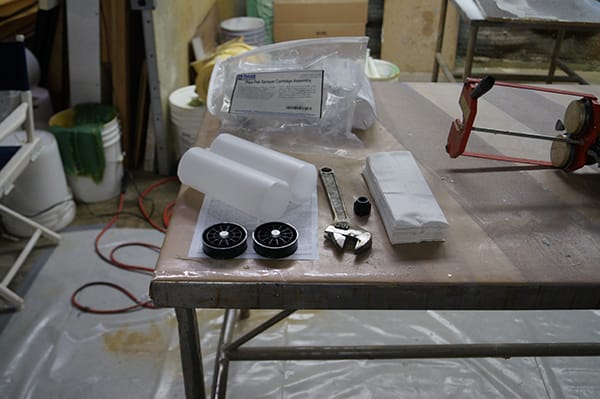
[PlasPak Cartridge Assembly]
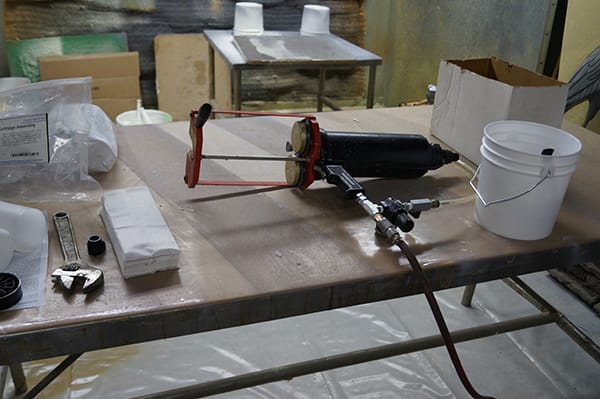
[PlasPak Spray Gun/Regulator]
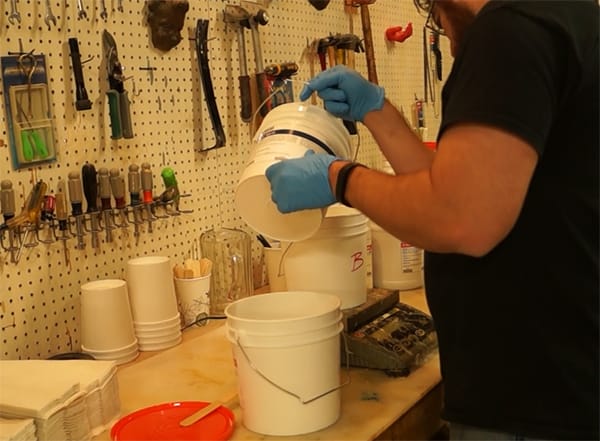
The mix ratio for PlatSil Gel-25 is 1A:1B. Part A and Part B are measured, by weight, and placed into
separate mixing containers (this product can be measured by weight
or volume). The 1:1 PlasPak
cartridges hold 1500 ml of material in total.
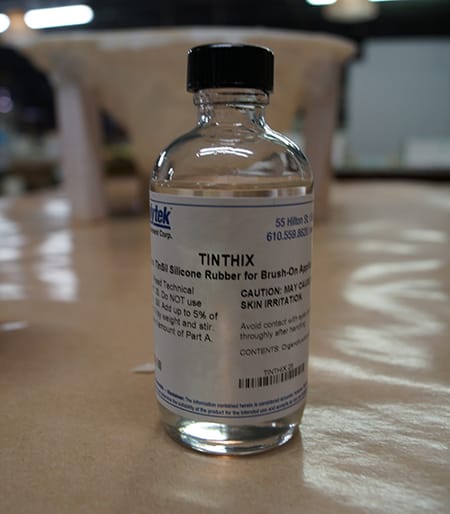
A small amount of TinThix liquid thickener is added to both Part A and Part B. 1% to 5%
TinThix can be added, by weight, to PlatSil Gel-25. It may take some experimentation to achieve the
right consistency for spray application.
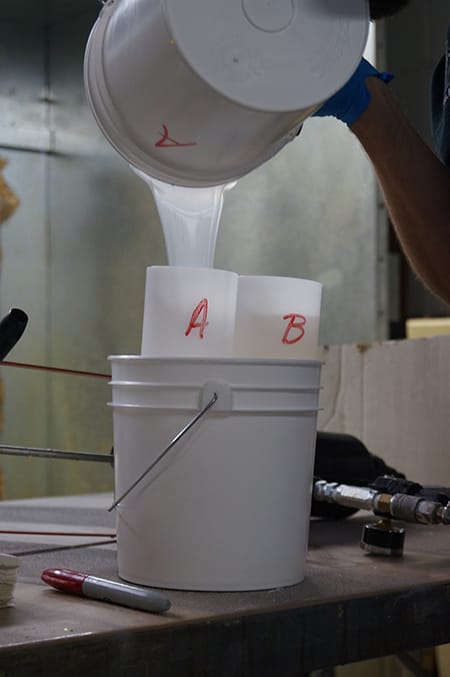
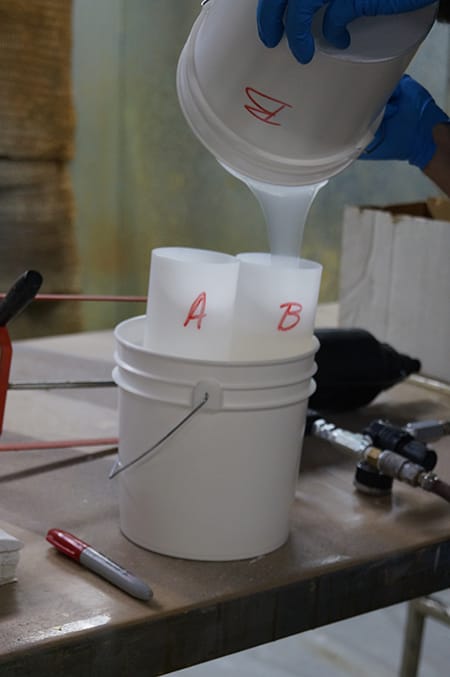
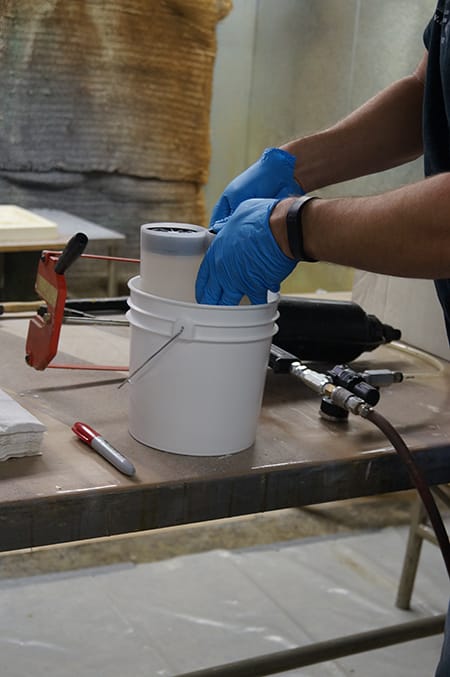
Pour thickened Part A into one side of the cartridge and thickened Part B into the other side of the
cartridge.
Step 3: Spray Silicone onto Model
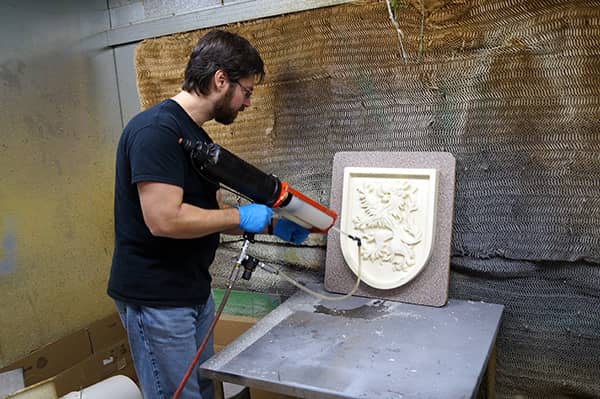
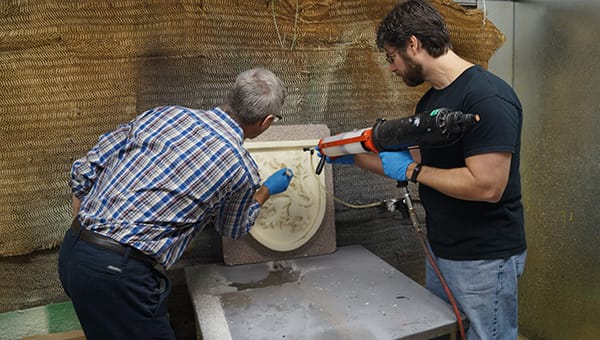
The cartridges and static mixer
are secured to the PlasPak Gun and then the gun is hooked up to an appropriate external air compressor. When
everything is assembled correctly, the silicone is sprayed evenly across the surface and sides of the
model. A rubber flange is also created around the outside of the model on the melamine
baseboard.
*NOTE: This is a brief overview of the spraying process. For detailed
instructions and use for PlasPak Spray Guns, review the PlasPak Technical Bulletin or call
Polytek Technical Support.*
It is important to keep the working time of the
product in mind during this process. PlatSil Gel-25 has a working time of 6 minutes. After 6 minutes, the
silicone will begin to set and will no longer flow through the static mixer.
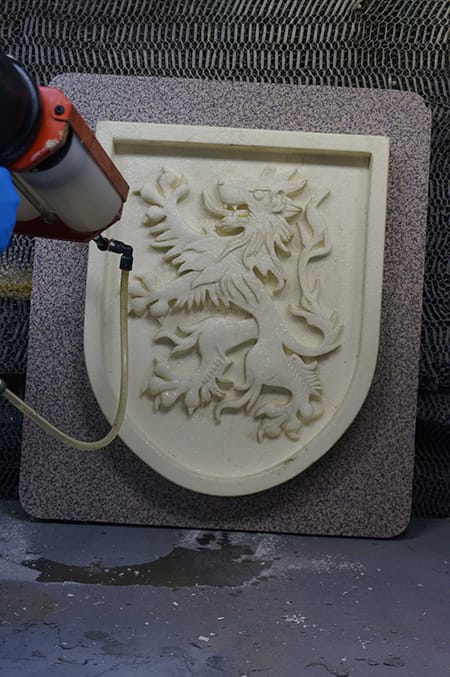
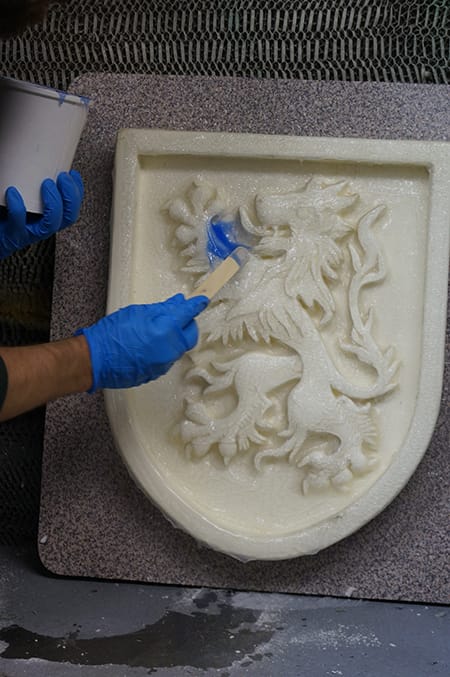
A second person follows with a brush to work the silicone into the detail of the model and to
ensure even coverage.
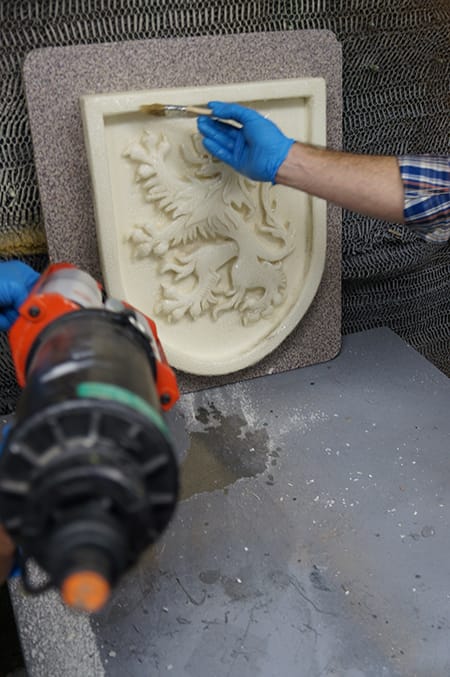
Because PlatSil Gel-25 is a milky white material, it is a good idea to add a silicone color
pigment prior to spraying; especially if the model is an off-white color like this one. It is
much easier to see coverage this way.
Blanket molds should be at least 1/4″ thick. Some molds may require multiple layers depending on the
size of the model. If a second layer is necessary, allow the first layer of PlatSil Gel-25 to
gel enough so that it won’t be disturbed when more silicone is applied.
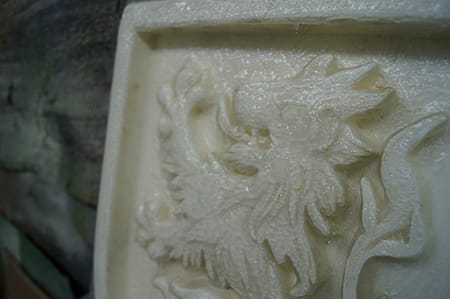
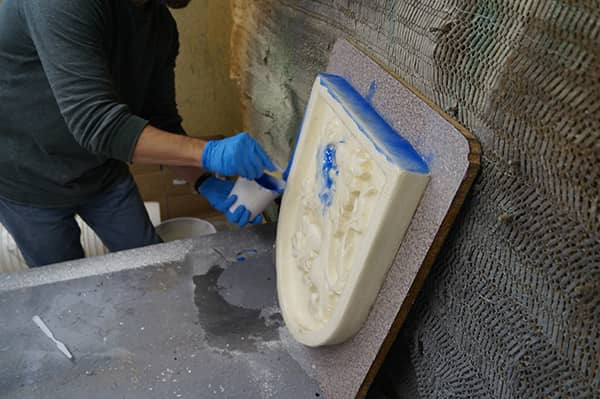
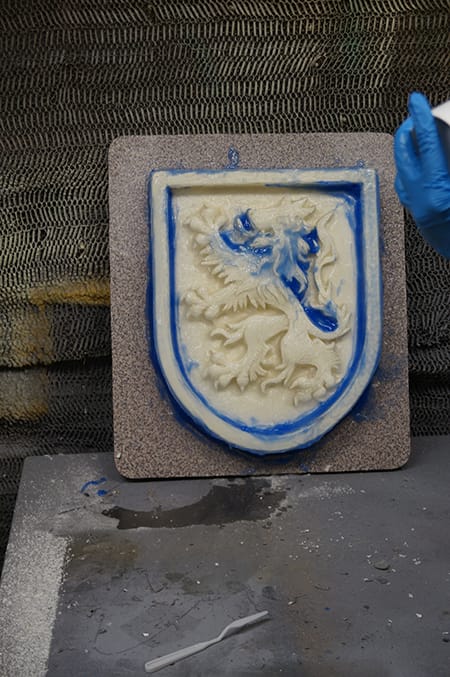
In this case (pictured
below), one layer has been sprayed on and is allowed to gel before application of a second brush-on layer to
fill thin areas.
Step 4: Apply Another Layer of Silicone if Necessary
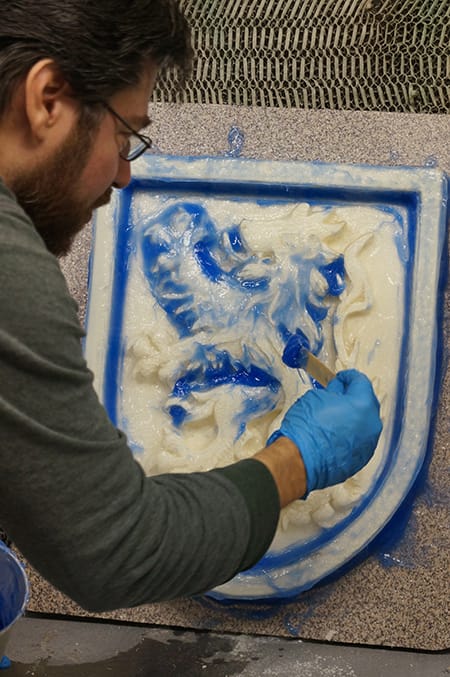
A batch of
thickened PlatSil Gel-25 with blue silicone pigment is mixed up and used to manually fill thin areas in the
mold.
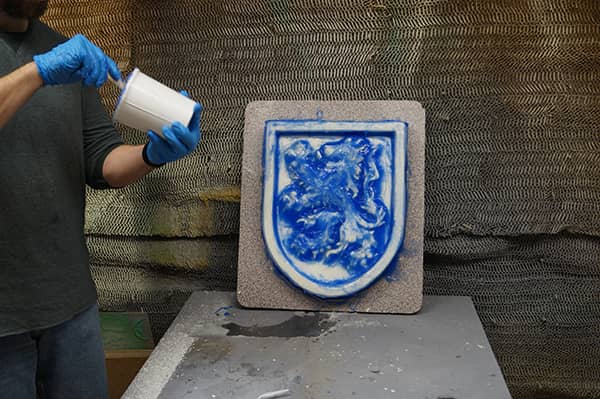
When the desired mold thickness is reached, the silicone is left to cure for ~1 hour
before the next step.
Step 5: Construct Mold Shell
EasyFlo 120
Liquid Plastic is a fast-setting, polyurethane plastic. It has a pour time of 2 to 2.5 minutes and a demold time
of 15 to 30 minutes.
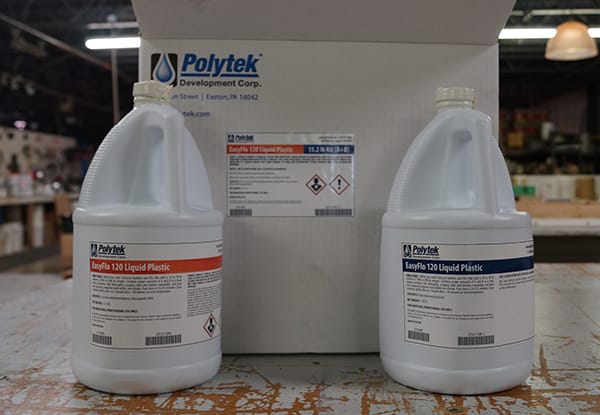
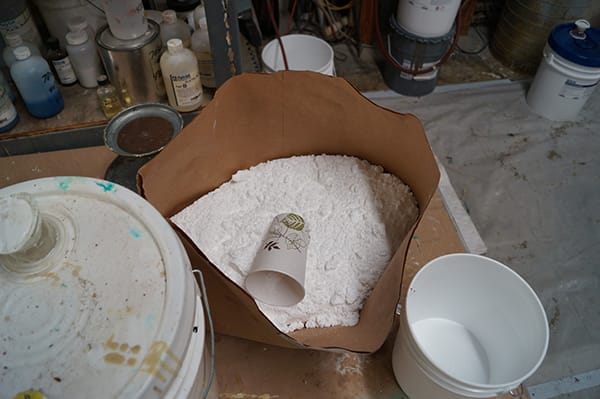
With the addition of PolyFiber II (pictured below), EasyFlo 120 can be brought to a
thixotropic consistency for brush-on application.
Because this plastic has a fast working time, three batches are measured out in advance so they can be
mixed quickly when needed.
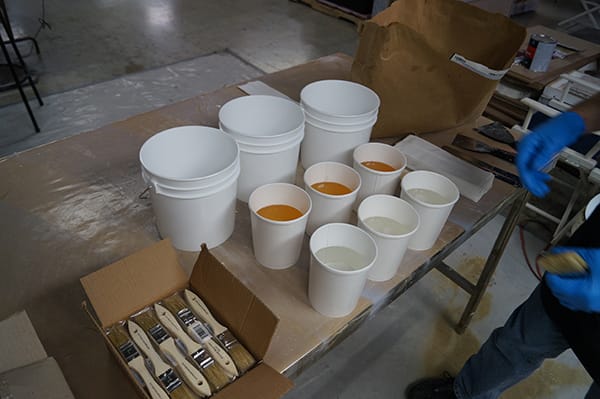
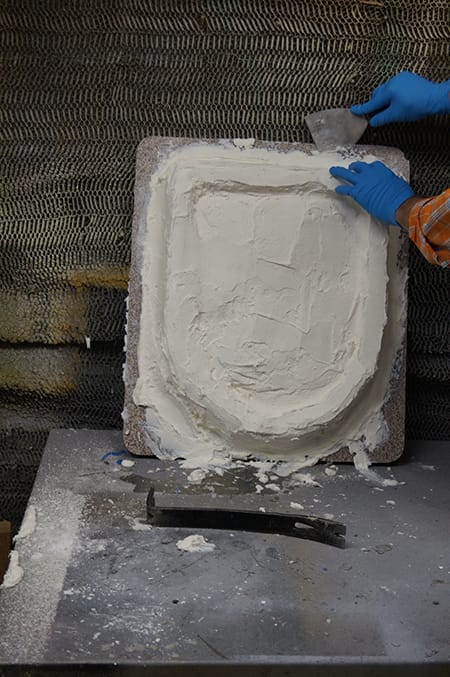
One batch of EasyFlo 120 is mixed with PolyFiber II and then applied to the cured silicone with
dry brushes and metal spatulas.
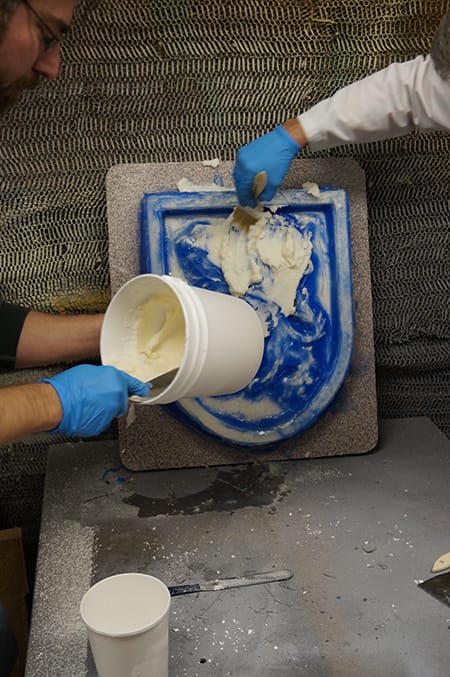
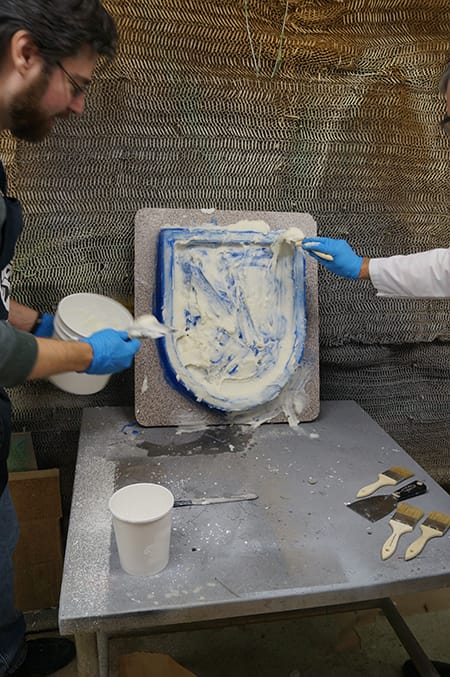
Other batches of EasyFlo 120 and PolyFiber II are mixed as needed.
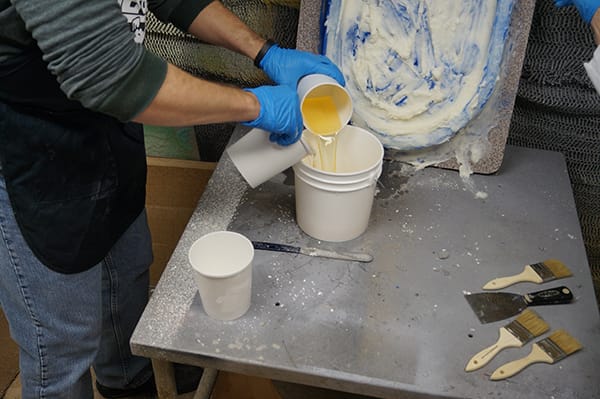
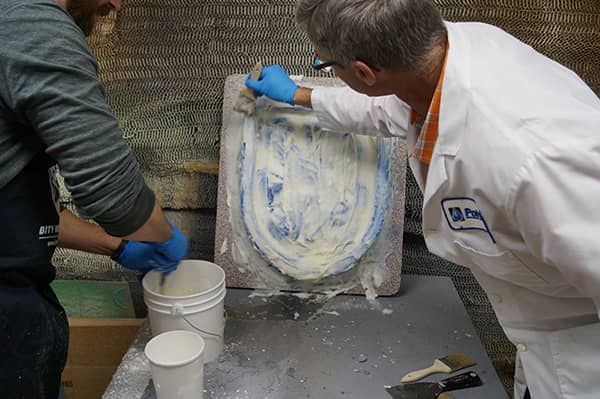
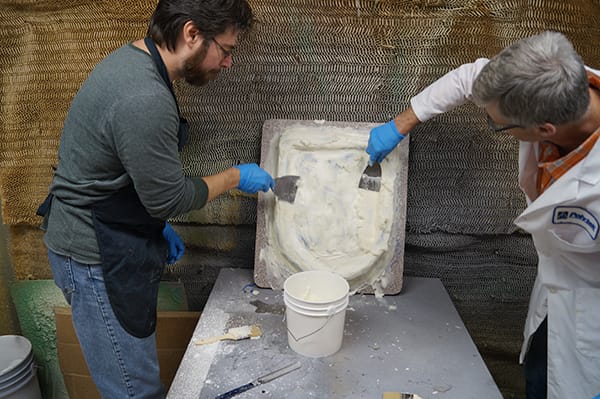
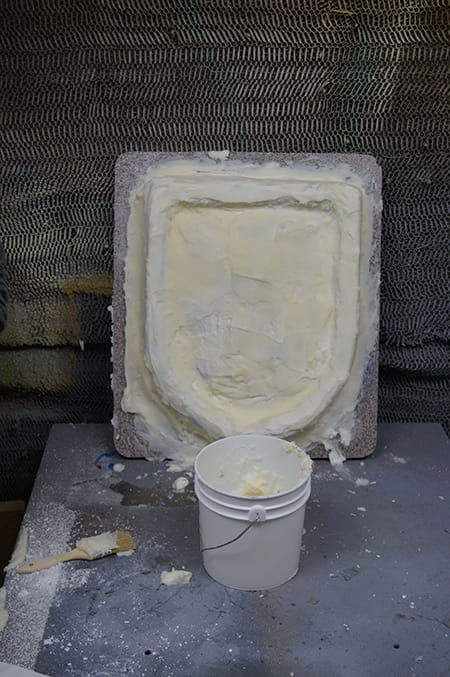
The EasyFlo 120 is allowed to cure (~15 to 30 minute). When fully cured, the edges are carefully
loosened and then the entire mold shell is removed.
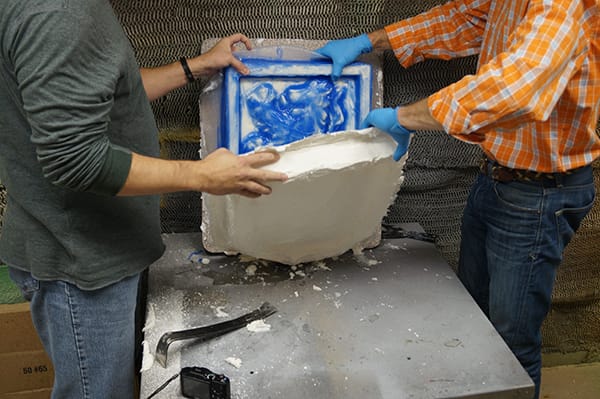
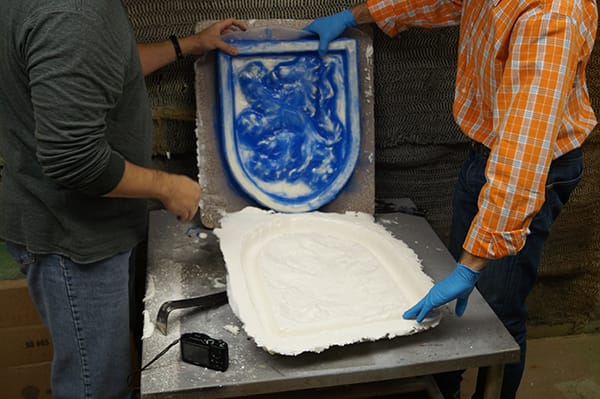
The edges of the mold are loosened and then the entire mold is carefully peeled off of the model.
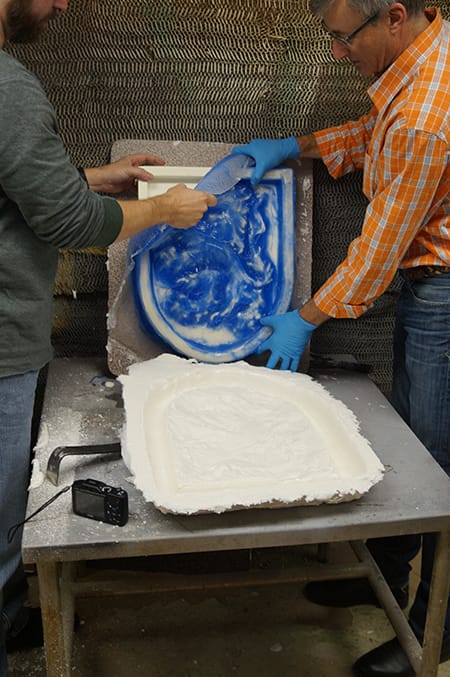
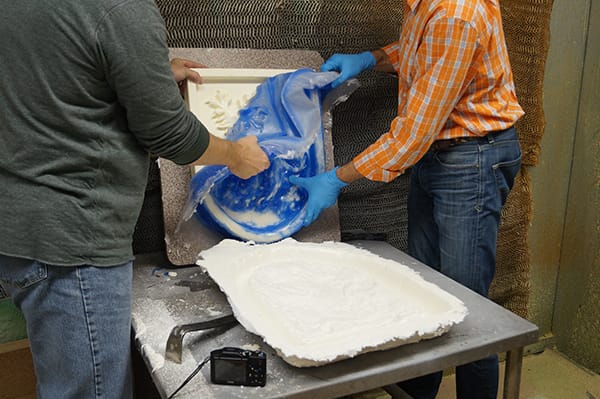
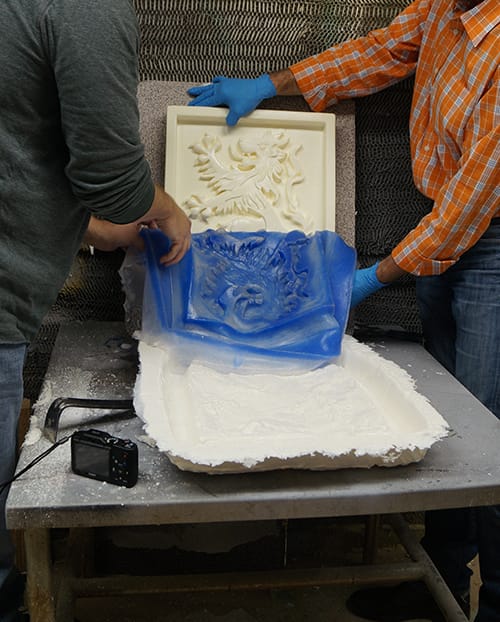
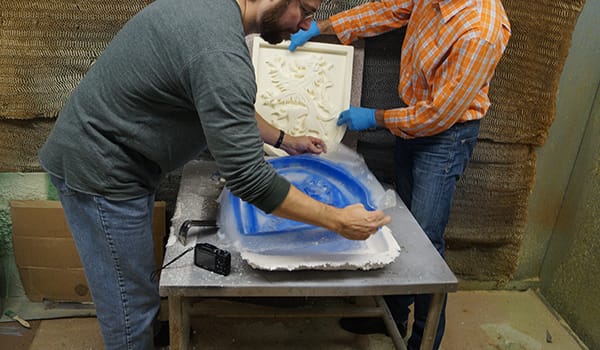
The mold is now ready for casting. Many materials can be cast in PlatSil Gel-25 molds, including
polyurethane resin and foam, polyurethane rubber, wax, plaster, and concrete. Silicone can also be cast into
this mold with the proper release agent.
