
Tutorial: Silicone Blanket Mold with Foam Mold Shell
This tutorial features the making of a poured blanket mold (for general information on blanket molds, visit this “blanket mold: basics” article).
Unlike brush-on blanket molds, where the mold shell is created after the rubber mold is made, the poured blanket mold technique requires that the mold shell be created before the rubber mold is poured.
There are many mold materials and mold shell options available for this mold making method. For this tutorial, PlatSil® 73-40 Silicone Rubber is selected as the mold material and PolyFoam R-5, a rigid casting foam, is selected as the mold shell material.
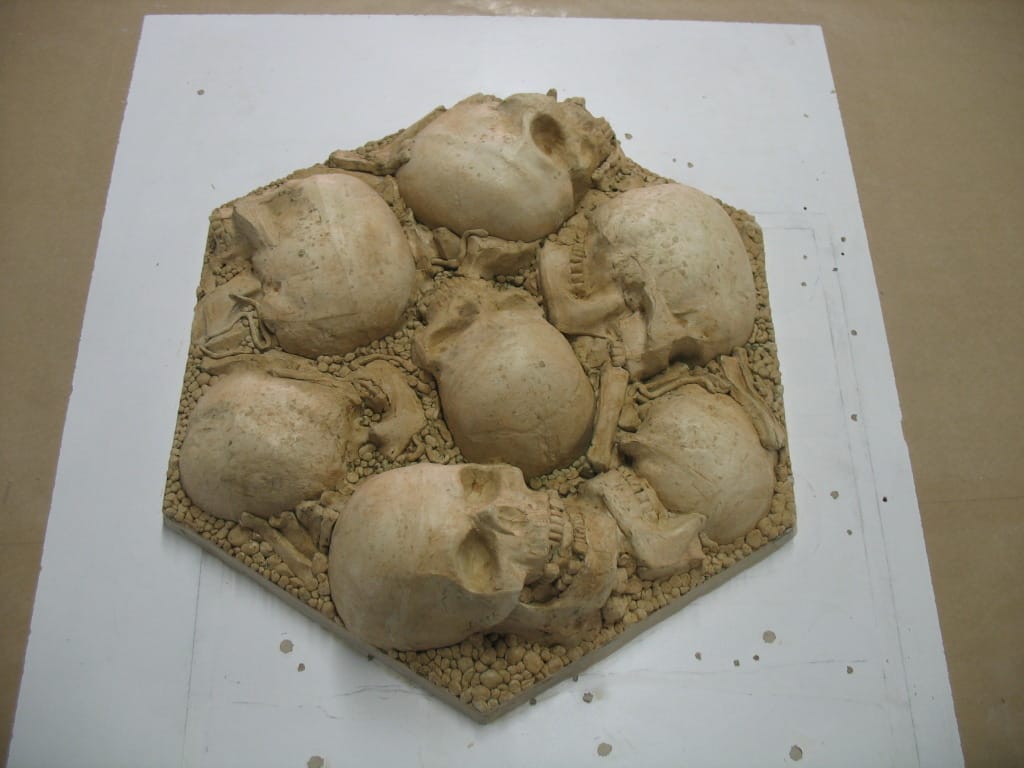
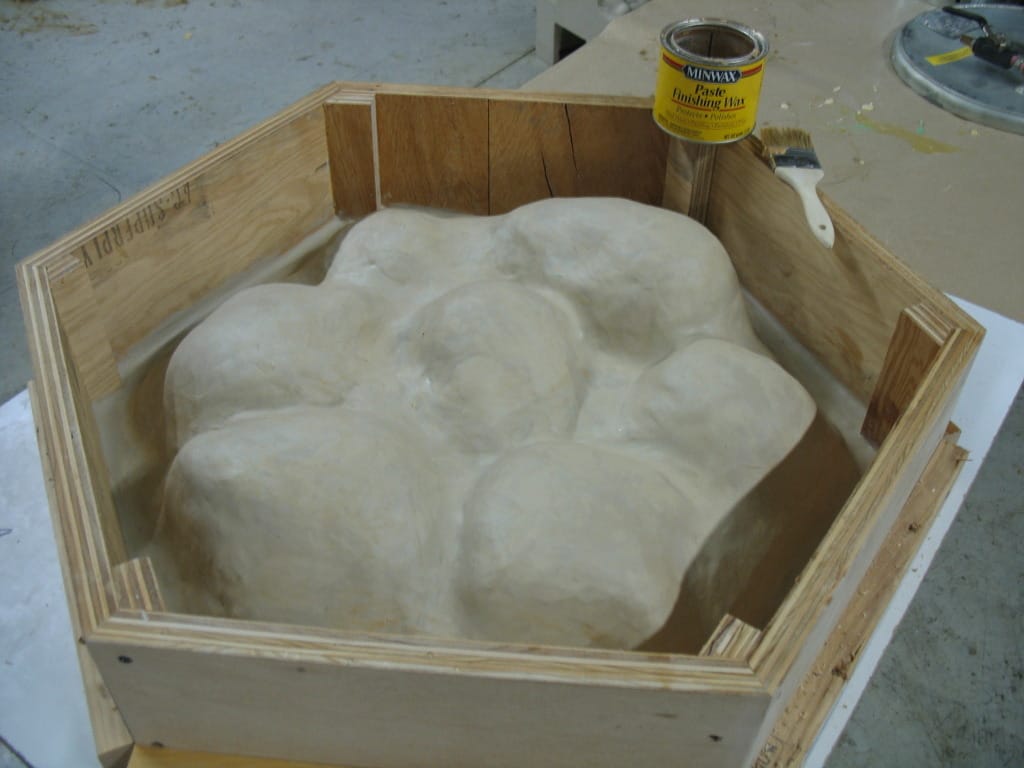
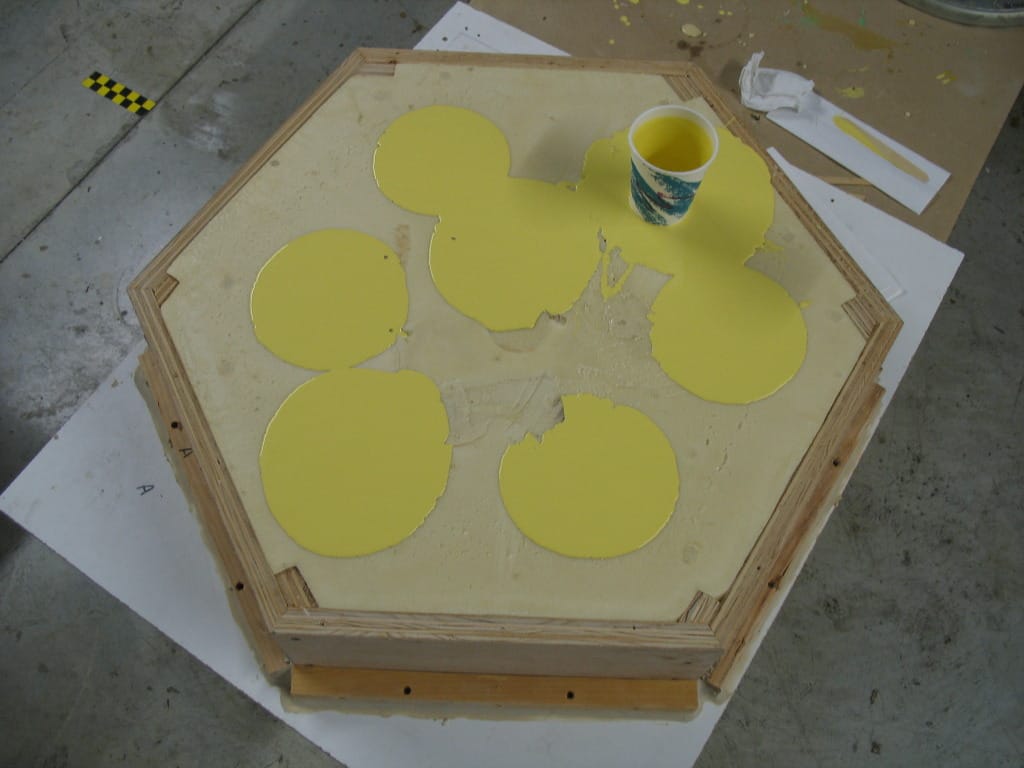
The model, pictured below, is a skull and bones prop composed of sealed plaster.
Step One: Apply Uniform Layer of Clay to Model
Prior to creating a layer of clay on the model, we recommend outlining the perimeter of the model with a marker or pencil – the model will need to be placed back in this position later in the process and this will help to re-position it.
Cover the model with plastic wrap; this will make removal of the clay easier in later steps:
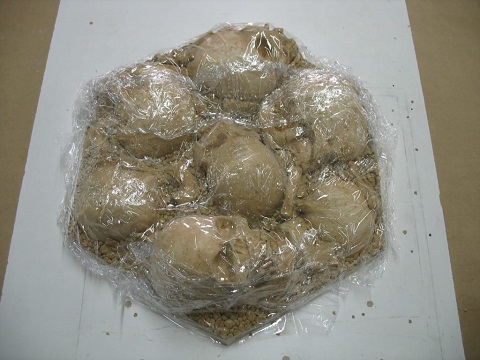
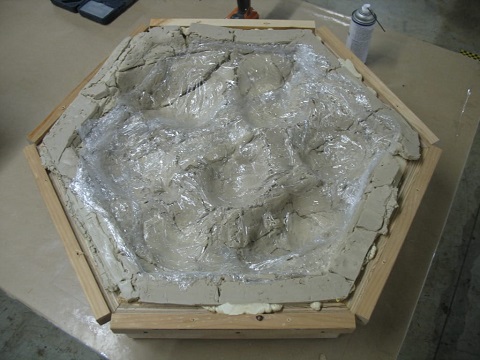
Apply a uniform layer of clay over the model at about 1/2″ thick. We are using plasticine clay, an oil-based and sulfur-free clay. It is important to use a sulfur-free clay as sulfur can inhibit platinum silicone rubbers.
Carefully cover the entire model and also extend the clay beyond the model to create a flange (~1.5″ long).
Smooth the clay as best as possible; a tongue depressor works well for this process. The mold rubber will eventually take the place of this clay, so it’s important to make sure that there are no thin spots or holes in the clay, as they will also appear in the rubber mold.
If you intend to cut the finished mold, you should consider creating a raised clay parting line – this will create a thick area in the finished rubber mold that will allow for a better cut.
This is also the point in which you should build clay parting lines if you intend to create a multi-piece mold shell. In this case, only a one-piece shell is necessary and a cut will not be made in the mold, so no parting lines are created.

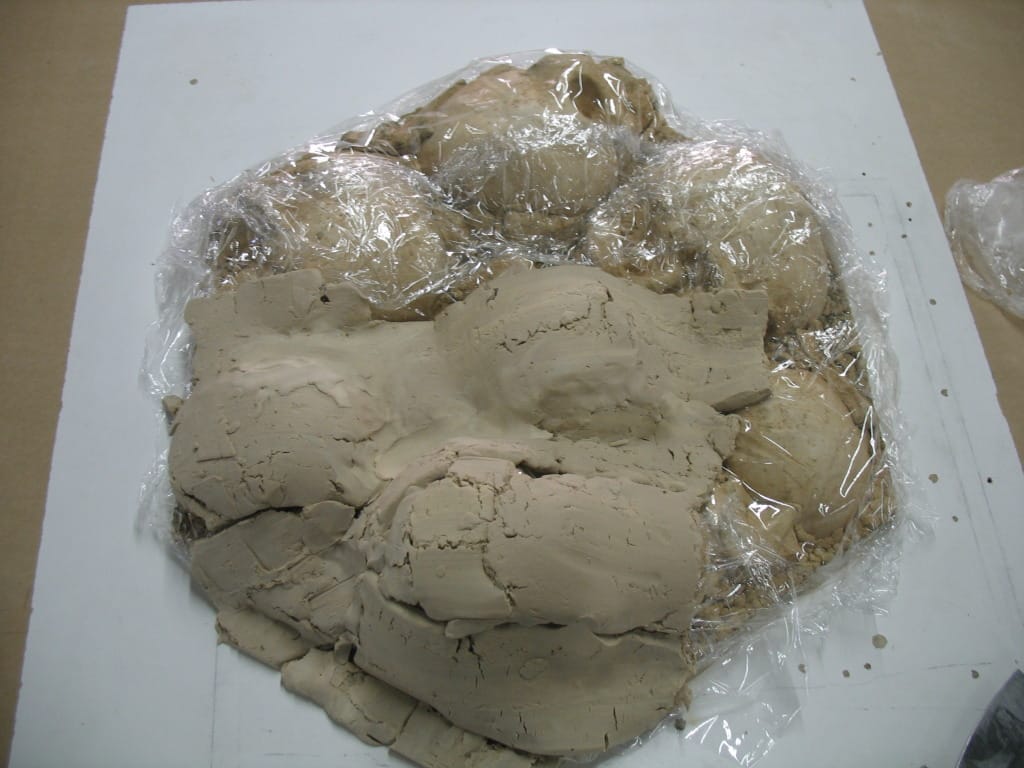
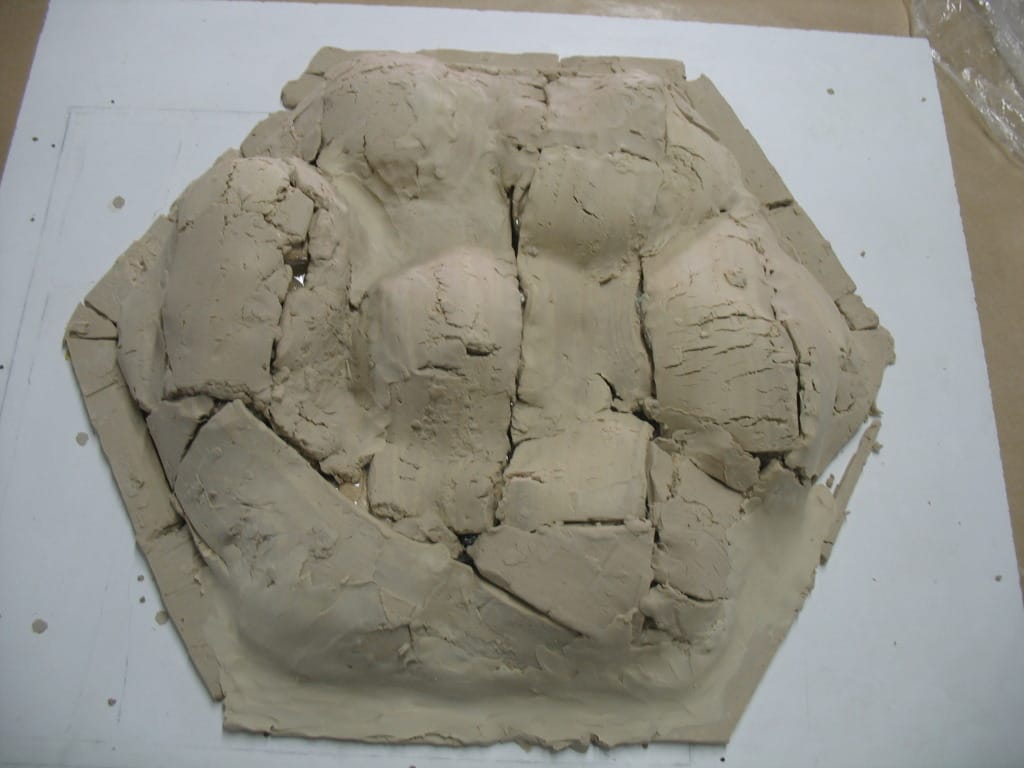
Step Two: Construct Mold Box
This step is not always necessary. We often utilize thickened liquid plastic (e.g., Poly 1512X Liquid Plastic + PolyFiber II) to make mold shells – a mold box is not required when using thickened liquid plastic because it generally strong enough on its own and does not need to be “contained”. In this example, we are using a rigid casting foam (a less expensive option compared to plastic) to create the mold shell. Because this foam expands, it needs to be contained by a mold box. The mold box, which will become a permanent fixture in the mold shell, also provides strength during the casting process.
Several pieces of wood are glued and screwed together to form a shape similar to that of the model. It should be designed so that the edges of the clay flange surrounding the model meet the interior edges of the mold box.
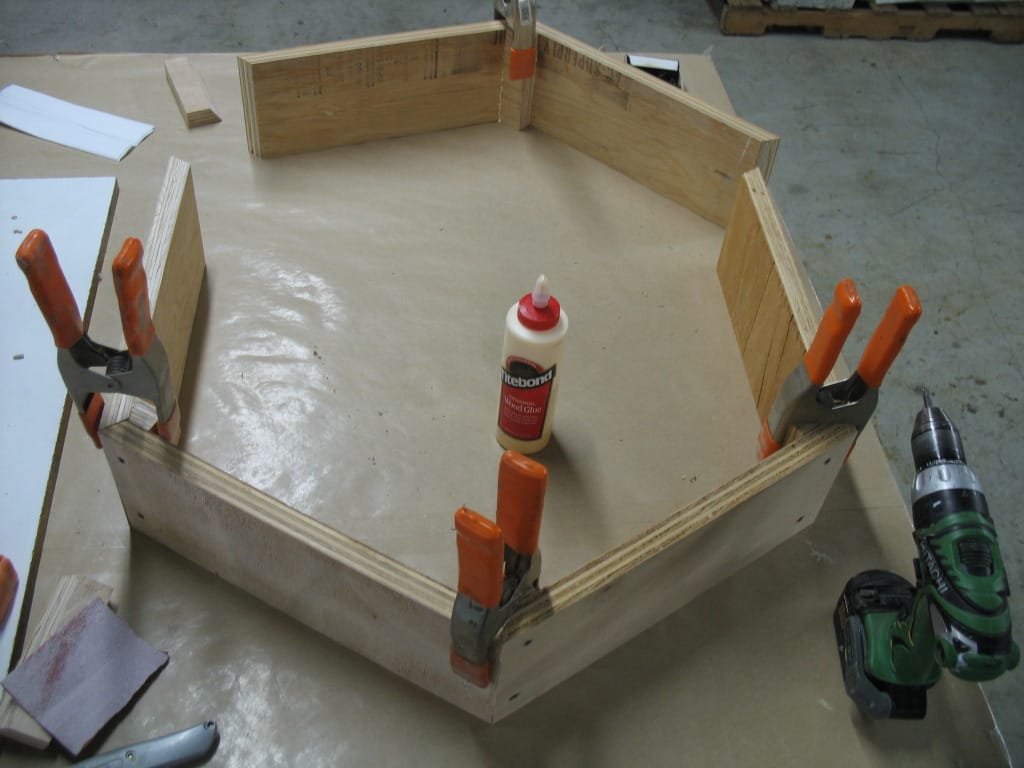
Place the model and mold box onto a baseboard (we use a piece of melamine-laminated particle board) and secure it from underneath with wood screws.
Ensure that the clay meets the interior edges of the mold box.
Mark reference points for the position of the mold box compared to the baseboard so that it can be re-positioned in the same location later in the process. Marking the entire perimeter of the mold box with a marker or pencil is also a good idea.
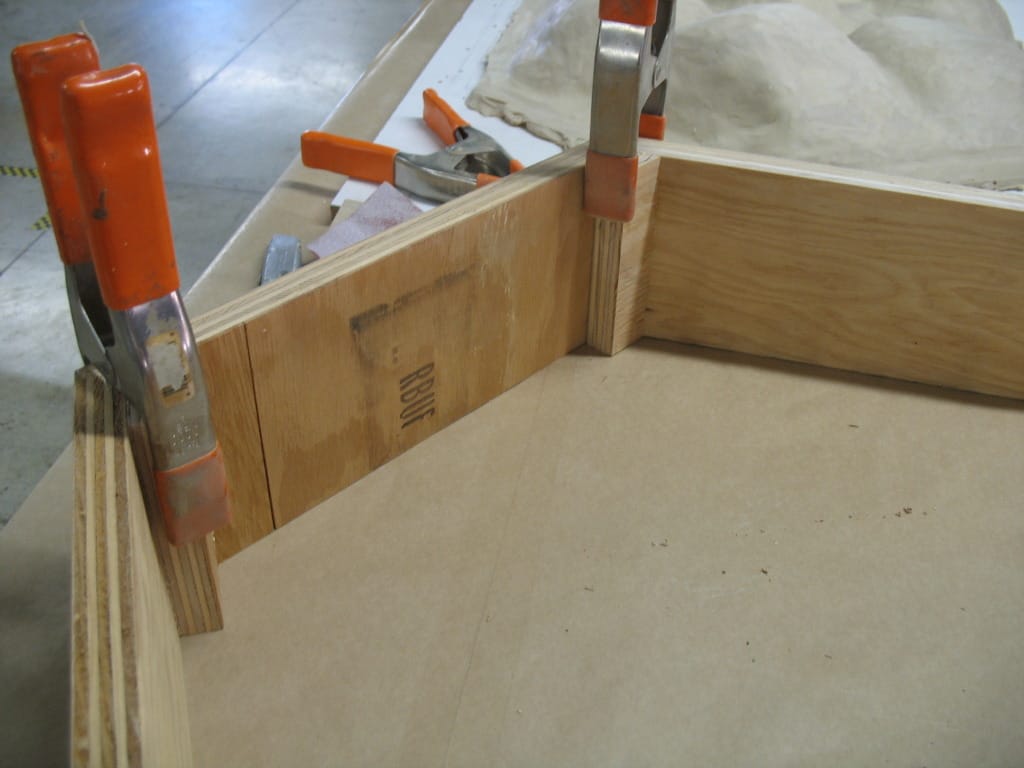
Step Three: Apply Sealers & Release Agents
In this case, we want the foam to stick to the wooden mold box so it becomes a permanent part of the mold shell, so we do not apply any release agent to the wood. Paste Wax is applied to the plasticine clay so that the foam does not stick to it.
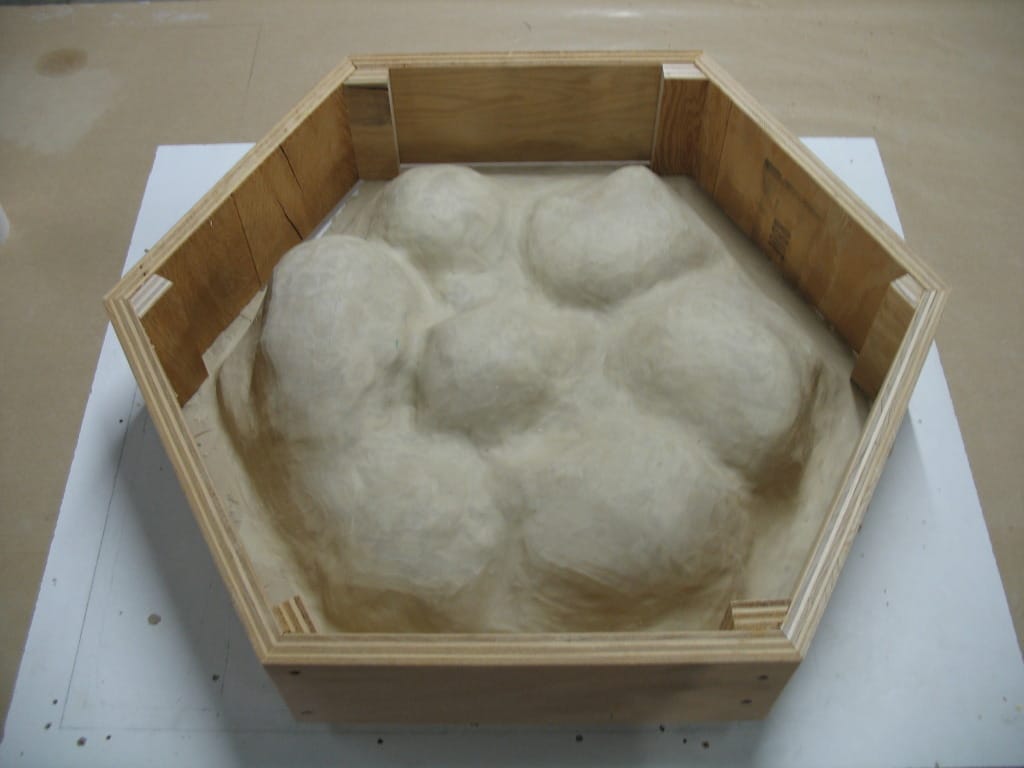
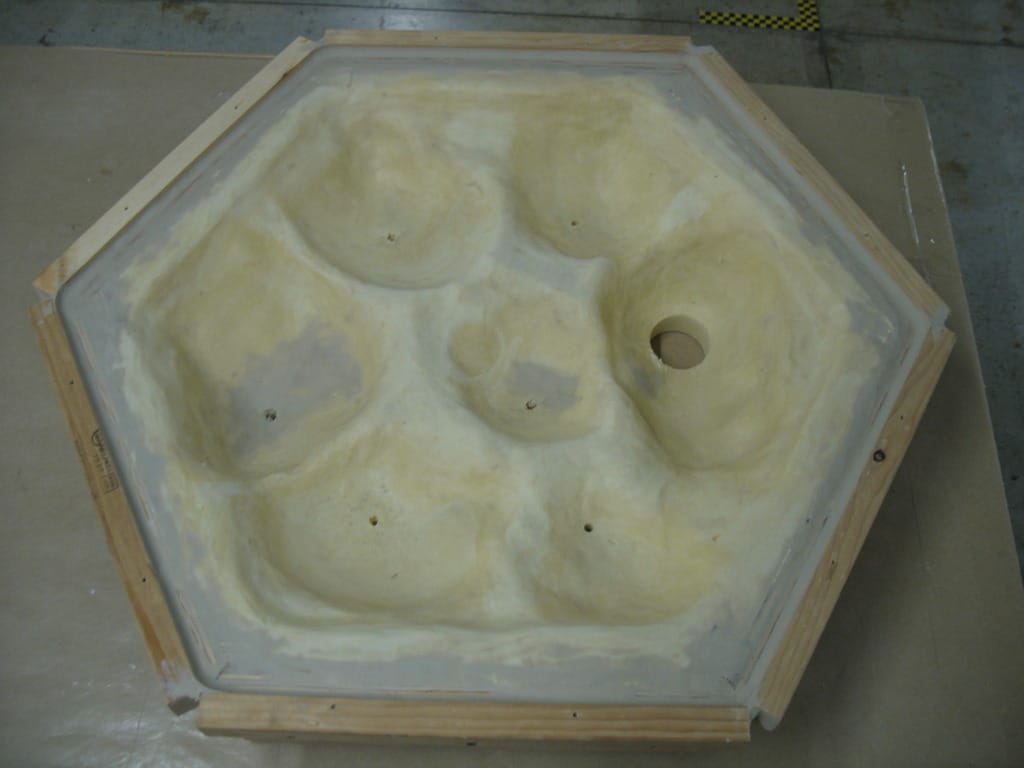
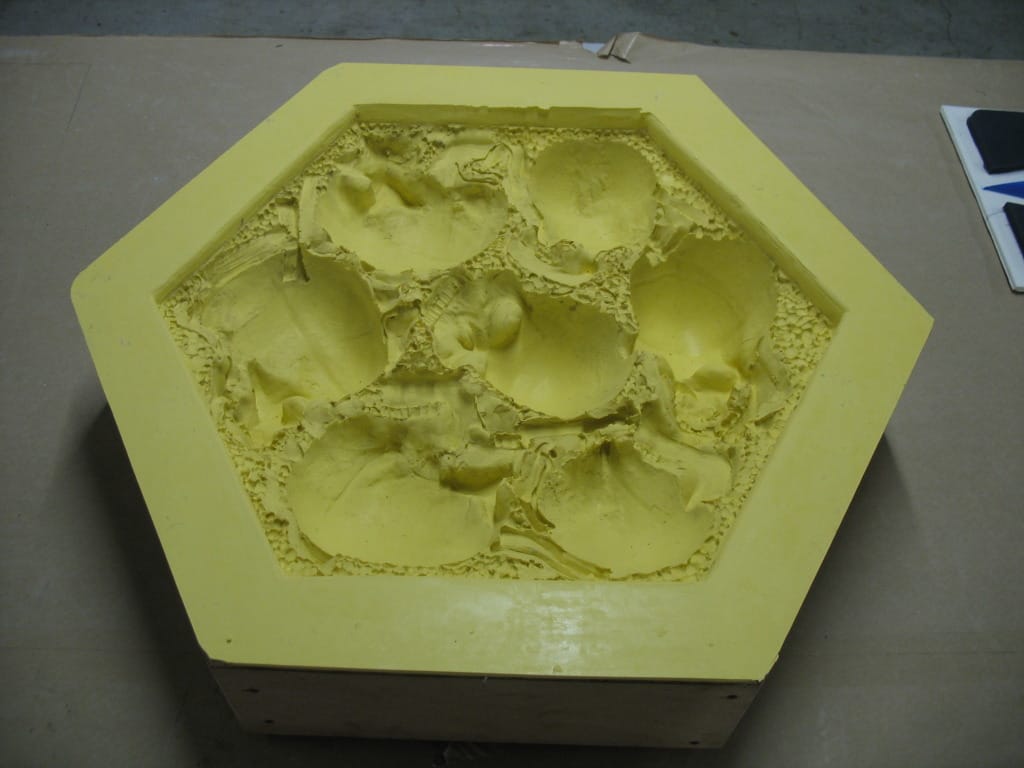
Step Four: Cast the Foam Mold Shell
PolyFoam R-5, a rigid polyurethane casting foam with a free-rise density of 5 lb/ft³, is selected as the mold shell material. To cast the foam shell, cover the top of the mold box walls with another piece of laminated particle board (we apply Paste Wax to bottom of the lid before securing it to the mold box walls). This piece of particle board should have a pour hole in it. Secure the lid to the mold box walls (e.g., wood screws, mold straps) and then prepare to mix the PolyFoam R-5.
PolyFoam R-5 has a 1A:1B mix ratio, a cream time of 30 seconds, a rise time of 3 minutes and a demold time of 30 minutes. It is best to mix foam with a Turbo Mixer or other high-speed mixer.
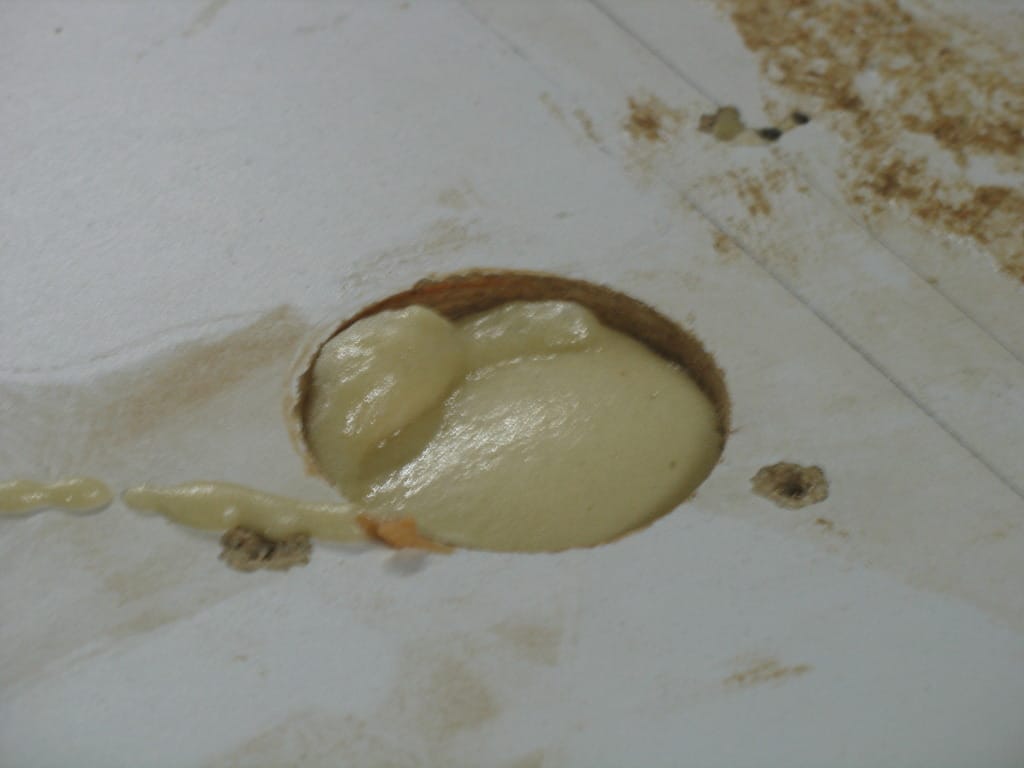
Mix for approximately 15 seconds and then pour the foam into the pour hole of the lid; PolyFoams being to rise quickly, so it is important to work fast.
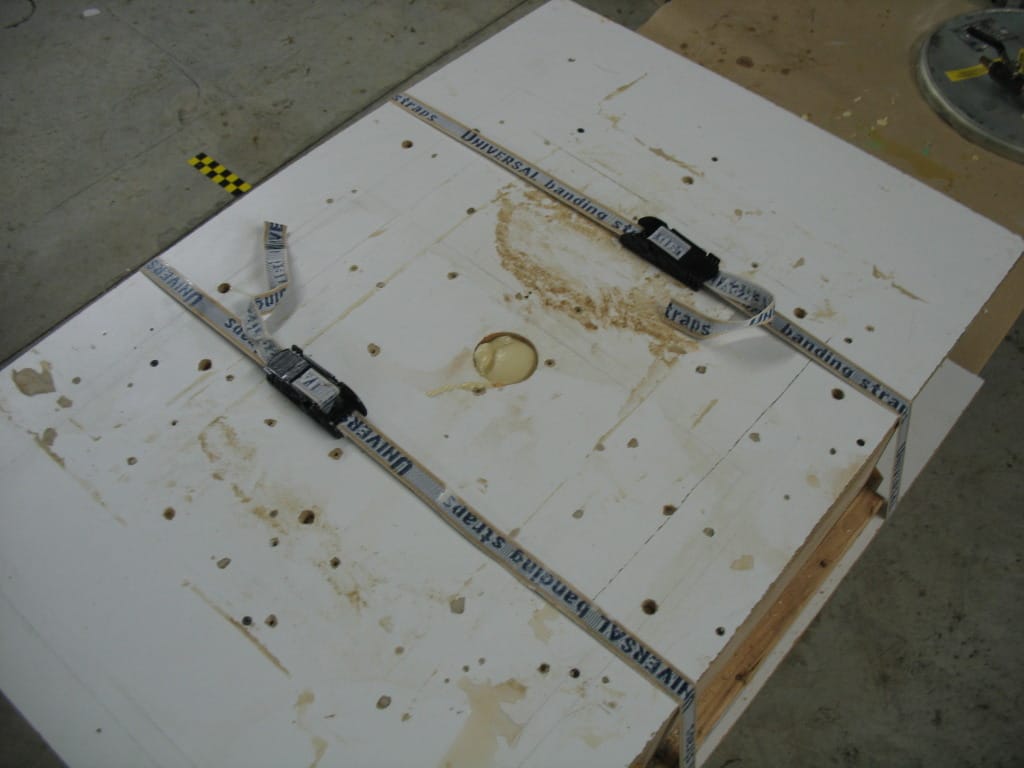
Wait ~30 minutes before carefully removing the lid.
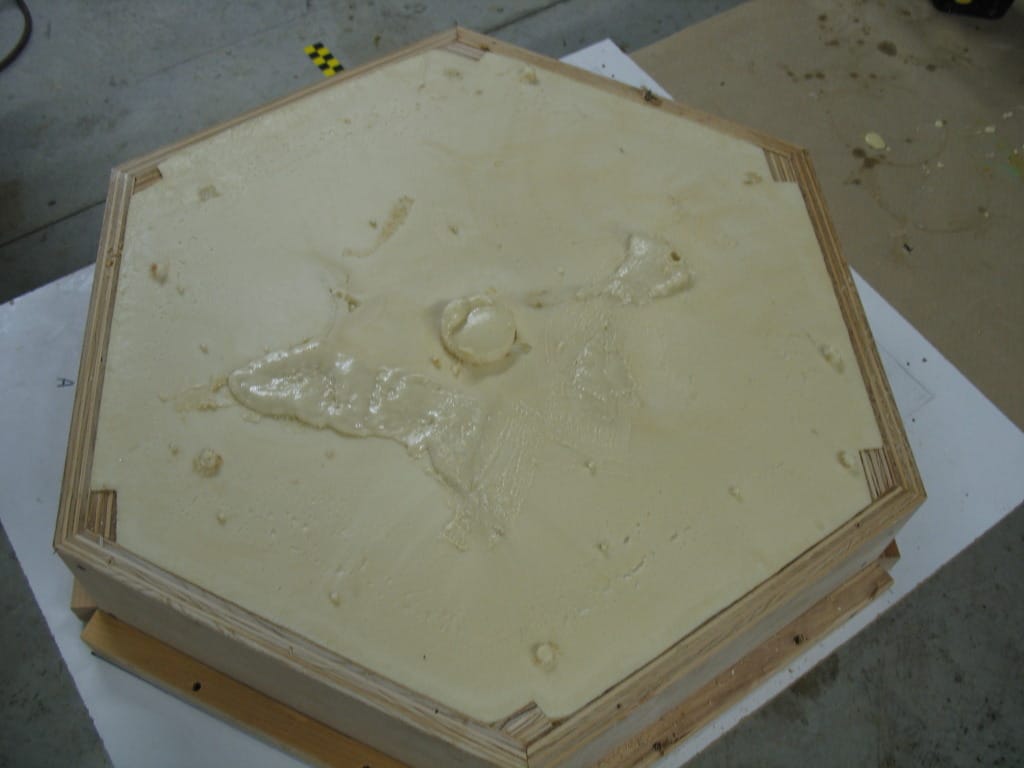
Unscrew the the mold box, flip it over and remove the plastic wrap and clay from the model.

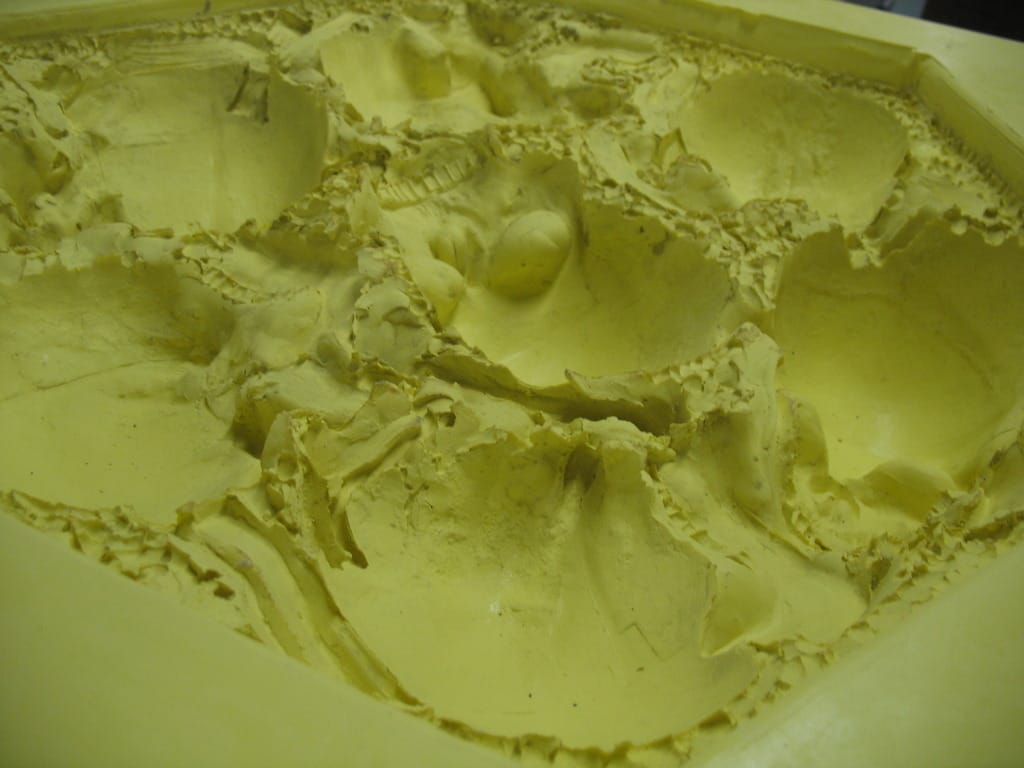
Step Five: Make Pour & Vent Holes in Mold Shell
Create a pour hole (large enough to pour the mold rubber into) and vent holes where necessary; we made one vent hole in each skull cavity. A hole saw or drywall saw work well.
Step Six: Test, Measure, Mix & Pour the Silicone Mold Rubber
PlatSil 73-40 Silicone Mold Rubber is selected to make the mold. It is a platinum-cured silicone rubber with a 1A:10B mix ratio, a Shore A40 hardness (similar to the hardness of a pencil eraser), a 45-minute pour time and a 16-hour demold time.
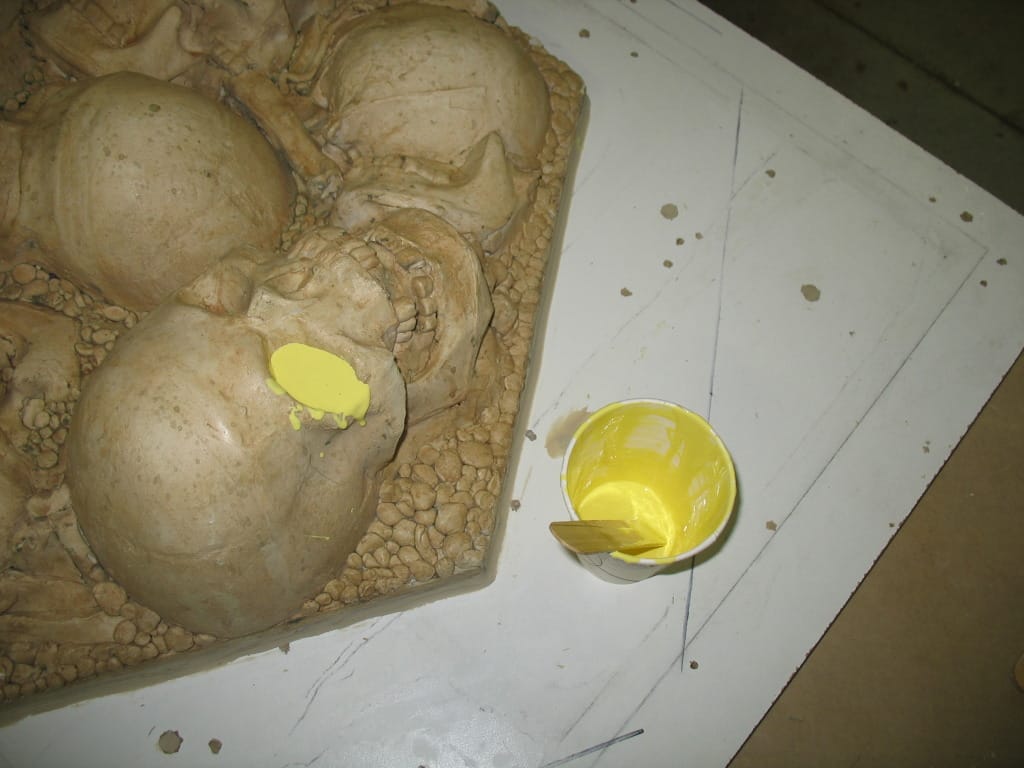
This plaster model was, at one point, in contact with a material that can sometimes inhibit the cure of platinum silicone rubber, so we do a small test cure on the surface to ensure proper cure before pouring the entire mold.
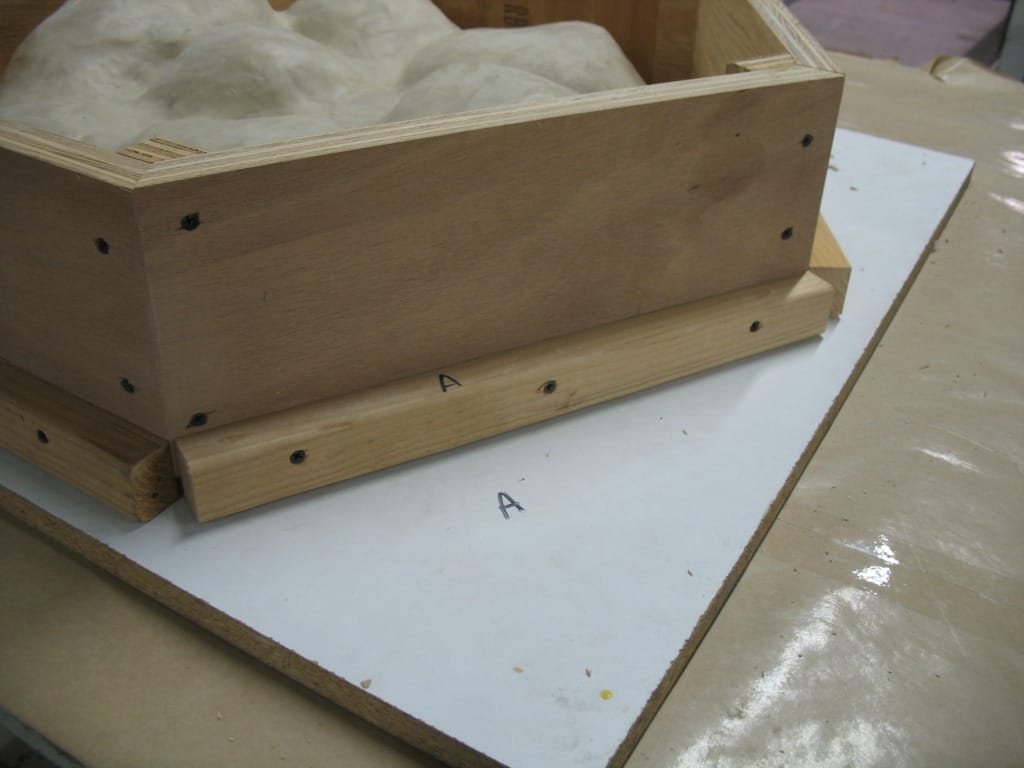
Place the model in it’s original position on the baseboard using the perimeter marks you made earlier.
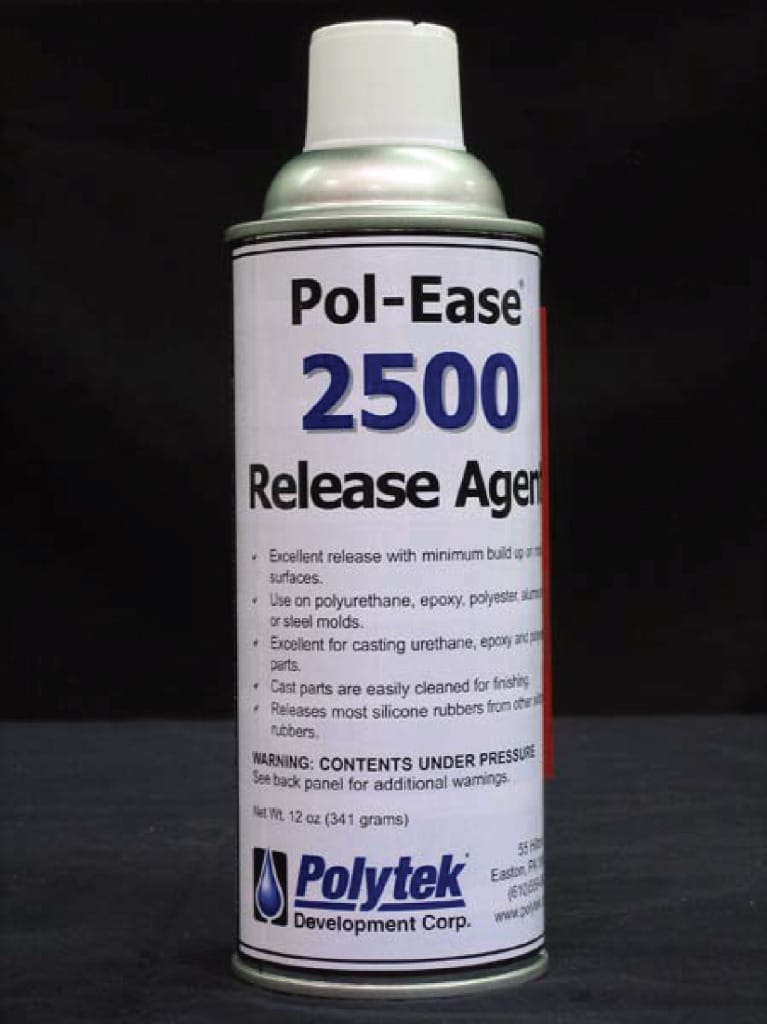
Spray Pol-Ease® 2500 Release Agent onto the model and brush out with a dry brush.
Place the mold box/foam mold shell over top of the model in the proper position (line up the “A” side of your mold box with the “A” on the baseboard and follow perimeter marks) and screw it into place. It is also a good idea to “seal” the exterior edges of the mold box (where it meets the baseboard) with clay to prevent rubber from potentially leaking.
At this point, there will be an empty cavity in the space that the clay once filled.
How to measure how much silicone is needed:
The volume of clay removed from the model equals the volume of liquid rubber needed. Calculate the volume of clay by multiplying its weight by its specific volume:
For instance, if 8 lb of clay was removed from the model: 8 lb x 18.4 in³/lb (the specific volume of the clay) = 147.2 in³ of clay.
Next, divide the clay volume by the specific volume of the liquid rubber to get the weight of rubber needed:
147.2 in³ ÷ 22.0 in³/lb (the specific volume of PlatSil 73-40 Silicone Rubber) = 6.69 lb of PlatSil 73-40 Silicone Rubber
Pour the silicone into the pour hole of the foam shell; small amounts of silicone will rise from the vent holes.
Allow 16 hours before demolding. Unscrew the mold box walls/shell from the baseboard and lift it off of the model. Your silicone blanket mold with foam shell is complete!
The rubber mold picks up every detail from the original model.
Casting
A variety of materials can be cast in a PlatSil 73-40 silicone mold, many of which don’t require a release agent. This includes polyester, epoxy, wax, concrete, plaster, and polyurethane resins and foams.
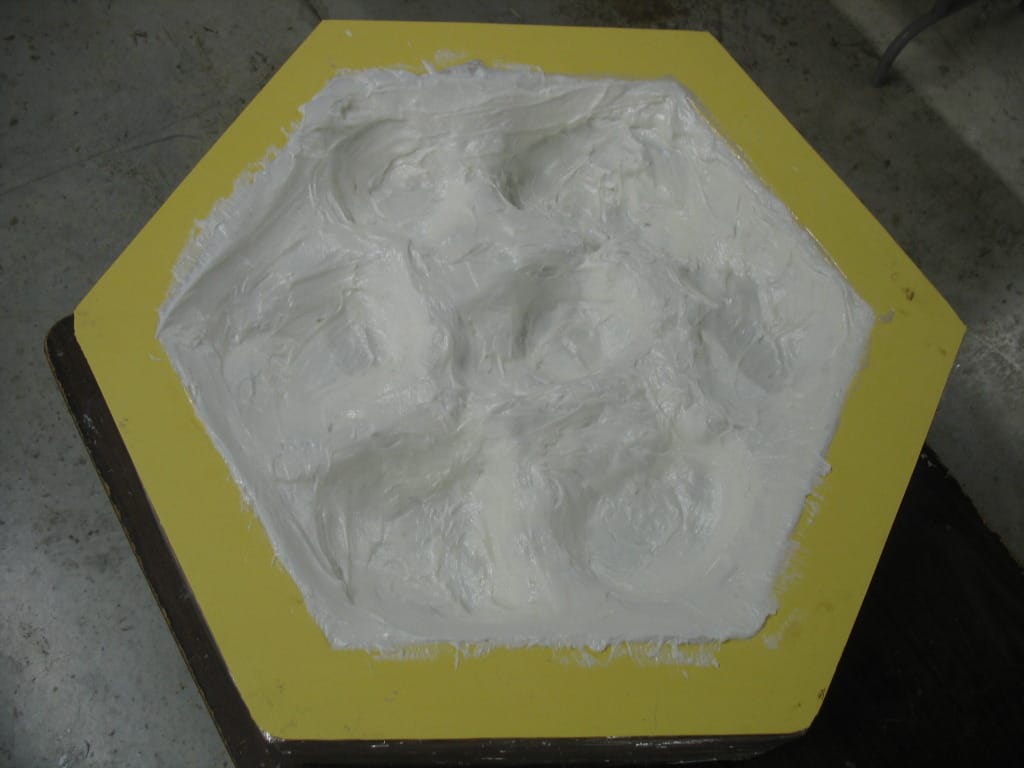
In the example before, we brush Poly 1512X Liquid Plastic with PolyFiber II into the mold.
Here is the plastic casting after being painted: