
Mold Making: Poured Blanket Mold vs. Poured Block Mold
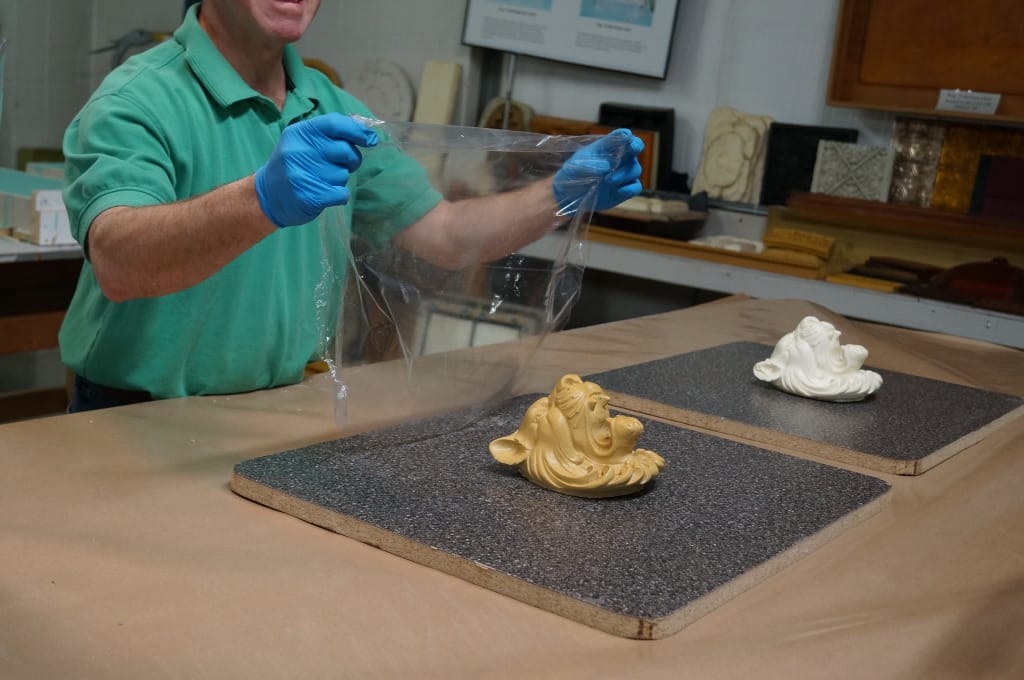
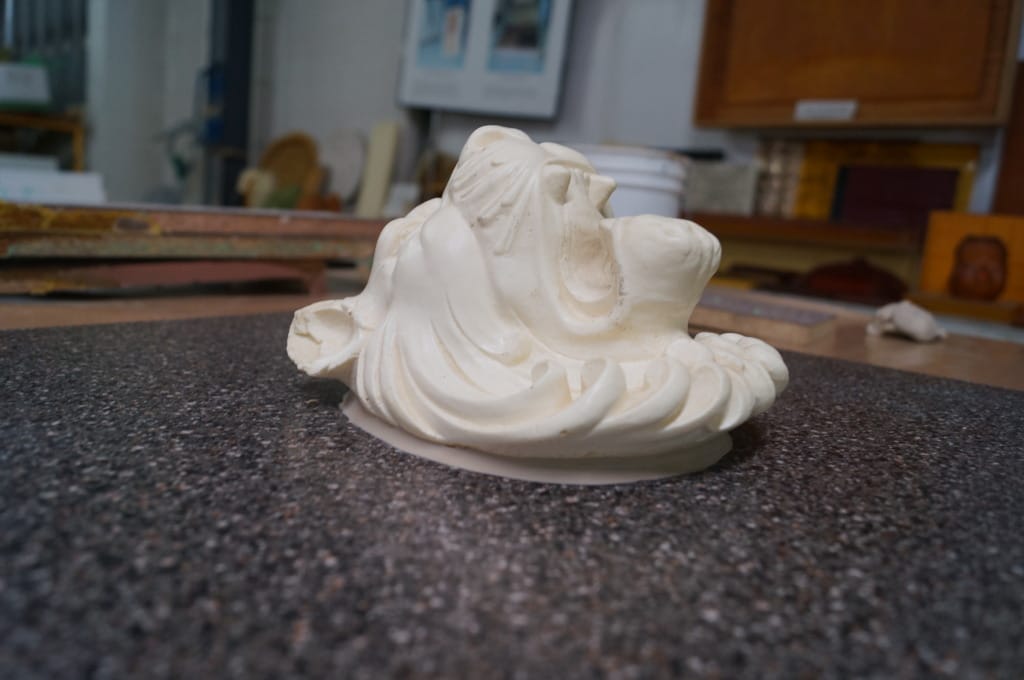
In this article, we will demonstrate two different mold making methods using the same plastic lion head model [pictured below] and the same silicone mold rubber. The methods are the poured blanket mold technique and the poured block mold technique.
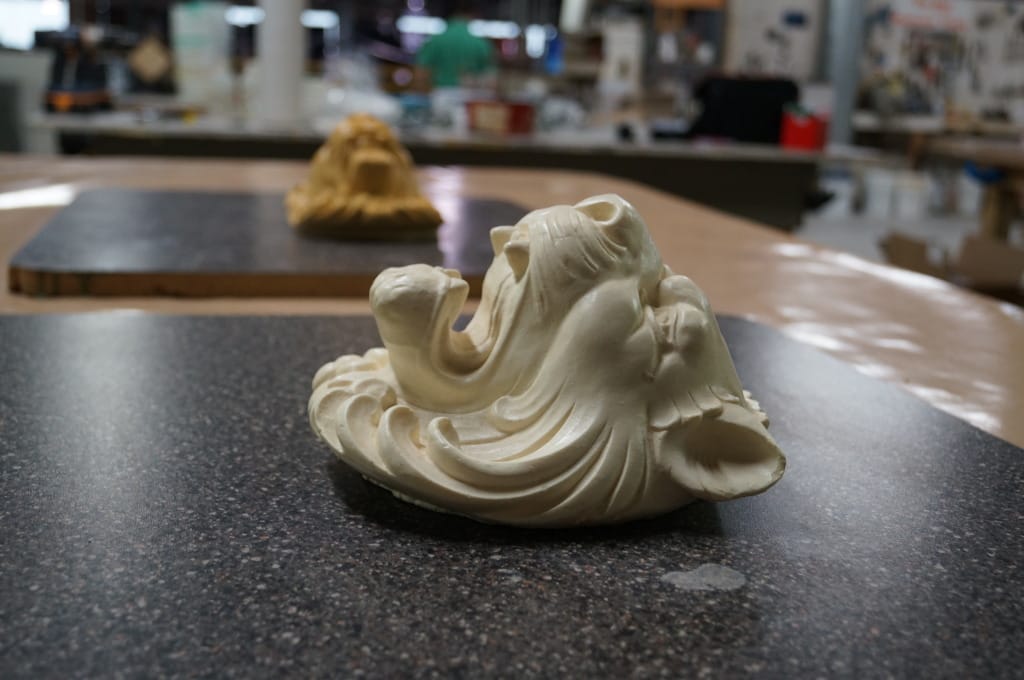
Based on the size and shape of this particular model, either mold making method could be used with success. The following information is designed to give you a better idea of the advantages and disadvantages of each technique as you decide which method to use for your mold making project. Below, we note the basic comparisons of each technique and then detail each method with pictures and instruction.
Basic Comparisons:
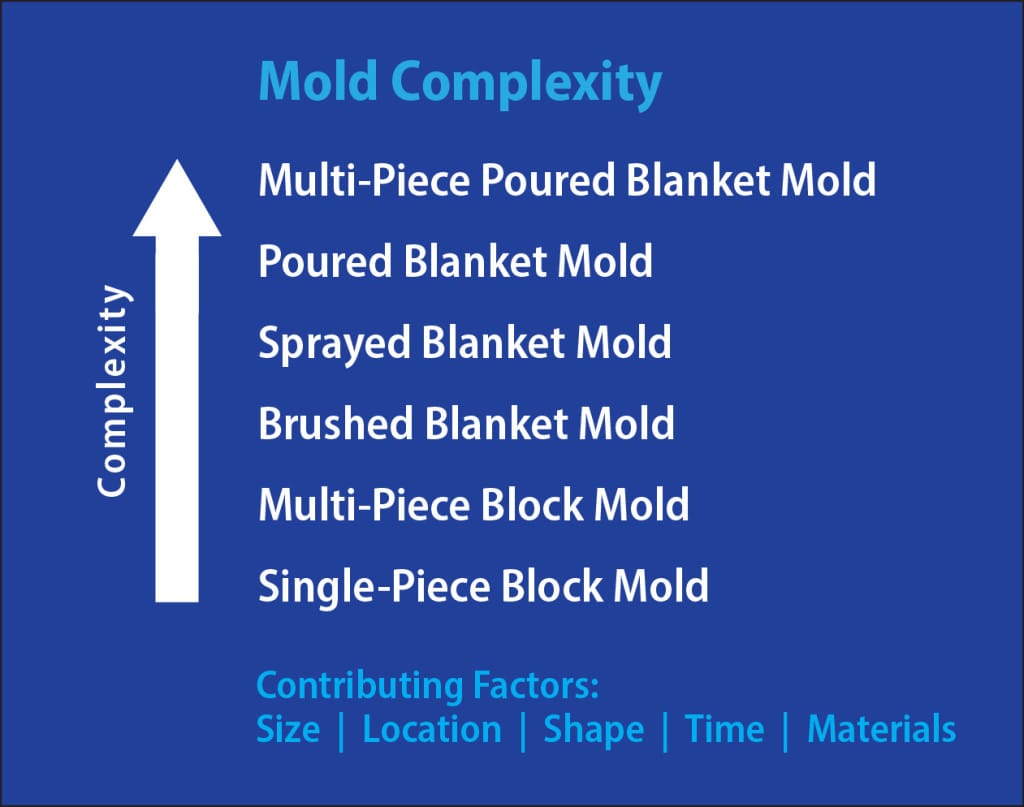
- The poured block mold is considered the simplest type of mold, while poured blanket molds can take some time to master.
- Poured blanket molds generally require less mold rubber than poured block molds.
- In this specific tutorial, 4.3 lb of silicone mold rubber is needed for the poured blanket mold and 12.5 lb of silicone mold rubber is needed for the poured block mold (i.e., less money is spent on mold rubber). NOTE: Keep in mind that poured blanket molds do require construction of a mold shell (next bullet point), which requires more materials.
- Poured blanket molds require construction of a “mold shell” or “mother mold”, while poured block molds require a containment area often referred to as a “mold box”. The following materials are often used to make mold boxes: melamine-laminated particle board, plywood, PVC pipe, plastic pails, metal flashing and many other options. The construction of mold shells take practice, while the construction of a box can be rather simple.
- Removing castings from poured blanket molds can sometimes be easier because these molds are generally more thin and flexible compared to block molds. This depends heavily on the shape of the model, however.
Demonstration of Each Method:
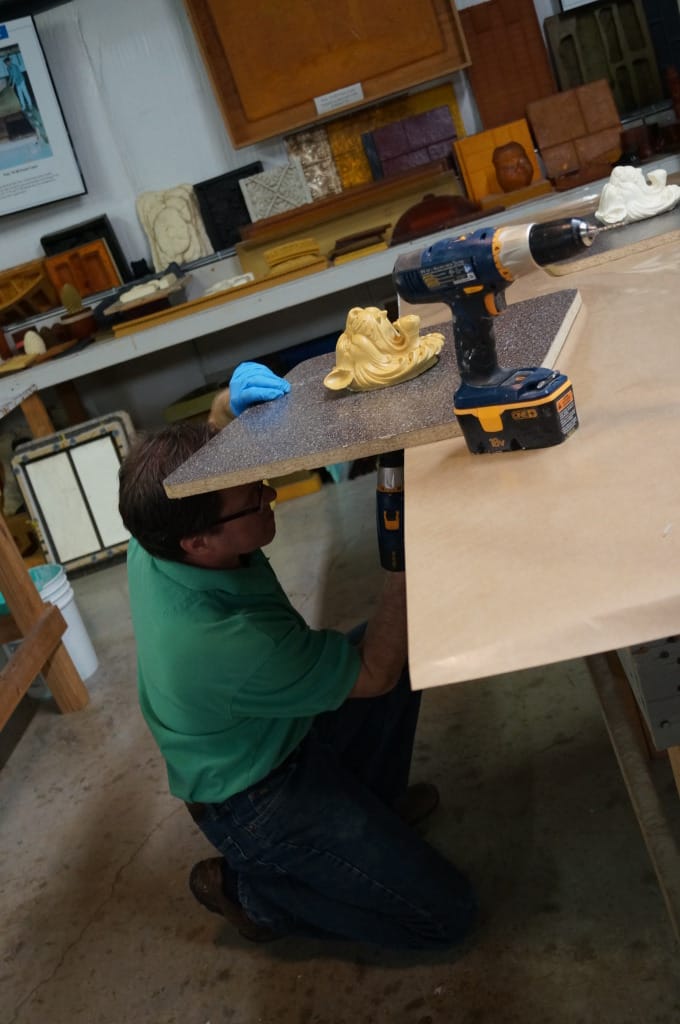
The first step in both methods is to construct a containment area around the model. For the poured blanket mold method, a mold shell is constructed from liquid plastic. For the poured block mold method, a mold box is constructed from melamine-laminated particle board.
Both methods are detailed below:
Poured Blanket Mold: Construction of Mold Shell
First, secure the model to the baseboard. We insert a wood screw through the bottom of the baseboard and into the plastic model. Another option is to adhere the model to the baseboard with epoxy. The baseboard in this tutorial is a piece of melamine-laminated particle board.
Poured Blanket Mold: Construction of Mold Shell
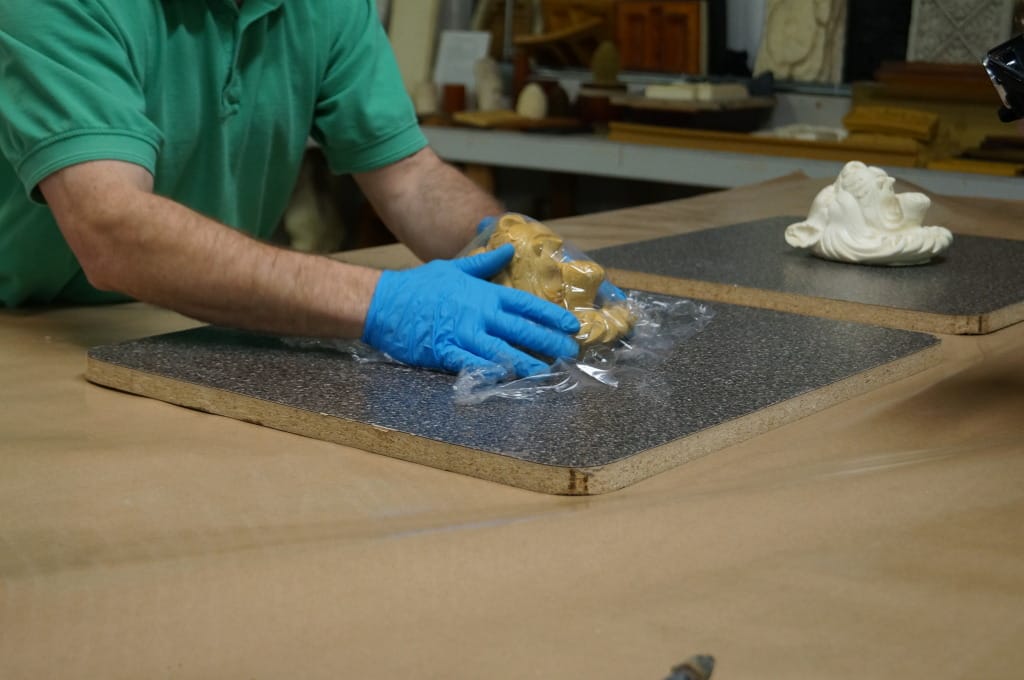
Place plastic wrap over the model.
Poured Blanket Mold: Construction of Mold Shell
Poured Blanket Mold: Construction of Mold Shell
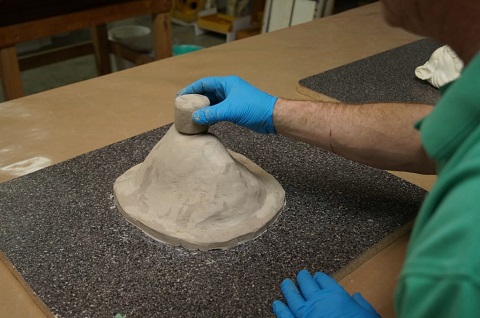
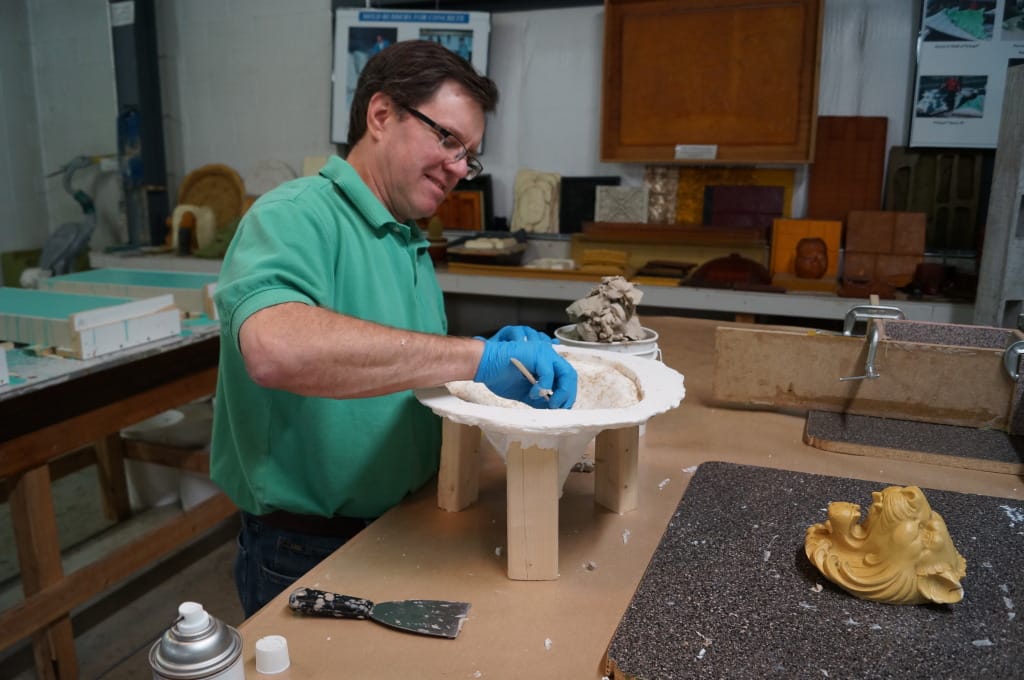
Form a uniform layer of clay over the model and plastic wrap. Make sure to use a sulfur-free, oil-based clay (we use plasticine clay) as sulfur can inhibit the cure of silicone mold rubbers.
The layer of clay should be approximately 1/2″ thick and should fill in any undercuts on the model. The clay represents the space that the mold rubber will later fill, so uniform thickness is important (i.e., you do not want thin spots or holes in your finished mold).
Poured Blanket Mold: Construction of Mold Shell
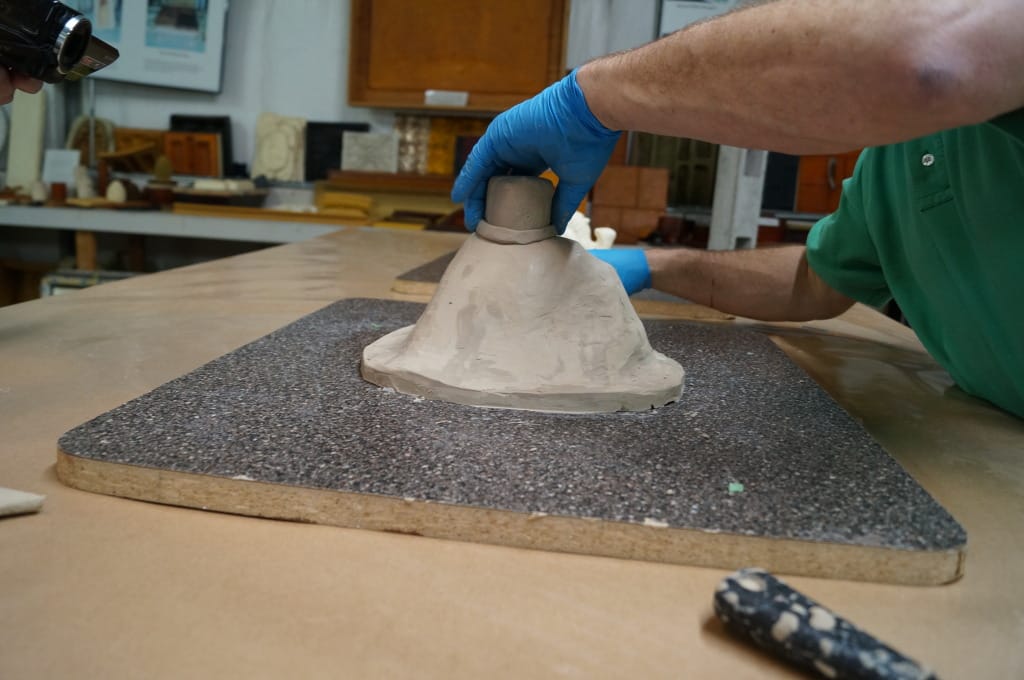
Create a clay flange that extends ~1 to 1.5 inches beyond the model. Smooth out the clay as best as possible.
Poured Blanket Mold: Construction of Mold Shell
Build-up an area that will serve as the pour hole, which is where mold rubber will later be poured.
Poured Blanket Mold: Construction of Mold Shell
Poured Blanket Mold: Construction of Mold Shell
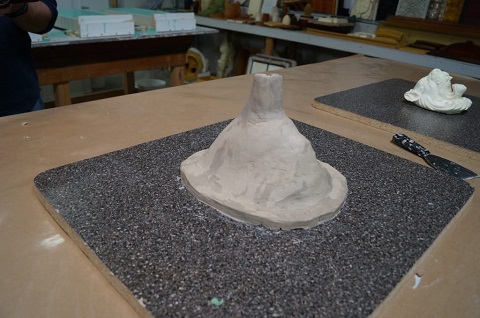
Again, smooth out the clay as best as possible.
Poured Blanket Mold: Construction of Mold Shell
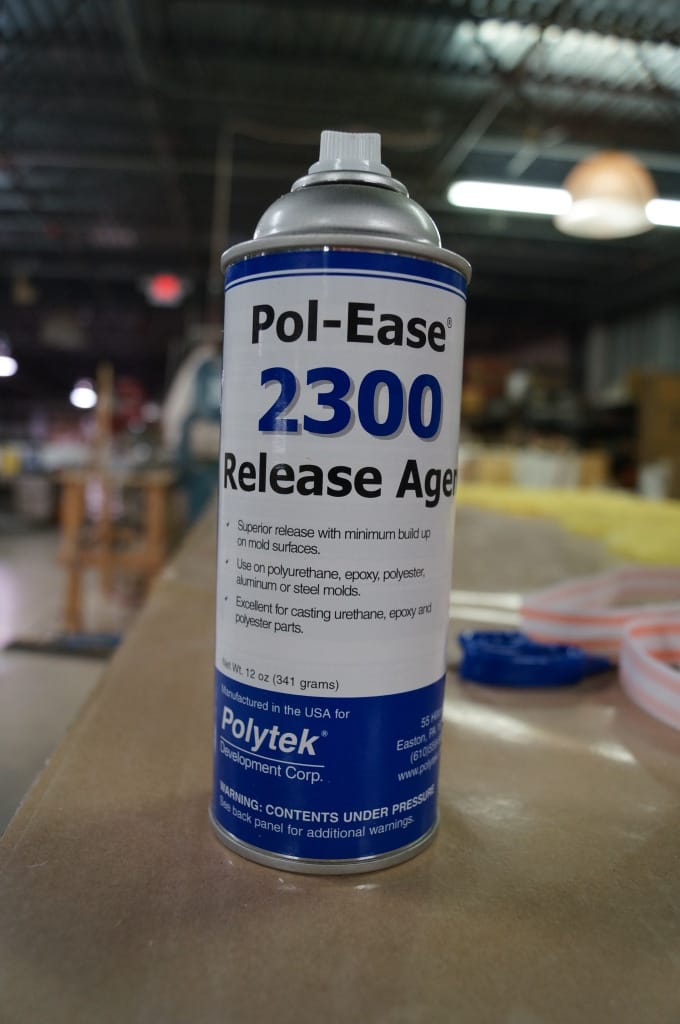
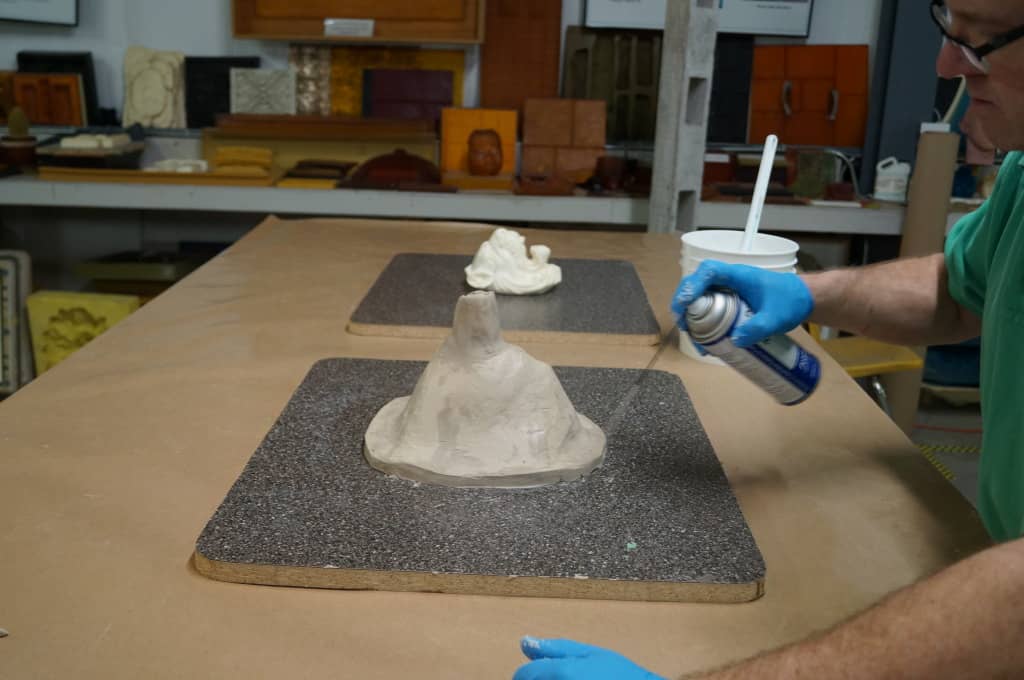
Spray Pol-Ease® 2300 Release Agent onto the clay and surrounding baseboard. This will help remove the plastic mold shell from the clay and particle board later in the process.
Poured Blanket Mold: Construction of Mold Shell
Poured Blanket Mold: Construction of Mold Shell
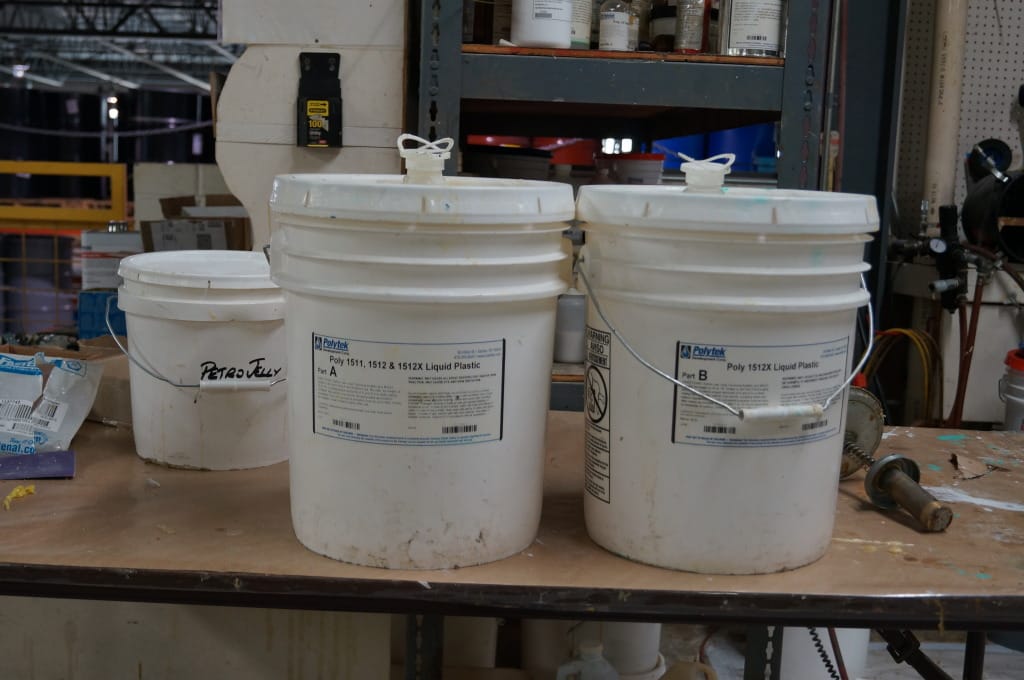
Select a mold shell plastic such as Poly 1512X Liquid Plastic. This polyurethane plastic has a working time of 5 minutes and a demold time of ~30 minutes.
Poured Blanket Mold: Construction of Mold Shell
Poly 1512X has a 1A:1B mix ratio and can be measured by volume or weight.
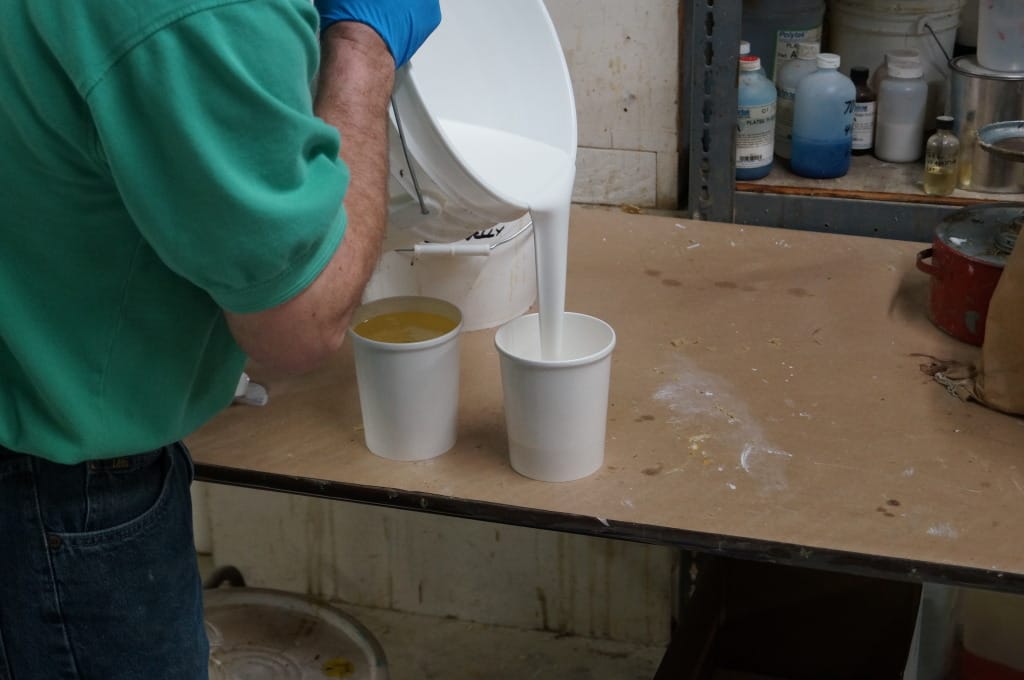
Measure Part A:
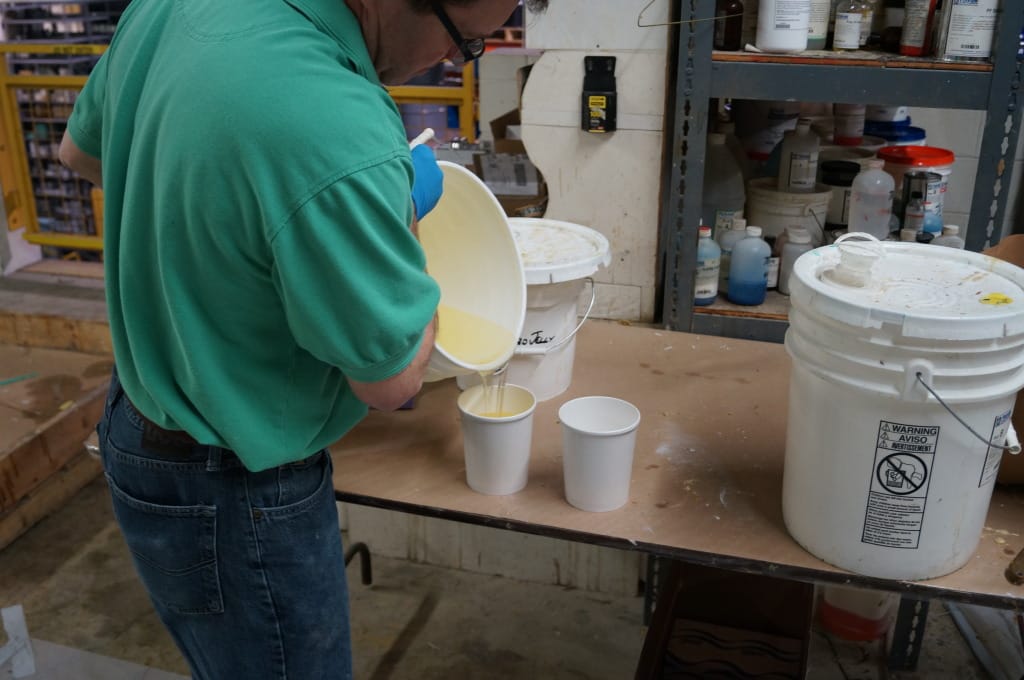
Poured Blanket Mold: Construction of Mold Shell
Measure Part B:
Poured Blanket Mold: Construction of Mold Shell
Poured Blanket Mold: Construction of Mold Shell
Thoroughly mix together Part A & Part B and then add PolyFiber II thickener to bring the mixture to a brushable consistency.
Poured Blanket Mold: Construction of Mold Shell
Poured Blanket Mold: Construction of Mold Shell
Add PolyFiber II thickener until a thick, non-sag consistency is reached.
Poured Blanket Mold: Construction of Mold Shell
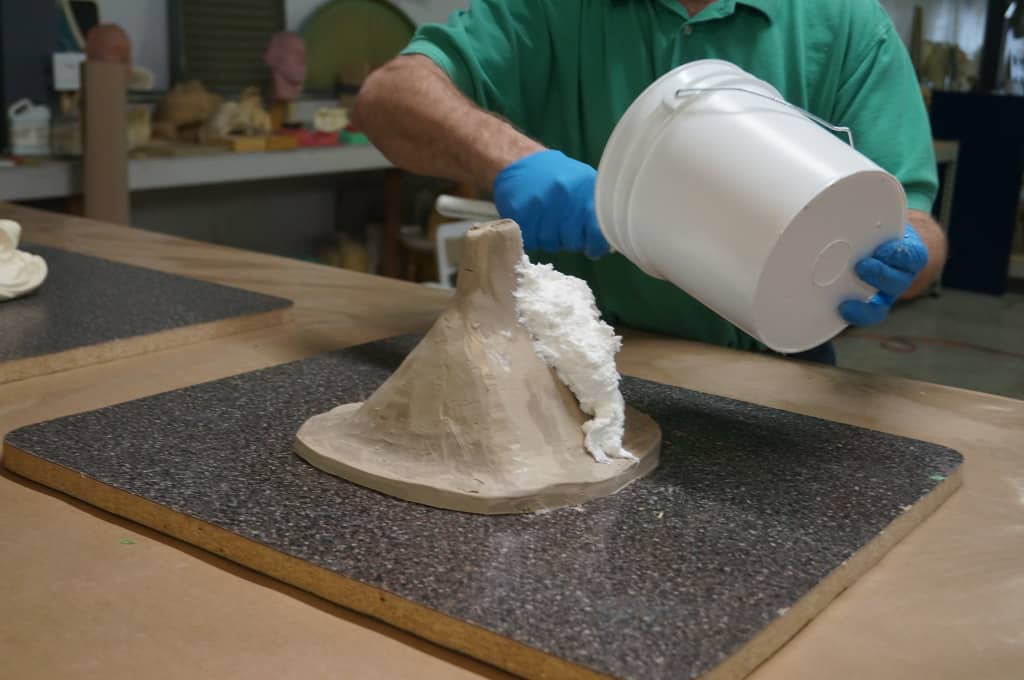
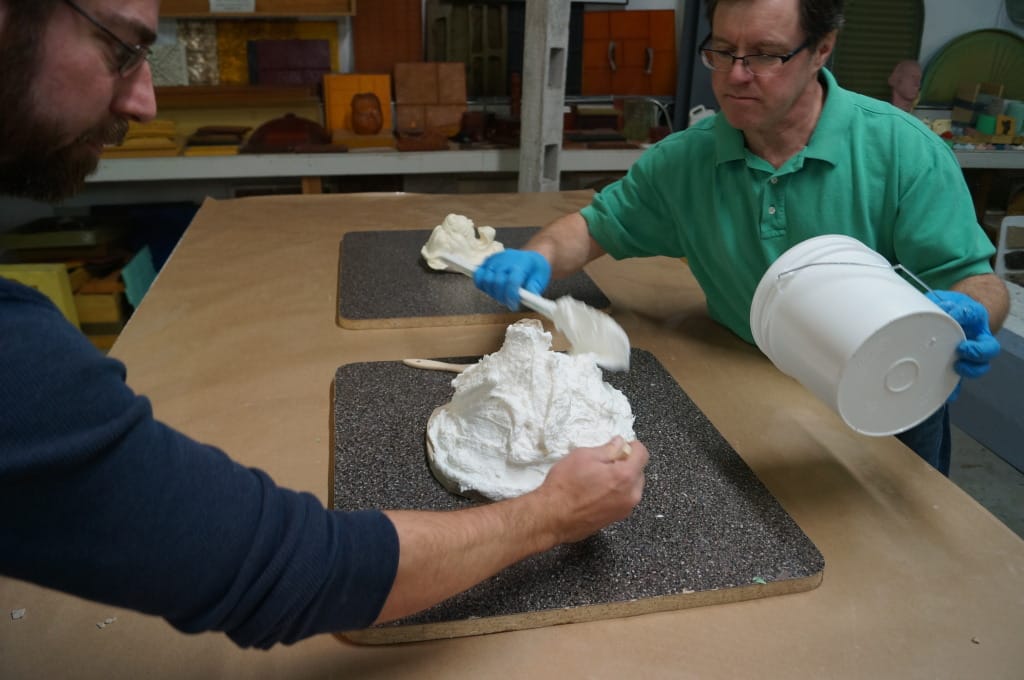
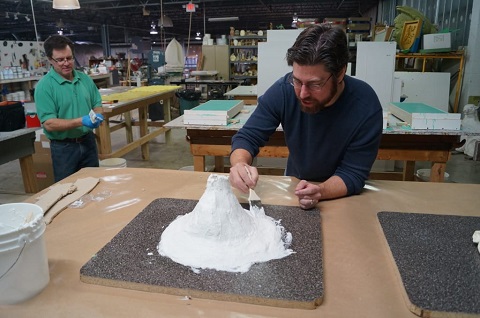
Apply the thickened Poly 1512X to the layer of clay, leaving an opening at the top of the pour hole. Note: get the Poly 1512X plastic out of the mixing pail as quickly as possible; it will cure faster in larger masses (i.e., sitting in the pail).
Poured Blanket Mold: Construction of Mold Shell
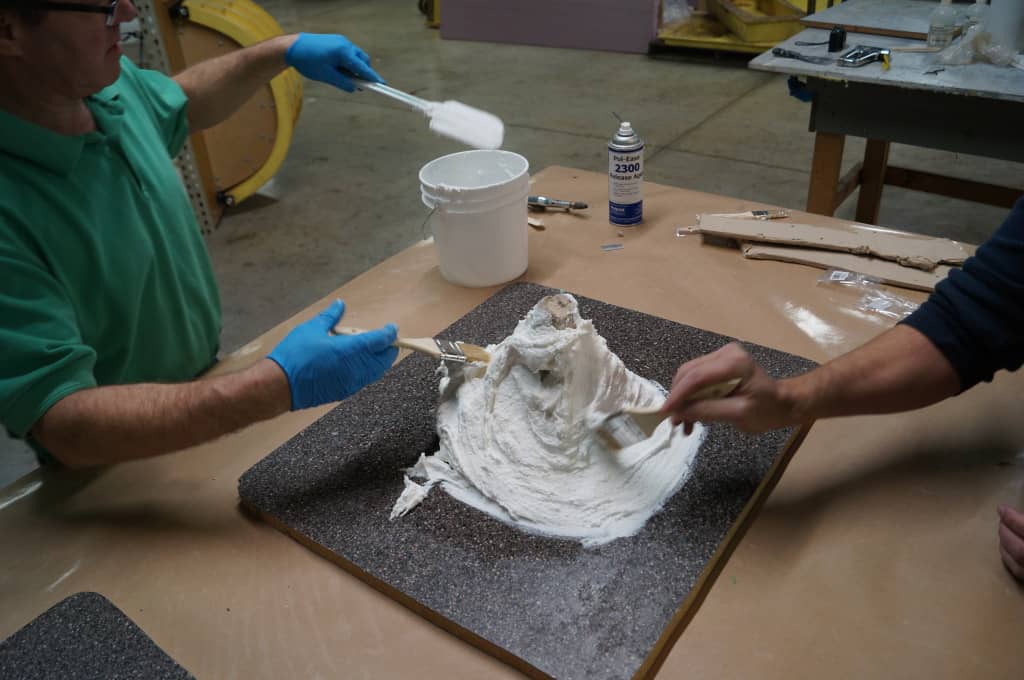
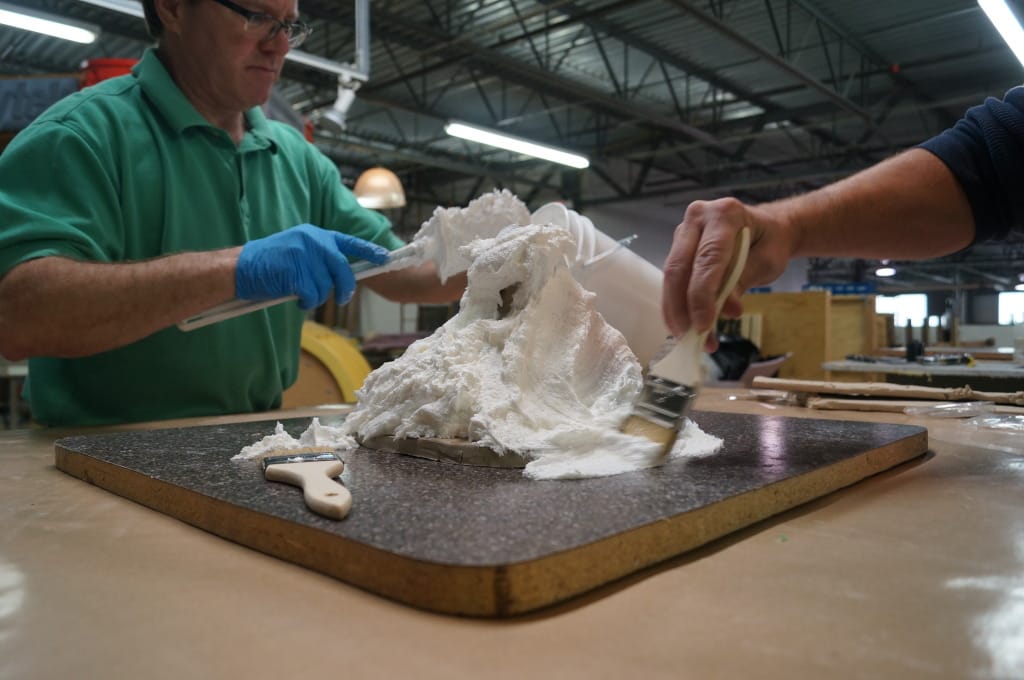
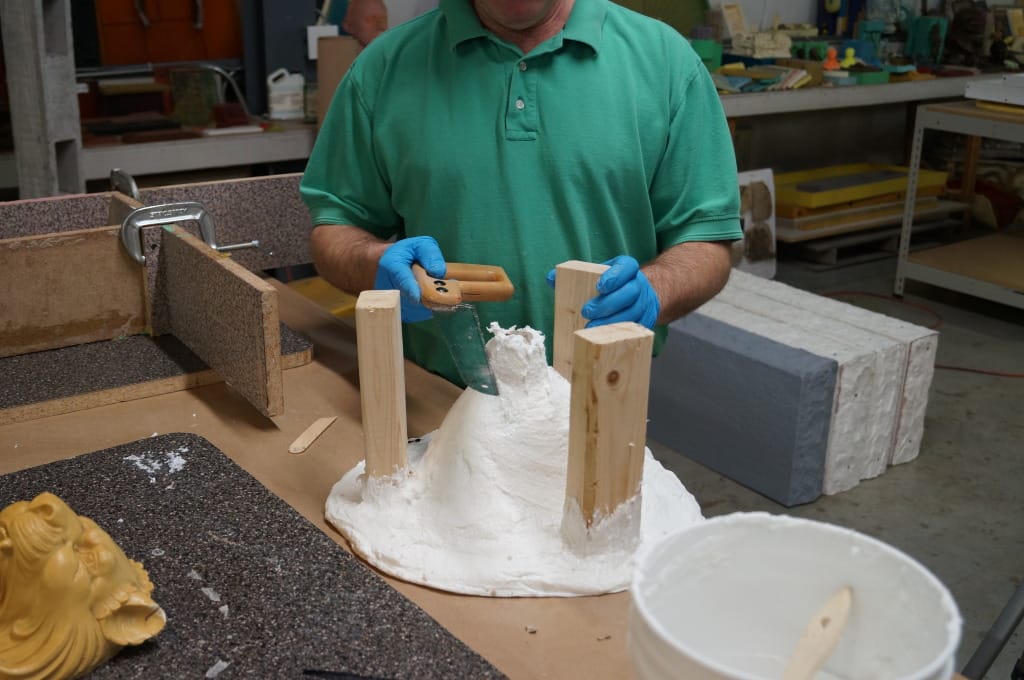
Spread the plastic evenly over the plasticine clay using disposable dry brushes or other tools like stainless steel spatulas.
Poured Blanket Mold: Construction of Mold Shell
Poured Blanket Mold: Construction of Mold Shell
Poured Blanket Mold: Construction of Mold Shell
Create a plastic flange that extends 1-2 inches beyond the clay on the baseboard.
Poured Blanket Mold: Construction of Mold Shell
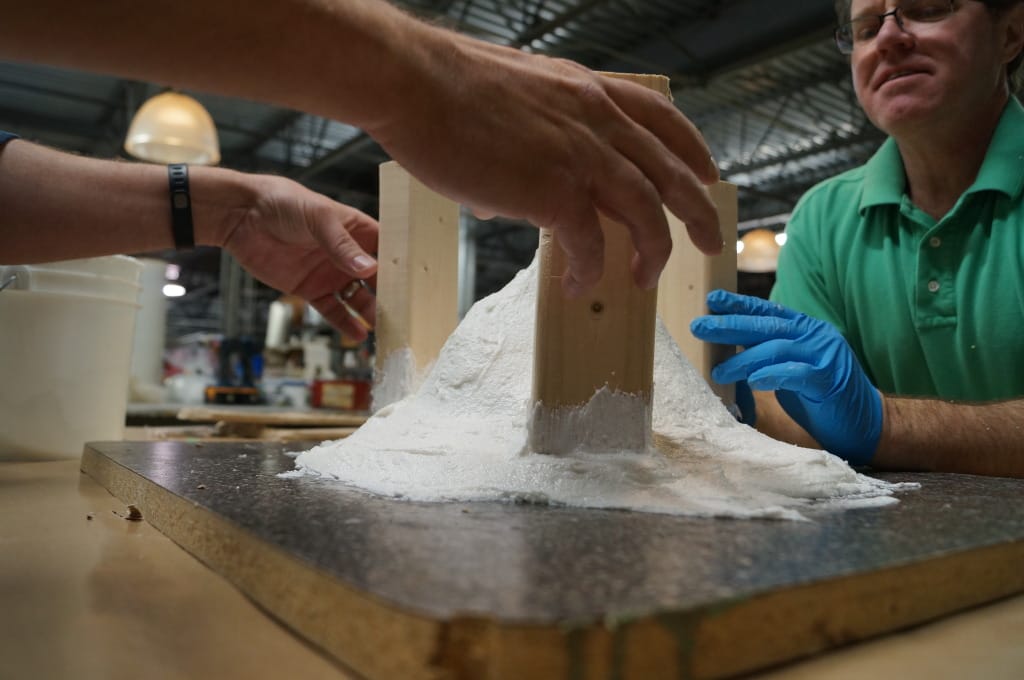
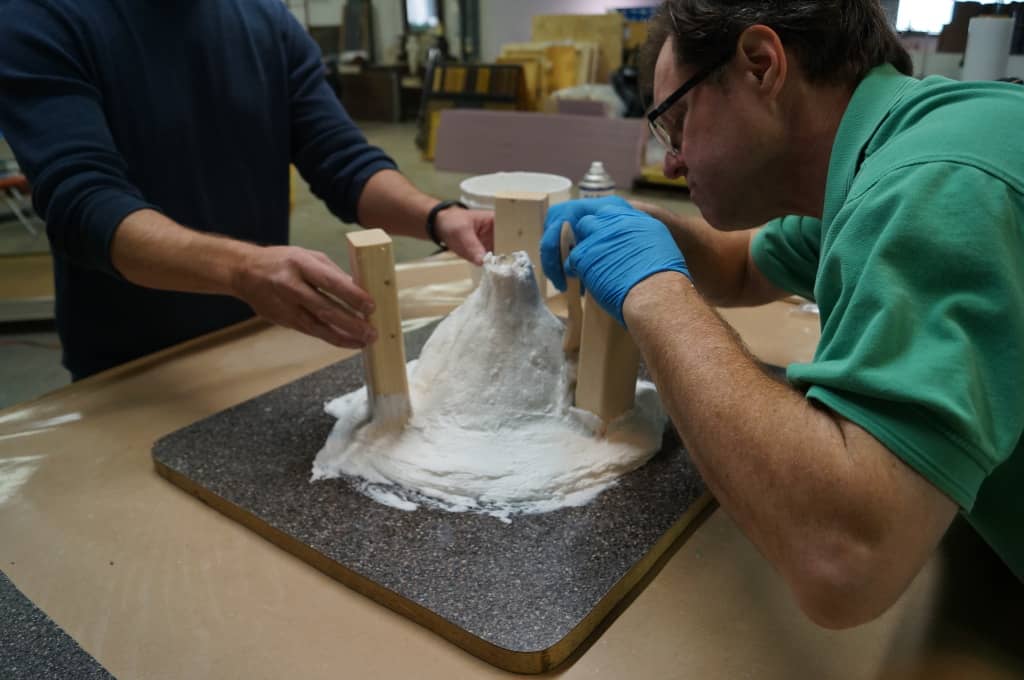
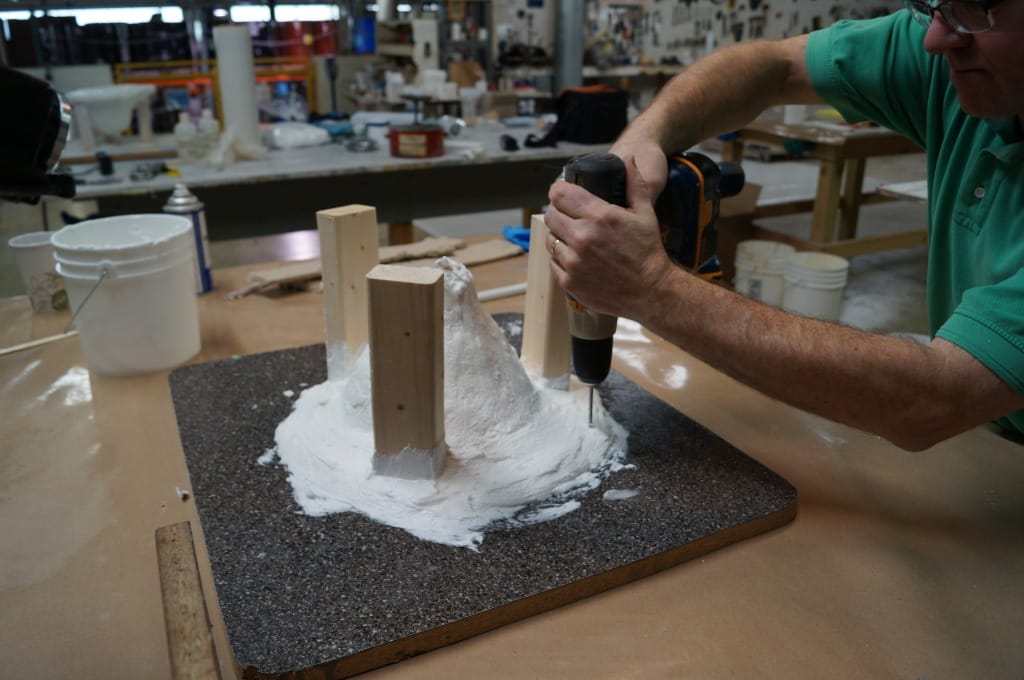
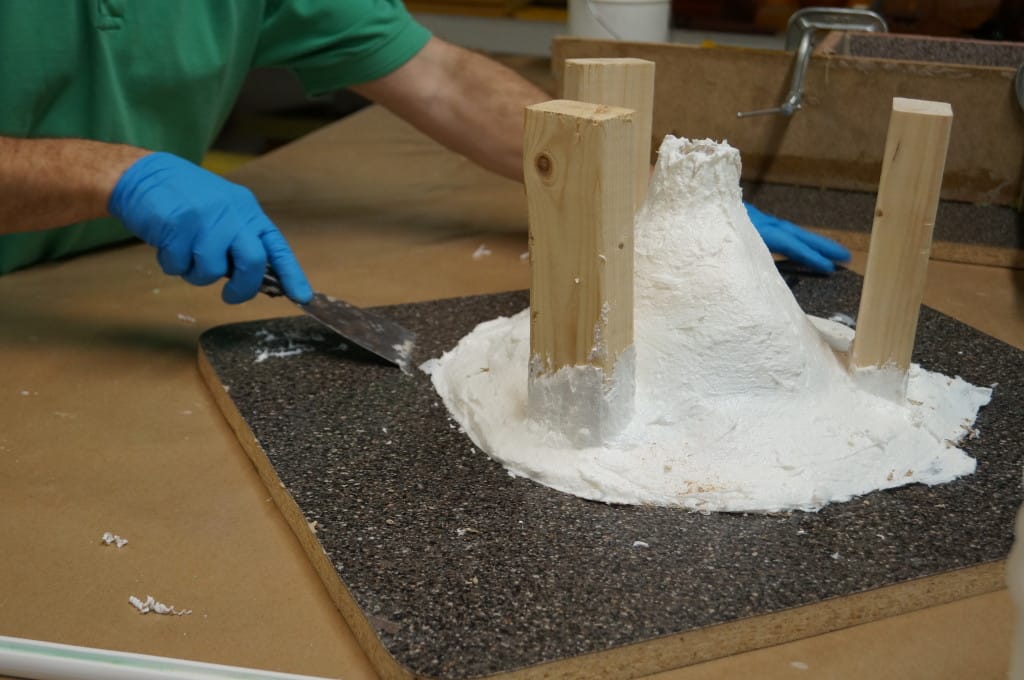
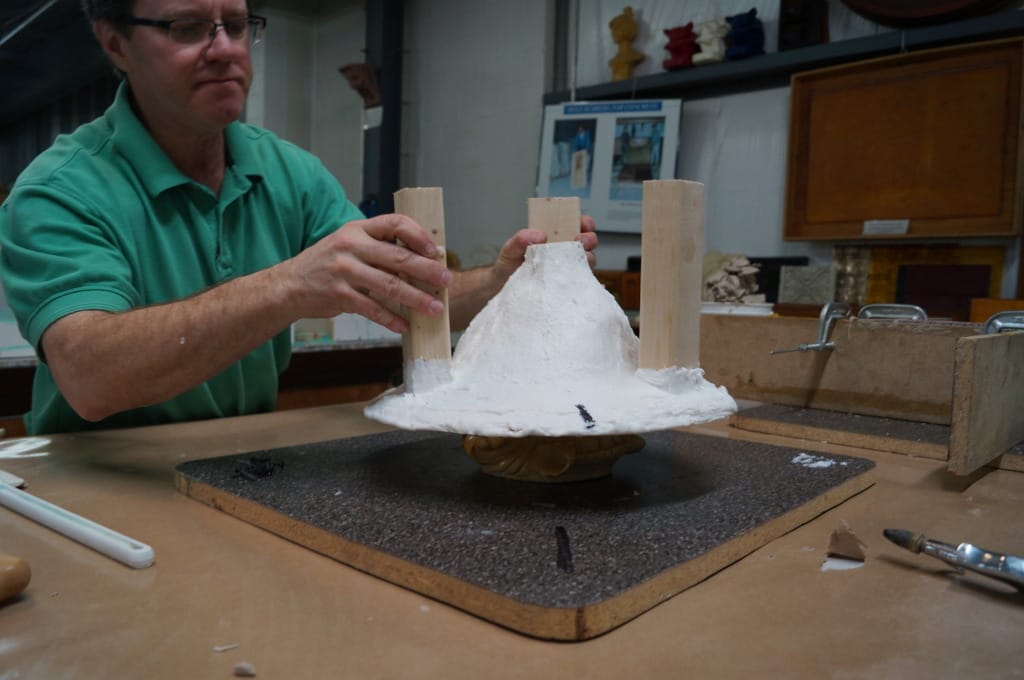
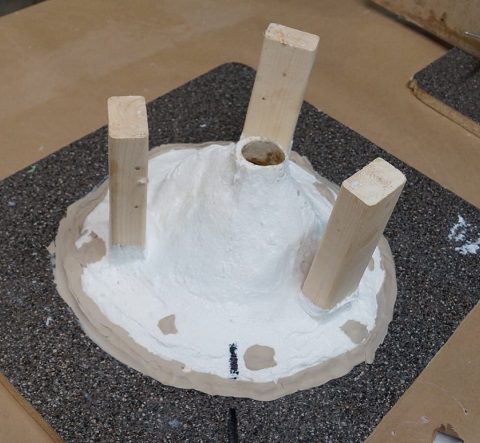
Before the plastic completely sets, add legs that will hold and level the mold and mold shell for casting later.
Poured Blanket Mold: Construction of Mold Shell
Poured Blanket Mold: Construction of Mold Shell
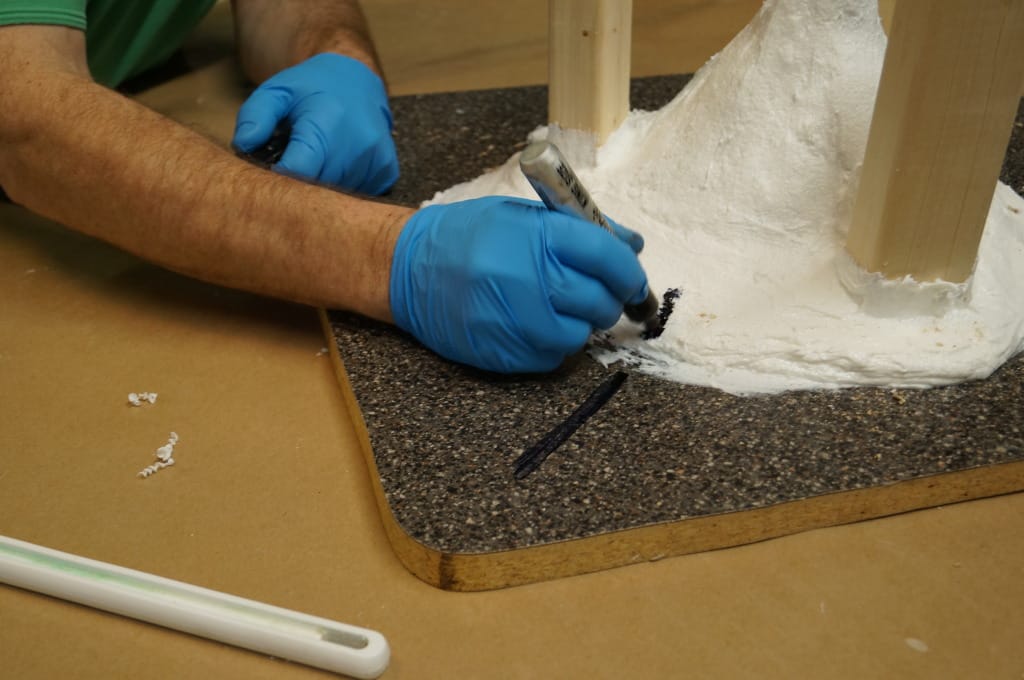
When the Poly 1512X plastic has set (after ~30 minutes – this time will vary depending on temperature and humidity), create a reference point with a permanent marker indicating the location of the mold shell in relation to the baseboard for proper re-positioning later in the process.
Poured Blanket Mold: Construction of Mold Shell
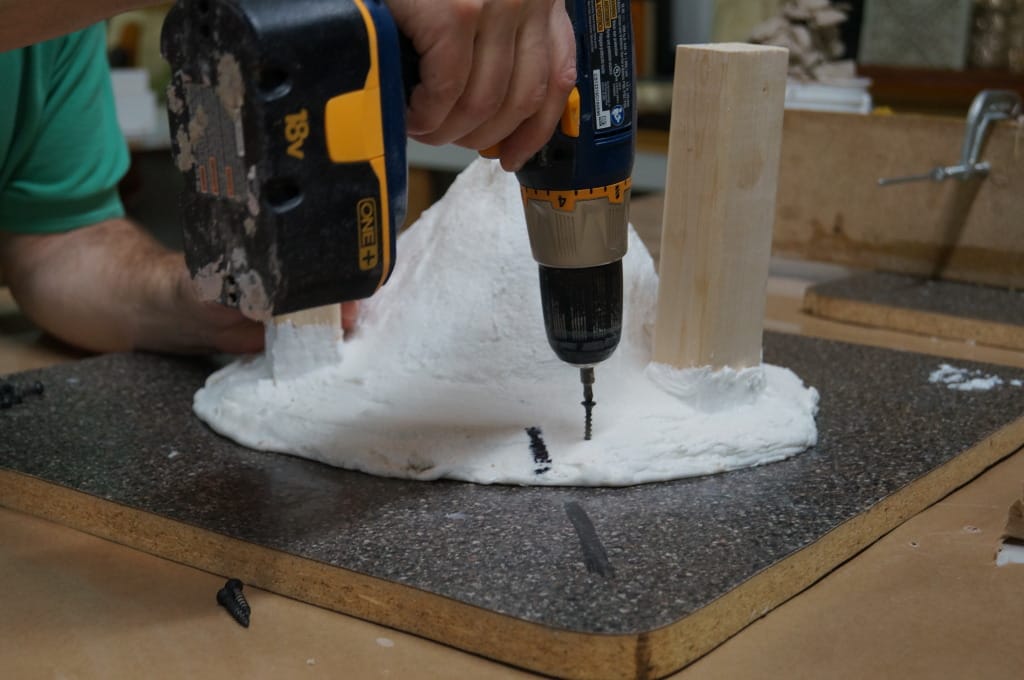
Drill holes evenly throughout the plastic flange – the mold shell will later be re-positioned and screwed into place in these locations.
Poured Blanket Mold: Construction of Mold Shell
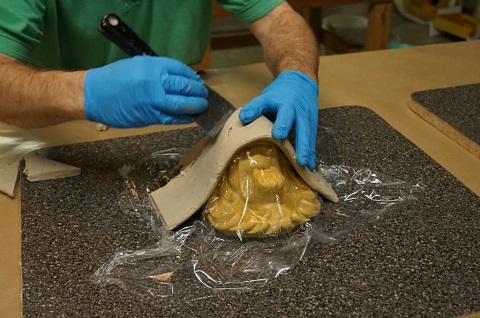
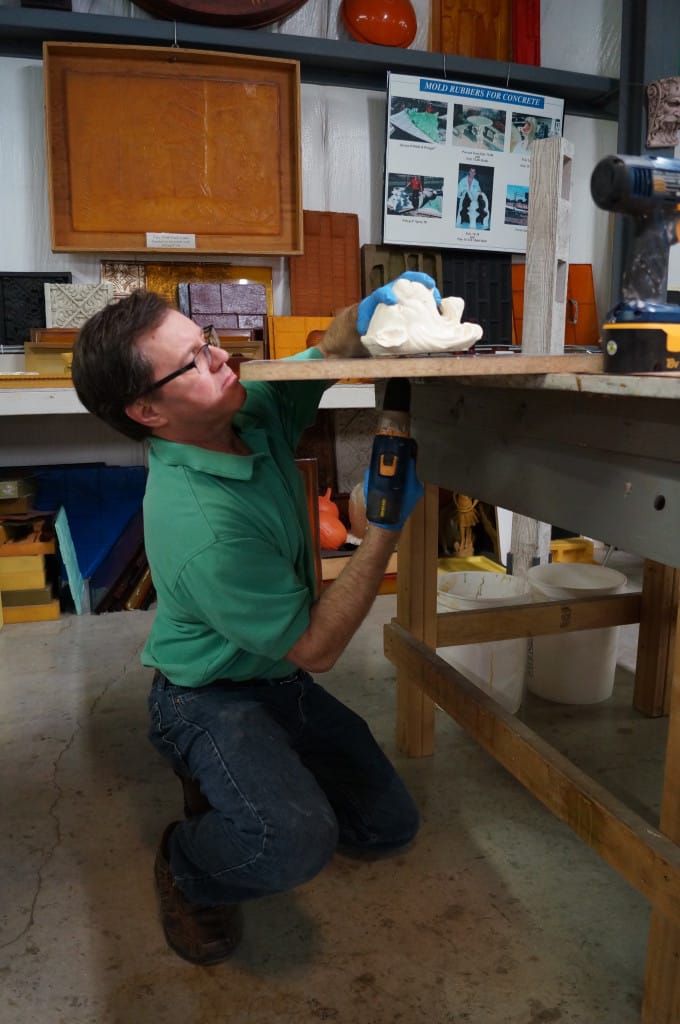
Loosen the edges of the mold shell and carefully remove it from the baseboard. CAUTION: Edges of the plastic mold shell can be very sharp.
Poured Blanket Mold: Construction of Mold Shell
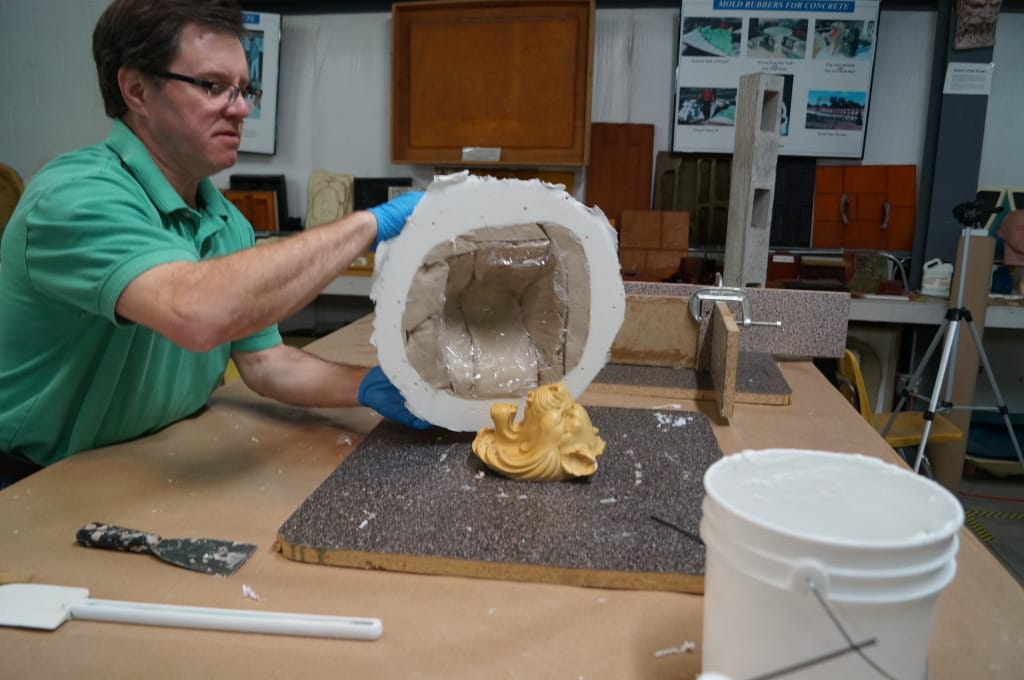
Poured Blanket Mold: Construction of Mold Shell
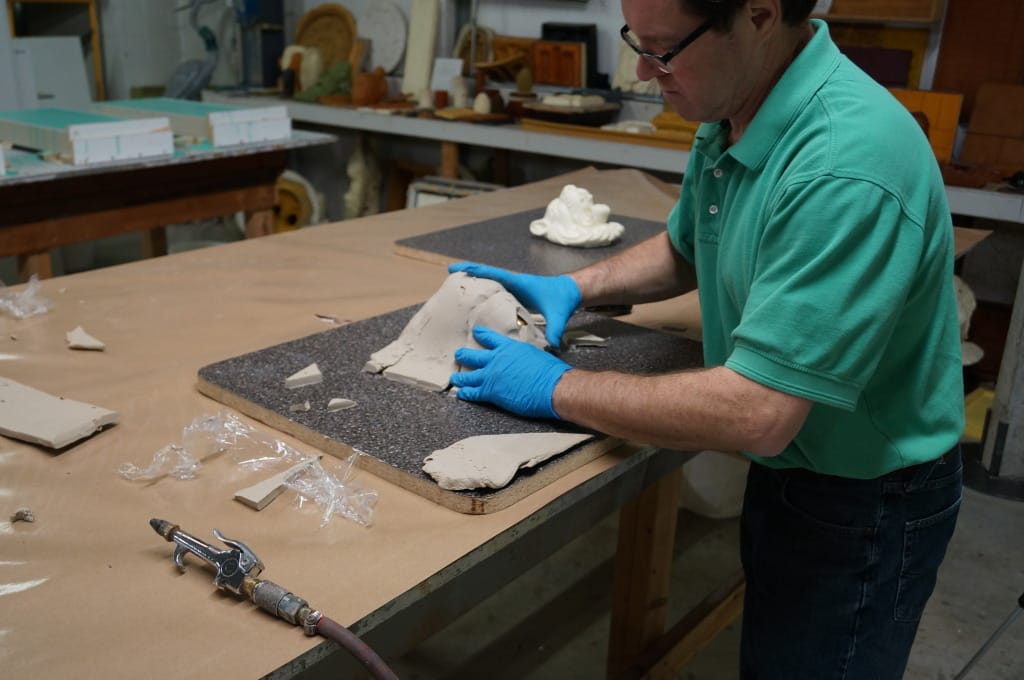
Remove the plastic wrap and clay from the mold shell.
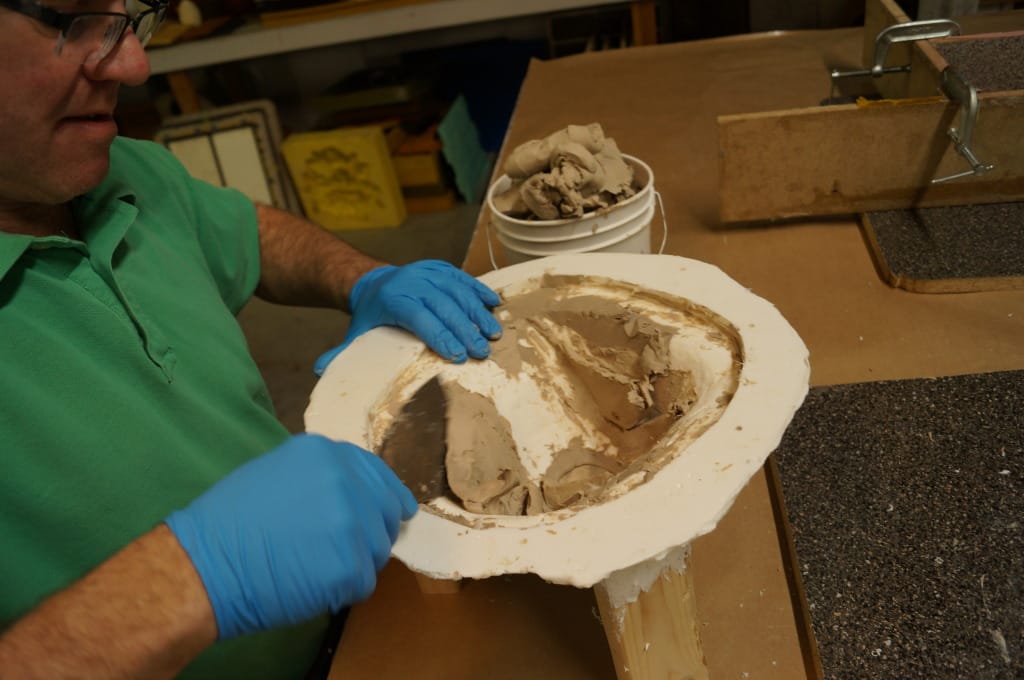
Poured Blanket Mold: Construction of Mold Shell
Poured Blanket Mold: Construction of Mold Shell
If necessary, trim the top of the pour hole.
Poured Blanket Mold: Construction of Mold Shell
Poured Blanket Mold: Construction of Mold Shell
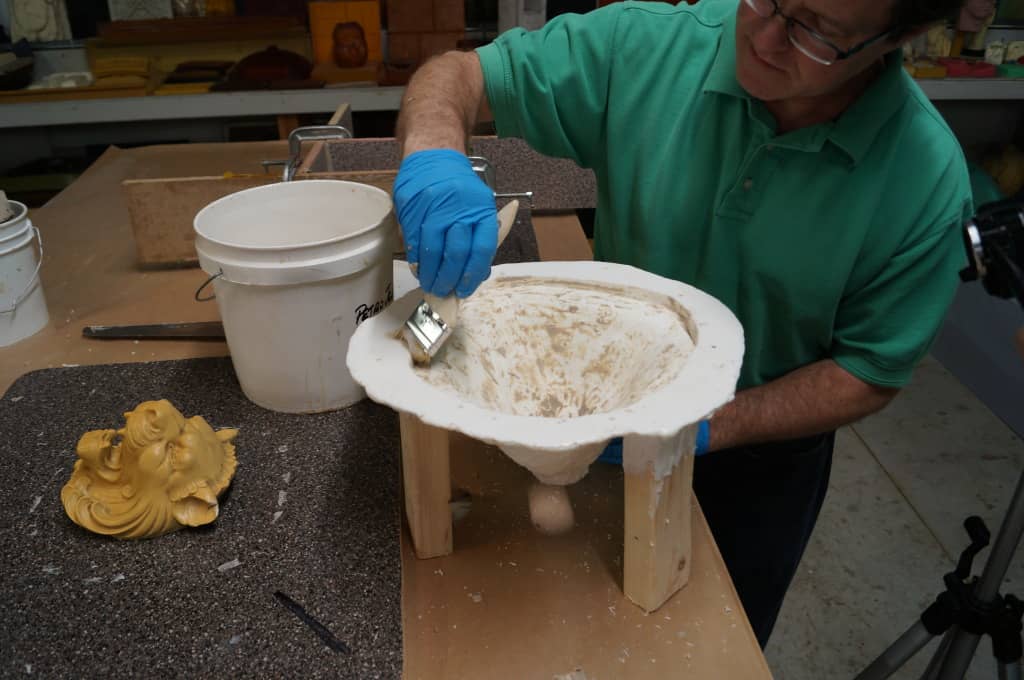
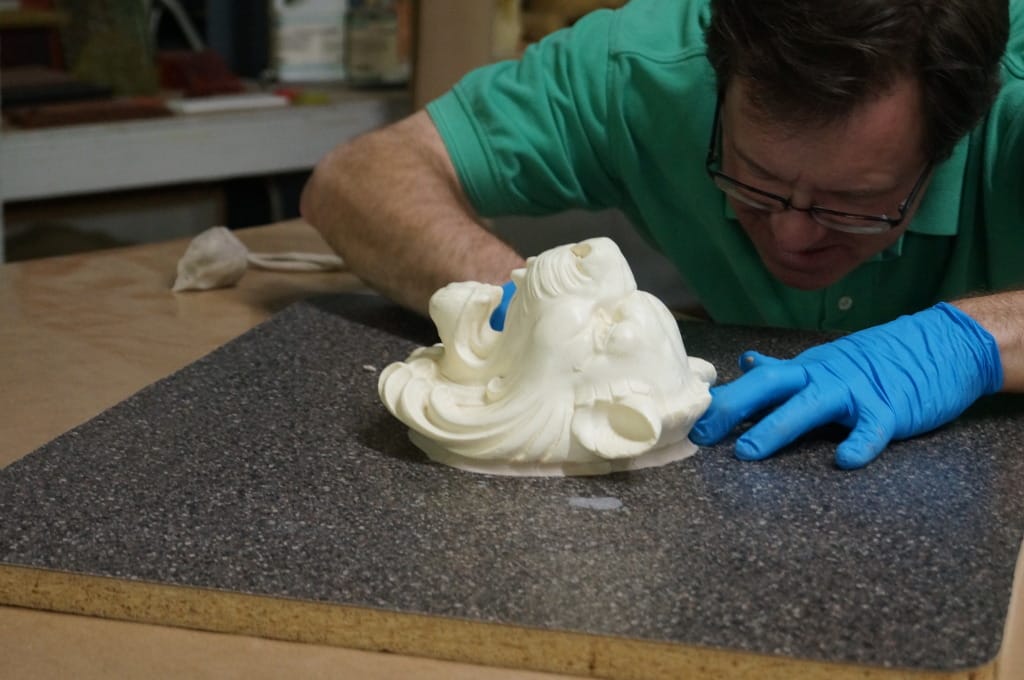
Apply a release agent, like Petroleum Jelly, to the interior of the mold shell.
Poured Blanket Mold: Construction of Mold Shell
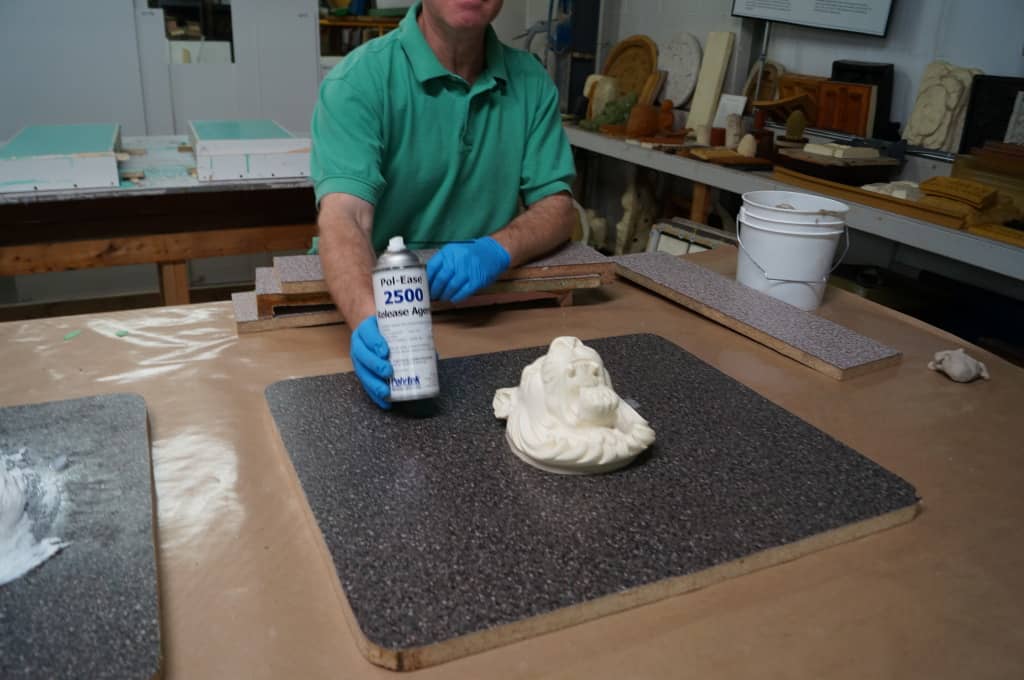
Apply release agent to the model and surrounding baseboard before placing the mold shell back over the model. We have selected a silicone rubber as the mold material, so Pol-Ease® 2500 Release Agent is used.
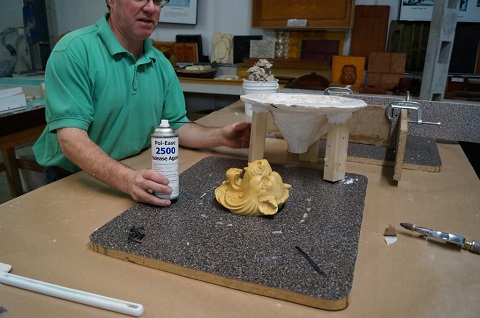
Poured Blanket Mold: Construction of Mold Shell
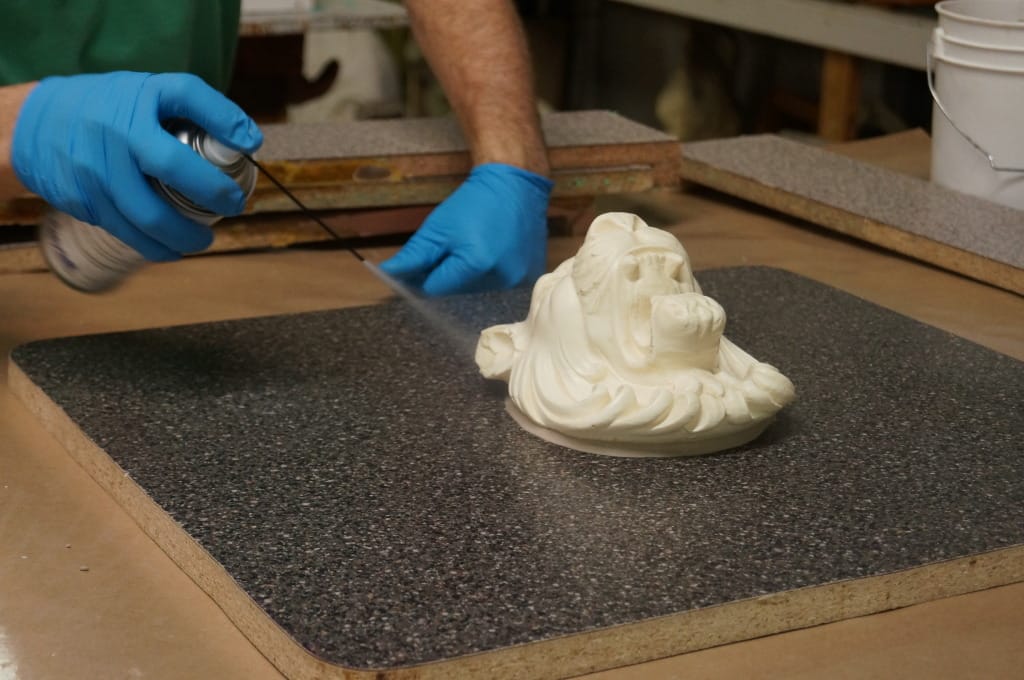
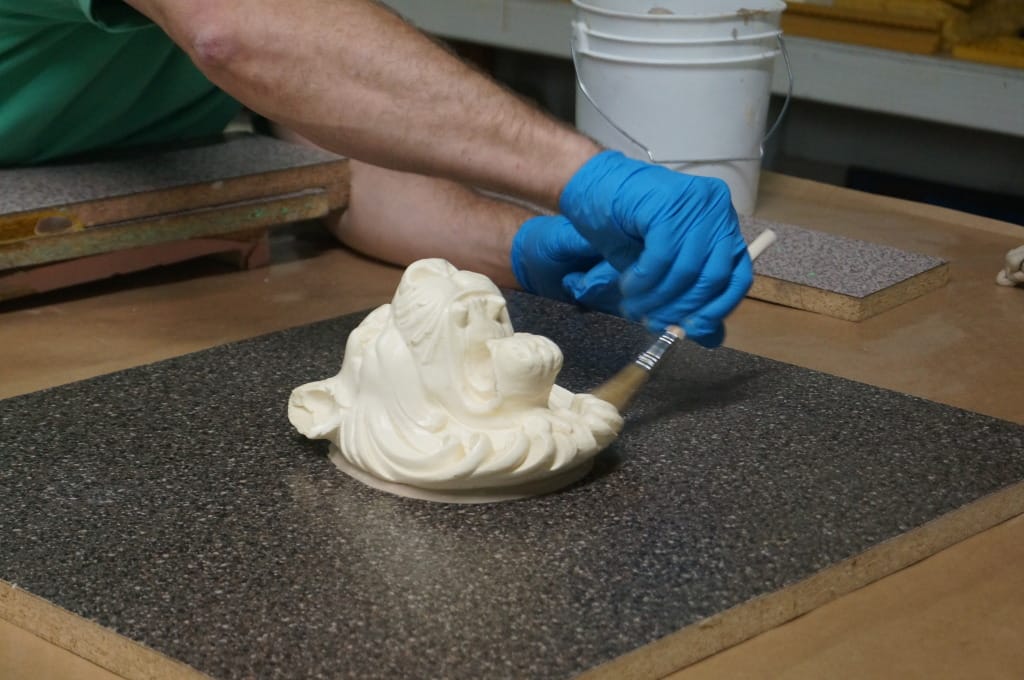
Spray the release agent onto the model and then brush it out with a dry brush to encourage even and thorough coverage.
Poured Blanket Mold: Construction of Mold Shell
Re-position the mold shell in its original position over the model. Align the marker and holes.
Poured Blanket Mold: Construction of Mold Shell
Secure the mold shell to the baseboard with screws.
Poured Blanket Mold: Construction of Mold Shell
Seal around the screws and the edges of the mold shell with plasticine clay to help prevent rubber from leaking out.
Poured Blanket Mold: Construction of Mold Shell
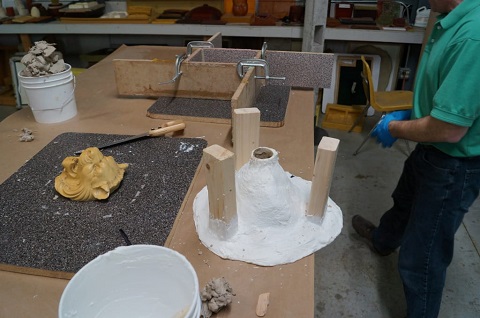
Construction of the mold shell is now complete.
Poured Block Mold: Construction of Mold Box
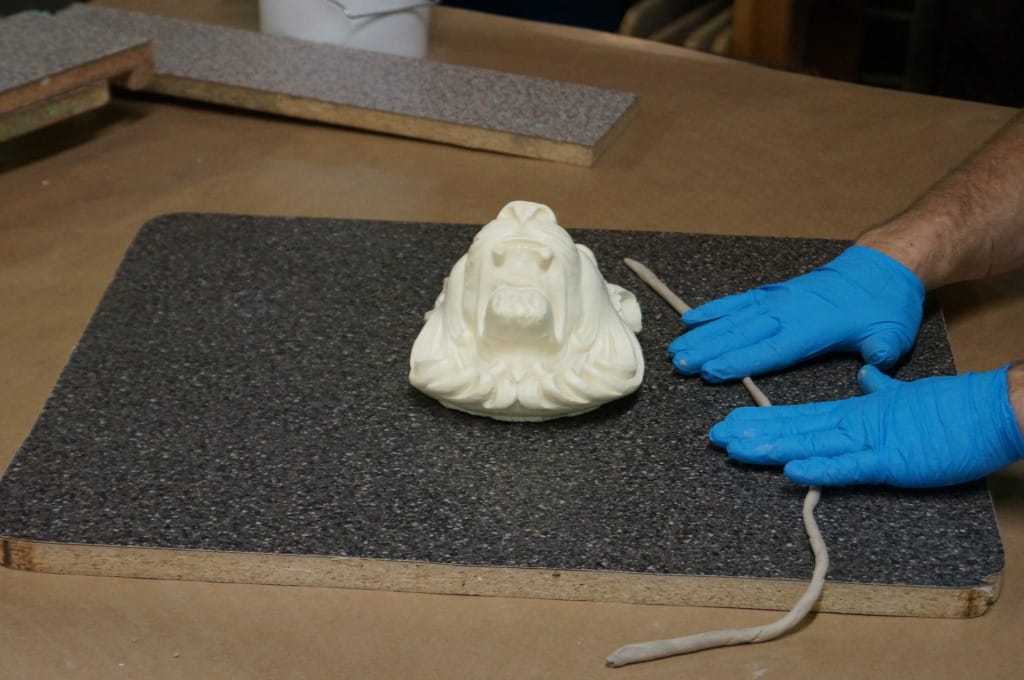
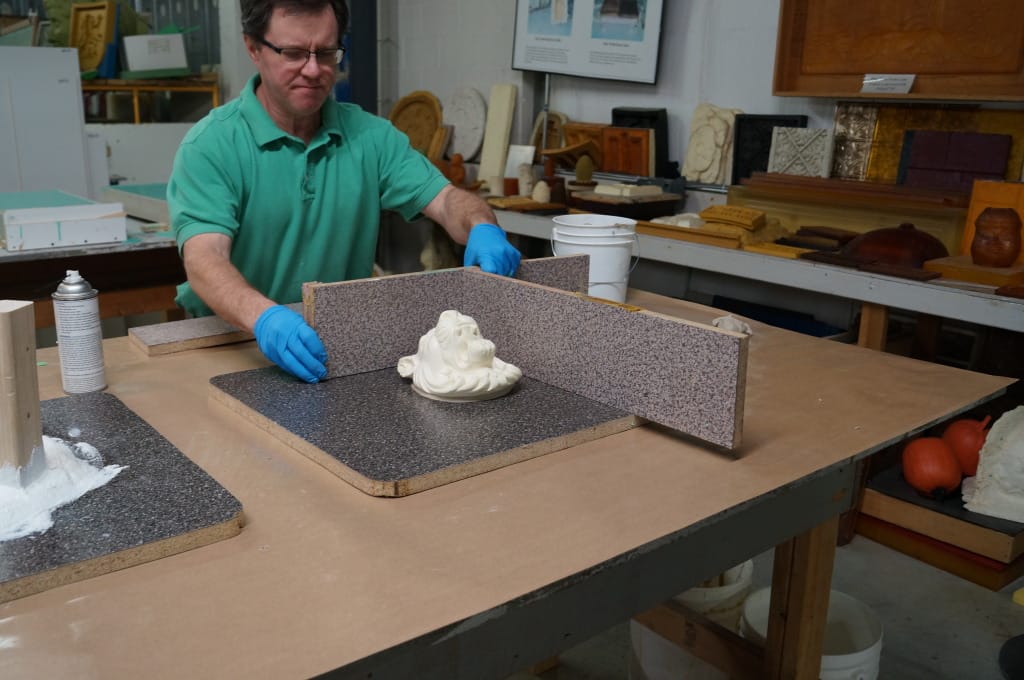
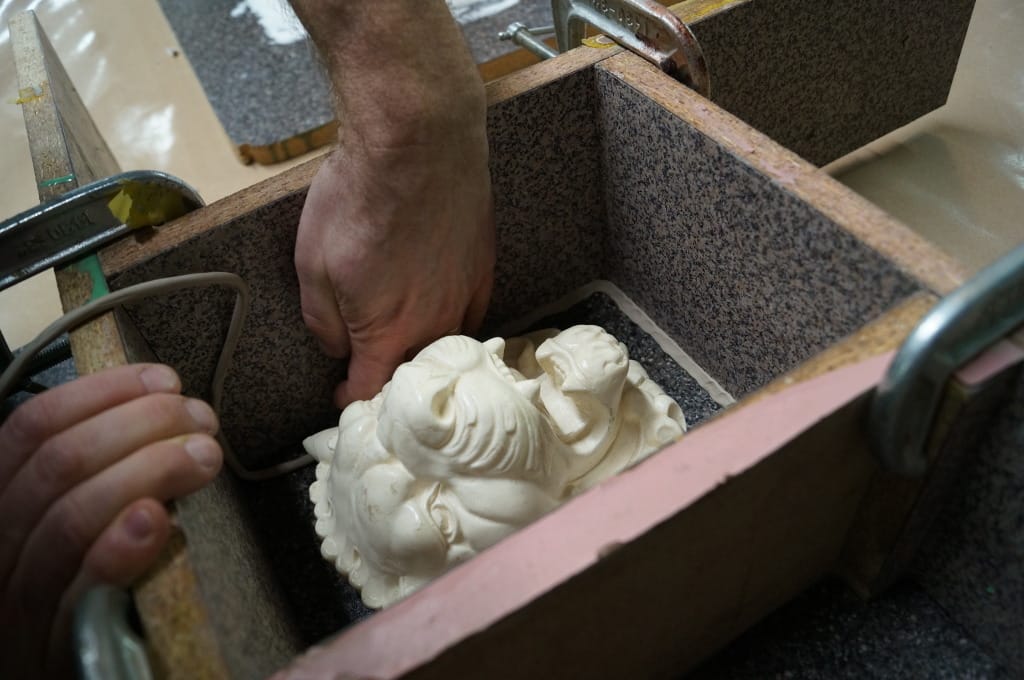
Start by securing the plastic model to the baseboard.
Poured Block Mold: Construction of Mold Box
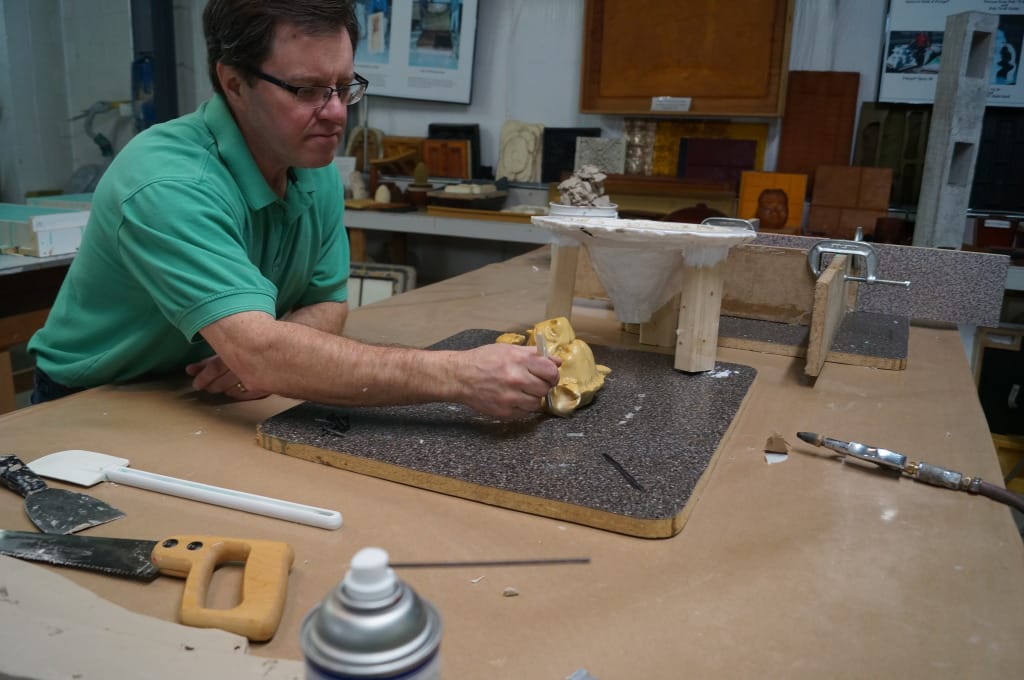
Seal the edges of the model with oil-based, sulfur-free clay (e.g., plasticine clay). Hot glue and caulk also work.
Poured Block Mold: Construction of Mold Box
Poured Block Mold: Construction of Mold Box
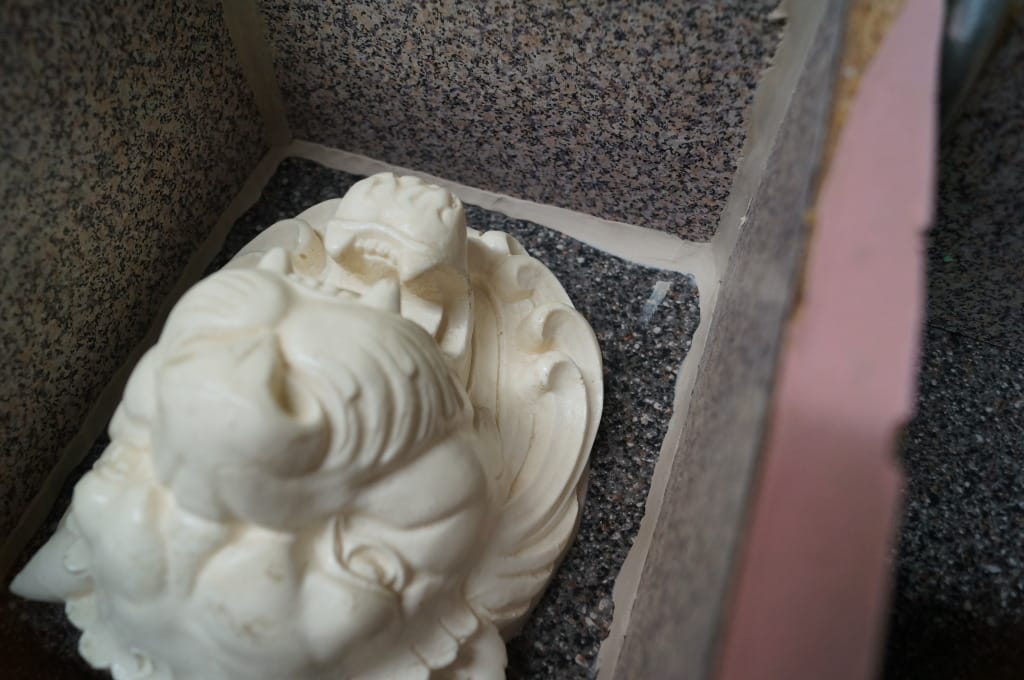
Smooth out and flatten the clay as best as possible.
Poured Block Mold: Construction of Mold Box
Apply Pol-Ease® 2500 Release Agent to the model and surrounding baseboard and then brush out with a dry brush. This step can be completed after the mold box is constructed; however, it is a bit easier to accomplish prior to construction.
Poured Block Mold: Construction of Mold Box
Poured Block Mold: Construction of Mold Box
Poured Block Mold: Construction of Mold Box
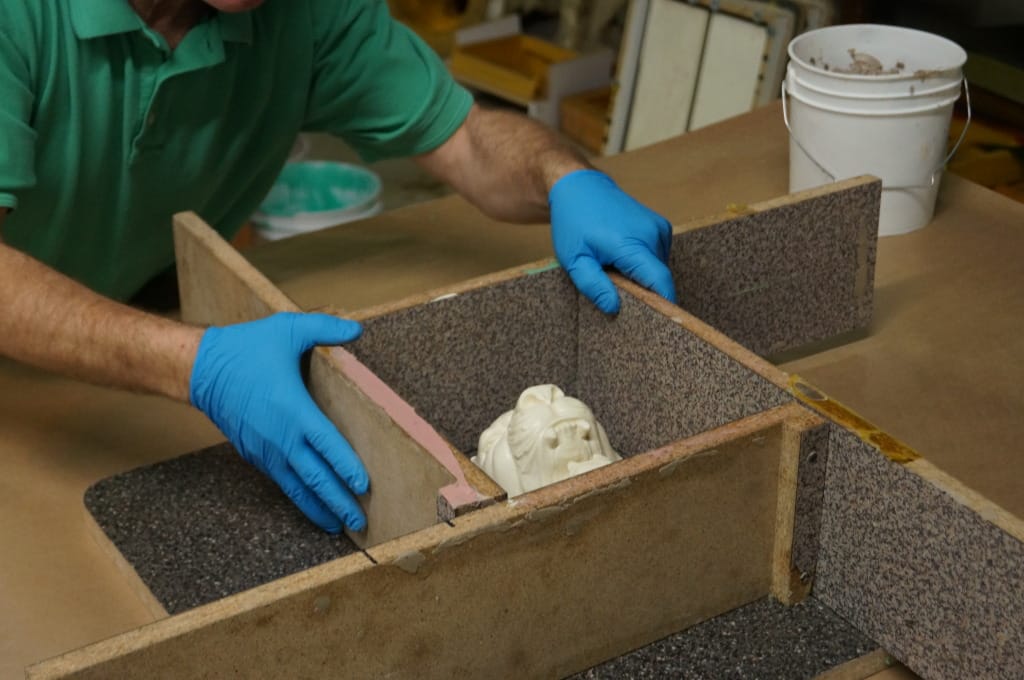
Construct walls around the model. We recommend leaving at least 1/2-inch of space between the model and mold box walls (sometimes more space is required, depending on the size/shape of the model and the casting material that will later be used).
We are using melamine-laminated particle board for the mold box.
Poured Block Mold: Construction of Mold Box
Poured Block Mold: Construction of Mold Box
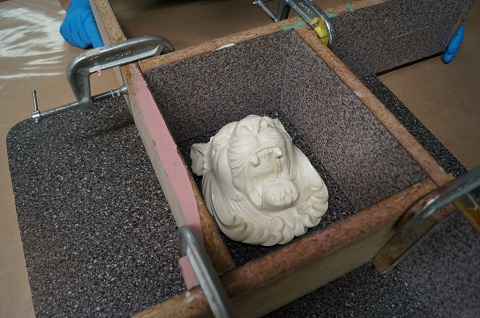
Secure mold box walls together. We use C-Clamps.
Poured Block Mold: Construction of Mold Box
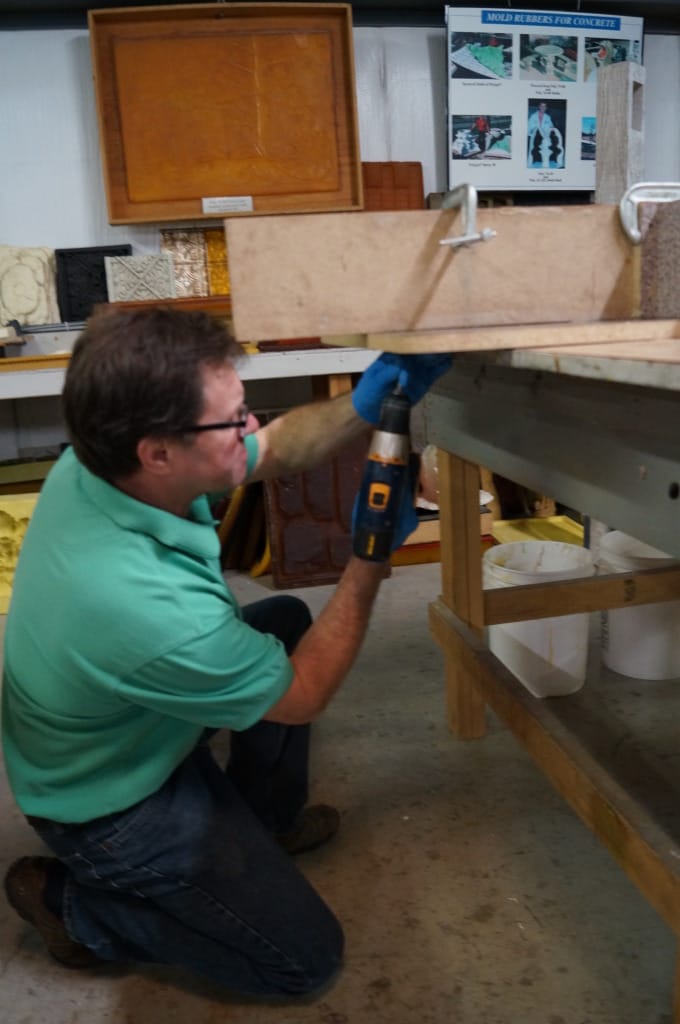
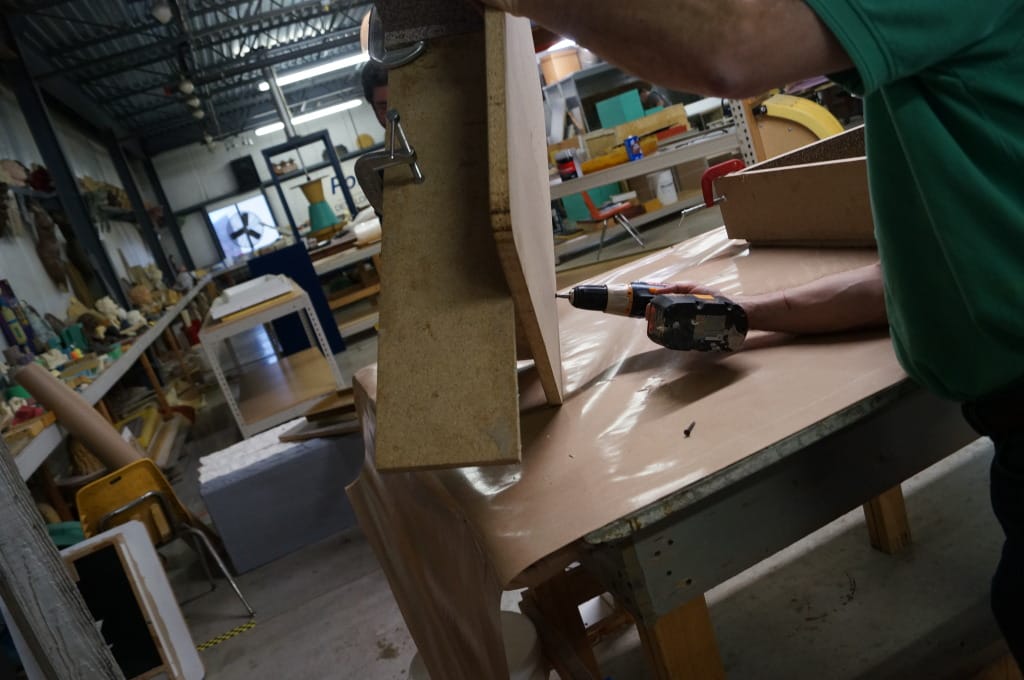
Secure the mold box walls to the bottom board with screws; this will help to prevent rubber from seeping between them and lifting the walls.
Poured Block Mold: Construction of Mold Box
Seal the interior edges and corners of the mold box with clay (or hot glue or caulk) to help prevent leaking.
Poured Block Mold: Construction of Mold Box
Poured Block Mold: Construction of Mold Box
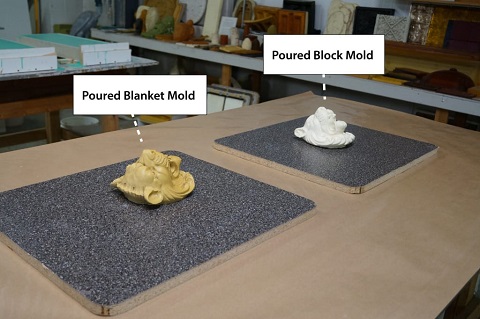
Here are the finished containment areas pictured side-by-side.
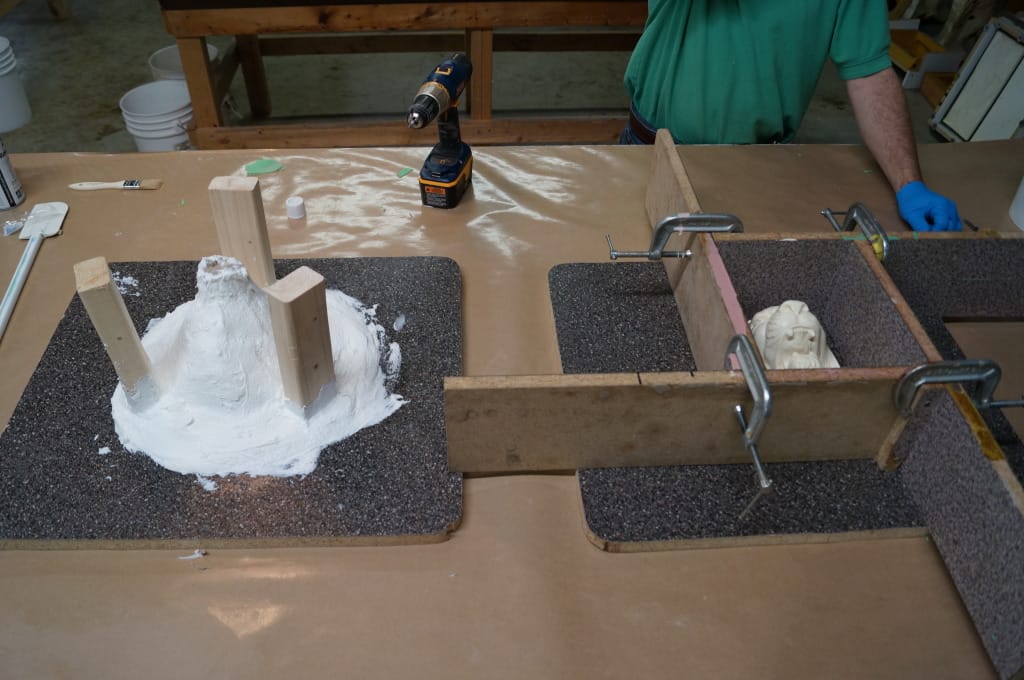
Mold Shell / Mold Box
Poured Blanket Mold: Pouring the Mold Rubber & Demolding
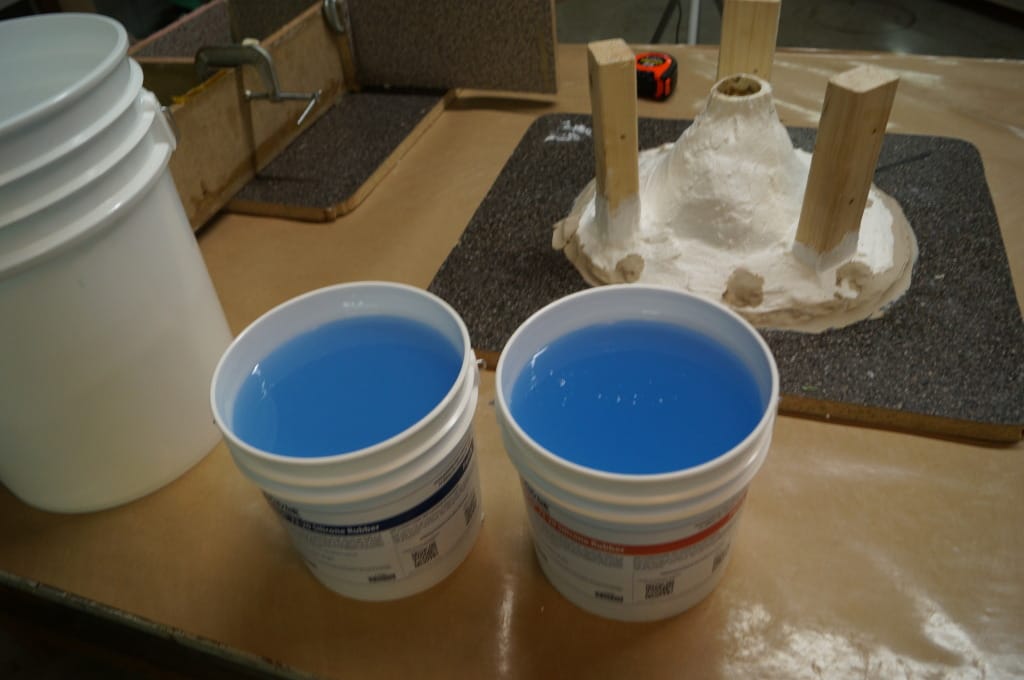
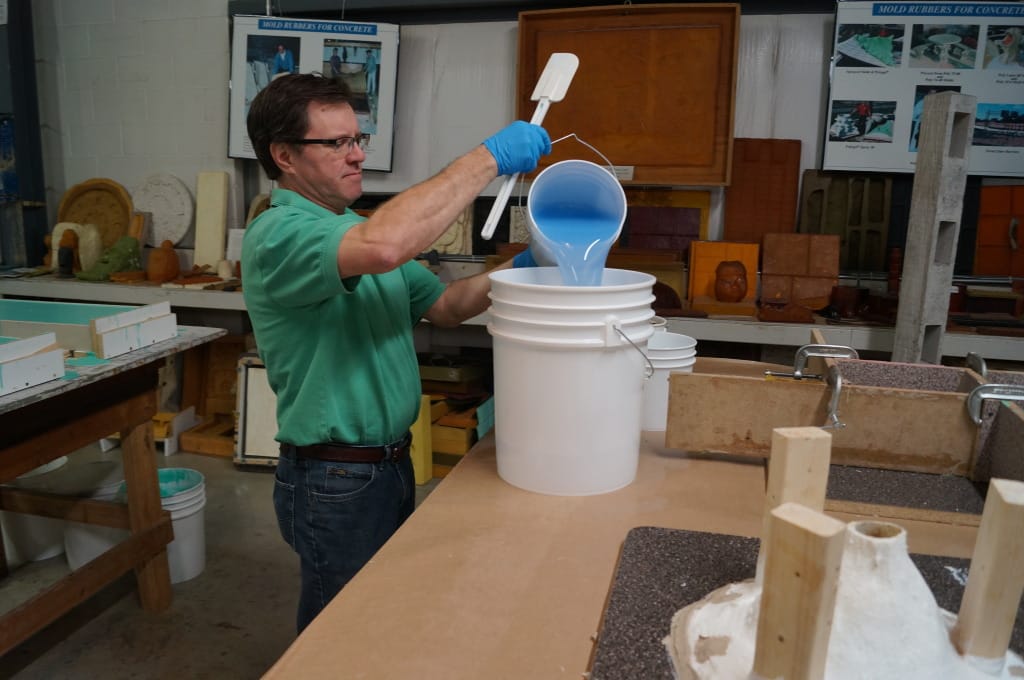
For both molds, we use PlatSil® 73-20 Silicone Rubber. It is a soft, platinum-cured silicone rubber with a 5-minute working time and a 1-hour demold time.
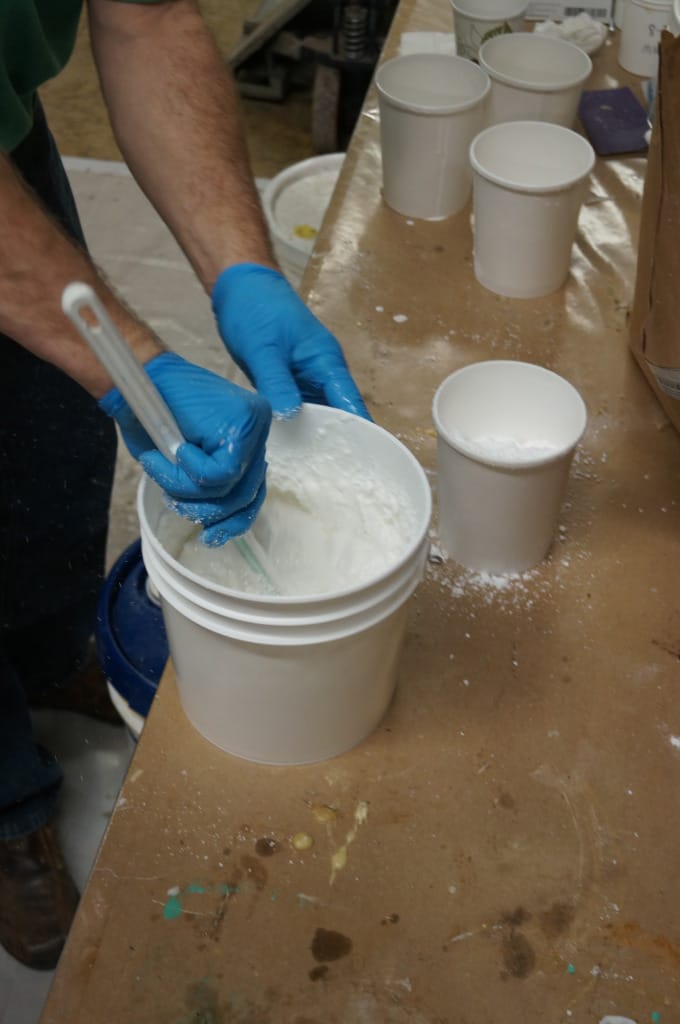
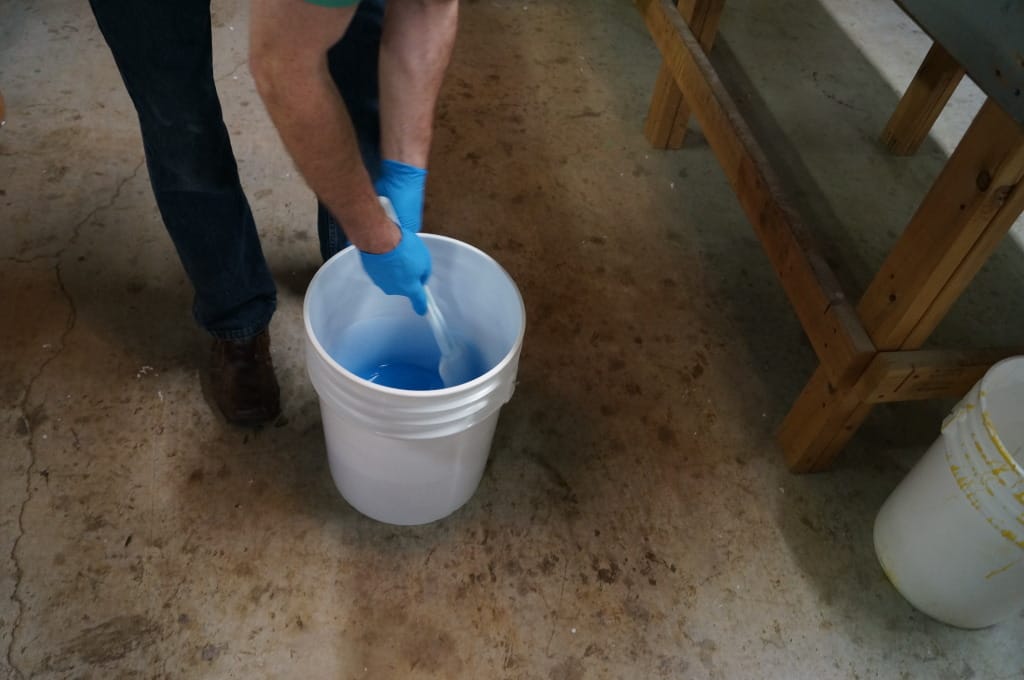
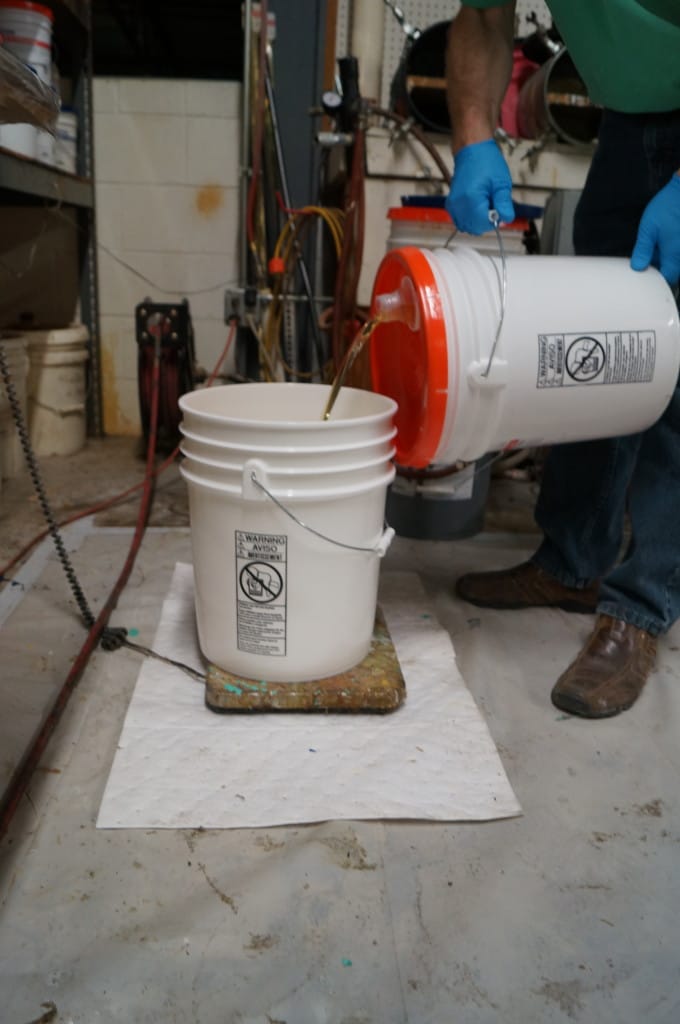
PlatSil 73-20 has a 1A:1B mix ratio. Carefully weigh out Part A & Part B and then combine and thoroughly mix. Scrape the sides and bottom of the mixing container several times.
Poured Blanket Mold: Pouring the Mold Rubber
Poured Blanket Mold: Pouring the Mold Rubber
Poured Blanket Mold: Pouring the Mold Rubber
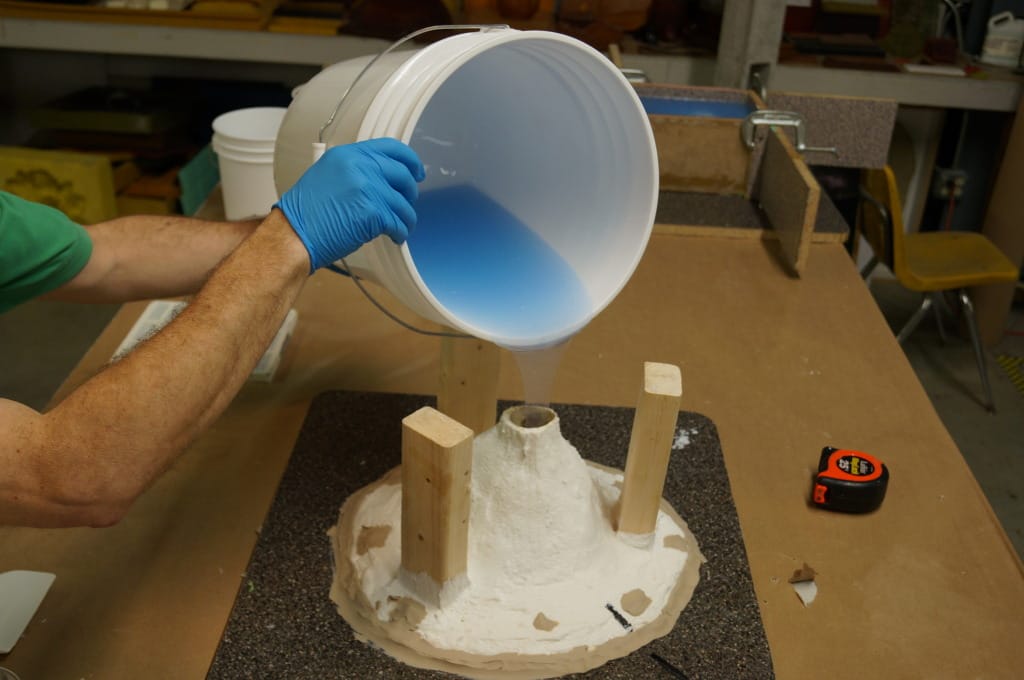
4.3 lb of PlatSil 73-20 rubber is necessary to complete this mold (compared to 12.5 lb of rubber needed to complete the poured block mold).
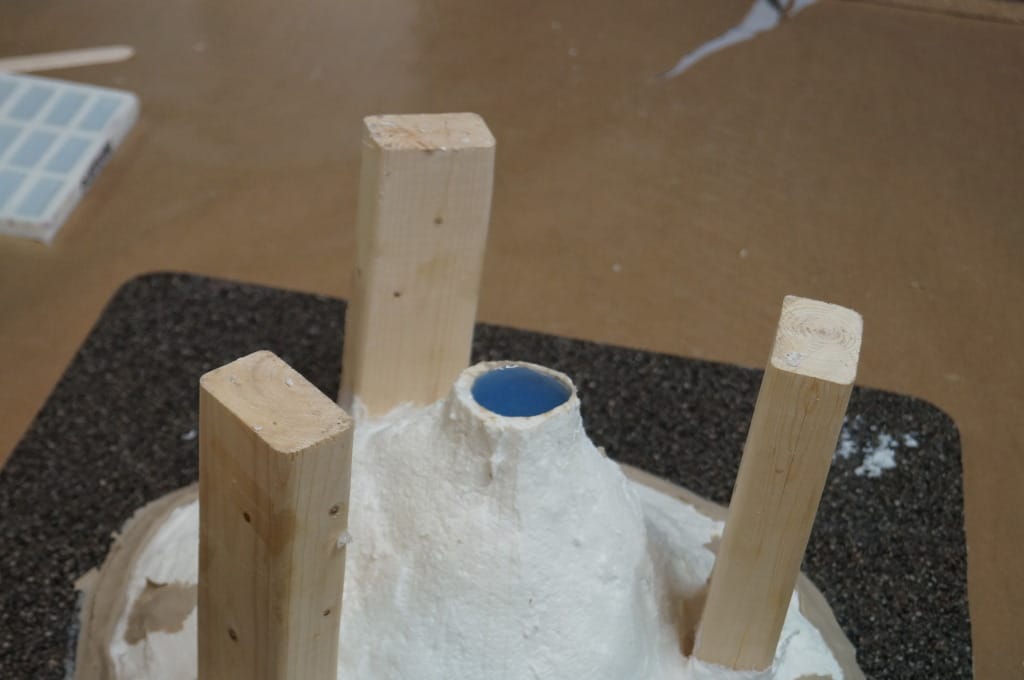
Carefully pour the mixed rubber into the pour hole until it reaches the top.
Poured Blanket Mold: Pouring the Mold Rubber
Poured Blanket Mold: Pouring the Mold Rubber
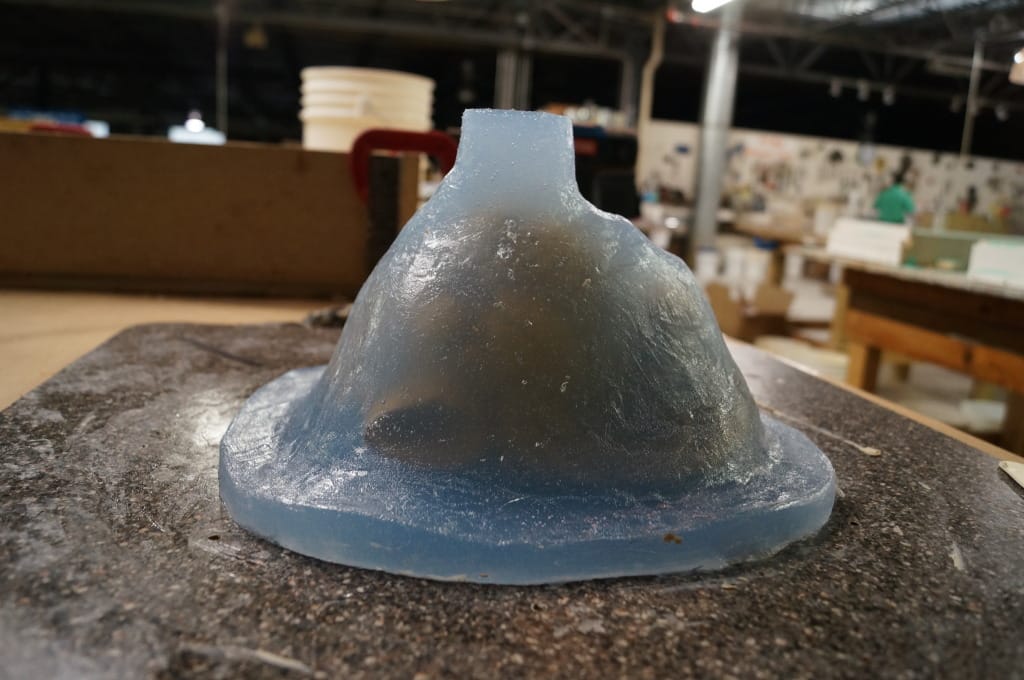
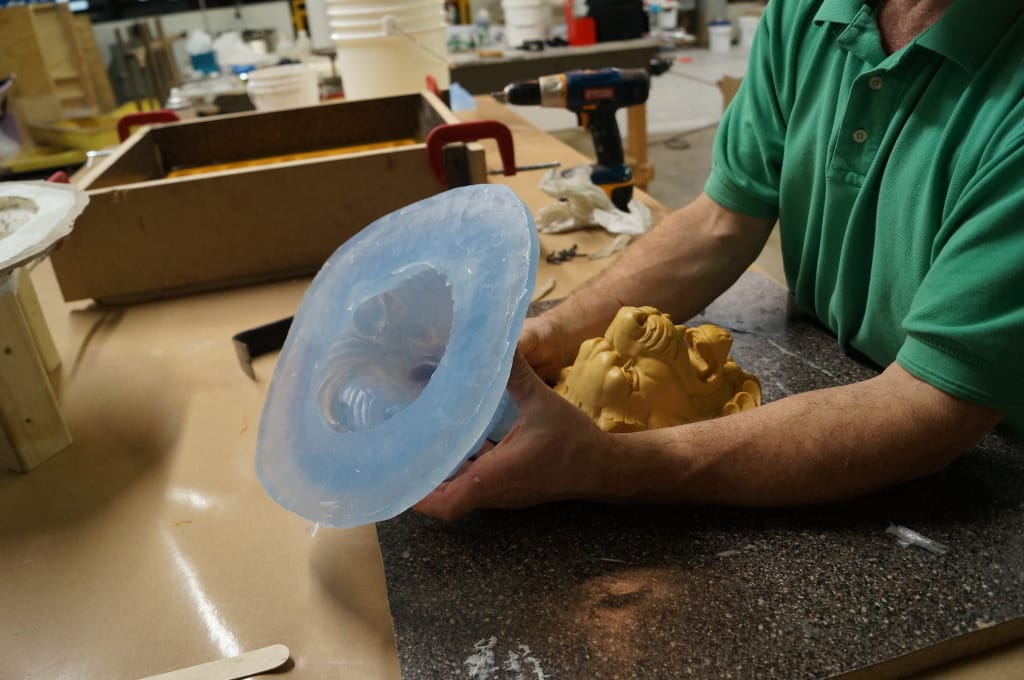
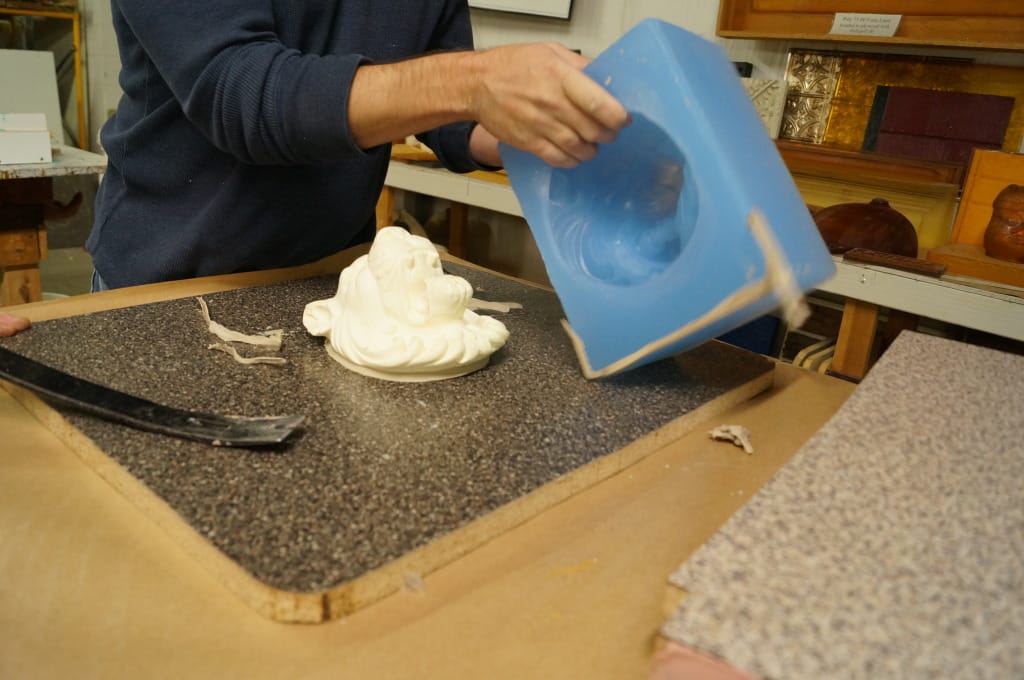
Allow the rubber to cure for about an hour at room temperature and then carefully remove the mold shell.
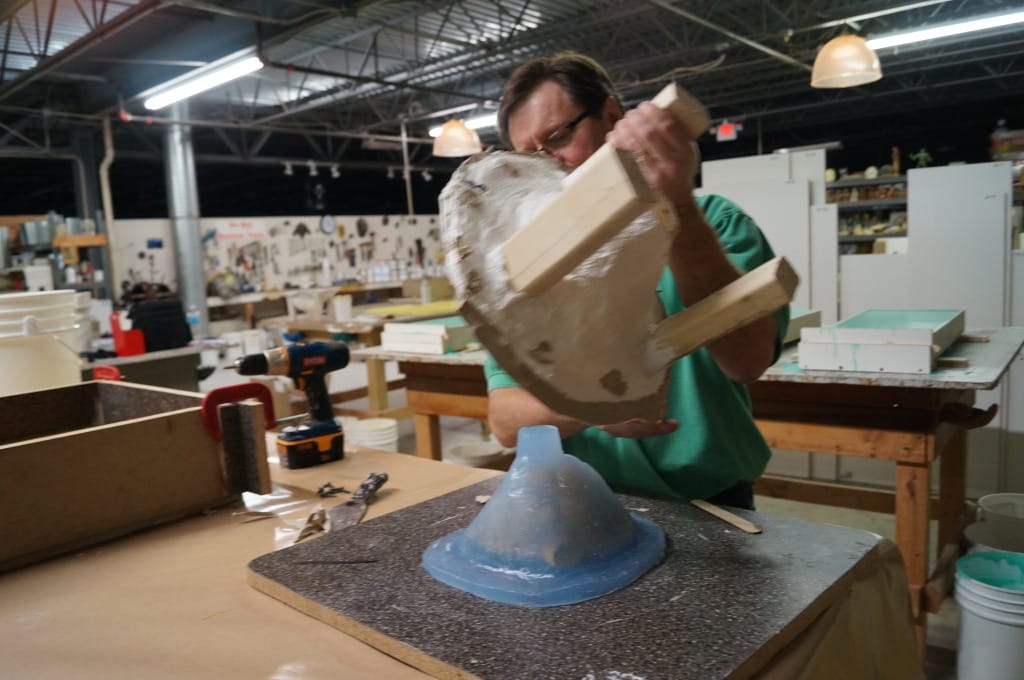
Poured Blanket Mold: Demold
Poured Blanket Mold: Demold
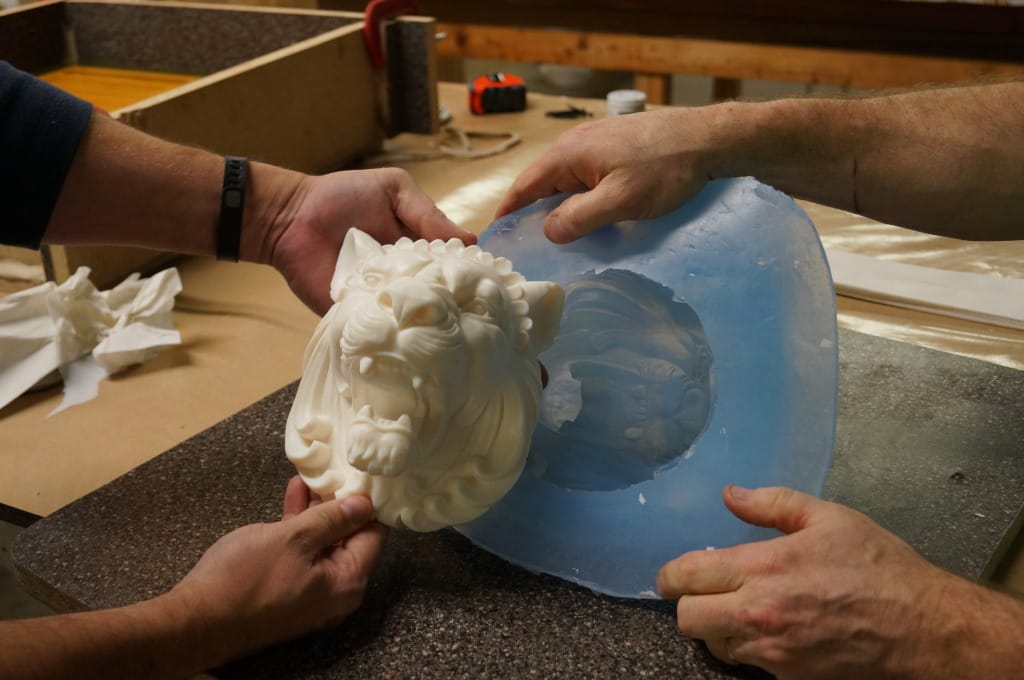
Loosen the edges of the silicone mold and then remove it from the model.
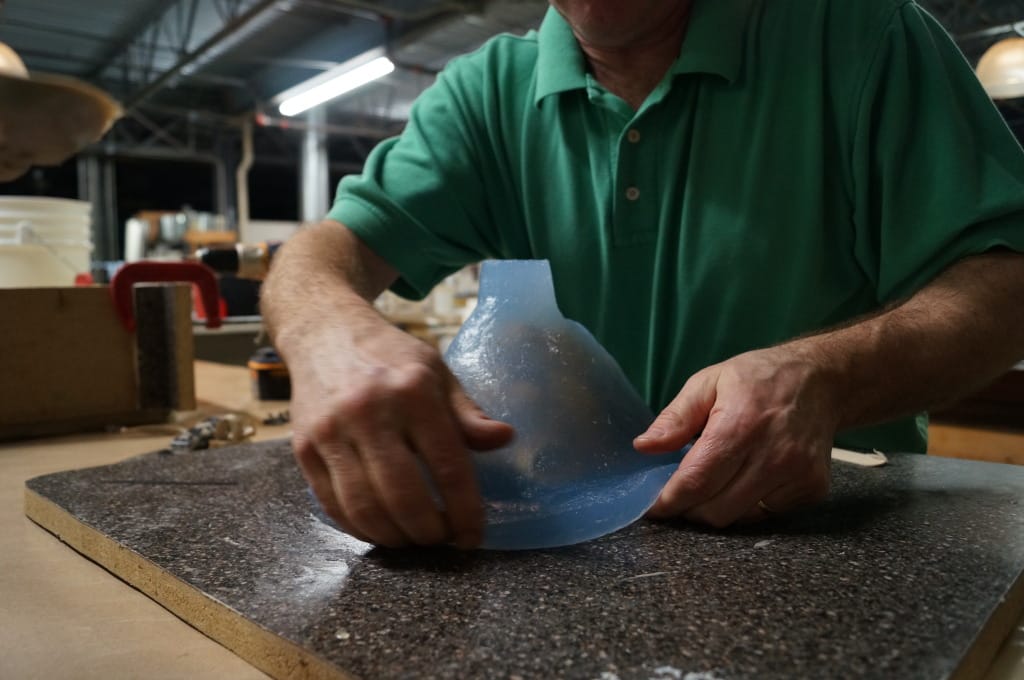
Poured Blanket Mold: Demold
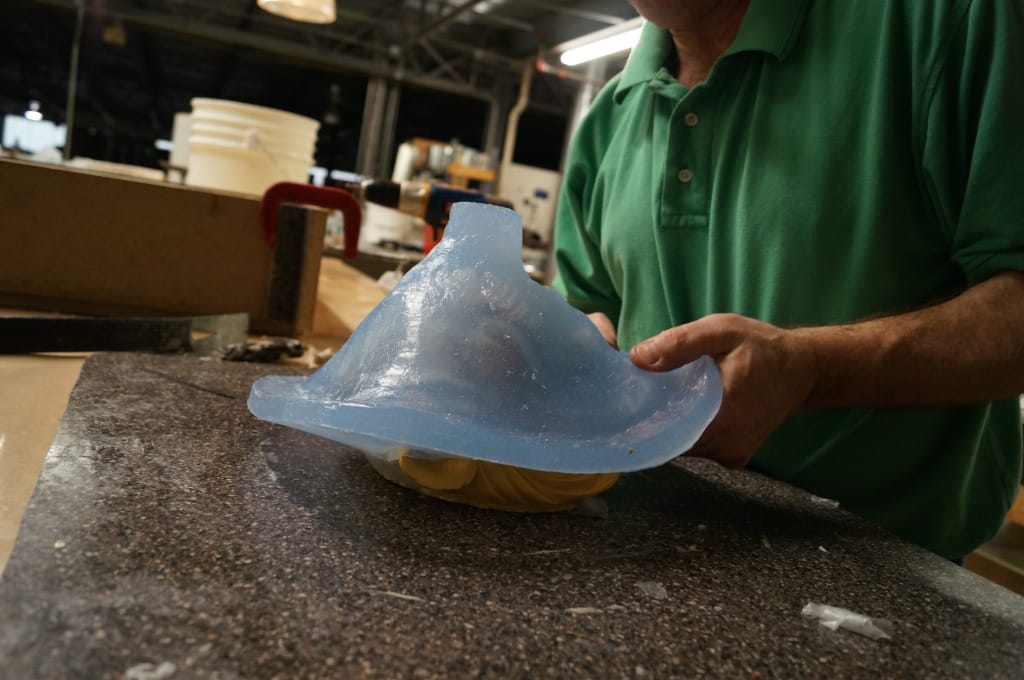
Poured Blanket Mold: Demold
Poured Blanket Mold: Demold
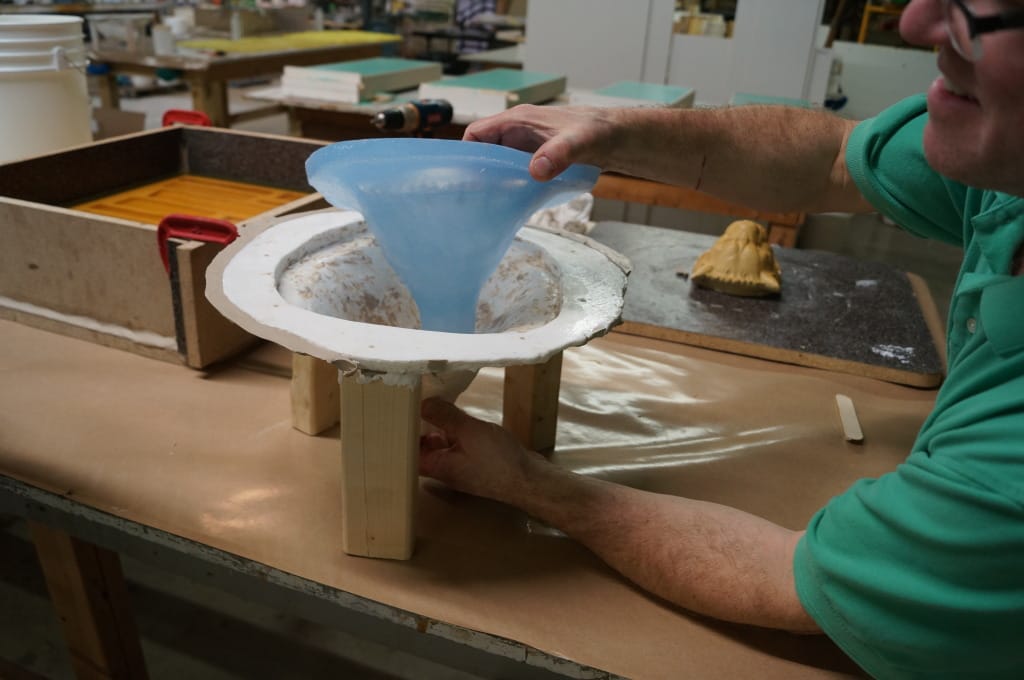
When ready for casting, place the mold back into the mold shell and align properly.
Poured Blanket Mold: Finished
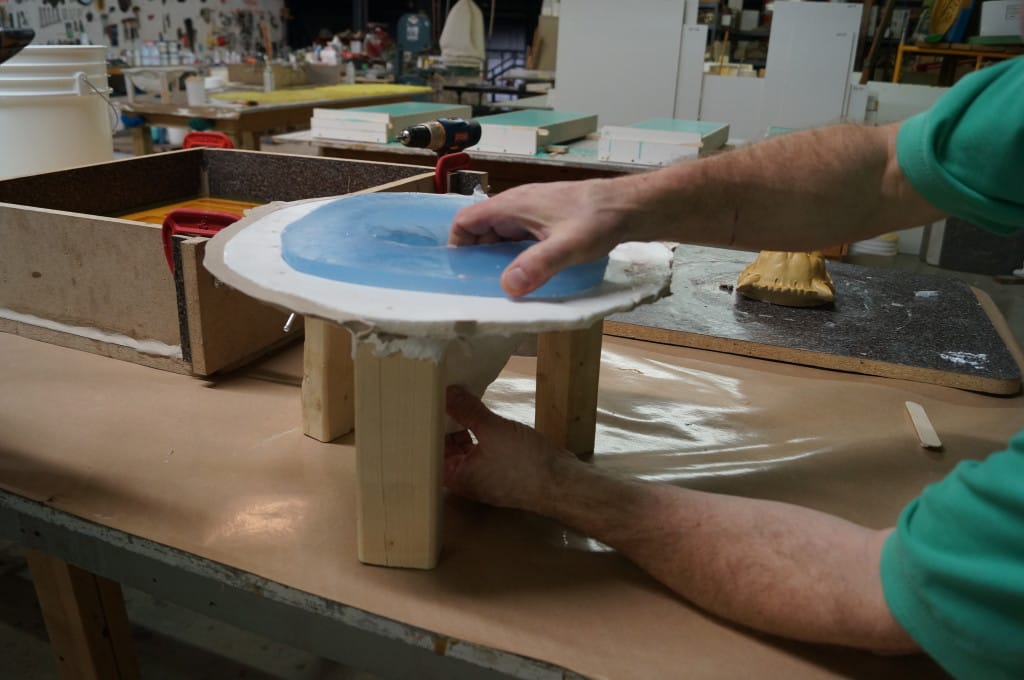
Poured Blanket Mold: Finished
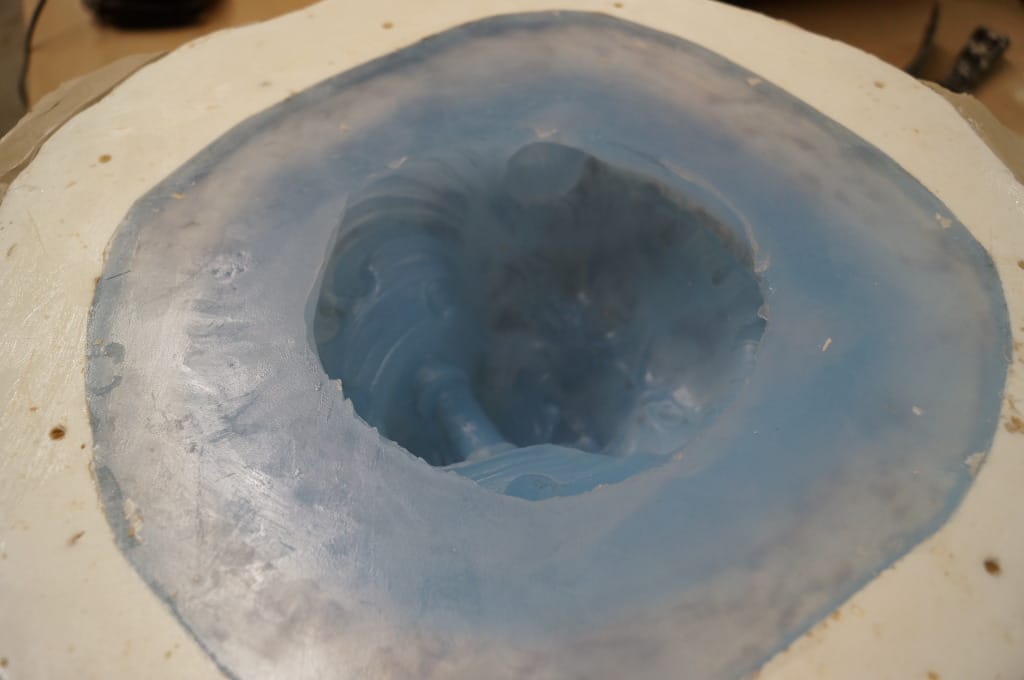
Poured Blanket Mold: Finished
Poured Block Mold: Pouring the Mold Rubber & Demolding
Mixing procedure for the mold rubber is the same for both options.
12.5 lb of PlatSil 73-20 rubber is necessary to complete this mold (compared to 4.3 lb of rubber needed to complete the poured block mold).
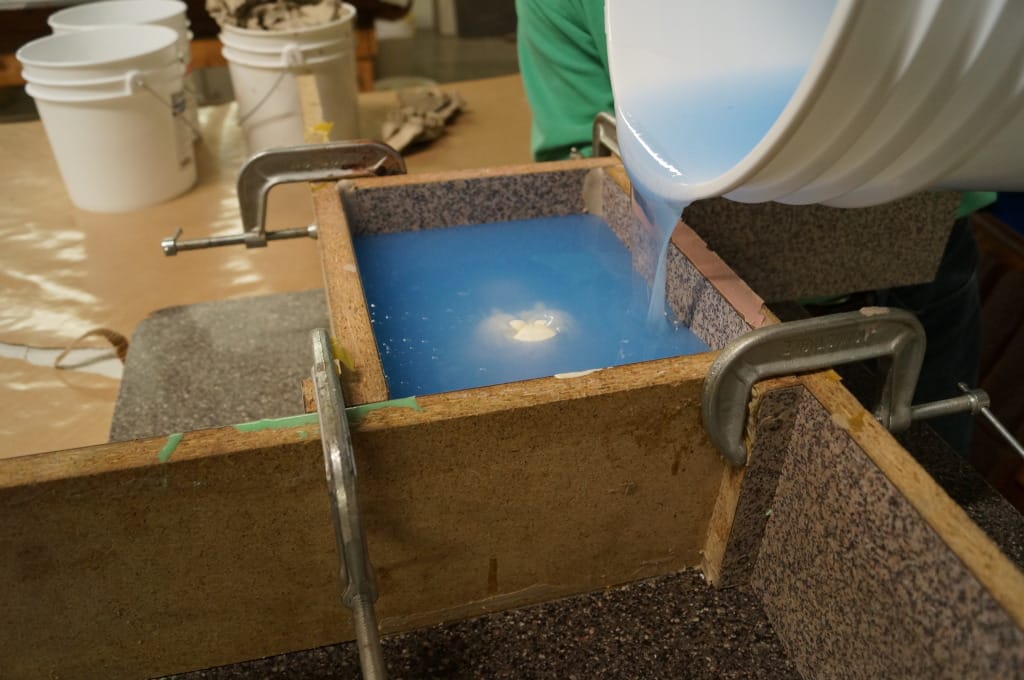
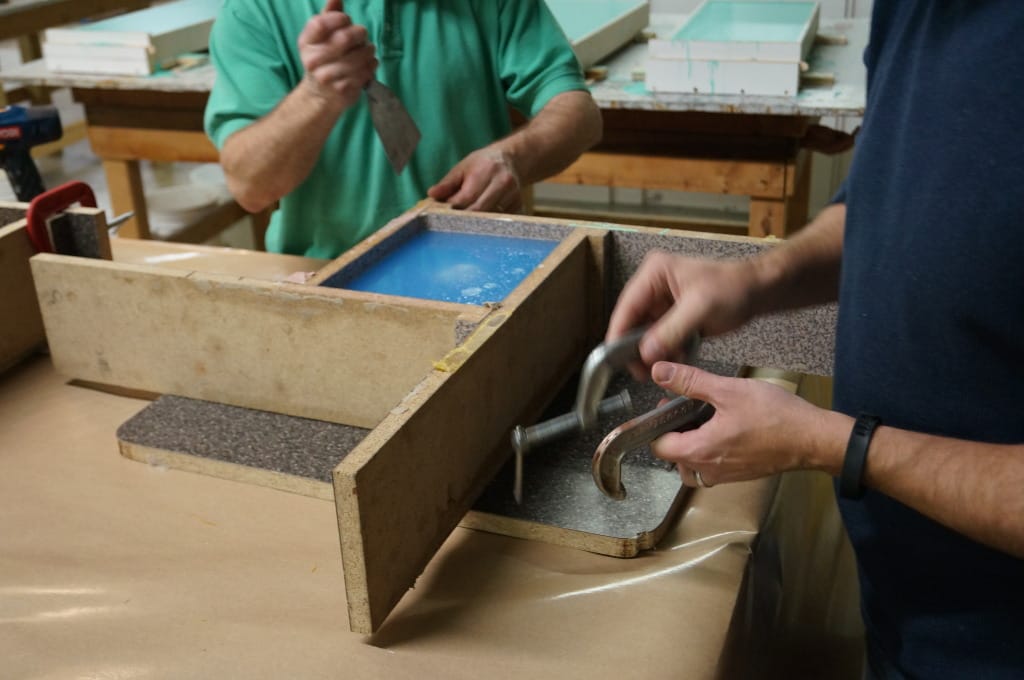
Pour the mold rubber into one corner of the mold box and let it rise. Pour rubber into rubber and avoid pouring directly on the model.
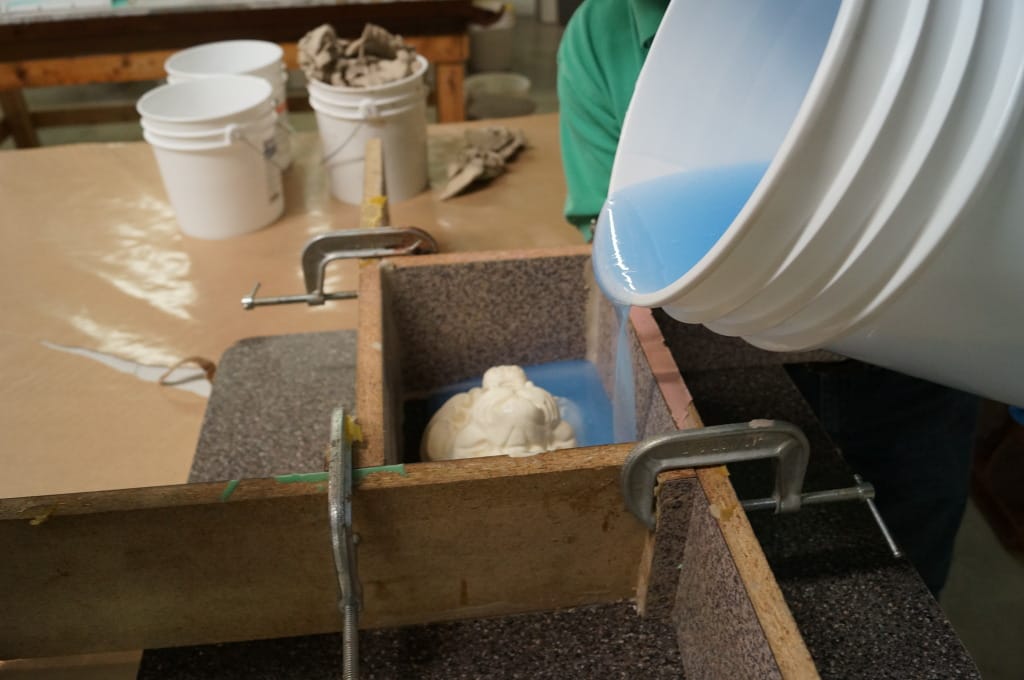
Poured Block Mold: Pouring the Mold Rubber
Fill the mold box to at least 0.5″ above the model.
Poured Block Mold: Pouring the Mold Rubber
Spraying release agent across the surface of the rubber immediately after pouring can help to release air bubbles.
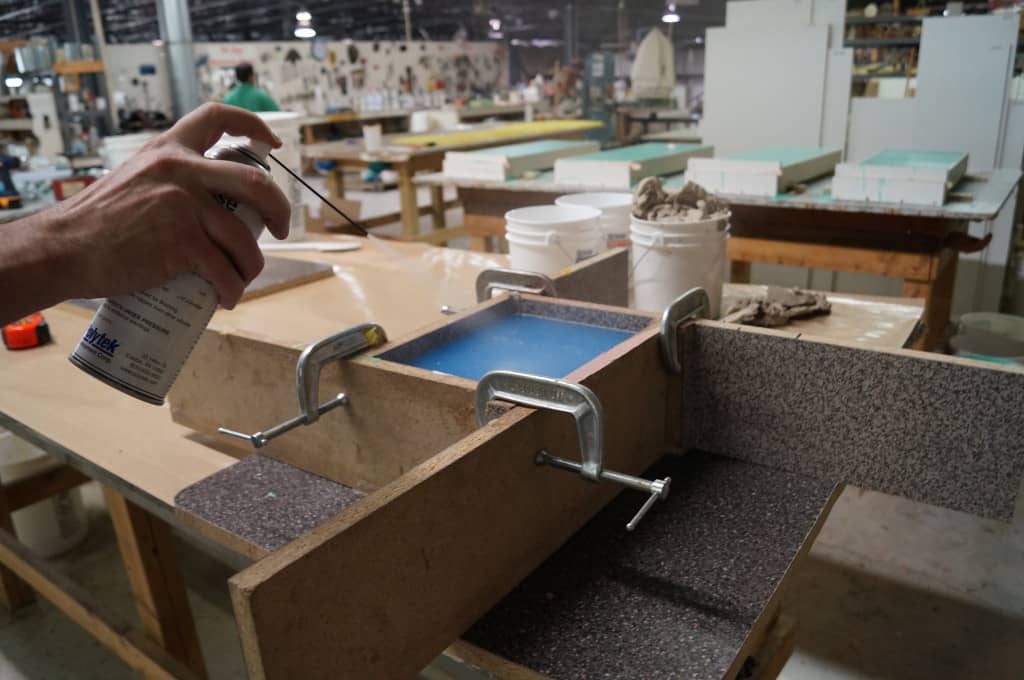
Poured Block Mold: Pouring the Mold Rubber
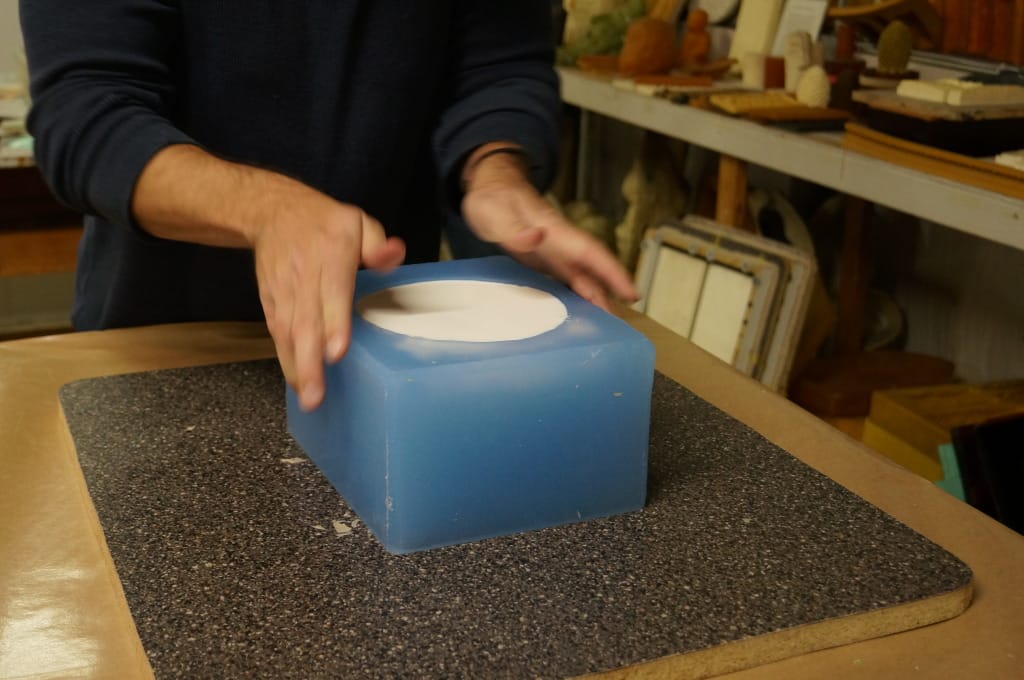
Allow the rubber to cure for approximately 1 hour and then demold. Remove the screws that secure the baseboard to the mold box walls.
Poured Block Mold: Demold
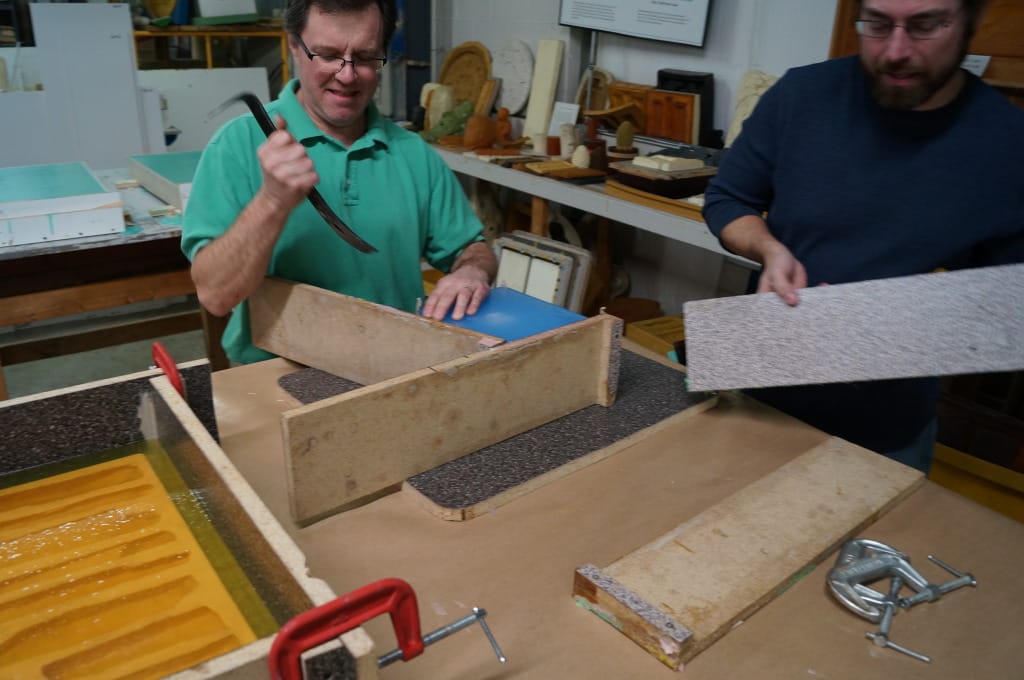
Remove the C-clamps and mold box walls.
Poured Block Mold: Demold
Poured Block Mold: Demold
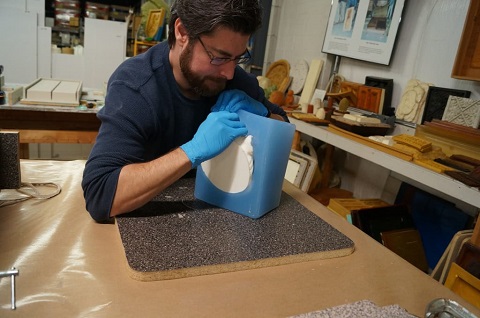
Loosen the edges of the mold and then remove it from the model. A prying tool may be helpful.
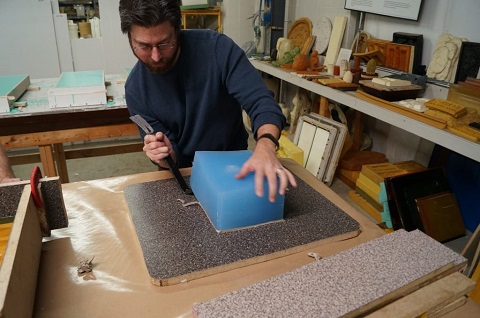
Poured Block Mold: Demold
Poured Block Mold: Demold
The mold is now ready for casting.
Resin Casting with EasyFlo 60
We prepare enough EasyFlo 60 Liquid Plastic to pour into both molds. EasyFlo 60 is a two-part, low-viscosity polyurethane plastic in the EasyFlo Series. This fast-setting plastic has a 2 to 2.5-minute working time and a 15 to 30-minute demold time.
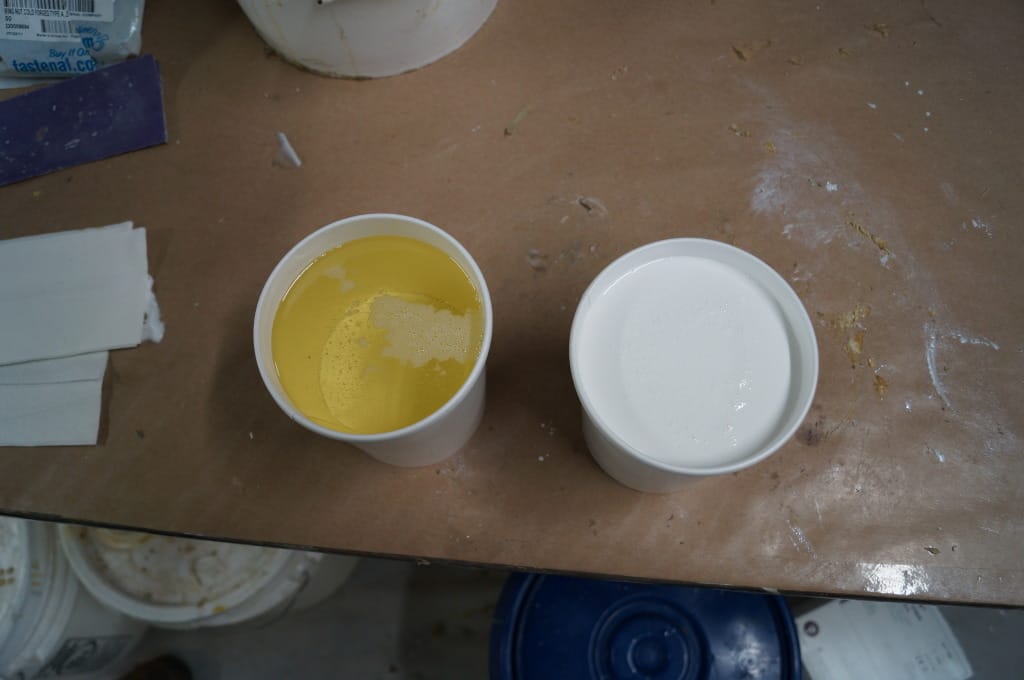
Measure EasyFlo 60 by volume (1A:1B) or by weight (100A:90B) and mix thoroughly.
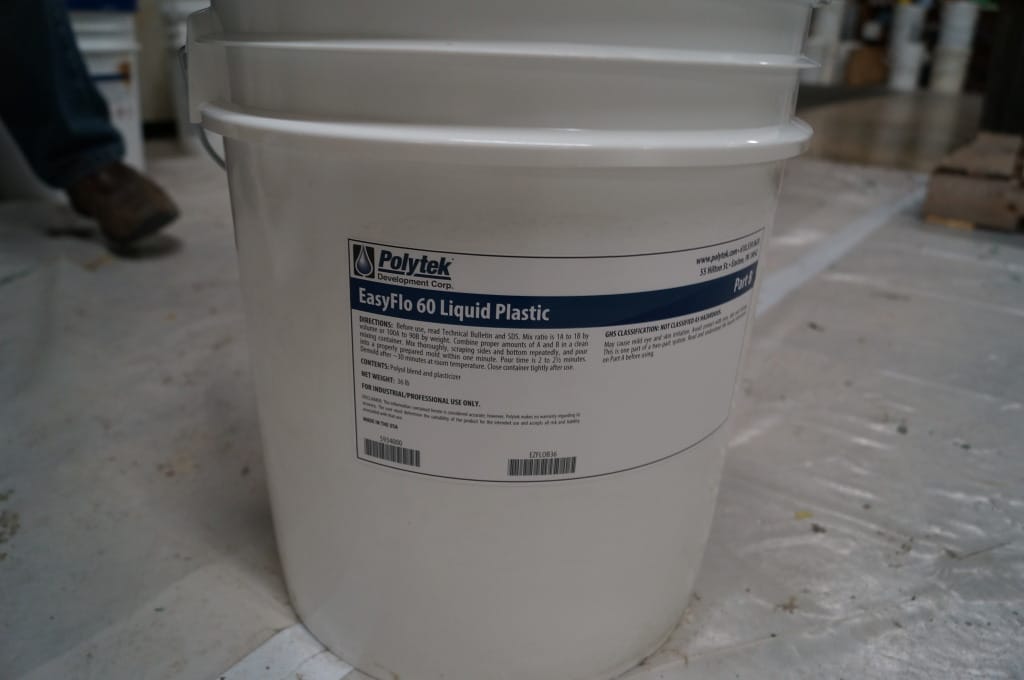
EasyFlo 60 Liquid Plastic
EasyFlo 60 Liquid Plastic
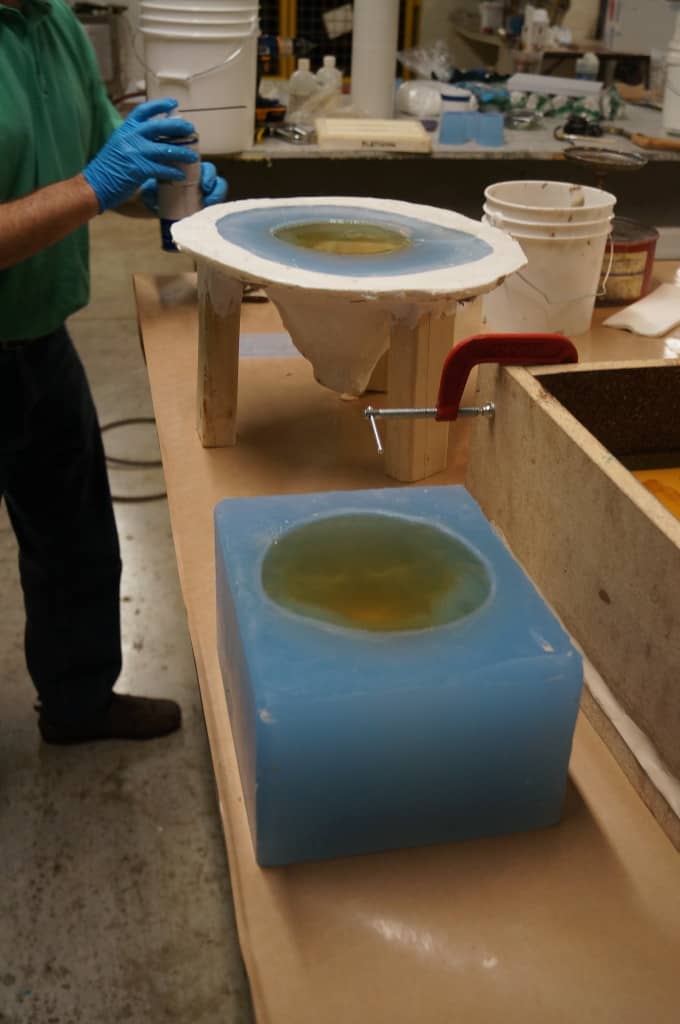
Carefully pour the mixed resin into the molds.
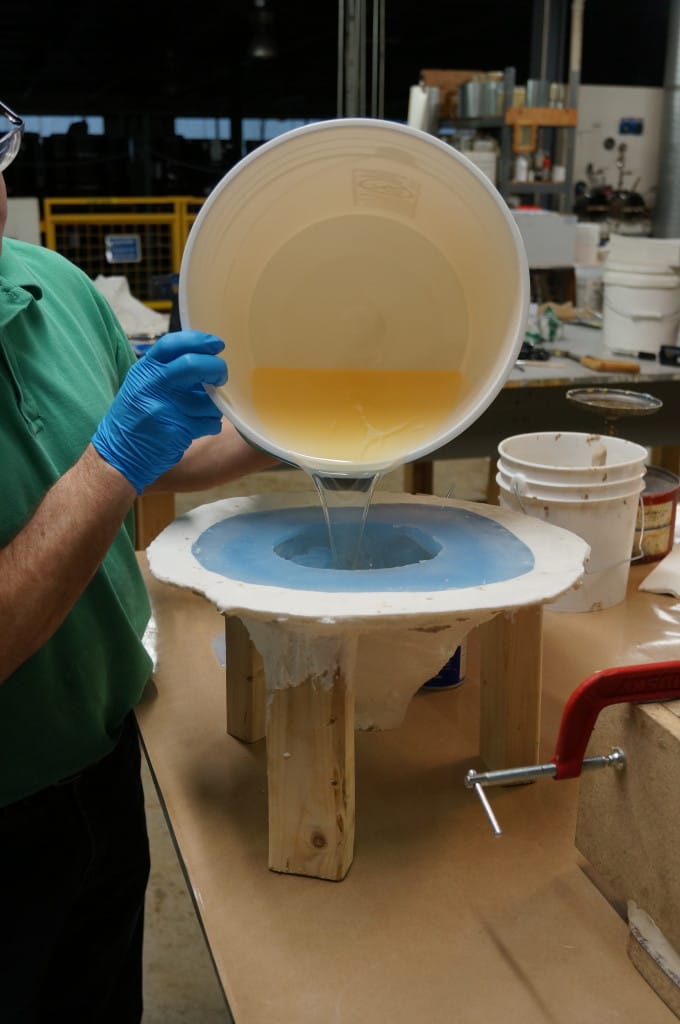
Poured Blanket Mold: Resin Casting
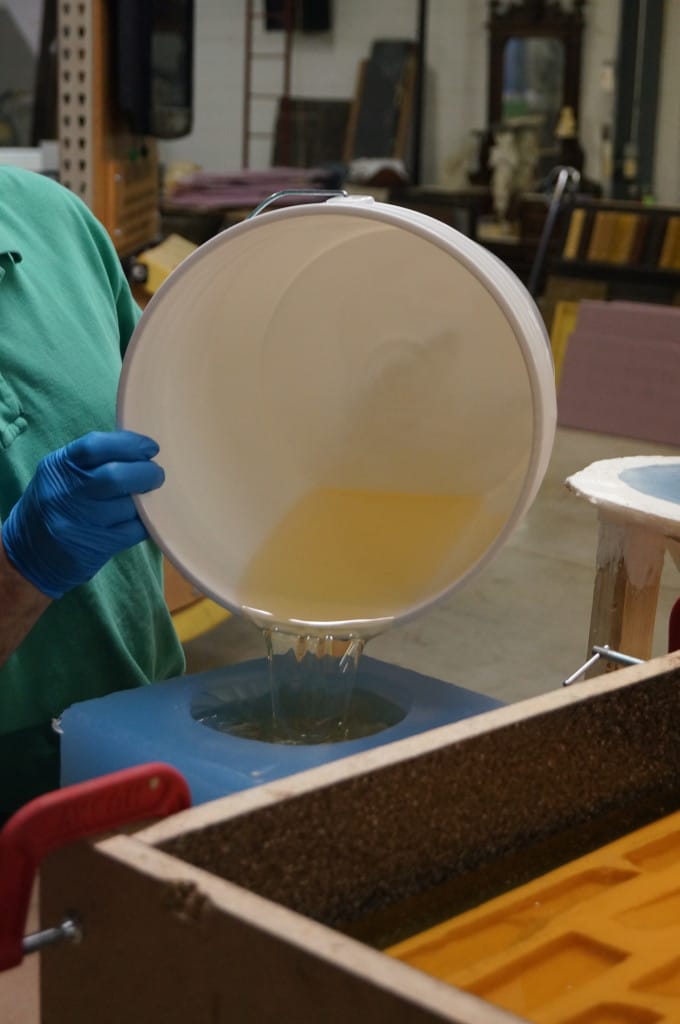
Poured Block Mold: Resin Casting
Allow 15 to 30 minutes before demolding. This resin is a translucent yellow/amber color in liquid form, but cures to an opaque white color.
Demold the poured blanket mold by first removing the plastic mold shell.
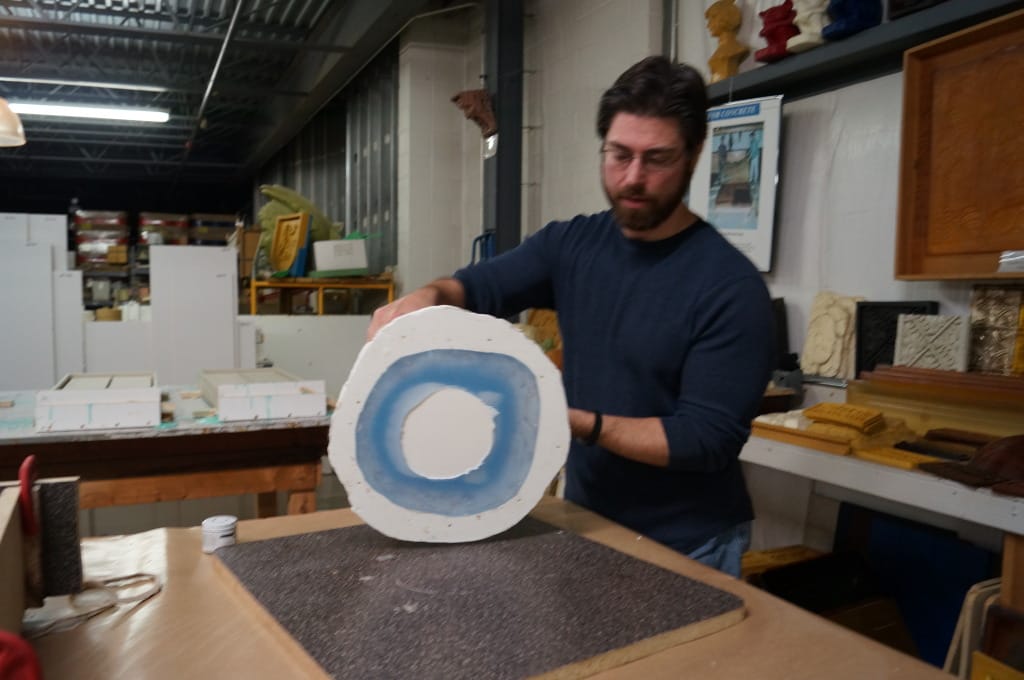
Poured Blanket Mold: Demold
Peel back the blanket mold to remove the casting.
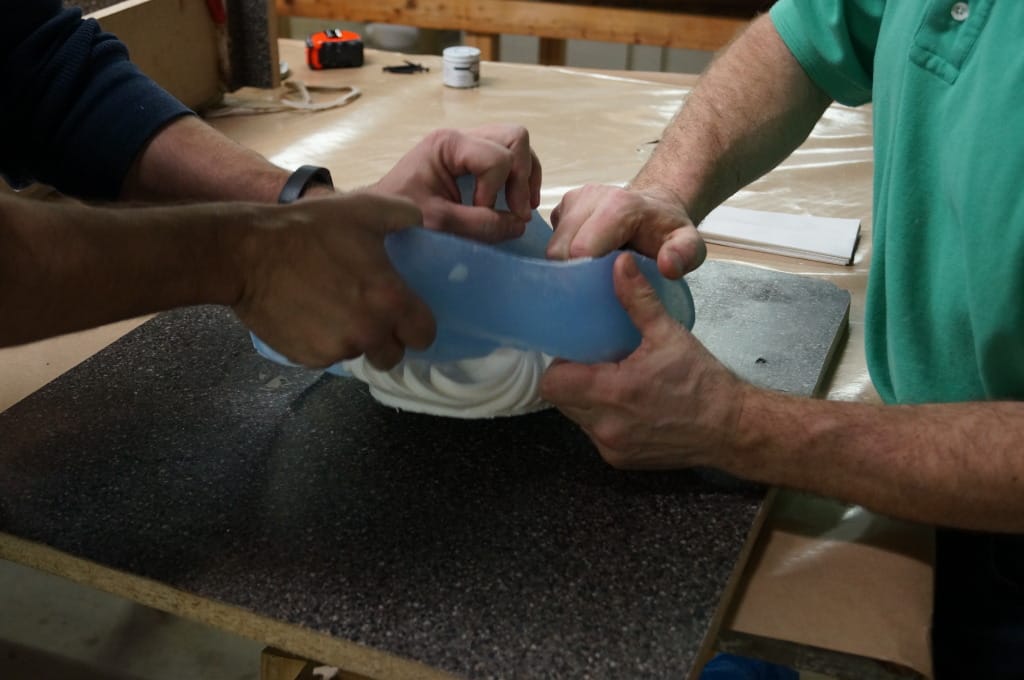
Poured Blanket Mold: Demold
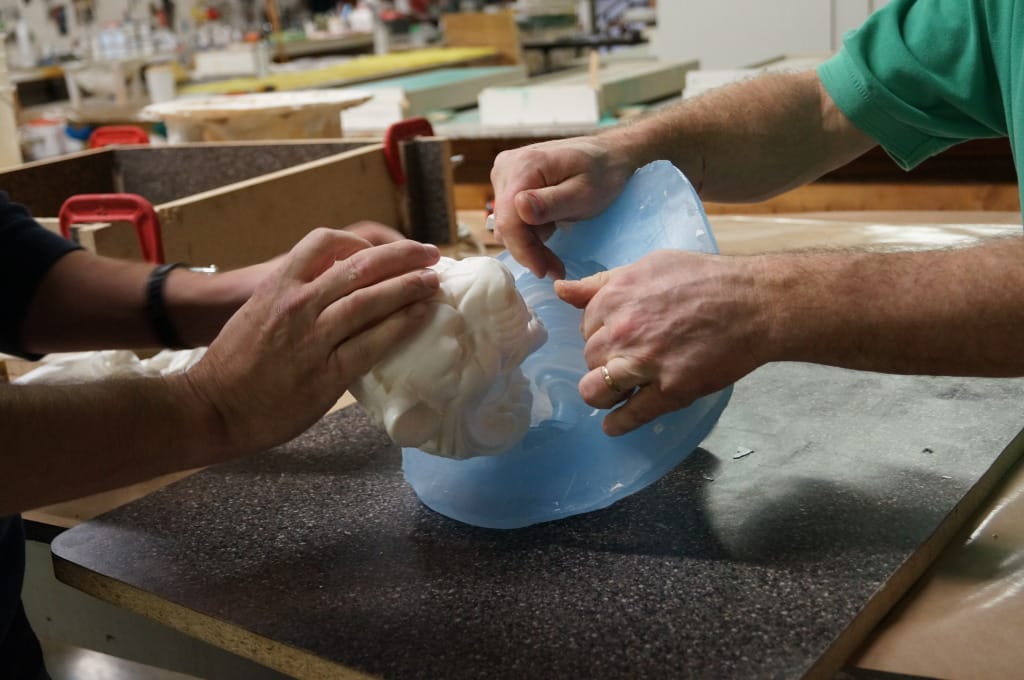
Poured Blanket Mold: Demold
Poured Blanket Mold: Demold
To demold the poured block mold, loosen the edges and pull out the casting. This demold requires a bit more effort as the model has some undercuts and the mold rubber is thicker and less flexible compared to the blanket mold.
Poured Block Mold: Demold
Poured Block Mold: Demold
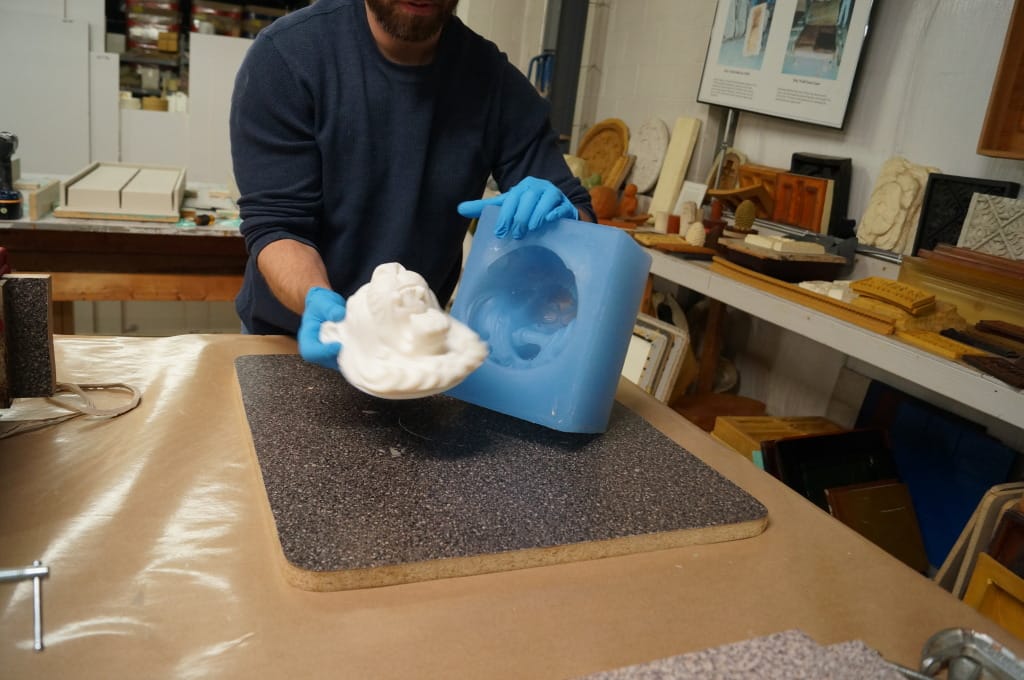
Poured Block Mold: Demold
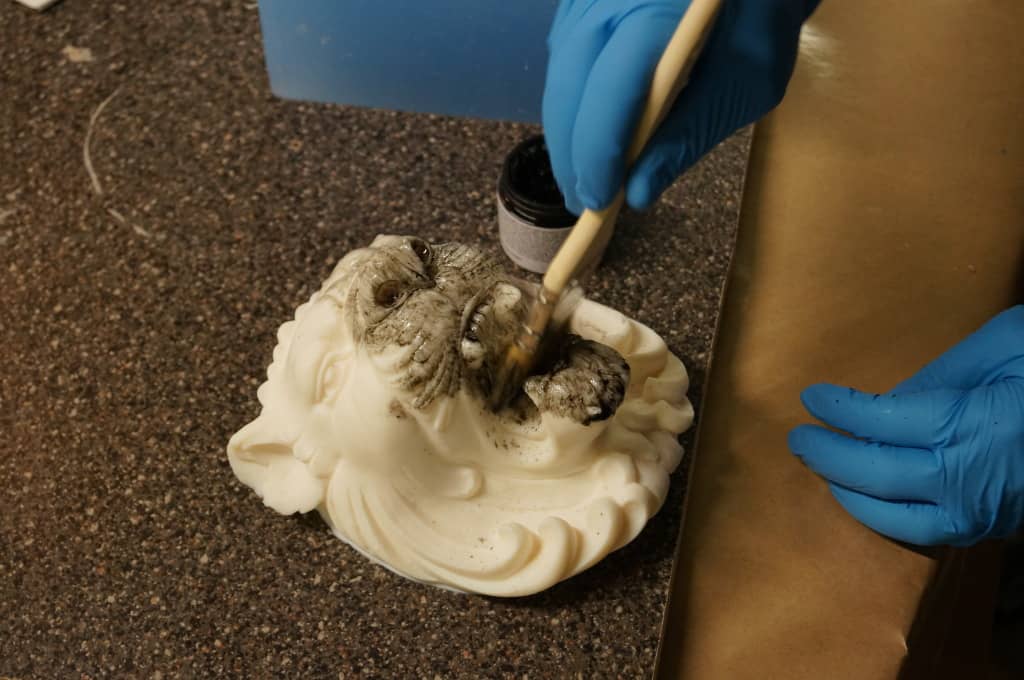
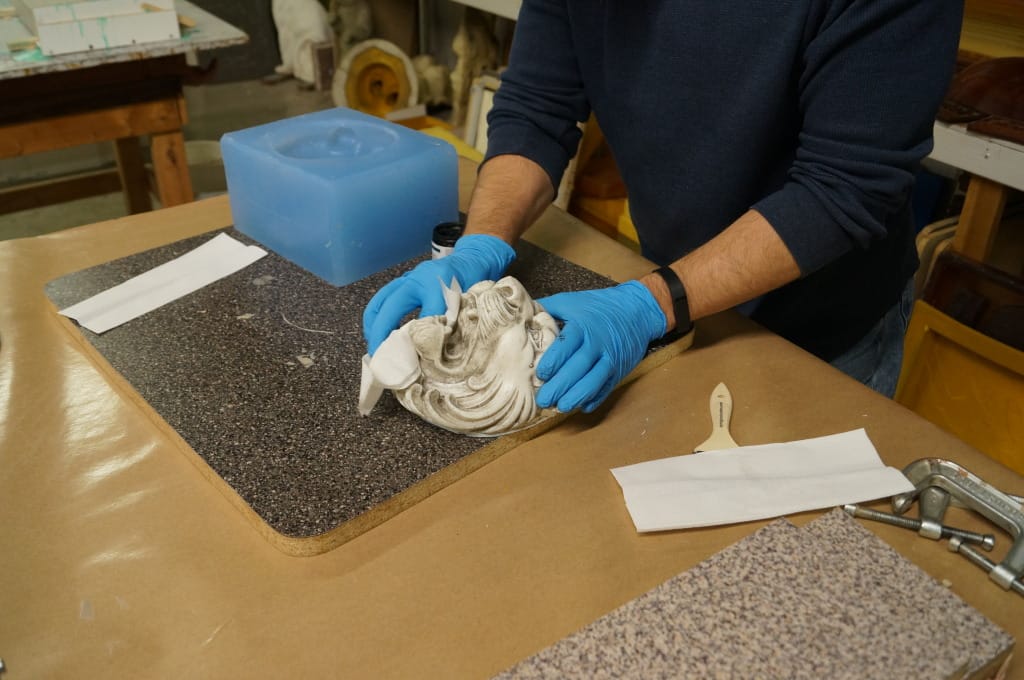
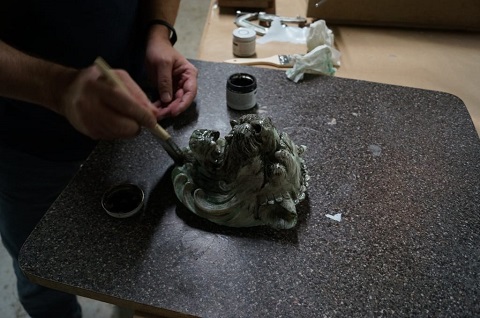
We put some finishing touches on the plastic castings with black and green wax.
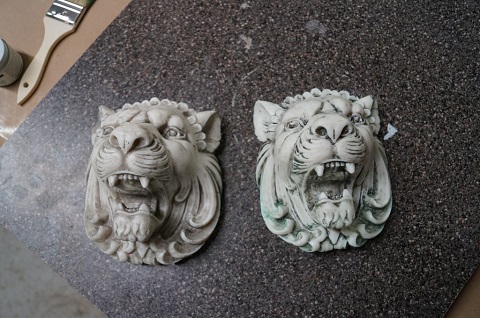
left: casting from the poured block mold | right: casting from the poured blanket mold